Page 15 of 402

1-3
To adjust the power seats:
Horizontal Control: Raise or lower the front of the seat
by pressing the forward edge of the control up or down.
Raise or lower the rear of the seat by holding the rear
edge of the control up or down.
Move the seat higher or lower by holding the whole
control up or down.
Vertical Control (Option): Move the seatback into a
recline position by pressing the top of the control back.
Move the seatback forward by pressing the top of the
control forward.Power Lumbar Control (Option)
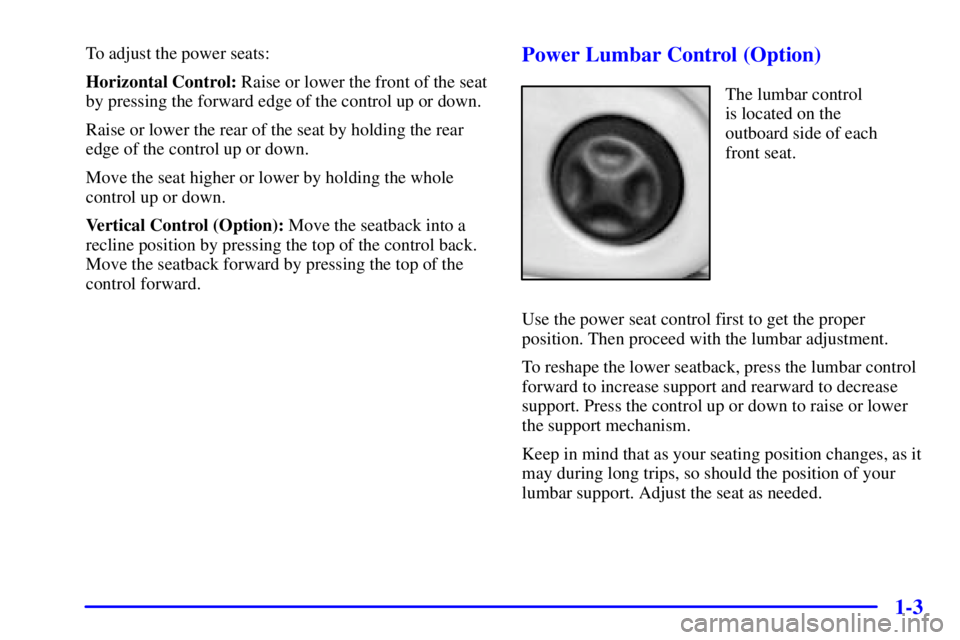
The lumbar control
is located on the
outboard side of each
front seat.
Use the power seat control first to get the proper
position. Then proceed with the lumbar adjustment.
To reshape the lower seatback, press the lumbar control
forward to increase support and rearward to decrease
support. Press the control up or down to raise or lower
the support mechanism.
Keep in mind that as your seating position changes, as it
may during long trips, so should the position of your
lumbar support. Adjust the seat as needed.
Page 16 of 402

1-4 Memory Seat and Mirrors (Option)
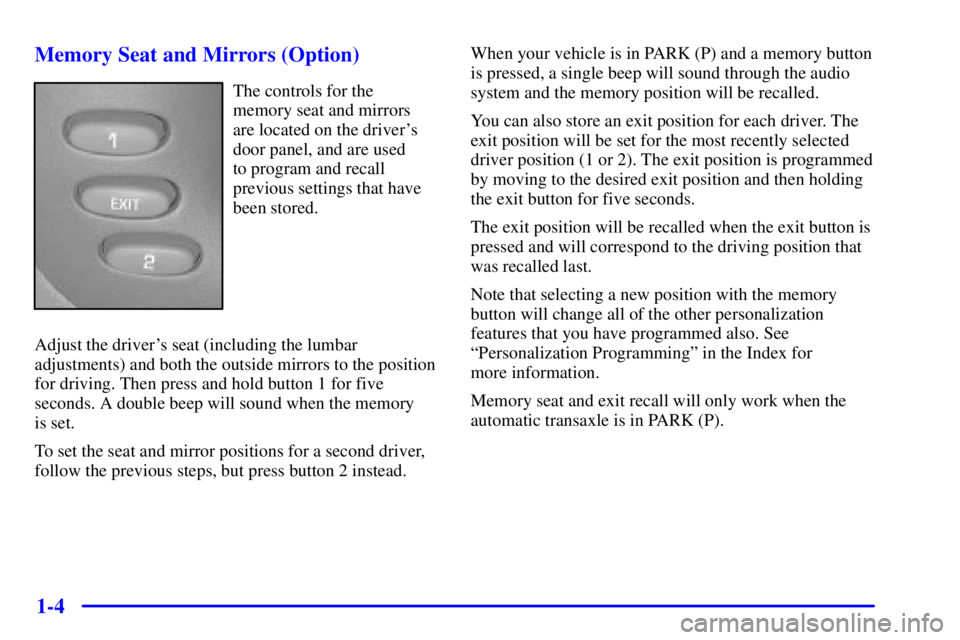
The controls for the
memory seat and mirrors
are located on the driver's
door panel, and are used
to program and recall
previous settings that have
been stored.
Adjust the driver's seat (including the lumbar
adjustments) and both the outside mirrors to the position
for driving. Then press and hold button 1 for five
seconds. A double beep will sound when the memory
is set.
To set the seat and mirror positions for a second driver,
follow the previous steps, but press button 2 instead.When your vehicle is in PARK (P) and a memory button
is pressed, a single beep will sound through the audio
system and the memory position will be recalled.
You can also store an exit position for each driver. The
exit position will be set for the most recently selected
driver position (1 or 2). The exit position is programmed
by moving to the desired exit position and then holding
the exit button for five seconds.
The exit position will be recalled when the exit button is
pressed and will correspond to the driving position that
was recalled last.
Note that selecting a new position with the memory
button will change all of the other personalization
features that you have programmed also. See
ªPersonalization Programmingº in the Index for
more information.
Memory seat and exit recall will only work when the
automatic transaxle is in PARK (P).
Page 111 of 402

2-47
If your vehicle's battery remains in a heavy discharge
condition for a long period of time, the blower fan, rear
defogger, heated seats and heated mirrors will be
disabled and the DIC will display BATTERY SAVER
ACTIVE. This can happen either under long periods of
idling or low speed driving with high electrical loading,
or in the event of a charging system fault.
Monitor the battery voltage when in the BATTERY
SAVER ACTIVE mode.
�If the voltmeter remains in the red area (below
11 volts) when driving then have the charging
system serviced immediately.
�If the voltage increases above 12 volts then the battery
needs to be recharged. Try driving on the highway
with as few electrical accessories on as possible.
Mirrors
Inside Day/Night Manual Rearview Mirror
When you are sitting in a comfortable driving position,
adjust the mirror so you can see clearly behind your
vehicle. Grip the mirror in the center to move it up or
down and side to side. The day/night adjustment allows
you to adjust the mirror to avoid glare from the lamps
behind you. Push the tab away from you for daytime
use; pull it toward you for night use.
Electrochromic Day/Night Rearview Mirror
(If Equipped)
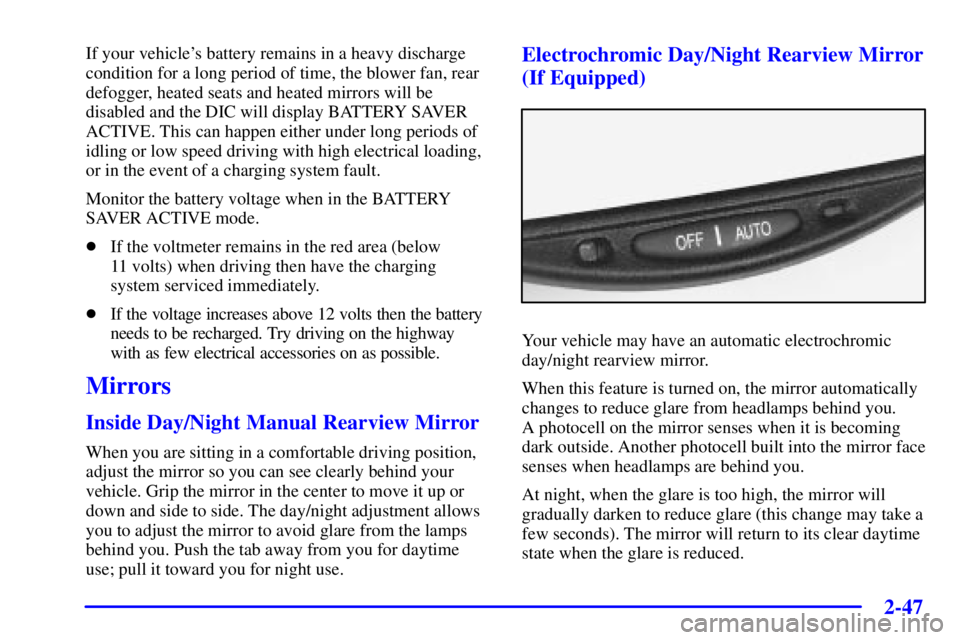
Your vehicle may have an automatic electrochromic
day/night rearview mirror.
When this feature is turned on, the mirror automatically
changes to reduce glare from headlamps behind you.
A photocell on the mirror senses when it is becoming
dark outside. Another photocell built into the mirror face
senses when headlamps are behind you.
At night, when the glare is too high, the mirror will
gradually darken to reduce glare (this change may take a
few seconds). The mirror will return to its clear daytime
state when the glare is reduced.
Page 309 of 402

6-34
If your vehicle is damaged in an accident, the headlamp
aim may be affected. Aim adjustment to the low beam
may be necessary if it is difficult to see lane markers
(for horizontal aim), or if oncoming drivers flash their
high beams at you (for vertical aim). If you believe your
headlamps need to be re
-aimed, we recommend that you
take your vehicle to your dealer for service. However, it
is possible for you to re
-aim your headlamps as
described in the following procedure.
NOTICE:
To make sure your headlamps are aimed
properly, read all the instructions before
beginning. Failure to follow these instructions
could cause damage to headlamp parts.
The vehicle should be properly prepared as follows:
�The vehicle should be placed so the headlamps are
25 ft. (7.6 m) from a light colored wall or other
flat surface.�The vehicle must have all four tires on a perfectly
level surface which is level all the way to the wall or
other flat surface.
�The vehicle should be placed so it is perpendicular to
the wall or other flat surface.
�The vehicle should not have any snow, ice or mud
attached to it.
�The vehicle should be fully assembled and all other
work stopped while headlamp aiming is being done.
�The vehicle should be normally loaded with a full
tank of fuel and one person or 160 lbs. (75 kg) on the
driver's seat.
�Tires should be properly inflated.
Headlamp aiming is done with the vehicle low beam
lamps. The high beam lamps will be correctly aimed if
the low beam lamps are aimed properly.
The headlamp aiming devices are under the hood near
the headlamps.