Page 52 of 263

OThe supplemental air bag warning light
flashes intermittently.
OThe supplemental air bag warning light
does not come on at all.
Unless checked and repaired, the supplemen-
tal restraint system may not function properly.
For additional details on the supplemental
restraint system (supplemental air bag sys-
tem), see the ``Seats, Restraints and Supple-
mental Air Bag Systems'' section of this
manual
WARNING
If the supplemental air bag warning
light is on, it could mean that the air
bag will not operate in an accident.
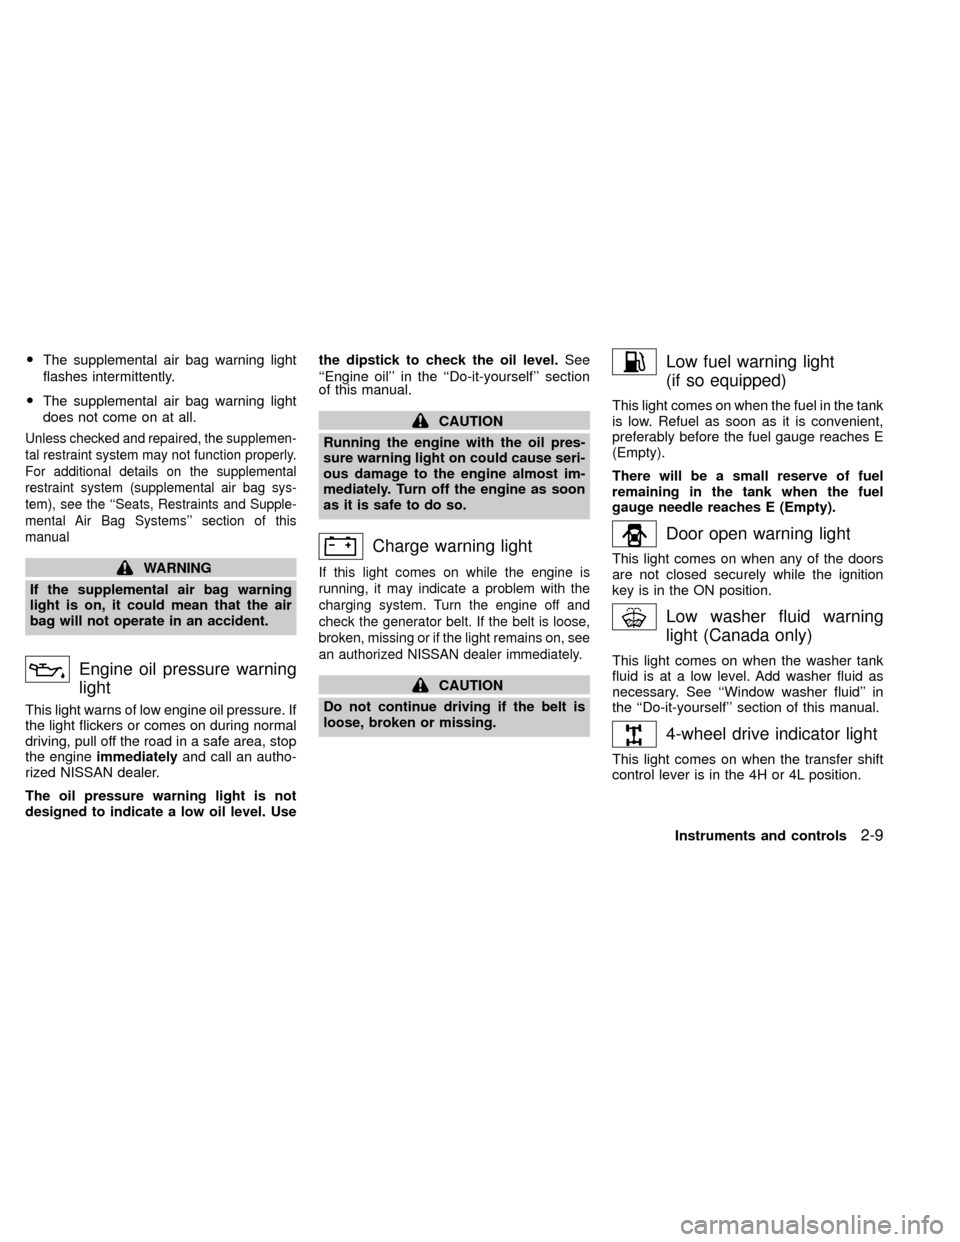
Engine oil pressure warning
light
This light warns of low engine oil pressure. If
the light flickers or comes on during normal
driving, pull off the road in a safe area, stop
the engineimmediatelyand call an autho-
rized NISSAN dealer.
The oil pressure warning light is not
designed to indicate a low oil level. Usethe dipstick to check the oil level.See
``Engine oil'' in the ``Do-it-yourself'' section
of this manual.
CAUTION
Running the engine with the oil pres-
sure warning light on could cause seri-
ous damage to the engine almost im-
mediately. Turn off the engine as soon
as it is safe to do so.
Charge warning light
If this light comes on while the engine is
running, it may indicate a problem with the
charging system. Turn the engine off and
check the generator belt. If the belt is loose,
broken, missing or if the light remains on, see
an authorized NISSAN dealer immediately.
CAUTION
Do not continue driving if the belt is
loose, broken or missing.
Low fuel warning light
(if so equipped)
This light comes on when the fuel in the tank
is low. Refuel as soon as it is convenient,
preferably before the fuel gauge reaches E
(Empty).
There will be a small reserve of fuel
remaining in the tank when the fuel
gauge needle reaches E (Empty).
Door open warning light
This light comes on when any of the doors
are not closed securely while the ignition
key is in the ON position.
Low washer fluid warning
light (Canada only)
This light comes on when the washer tank
fluid is at a low level. Add washer fluid as
necessary. See ``Window washer fluid'' in
the ``Do-it-yourself'' section of this manual.
4-wheel drive indicator light
This light comes on when the transfer shift
control lever is in the 4H or 4L position.
Instruments and controls
2-9
ZX
Page 182 of 263
11. Check the drain valve on the radiator
and drain plugs on the engine block for
any sign of leakage.CHECKING ENGINE OIL LEVEL
1. Park the vehicle on a level surface and
apply the parking brake.
2. Start the engine and let it idle until it
reaches operating temperature.
3. Turn off the engine.Wait a few minutes
for the oil to drain back into the oil
pan.4. Remove the dipstick and wipe it clean.
Reinsert it all the way.
ADI1058ADI1059ADI1060
ENGINE OIL
Do-it-yourself8-9
ZX
Page 183 of 263
5. Remove the dipstick again and check the
oil level. It should be between the H
(High) and L (Low) marks. If the oil level
is below the L (Low) mark, remove the oil
filler cap and pour recommended oil
through the opening.Do not overfill.6. Recheck oil level with dipstick.
It is normal to add some oil between oil
maintenance intervals or during the
break-in period, depending on the sever-
ity of operating conditions.
CAUTION
Oil level should be checked regularly.
Operating the engine with an insuffi-
cient amount of oil can damage the
engine, and such damage is not cov-
ered by warranty.
CHANGING ENGINE OIL
1. Park the vehicle on a level surface and
apply the parking brake.
2. Start the engine and let idle until it
reaches operating temperature, and then
turn it off.
3. Remove the oil filler cap.
4. Place a large drain pan under the drain
plug.
ADI1061ADI1062ADI1063
8-10Do-it-yourself
ZX
Page 184 of 263

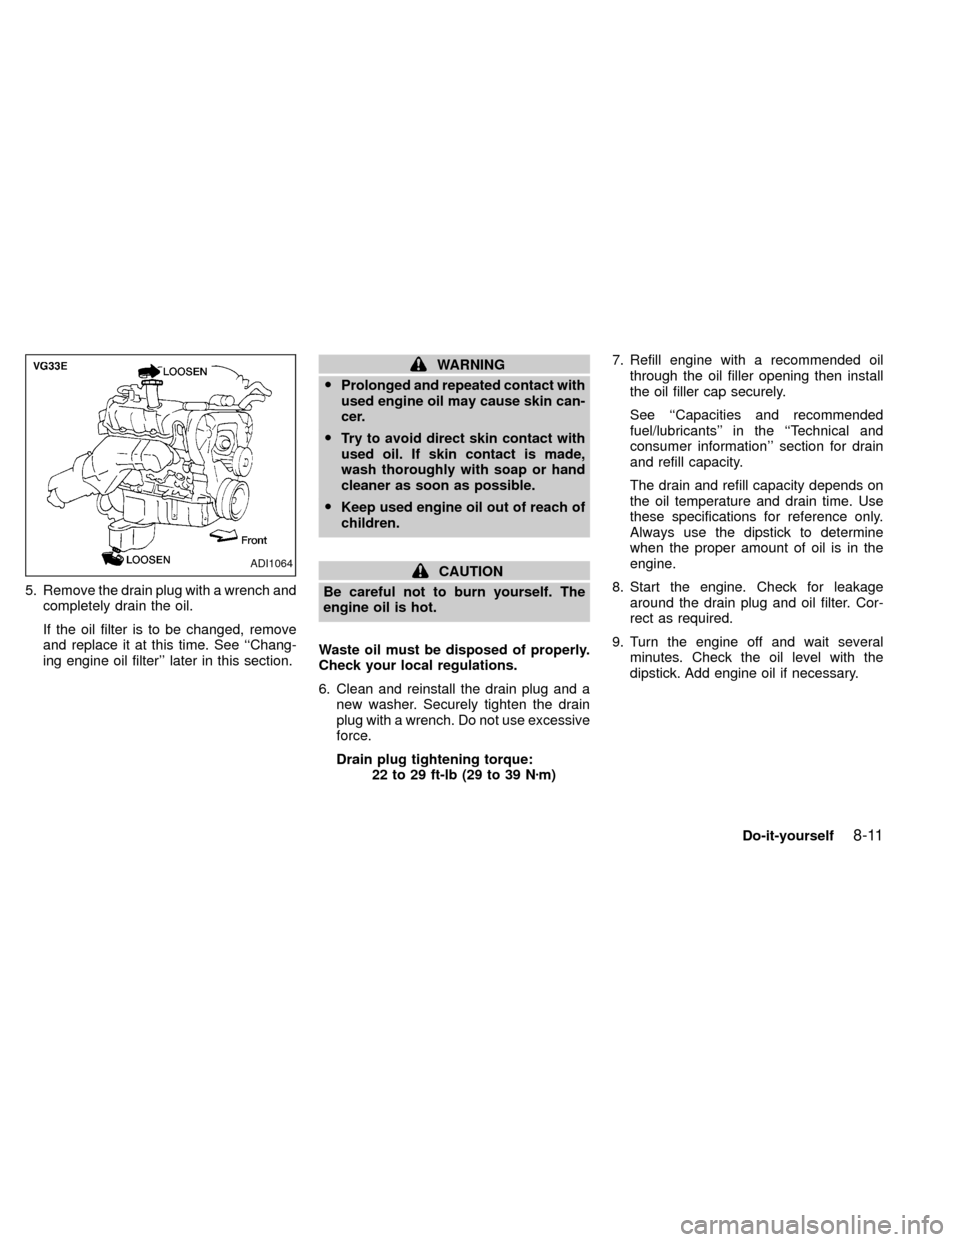
5. Remove the drain plug with a wrench and
completely drain the oil.
If the oil filter is to be changed, remove
and replace it at this time. See ``Chang-
ing engine oil filter'' later in this section.
WARNING
OProlonged and repeated contact with
used engine oil may cause skin can-
cer.
OTry to avoid direct skin contact with
used oil. If skin contact is made,
wash thoroughly with soap or hand
cleaner as soon as possible.
OKeep used engine oil out of reach of
children.
CAUTION
Be careful not to burn yourself. The
engine oil is hot.
Waste oil must be disposed of properly.
Check your local regulations.
6. Clean and reinstall the drain plug and a
new washer. Securely tighten the drain
plug with a wrench. Do not use excessive
force.
Drain plug tightening torque:
22 to 29 ft-lb (29 to 39 Nzm)7. Refill engine with a recommended oil
through the oil filler opening then install
the oil filler cap securely.
See ``Capacities and recommended
fuel/lubricants'' in the ``Technical and
consumer information'' section for drain
and refill capacity.
The drain and refill capacity depends on
the oil temperature and drain time. Use
these specifications for reference only.
Always use the dipstick to determine
when the proper amount of oil is in the
engine.
8. Start the engine. Check for leakage
around the drain plug and oil filter. Cor-
rect as required.
9. Turn the engine off and wait several
minutes. Check the oil level with the
dipstick. Add engine oil if necessary.ADI1064
Do-it-yourself8-11
ZX