2000 NISSAN XTERRA oil
[x] Cancel search: oilPage 50 of 263
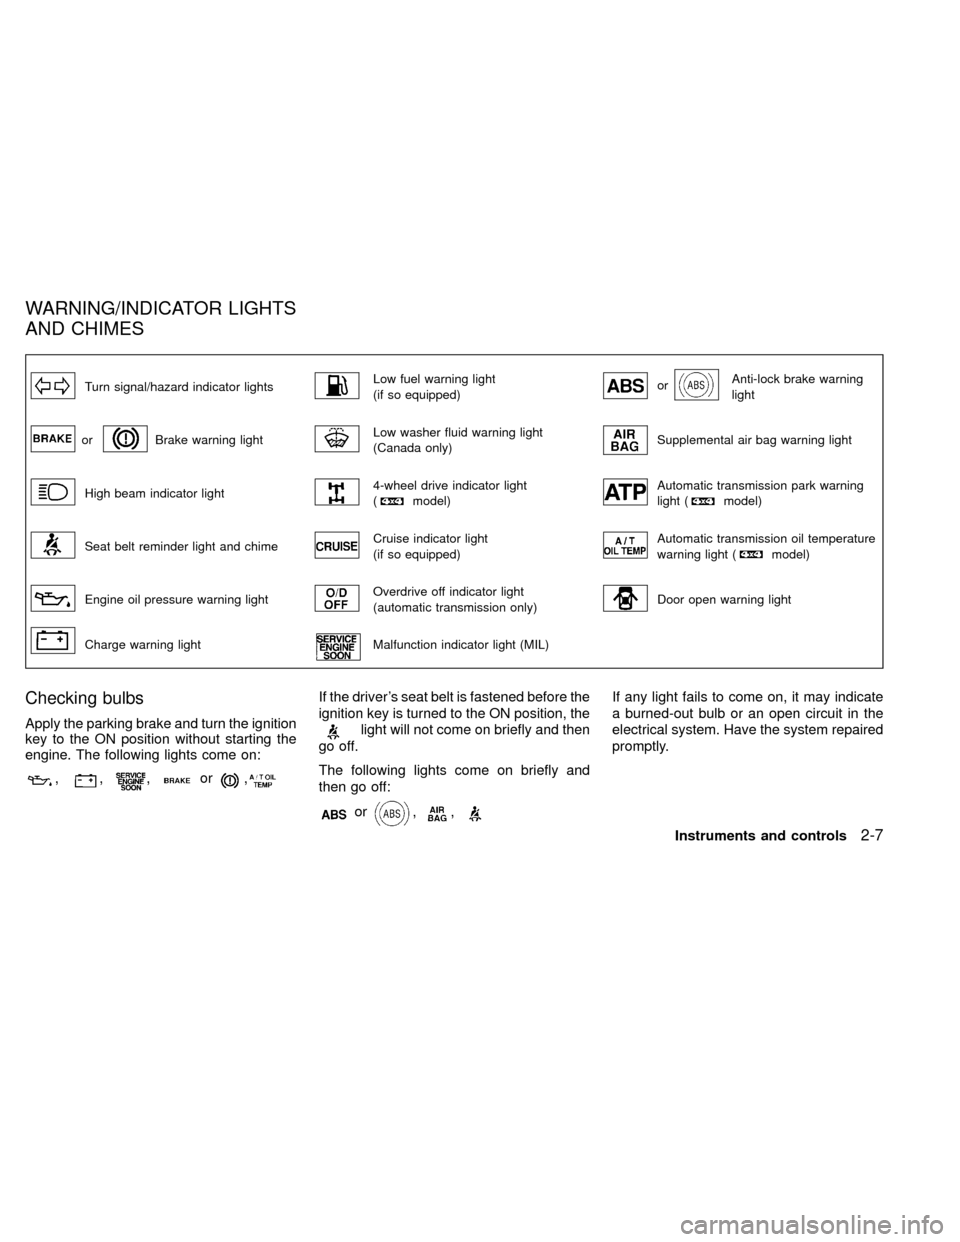
Turn signal/hazard indicator lightsLow fuel warning light
(if so equipped)orAnti-lock brake warning
light
orBrake warning lightLow washer fluid warning light
(Canada only)Supplemental air bag warning light
High beam indicator light4-wheel drive indicator light
(model)Automatic transmission park warning
light (model)
Seat belt reminder light and chimeCruise indicator light
(if so equipped)Automatic transmission oil temperature
warning light (model)
Engine oil pressure warning lightOverdrive off indicator light
(automatic transmission only)Door open warning light
Charge warning lightMalfunction indicator light (MIL)
Checking bulbs
Apply the parking brake and turn the ignition
key to the ON position without starting the
engine. The following lights come on:
,,,or,
If the driver's seat belt is fastened before the
ignition key is turned to the ON position, the
light will not come on briefly and then
go off.
The following lights come on briefly and
then go off:
or,,
If any light fails to come on, it may indicate
a burned-out bulb or an open circuit in the
electrical system. Have the system repaired
promptly.
WARNING/INDICATOR LIGHTS
AND CHIMES
Instruments and controls2-7
ZX
Page 52 of 263
OThe supplemental air bag warning light
flashes intermittently.
OThe supplemental air bag warning light
does not come on at all.
Unless checked and repaired, the supplemen-
tal restraint system may not function properly.
For additional details on the supplemental
restraint system (supplemental air bag sys-
tem), see the ``Seats, Restraints and Supple-
mental Air Bag Systems'' section of this
manual
WARNING
If the supplemental air bag warning
light is on, it could mean that the air
bag will not operate in an accident.
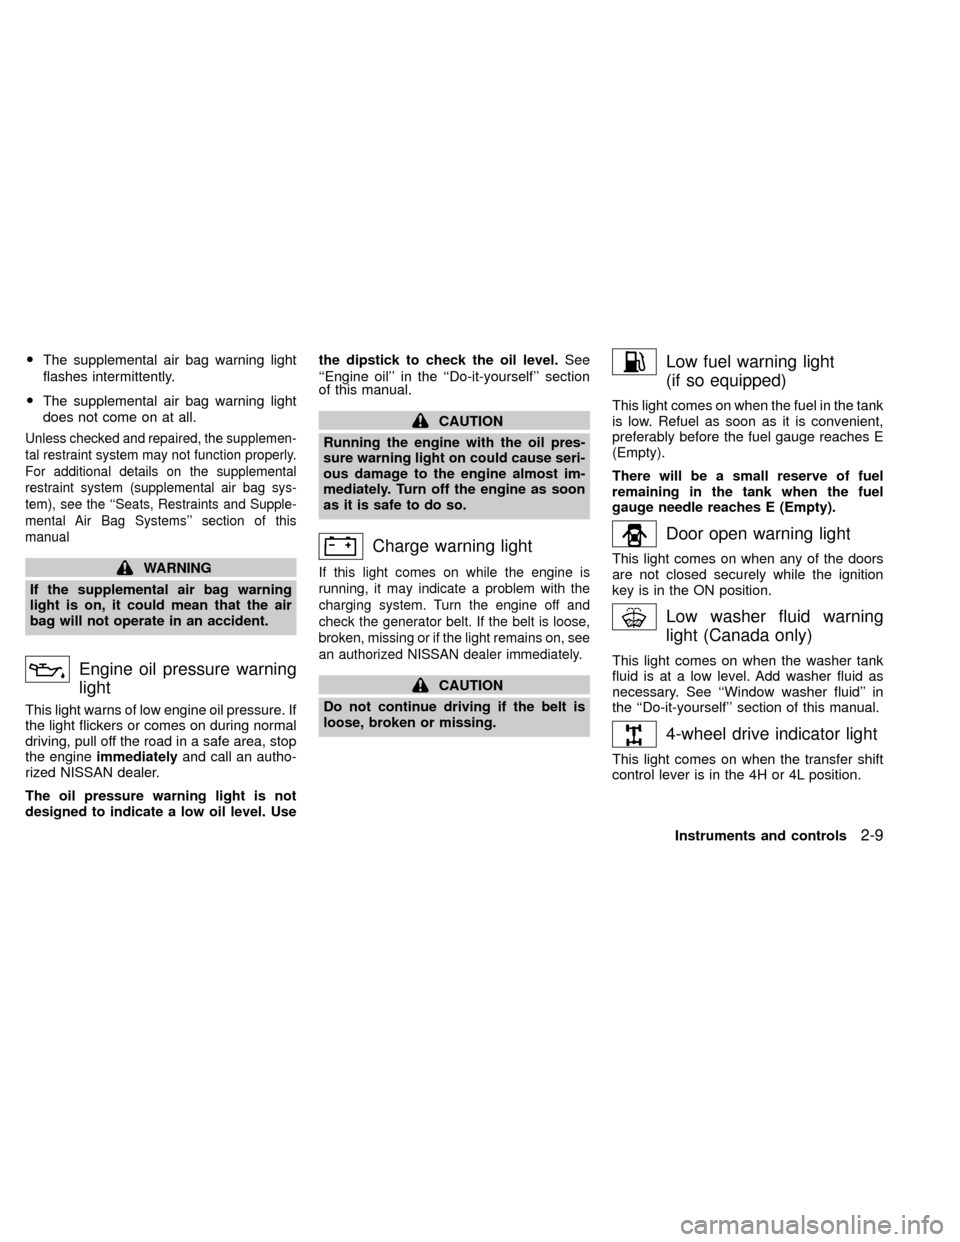
Engine oil pressure warning
light
This light warns of low engine oil pressure. If
the light flickers or comes on during normal
driving, pull off the road in a safe area, stop
the engineimmediatelyand call an autho-
rized NISSAN dealer.
The oil pressure warning light is not
designed to indicate a low oil level. Usethe dipstick to check the oil level.See
``Engine oil'' in the ``Do-it-yourself'' section
of this manual.
CAUTION
Running the engine with the oil pres-
sure warning light on could cause seri-
ous damage to the engine almost im-
mediately. Turn off the engine as soon
as it is safe to do so.
Charge warning light
If this light comes on while the engine is
running, it may indicate a problem with the
charging system. Turn the engine off and
check the generator belt. If the belt is loose,
broken, missing or if the light remains on, see
an authorized NISSAN dealer immediately.
CAUTION
Do not continue driving if the belt is
loose, broken or missing.
Low fuel warning light
(if so equipped)
This light comes on when the fuel in the tank
is low. Refuel as soon as it is convenient,
preferably before the fuel gauge reaches E
(Empty).
There will be a small reserve of fuel
remaining in the tank when the fuel
gauge needle reaches E (Empty).
Door open warning light
This light comes on when any of the doors
are not closed securely while the ignition
key is in the ON position.
Low washer fluid warning
light (Canada only)
This light comes on when the washer tank
fluid is at a low level. Add washer fluid as
necessary. See ``Window washer fluid'' in
the ``Do-it-yourself'' section of this manual.
4-wheel drive indicator light
This light comes on when the transfer shift
control lever is in the 4H or 4L position.
Instruments and controls
2-9
ZX
Page 53 of 263
WARNING
OWhen parking always make sure the
transfer control lever is in the 2H, 4H
or 4L position and the parking brake
is applied.
OFailure to engage the transfer con-
trol lever in 2H, 4H or 4L could result
in the vehicle moving unexpectedly,
which could cause serious personal
injury or property damage.
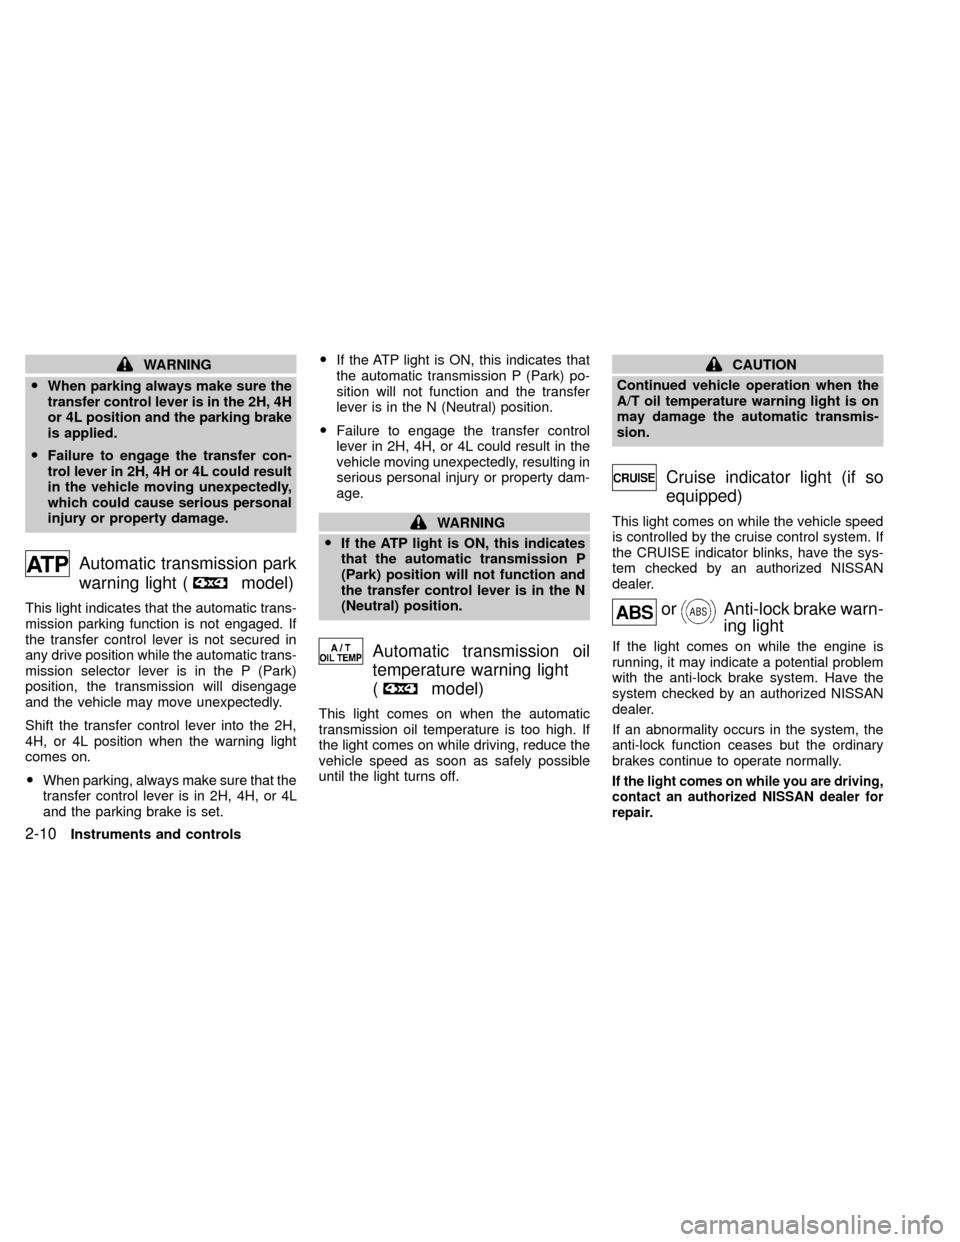
Automatic transmission park
warning light (
model)
This light indicates that the automatic trans-
mission parking function is not engaged. If
the transfer control lever is not secured in
any drive position while the automatic trans-
mission selector lever is in the P (Park)
position, the transmission will disengage
and the vehicle may move unexpectedly.
Shift the transfer control lever into the 2H,
4H, or 4L position when the warning light
comes on.
OWhen parking, always make sure that the
transfer control lever is in 2H, 4H, or 4L
and the parking brake is set.OIf the ATP light is ON, this indicates that
the automatic transmission P (Park) po-
sition will not function and the transfer
lever is in the N (Neutral) position.
OFailure to engage the transfer control
lever in 2H, 4H, or 4L could result in the
vehicle moving unexpectedly, resulting in
serious personal injury or property dam-
age.
WARNING
OIf the ATP light is ON, this indicates
that the automatic transmission P
(Park) position will not function and
the transfer control lever is in the N
(Neutral) position.
Automatic transmission oil
temperature warning light
(
model)
This light comes on when the automatic
transmission oil temperature is too high. If
the light comes on while driving, reduce the
vehicle speed as soon as safely possible
until the light turns off.
CAUTION
Continued vehicle operation when the
A/T oil temperature warning light is on
may damage the automatic transmis-
sion.
Cruise indicator light (if so
equipped)
This light comes on while the vehicle speed
is controlled by the cruise control system. If
the CRUISE indicator blinks, have the sys-
tem checked by an authorized NISSAN
dealer.
orAnti-lock brake warn-
ing light
If the light comes on while the engine is
running, it may indicate a potential problem
with the anti-lock brake system. Have the
system checked by an authorized NISSAN
dealer.
If an abnormality occurs in the system, the
anti-lock function ceases but the ordinary
brakes continue to operate normally.
If the light comes on while you are driving,
contact an authorized NISSAN dealer for
repair.
2-10Instruments and controls
ZX
Page 133 of 263
ignition switch is in ACC position.
ON (Normal operating position) (3)
This position turns on the ignition system
and electrical accessories.
START (4)
This position starts the engine. As soon as
the engine has started, release the key. It
automatically returns to the ON position.OMake sure the area around the vehicle is
clear.
OCheck fluid levels such as engine oil,
coolant, brake and clutch fluid, and win-
dow washer fluid as frequently as pos-
sible, at least whenever you refuel.
OCheck that all windows and lights are
clean.
OVisually inspect tires for their appearance
and condition. Also check tires for proper
inflation.
OLock all doors.
OPosition seat and adjust head restraints.
OAdjust inside and outside mirrors.
OFasten seat belts and ask all passengers
to do likewise.
OCheck the operation of warning lights
when key is turned to the ON (3) position.
See9Warning/Indicator lights and
chimes9in the9Instruments and controls9
section.WARNING
ODo not depress the accelerator pedal
while shifting from P (Park) or N
(Neutral) to R (Reverse), D (Drive), 2
or 1. Always depress the brake pedal
until shifting is completed. Failure to
do so could cause you to lose con-
trol and have an accident.
OCold engine idle speed is high, so
use caution when shifting into a for-
ward or reverse gear before the en-
gine has warmed up.
ONever shift to P (Park) or R (Reverse)
while the vehicle is moving. This
could cause an accident.
CAUTION
OWhen stopping the vehicle on an
uphill grade, do not hold the vehicle
by depressing the accelerator pedal.
The foot brake should be used for
this purpose.
OOn slippery roads, do not downshift.
This may cause a loss of control.
BEFORE STARTING THE
ENGINEDRIVING WITH AUTOMATIC
TRANSMISSION (if so
equipped)
5-8Starting and driving
ZX
Page 145 of 263
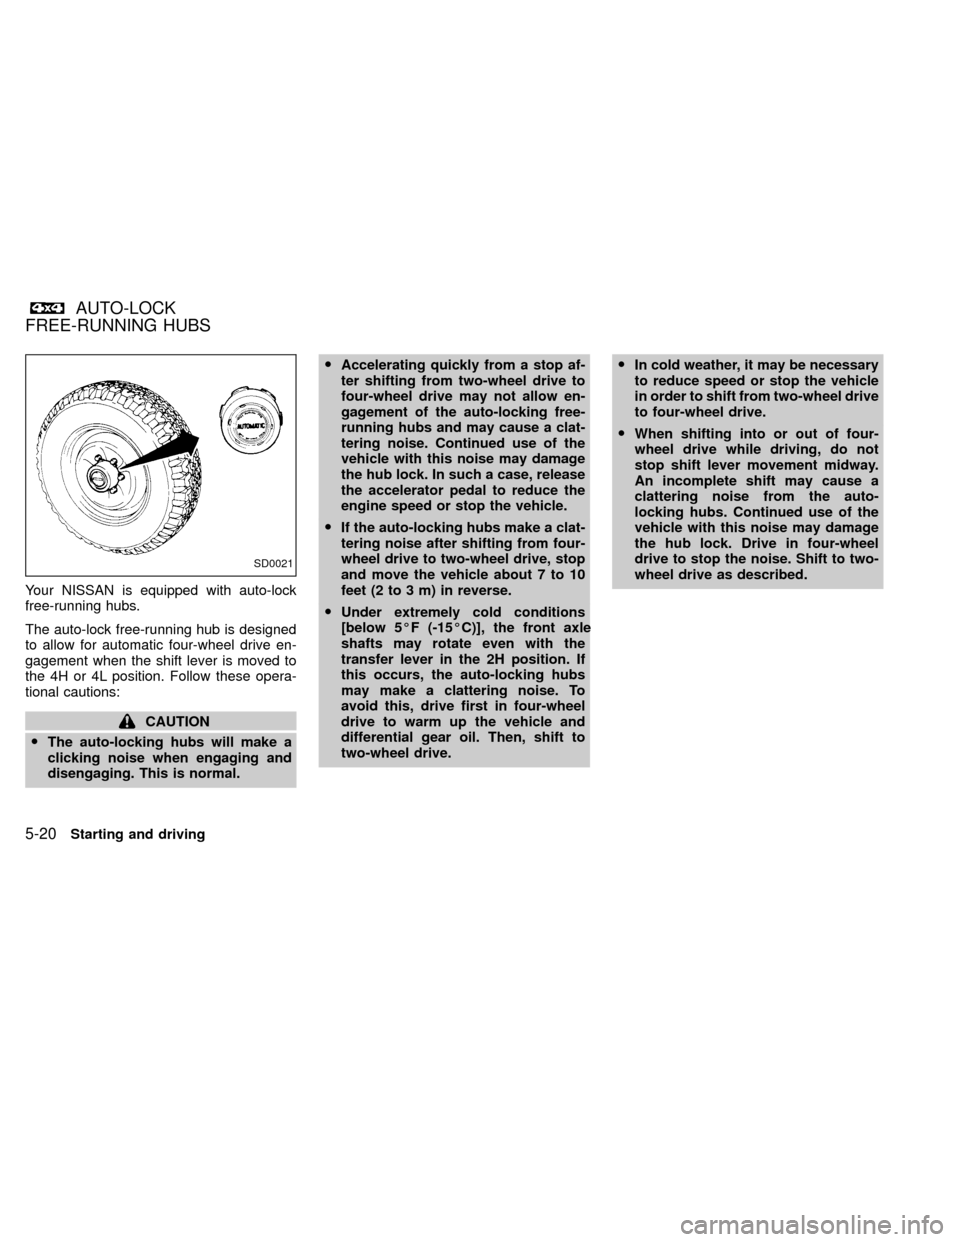
Your NISSAN is equipped with auto-lock
free-running hubs.
The auto-lock free-running hub is designed
to allow for automatic four-wheel drive en-
gagement when the shift lever is moved to
the 4H or 4L position. Follow these opera-
tional cautions:
CAUTION
OThe auto-locking hubs will make a
clicking noise when engaging and
disengaging. This is normal.OAccelerating quickly from a stop af-
ter shifting from two-wheel drive to
four-wheel drive may not allow en-
gagement of the auto-locking free-
running hubs and may cause a clat-
tering noise. Continued use of the
vehicle with this noise may damage
the hub lock. In such a case, release
the accelerator pedal to reduce the
engine speed or stop the vehicle.
OIf the auto-locking hubs make a clat-
tering noise after shifting from four-
wheel drive to two-wheel drive, stop
and move the vehicle about 7 to 10
feet (2 to 3 m) in reverse.
OUnder extremely cold conditions
[below 5ÉF (-15ÉC)], the front axle
shafts may rotate even with the
transfer lever in the 2H position. If
this occurs, the auto-locking hubs
may make a clattering noise. To
avoid this, drive first in four-wheel
drive to warm up the vehicle and
differential gear oil. Then, shift to
two-wheel drive.OIn cold weather, it may be necessary
to reduce speed or stop the vehicle
in order to shift from two-wheel drive
to four-wheel drive.
OWhen shifting into or out of four-
wheel drive while driving, do not
stop shift lever movement midway.
An incomplete shift may cause a
clattering noise from the auto-
locking hubs. Continued use of the
vehicle with this noise may damage
the hub lock. Drive in four-wheel
drive to stop the noise. Shift to two-
wheel drive as described.
SD0021
AUTO-LOCK
FREE-RUNNING HUBS
5-20Starting and driving
ZX
Page 160 of 263
ONever jack up the vehicle more than
necessary.
ONever use blocks on or under the
jack.
ONever use the tool tray as a jacking
surface.
ODo not allow passengers to stay in
the vehicle while it is on the jack.
ODo not start or run engine while
vehicle is on the jack. It may cause
the vehicle to move. This is espe-
cially true for vehicles with limited
slip differential carriers.
WARNING
OIncorrect wheel nuts or improperly
tightened wheel nuts can cause the
wheel to become loose or come off.
This could cause an accident.
ODo not use oil or grease on the wheel
studs or nuts. This could cause the
nuts to become loose.
Installing the spare tire
1. Clean any mud or dirt from the surface
between the wheel and hub.
2. Carefully put the spare tire on and tighten
the wheel nuts finger tight.
3. With the wheel nut wrench, tighten the
wheel nuts alternately and evenly until
they are tight.
4. Lower the vehicle slowly until the tire
touches the ground. Then, with the wheel
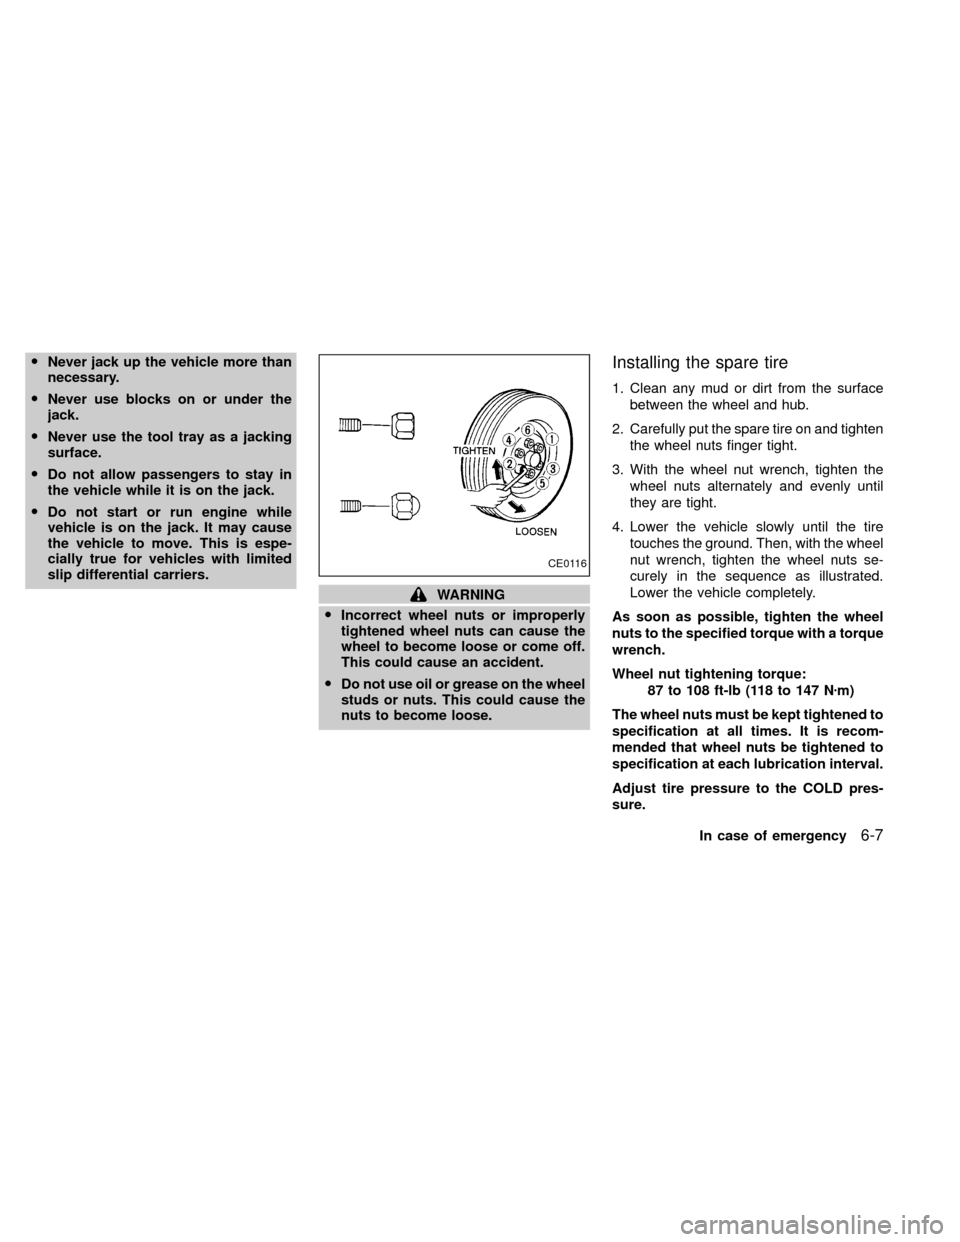
nut wrench, tighten the wheel nuts se-
curely in the sequence as illustrated.
Lower the vehicle completely.
As soon as possible, tighten the wheel
nuts to the specified torque with a torque
wrench.
Wheel nut tightening torque:
87 to 108 ft-lb (118 to 147 Nzm)
The wheel nuts must be kept tightened to
specification at all times. It is recom-
mended that wheel nuts be tightened to
specification at each lubrication interval.
Adjust tire pressure to the COLD pres-
sure.
CE0116
In case of emergency6-7
ZX
Page 170 of 263
you in choosing the proper product.
OWax your vehicle only after a thorough
washing. Follow the instructions supplied
with the wax.
ODo not use a wax containing any abra-
sives, cutting compounds or cleaners
that may damage the vehicle finish.
OIf the surface does not polish easily, use
a ``road tar'' remover and wax again.
Machine compounding or aggressive pol-
ishing on a base coat/clear coat paint finish
may dull the finish or leave swirl marks.
Removing spots
Remove tar and oil spots, industrial dust,
insects and tree sap as quickly as possible
from the surface of the paint to avoid per-
manent damage or staining. Special clean-
ing products are available at an authorized
NISSAN dealer or any automotive accesso-
ries store.
Underbody
In areas where road salt is used in winter, it
is necessary to clean the underbody regu-
larly in order to prevent dirt and salt from
building up and causing corrosion on theunderbody and suspension. Before the win-
ter period and again in the spring, the
underseal must be checked and, if neces-
sary, retreated.
Cleaning glass
Use glass cleaner to remove smoke and
dust film from the glass surfaces. It is nor-
mal for glass to be coated with a film after
the vehicle is parked in the hot sun. Glass
cleaner and a soft cloth easily remove this
film.
CAUTION
When cleaning the inside of the win-
dow, do not use sharp-edged tools or
abrasive cleaners or chlorine-based
disinfectant cleaners. They could dam-
age the electrical conductors, radio an-
tenna elements or rear window defog-
ger elements.
Cleaning aluminum alloy wheels
Wash regularly, especially during winter
months in areas where road salt is used.
Salt could discolor the wheel if not removed.
Chrome parts
Clean all chrome parts regularly with a
non-abrasive chrome polish to maintain the
finish.
Cleaning interior
Occasionally remove loose dust from the
interior trim, plastic parts and seats using a
vacuum cleaner or soft brush. Wipe the
vinyl and leather surfaces with a clean, soft
cloth dampened in mild soap solution, then
wipe clean with a dry soft cloth. Before
using any fabric protector, read the manu-
facturer's recommendations. Some fabric
protectors contain chemicals that stain or
bleach the seat material. Use a cloth damp-
ened only with water, to clean the meter and
gauge lens.
CAUTION
ONever use benzine, thinner or any
similar material.
ONever use fabric protectors unless
recommended by the manufacturer.
ODo not use glass or plastic cleaner
on meter or gauge lens covers. It
may damage the lens cover.
Appearance and care
7-3
ZX
Page 174 of 263

8 Do-it-yourself
Maintenance precautions .......................................8-2
Engine compartment check locations ....................8-3
Engine cooling system ...........................................8-5
Checking engine coolant level ...............................8-5
Changing engine coolant .......................................8-6
Engine oil ...............................................................8-9
Checking engine oil level .......................................8-9
Changing engine oil .............................................8-10
Changing engine oil filter .....................................8-12
Automatic transmission fluid (ATF) ......................8-13
Temperature conditions for checking ATF............8-13
Power steering fluid..............................................8-14
Brake and clutch fluid...........................................8-15
Window washer fluid ............................................8-16
Battery ..................................................................8-16
Jump starting ........................................................8-17
Drive belts ............................................................8-18Spark plug replacement .......................................8-19
Air cleaner housing filter ......................................8-20
Wiper blades ........................................................8-22
Parking brake check.............................................8-24
Brake pedal ..........................................................8-24
Brake booster .......................................................8-25
Clutch pedal .........................................................8-26
Fuses ....................................................................8-27
Multi-remote controller battery replacement ........8-28
Light bulbs ............................................................8-29
Headlights ............................................................8-29
Bulb replacement .................................................8-30
Front fog light bulb replacement
(if so equipped) ....................................................8-33
Wheels and tires ..................................................8-34
Four-wheel drive models ......................................8-37
ZX