2000 NISSAN QUEST battery
[x] Cancel search: batteryPage 11 of 292
FRONT POWER SEAT
ADJUSTMENT (if so equipped)
WARNING
cDo not adjust the driver's seat while
driving so full attention may be given
to vehicle operation.
c
Do not leave children unattended in-
side the vehicle. They could unknow-
ingly activate switches or controls.
Unattended children could become
involved in serious accidents.
For memory seat and mirror information
see ``Memory driver seat and mirrors'' in the
``Pre-driving checks and adjustments'' sec-
tion.
Operating tips
cThe motor has an auto-reset overload
protection circuit. If the motor stops dur-
ing operation, wait 30 seconds, then re-
activate the switch.cDo not operate the power support seat
for a long period of time when the engine
is off. This discharges the battery.
1-4Seats, restraints and supplemental air bag systems
ZX
Page 105 of 292
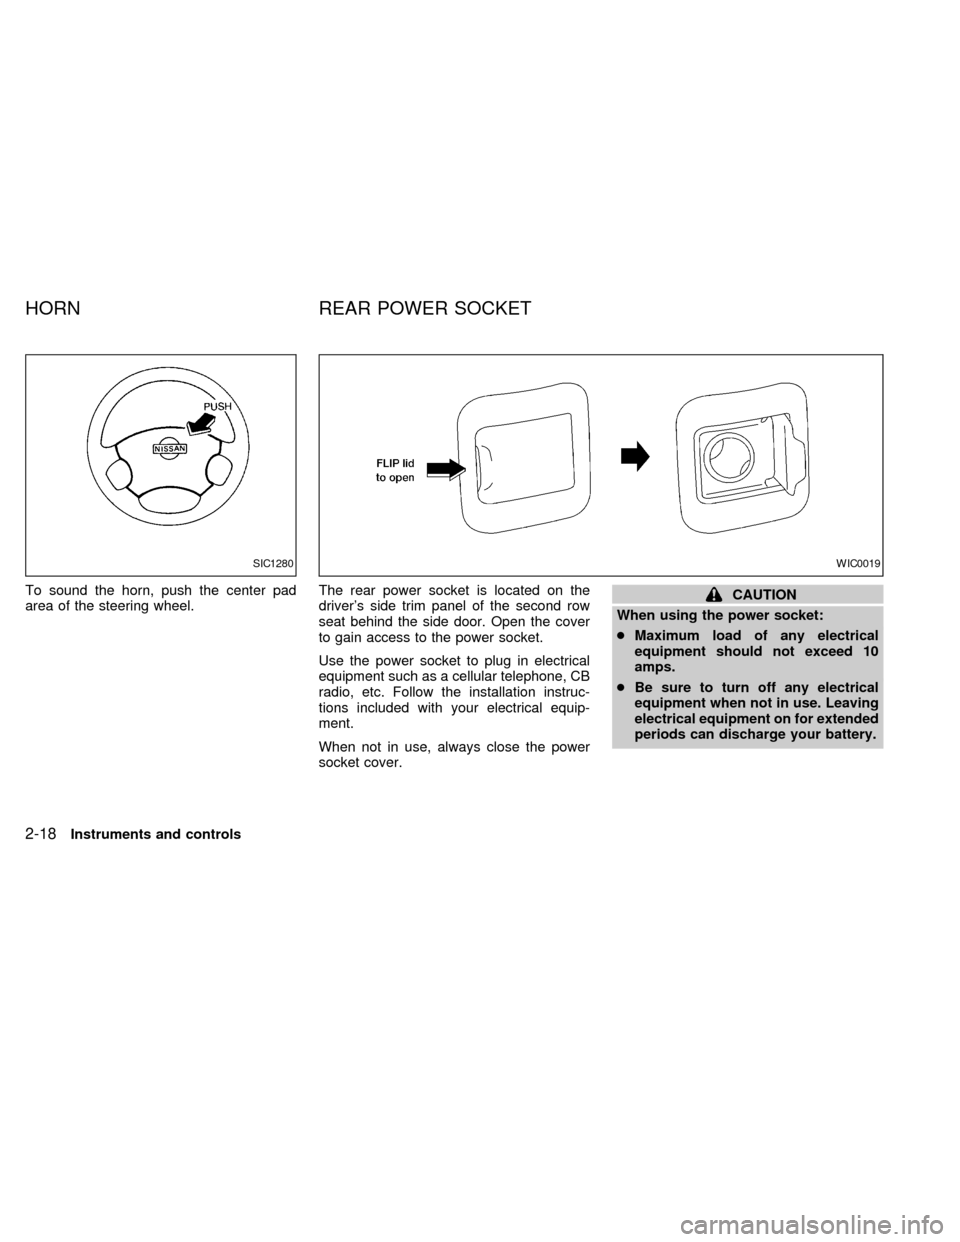
To sound the horn, push the center pad
area of the steering wheel.The rear power socket is located on the
driver's side trim panel of the second row
seat behind the side door. Open the cover
to gain access to the power socket.
Use the power socket to plug in electrical
equipment such as a cellular telephone, CB
radio, etc. Follow the installation instruc-
tions included with your electrical equip-
ment.
When not in use, always close the power
socket cover.CAUTION
When using the power socket:
cMaximum load of any electrical
equipment should not exceed 10
amps.
cBe sure to turn off any electrical
equipment when not in use. Leaving
electrical equipment on for extended
periods can discharge your battery.
SIC1280WIC0019
HORN REAR POWER SOCKET
2-18Instruments and controls
ZX
Page 117 of 292
The sunroof operates when the ignition key
is in the ON position, or for 15 minutes after
the ignition key is turned to the OFF posi-
tion. If the driver's or passenger's door is
opened during this 15 minute period, power
to the sunroof is cancelled.
NOTE:
If the battery is discharged or is discon-
nected, the sunroof may not operate cor-
rectly, and must be reset.
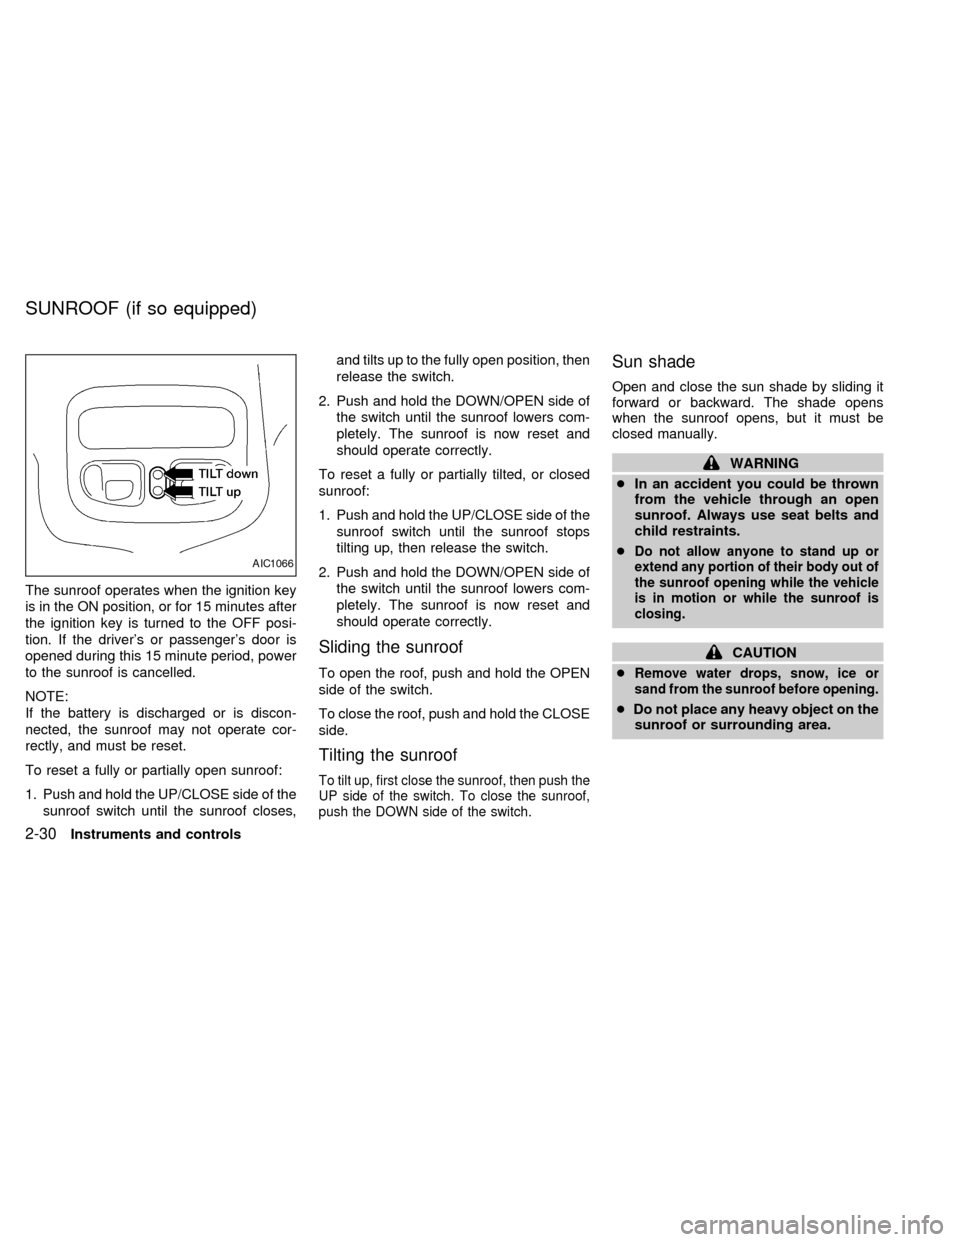
To reset a fully or partially open sunroof:
1. Push and hold the UP/CLOSE side of the
sunroof switch until the sunroof closes,and tilts up to the fully open position, then
release the switch.
2. Push and hold the DOWN/OPEN side of
the switch until the sunroof lowers com-
pletely. The sunroof is now reset and
should operate correctly.
To reset a fully or partially tilted, or closed
sunroof:
1. Push and hold the UP/CLOSE side of the
sunroof switch until the sunroof stops
tilting up, then release the switch.
2. Push and hold the DOWN/OPEN side of
the switch until the sunroof lowers com-
pletely. The sunroof is now reset and
should operate correctly.
Sliding the sunroof
To open the roof, push and hold the OPEN
side of the switch.
To close the roof, push and hold the CLOSE
side.
Tilting the sunroof
To tilt up, first close the sunroof, then push the
UP side of the switch. To close the sunroof,
push the DOWN side of the switch.
Sun shade
Open and close the sun shade by sliding it
forward or backward. The shade opens
when the sunroof opens, but it must be
closed manually.
WARNING
cIn an accident you could be thrown
from the vehicle through an open
sunroof. Always use seat belts and
child restraints.
c
Do not allow anyone to stand up or
extend any portion of their body out of
the sunroof opening while the vehicle
is in motion or while the sunroof is
closing.
CAUTION
c
Remove water drops, snow, ice or
sand from the sunroof before opening.
cDo not place any heavy object on the
sunroof or surrounding area.
AIC1066
SUNROOF (if so equipped)
2-30Instruments and controls
ZX
Page 118 of 292
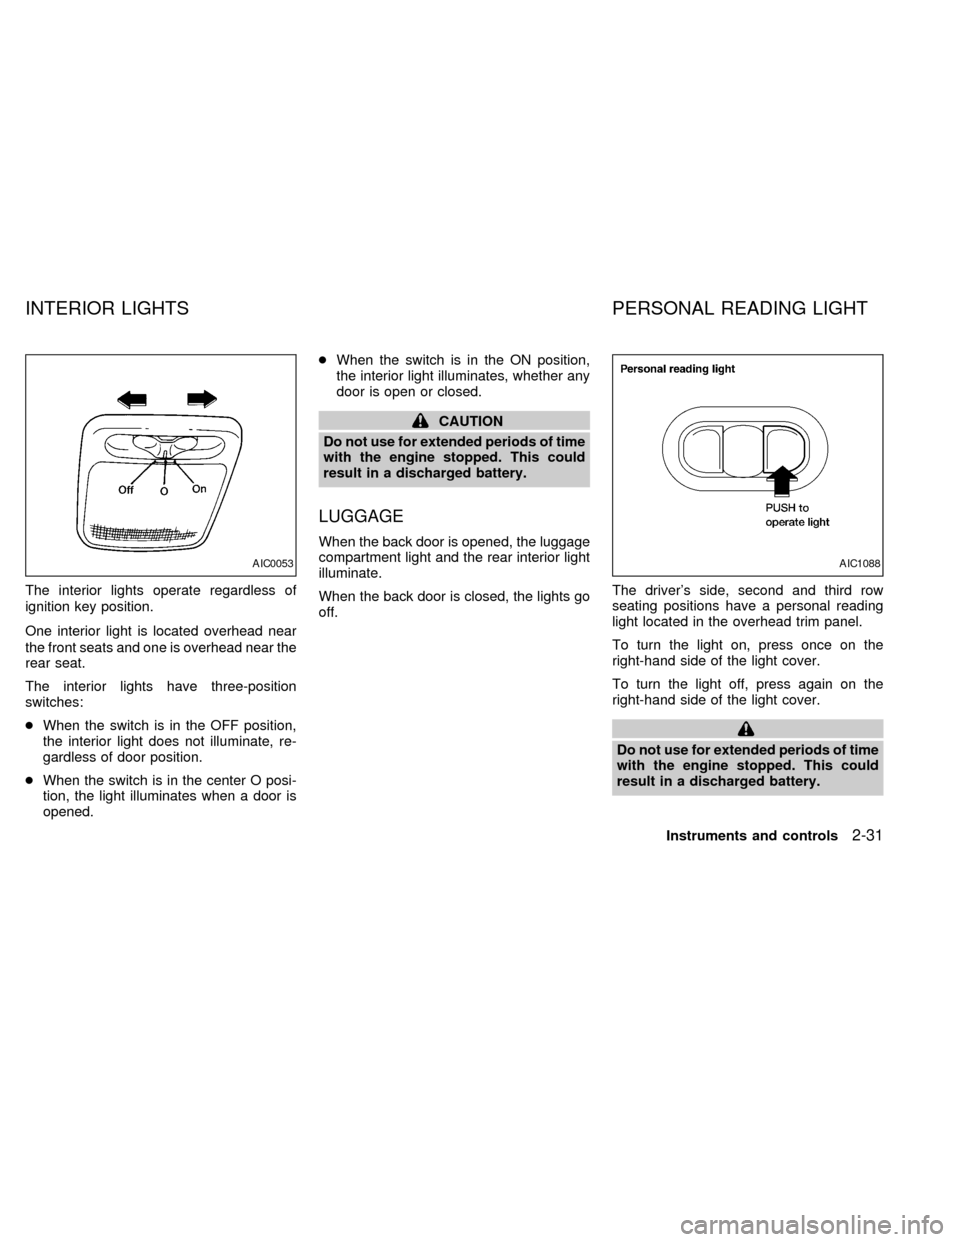
The interior lights operate regardless of
ignition key position.
One interior light is located overhead near
the front seats and one is overhead near the
rear seat.
The interior lights have three-position
switches:
cWhen the switch is in the OFF position,
the interior light does not illuminate, re-
gardless of door position.
cWhen the switch is in the center O posi-
tion, the light illuminates when a door is
opened.cWhen the switch is in the ON position,
the interior light illuminates, whether any
door is open or closed.
CAUTION
Do not use for extended periods of time
with the engine stopped. This could
result in a discharged battery.
LUGGAGE
When the back door is opened, the luggage
compartment light and the rear interior light
illuminate.
When the back door is closed, the lights go
off.The driver's side, second and third row
seating positions have a personal reading
light located in the overhead trim panel.
To turn the light on, press once on the
right-hand side of the light cover.
To turn the light off, press again on the
right-hand side of the light cover.
Do not use for extended periods of time
with the engine stopped. This could
result in a discharged battery.
AIC0053AIC1088
INTERIOR LIGHTS PERSONAL READING LIGHT
Instruments and controls2-31
ZX
Page 119 of 292
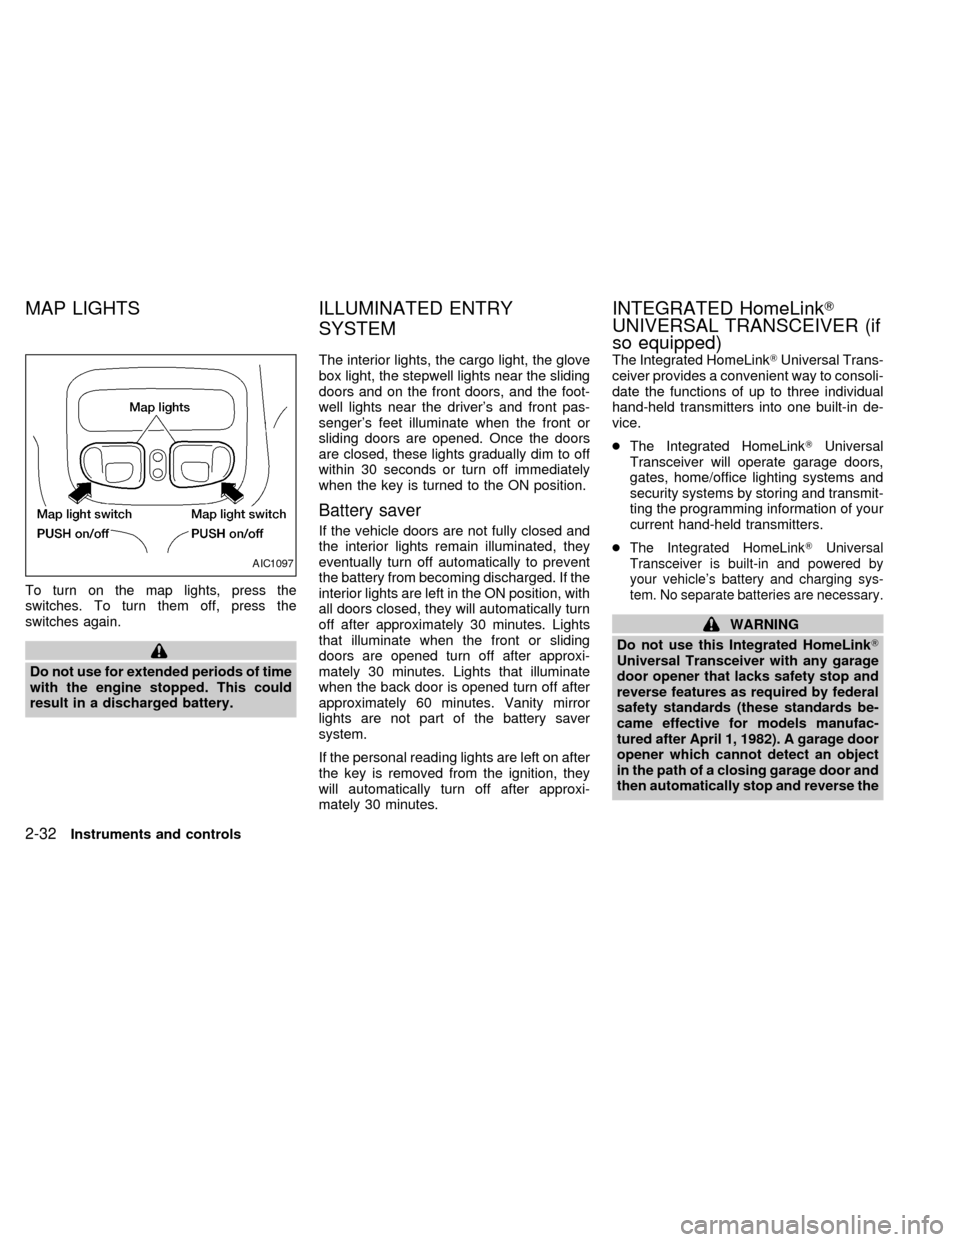
To turn on the map lights, press the
switches. To turn them off, press the
switches again.
Do not use for extended periods of time
with the engine stopped. This could
result in a discharged battery.The interior lights, the cargo light, the glove
box light, the stepwell lights near the sliding
doors and on the front doors, and the foot-
well lights near the driver's and front pas-
senger's feet illuminate when the front or
sliding doors are opened. Once the doors
are closed, these lights gradually dim to off
within 30 seconds or turn off immediately
when the key is turned to the ON position.
Battery saver
If the vehicle doors are not fully closed and
the interior lights remain illuminated, they
eventually turn off automatically to prevent
the battery from becoming discharged. If the
interior lights are left in the ON position, with
all doors closed, they will automatically turn
off after approximately 30 minutes. Lights
that illuminate when the front or sliding
doors are opened turn off after approxi-
mately 30 minutes. Lights that illuminate
when the back door is opened turn off after
approximately 60 minutes. Vanity mirror
lights are not part of the battery saver
system.
If the personal reading lights are left on after
the key is removed from the ignition, they
will automatically turn off after approxi-
mately 30 minutes.The Integrated HomeLinkTUniversal Trans-
ceiver provides a convenient way to consoli-
date the functions of up to three individual
hand-held transmitters into one built-in de-
vice.
cThe Integrated HomeLinkTUniversal
Transceiver will operate garage doors,
gates, home/office lighting systems and
security systems by storing and transmit-
ting the programming information of your
current hand-held transmitters.
c
The Integrated HomeLinkTUniversal
Transceiver is built-in and powered by
your vehicle's battery and charging sys-
tem. No separate batteries are necessary.
WARNING
Do not use this Integrated HomeLinkT
Universal Transceiver with any garage
door opener that lacks safety stop and
reverse features as required by federal
safety standards (these standards be-
came effective for models manufac-
tured after April 1, 1982). A garage door
opener which cannot detect an object
in the path of a closing garage door and
then automatically stop and reverse the
AIC1097
MAP LIGHTS ILLUMINATED ENTRY
SYSTEMINTEGRATED HomeLinkT
UNIVERSAL TRANSCEIVER (if
so equipped)
2-32Instruments and controls
ZX
Page 126 of 292

3 Pre-driving checks and adjustments
Keys .......................................................................3-2
Doors ......................................................................3-2
Locking with key .....................................................3-3
Locking with inside lock knob ................................3-3
Locking with power door lock switch .....................3-4
Child safety sliding door locks ...............................3-5
Multi-remote control system ...................................3-6
How to use multi-remote control system ...............3-6
Battery replacement ...............................................3-8
Illuminated entry system ........................................3-9
Hood .......................................................................3-9
Rear door .............................................................3-10Fuel filler lid opener operation .............................3-11
Fuel filler cap ........................................................3-11
Steering wheel .....................................................3-12
Tilt operation.........................................................3-12
Sun visors.............................................................3-12
Vanity mirror .........................................................3-12
Mirrors ..................................................................3-12
Memory driver seat and mirrors
(if so equipped) ....................................................3-12
Inside mirror .........................................................3-14
Outside mirrors .....................................................3-14
ZX
Page 133 of 292

BATTERY REPLACEMENT
Replace the battery as follows:
1. Open the lid using a coin.
2. Replace the battery with a new one.
Insert the batteries as illustrated above.
Recommended battery: Panasonic
CR2025, 3V or equivalent.
3. Close the lid securely.
4. Press the
button, then thebutton
two or three times to check the multi-remote controller operation.
If the batteries are removed for any reason
other than replacement, perform step 4.
cAn improperly disposed battery can
hurt the environment. Always conform
to local regulations for battery disposal.
cThe multi-remote controller is water-
resistant; however, if it does get wet,
immediately wipe completely dry.
cThe operational range of the multi-
remote controller extends to approxi-
mately 30 ft (10 m) from the vehicle.
This range may vary with conditions.
FCC Notice:
Changes or modifications not expressly
approved by the manufacturer for com-
pliance could void the user's authority to
operate the equipment.
This device complies with part 15 of the
FCC Rules and RSS-210 of Industry
Canada.
Operation is subject to the following two
conditions: (1) This device may not
cause harmful interference, and (2) this
device must accept any interference re-
ceived, including interference that may
cause undesired operation of the device.
APD1087
BATTERY REPLACEMENT
3-8Pre-driving checks and adjustments
ZX
Page 134 of 292

The interior lights, the cargo light, the glove
box light, the stepwell lights near the sliding
doors and on the front doors, and the foot-
well lights near the driver's and front pas-
senger's feet illuminate when the front or
sliding doors are opened. Once the doors
are closed, these lights gradually dim to off
within 30 seconds or turn off immediately
when the key is turned to the ON position.
Battery saver
If the vehicle doors are not fully closed and
the interior lights remain illuminated, they
eventually turn off automatically to prevent
the battery from becoming discharged. If the
interior lights are left in the ON position, with
all doors closed, they will automatically turn
off after approximately 30 minutes. Lights
that illuminate when the front or sliding
doors are opened turn off after approxi-
mately 30 minutes. Lights that illuminate
when the back door is opened turn off after
approximately 60 minutes. Vanity mirror
lights are not part of the battery saver
system.
If the personal reading lights are left on after
the key is removed from the ignition, they
will automatically turn off after approxi-
mately 30 minutes.1. Pull the hood lock release handle
s1
located below the instrument panel; the
hood then springs up slightly.
2. Pull up on the lever
s2at the front of the
hood and raise the hood.3. Insert the support rod
s3into the slot on
the underside of the hood.
4. When closing the hood, reset the support
rod to its original position, lower the hood
to approximately 12 inches above the
latch and release it. This allows proper
engagement of the hood latch.
APD1064
ILLUMINATED ENTRY
SYSTEMHOOD
Pre-driving checks and adjustments3-9
ZX