2000 NISSAN FRONTIER warning
[x] Cancel search: warningPage 48 of 269
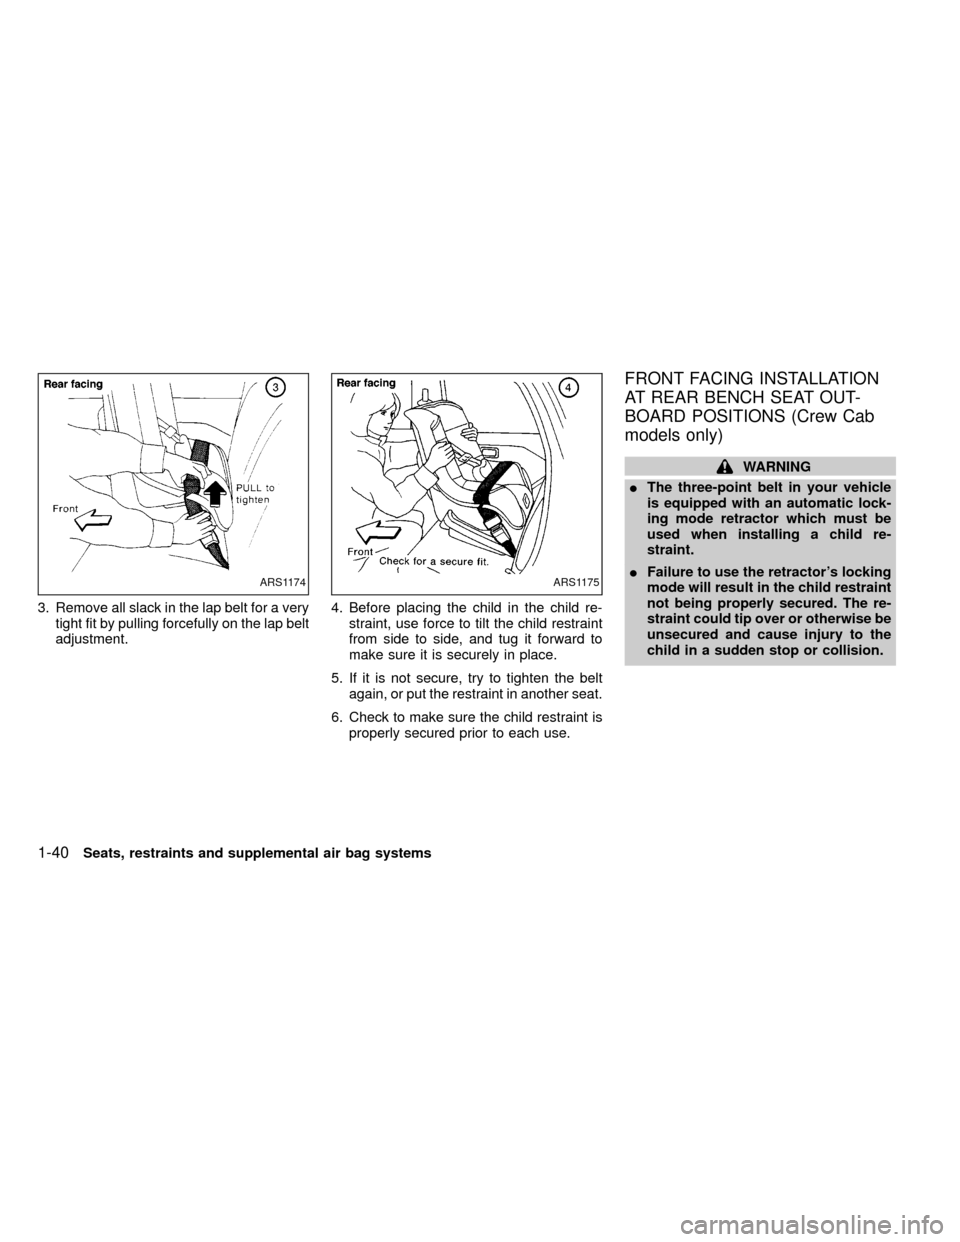
3. Remove all slack in the lap belt for a very
tight fit by pulling forcefully on the lap belt
adjustment.4. Before placing the child in the child re-
straint, use force to tilt the child restraint
from side to side, and tug it forward to
make sure it is securely in place.
5. If it is not secure, try to tighten the belt
again, or put the restraint in another seat.
6. Check to make sure the child restraint is
properly secured prior to each use.
FRONT FACING INSTALLATION
AT REAR BENCH SEAT OUT-
BOARD POSITIONS (Crew Cab
models only)
WARNING
IThe three-point belt in your vehicle
is equipped with an automatic lock-
ing mode retractor which must be
used when installing a child re-
straint.
IFailure to use the retractor's locking
mode will result in the child restraint
not being properly secured. The re-
straint could tip over or otherwise be
unsecured and cause injury to the
child in a sudden stop or collision.
ARS1174ARS1175
1-40Seats, restraints and supplemental air bag systems
ZX
Page 51 of 269
REAR FACING INSTALLATION AT
REAR BENCH SEAT OUTBOARD
POSITIONS (Crew Cab models
only)
WARNING
IThe three-point belt in your vehicle
is equipped with an automatic lock-
ing mode retractor which must be
used when installing a child re-
straint.
IFailure to use the retractor's locking
mode will result in the child restraint
not being properly secured. The seat
could tip over or otherwise be unse-
cured and cause injury to the child in
a sudden stop or collision.When you install a child restraint in a rear
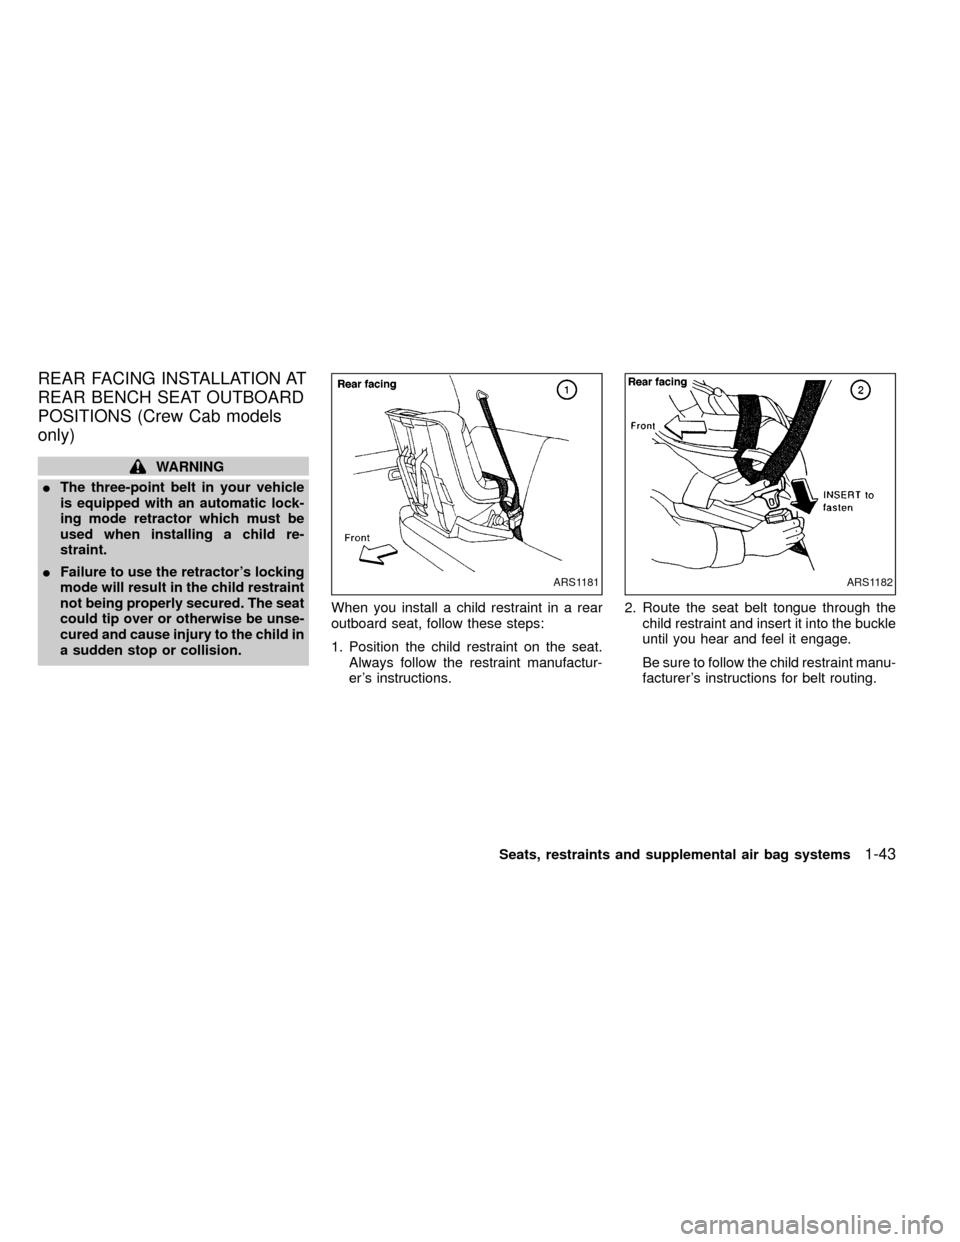
outboard seat, follow these steps:
1. Position the child restraint on the seat.
Always follow the restraint manufactur-
er's instructions.2. Route the seat belt tongue through the
child restraint and insert it into the buckle
until you hear and feel it engage.
Be sure to follow the child restraint manu-
facturer's instructions for belt routing.
ARS1181ARS1182
Seats, restraints and supplemental air bag systems1-43
ZX
Page 53 of 269
After the child restraint is removed and the
seat belt is fully retracted the automatic
locking mode (child restraint mode) is can-
celed.
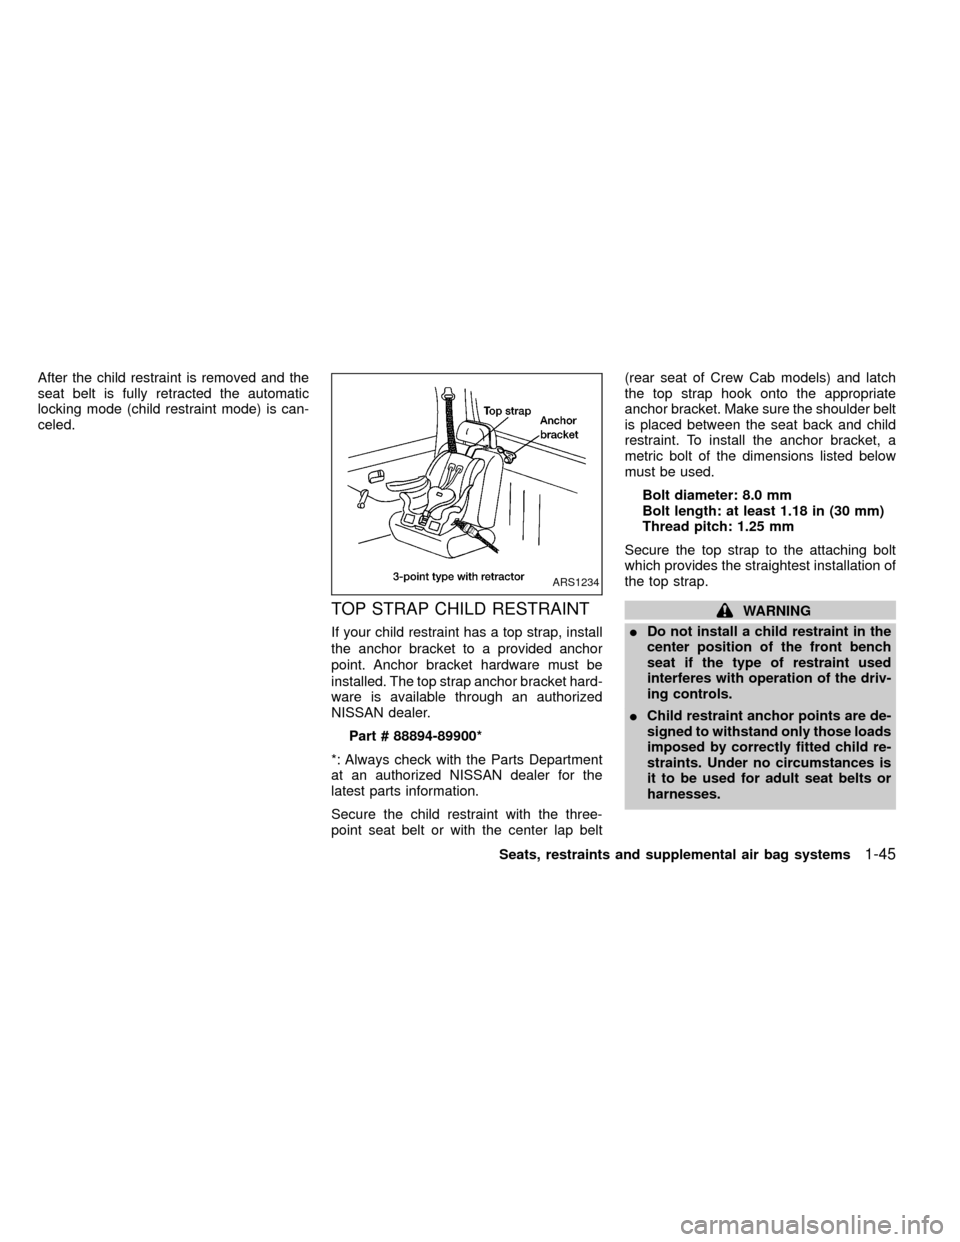
TOP STRAP CHILD RESTRAINT
If your child restraint has a top strap, install
the anchor bracket to a provided anchor
point. Anchor bracket hardware must be
installed. The top strap anchor bracket hard-
ware is available through an authorized
NISSAN dealer.
Part # 88894-89900*
*: Always check with the Parts Department
at an authorized NISSAN dealer for the
latest parts information.
Secure the child restraint with the three-
point seat belt or with the center lap belt(rear seat of Crew Cab models) and latch
the top strap hook onto the appropriate
anchor bracket. Make sure the shoulder belt
is placed between the seat back and child
restraint. To install the anchor bracket, a
metric bolt of the dimensions listed below
must be used.
Bolt diameter: 8.0 mm
Bolt length: at least 1.18 in (30 mm)
Thread pitch: 1.25 mm
Secure the top strap to the attaching bolt
which provides the straightest installation of
the top strap.
WARNING
IDo not install a child restraint in the
center position of the front bench
seat if the type of restraint used
interferes with operation of the driv-
ing controls.
IChild restraint anchor points are de-
signed to withstand only those loads
imposed by correctly fitted child re-
straints. Under no circumstances is
it to be used for adult seat belts or
harnesses.
ARS1234
Seats, restraints and supplemental air bag systems1-45
ZX
Page 55 of 269

2 Instruments and controls
Meters and gauges ................................................2-2
Speedometer and odometer ..................................2-3
Tachometer ............................................................2-5
Engine coolant temperature gauge ........................2-5
Fuel gauge .............................................................2-6
Warning/indicator lights and chimes ......................2-8
Theft warning (if so equipped) .............................2-14
Headlight and turn signal switch ..........................2-16
Daytime running light system (Canada only) .......2-16
Front fog light switch (if so equipped)..................2-17
Windshield wiper and washer switch ...................2-17
Instrument brightness control ...............................2-18
Hazard warning flasher switch .............................2-19Cigarette lighter (accessory) and ash tray ...........2-19
Power point (if so equipped) ................................2-20
Storage compartment (Crew Cab models
only) ......................................................................2-21
Cup holder (if so equipped) .................................2-21
Dome light and cargo light ...................................2-22
Map lights (if so equipped)...................................2-23
Manual windows ...................................................2-23
Power windows (if so equipped) ..........................2-24
Automatic power window switch ..........................2-25
Rear sliding window (if so equipped) ...................2-25
Sunroof (if so equipped).......................................2-25
ZX
Page 62 of 269
Turn signal/hazard indicator lightsLow fuel warning lightorAnti-lock brake warning
light
orBrake warning lightLow washer fluid warning light
(Canada only)Supplemental air bag warning light
High beam indicator light4-wheel drive indicator light
(model)
Passenger supplemental air bag
OFF indicator light (except crew cab
models)
Seat belt reminder light and chimeCruise indicator light
(if so equipped)Automatic transmission park warning
light (model)
Engine oil pressure warning lightOverdrive off indicator light
(automatic transmission only)Automatic transmission oil temperature
warning light (model)
Charge warning lightMalfunction indicator lamp (MIL)Door open warning light (if so
equipped)
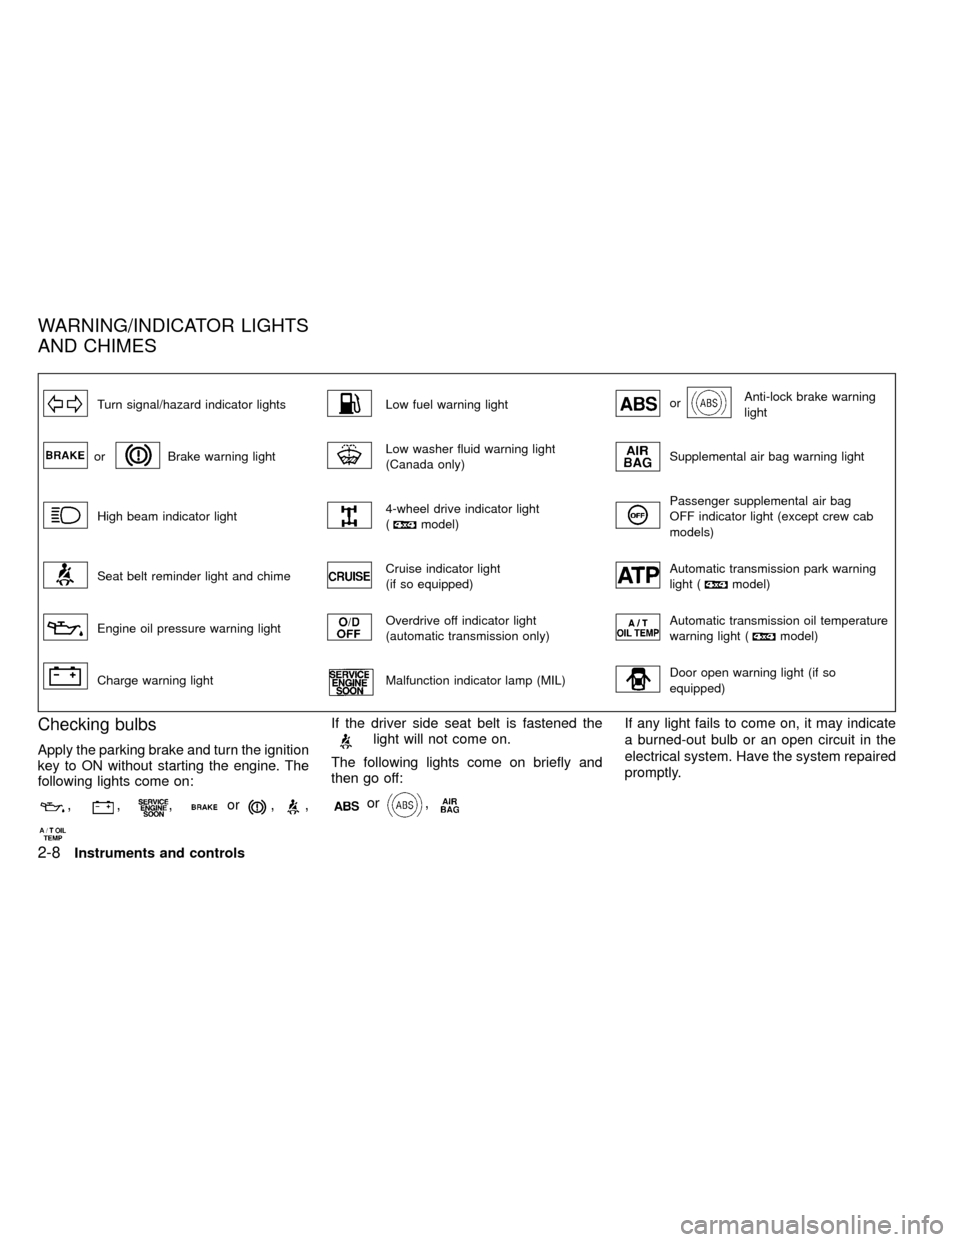
Checking bulbs
Apply the parking brake and turn the ignition
key to ON without starting the engine. The
following lights come on:
,,,or,,
If the driver side seat belt is fastened thelight will not come on.
The following lights come on briefly and
then go off:
or,
If any light fails to come on, it may indicate
a burned-out bulb or an open circuit in the
electrical system. Have the system repaired
promptly.
WARNING/INDICATOR LIGHTS
AND CHIMES
2-8Instruments and controls
ZX
Page 63 of 269
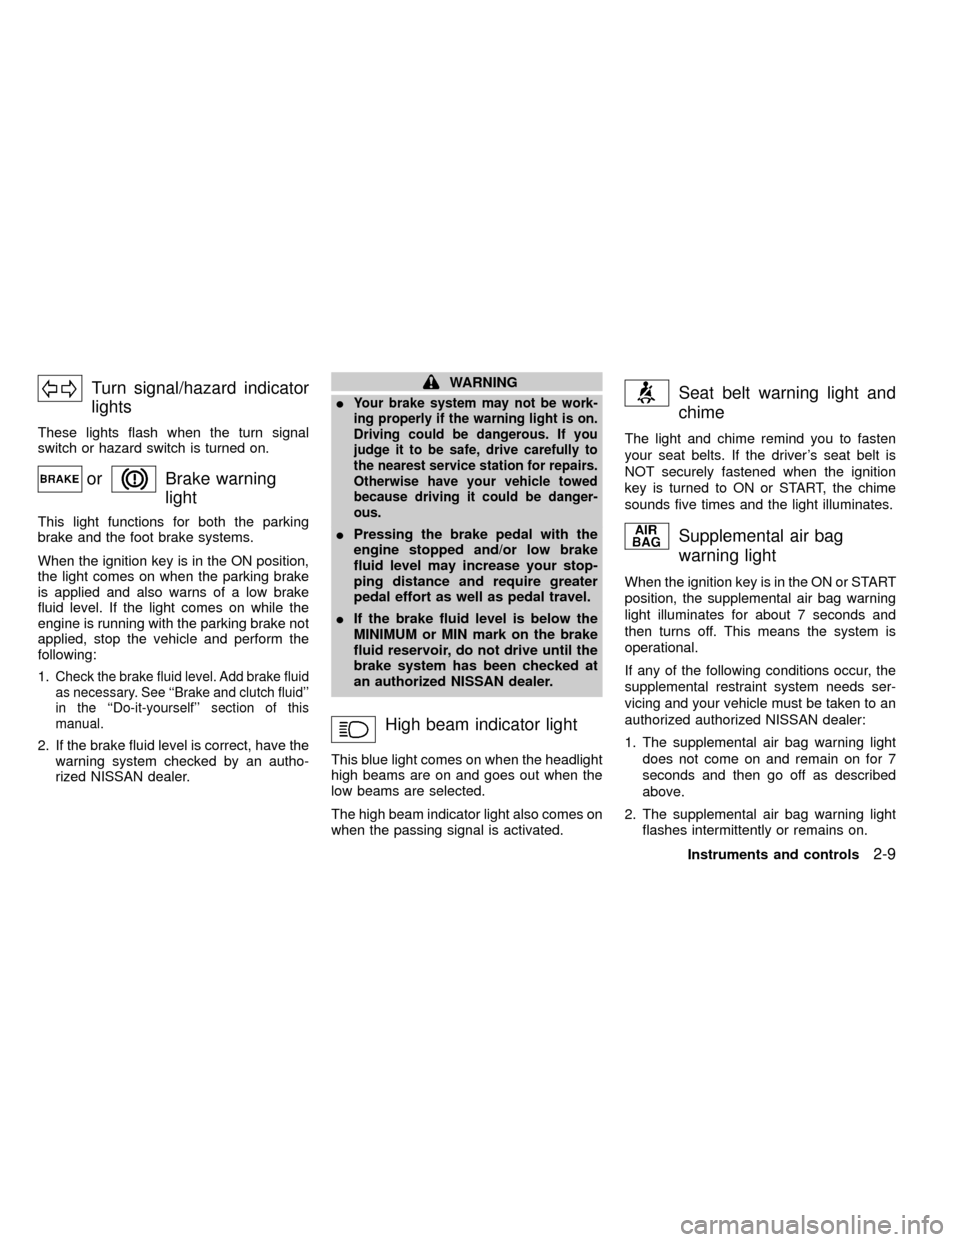
Turn signal/hazard indicator
lights
These lights flash when the turn signal
switch or hazard switch is turned on.
orBrake warning
light
This light functions for both the parking
brake and the foot brake systems.
When the ignition key is in the ON position,
the light comes on when the parking brake
is applied and also warns of a low brake
fluid level. If the light comes on while the
engine is running with the parking brake not
applied, stop the vehicle and perform the
following:
1.
Check the brake fluid level. Add brake fluid
as necessary. See ``Brake and clutch fluid''
in the ``Do-it-yourself'' section of this
manual.
2. If the brake fluid level is correct, have the
warning system checked by an autho-
rized NISSAN dealer.
WARNING
I
Your brake system may not be work-
ing properly if the warning light is on.
Driving could be dangerous. If you
judge it to be safe, drive carefully to
the nearest service station for repairs.
Otherwise have your vehicle towed
because driving it could be danger-
ous.
IPressing the brake pedal with the
engine stopped and/or low brake
fluid level may increase your stop-
ping distance and require greater
pedal effort as well as pedal travel.
IIf the brake fluid level is below the
MINIMUM or MIN mark on the brake
fluid reservoir, do not drive until the
brake system has been checked at
an authorized NISSAN dealer.
High beam indicator light
This blue light comes on when the headlight
high beams are on and goes out when the
low beams are selected.
The high beam indicator light also comes on
when the passing signal is activated.
Seat belt warning light and
chime
The light and chime remind you to fasten
your seat belts. If the driver's seat belt is
NOT securely fastened when the ignition
key is turned to ON or START, the chime
sounds five times and the light illuminates.
Supplemental air bag
warning light
When the ignition key is in the ON or START
position, the supplemental air bag warning
light illuminates for about 7 seconds and
then turns off. This means the system is
operational.
If any of the following conditions occur, the
supplemental restraint system needs ser-
vicing and your vehicle must be taken to an
authorized authorized NISSAN dealer:
1. The supplemental air bag warning light
does not come on and remain on for 7
seconds and then go off as described
above.
2. The supplemental air bag warning light
flashes intermittently or remains on.
Instruments and controls
2-9
ZX
Page 64 of 269
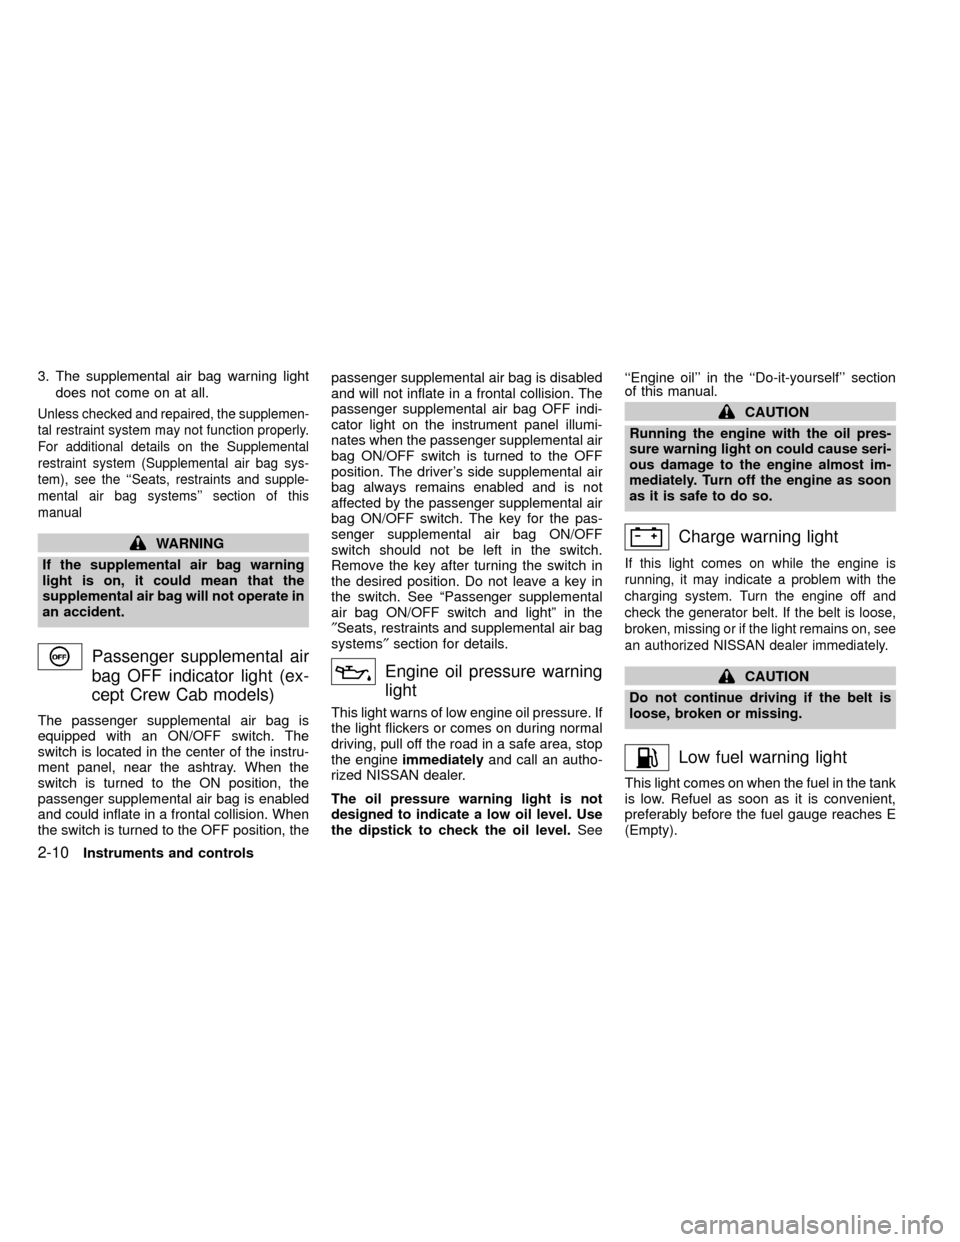
3. The supplemental air bag warning light
does not come on at all.
Unless checked and repaired, the supplemen-
tal restraint system may not function properly.
For additional details on the Supplemental
restraint system (Supplemental air bag sys-
tem), see the ``Seats, restraints and supple-
mental air bag systems'' section of this
manual
WARNING
If the supplemental air bag warning
light is on, it could mean that the
supplemental air bag will not operate in
an accident.
Passenger supplemental air
bag OFF indicator light (ex-
cept Crew Cab models)
The passenger supplemental air bag is
equipped with an ON/OFF switch. The
switch is located in the center of the instru-
ment panel, near the ashtray. When the
switch is turned to the ON position, the
passenger supplemental air bag is enabled
and could inflate in a frontal collision. When
the switch is turned to the OFF position, thepassenger supplemental air bag is disabled
and will not inflate in a frontal collision. The
passenger supplemental air bag OFF indi-
cator light on the instrument panel illumi-
nates when the passenger supplemental air
bag ON/OFF switch is turned to the OFF
position. The driver's side supplemental air
bag always remains enabled and is not
affected by the passenger supplemental air
bag ON/OFF switch. The key for the pas-
senger supplemental air bag ON/OFF
switch should not be left in the switch.
Remove the key after turning the switch in
the desired position. Do not leave a key in
the switch. See ªPassenger supplemental
air bag ON/OFF switch and lightº in the
²Seats, restraints and supplemental air bag
systems²section for details.
Engine oil pressure warning
light
This light warns of low engine oil pressure. If
the light flickers or comes on during normal
driving, pull off the road in a safe area, stop
the engineimmediatelyand call an autho-
rized NISSAN dealer.
The oil pressure warning light is not
designed to indicate a low oil level. Use
the dipstick to check the oil level.See``Engine oil'' in the ``Do-it-yourself'' section
of this manual.
CAUTION
Running the engine with the oil pres-
sure warning light on could cause seri-
ous damage to the engine almost im-
mediately. Turn off the engine as soon
as it is safe to do so.
Charge warning light
If this light comes on while the engine is
running, it may indicate a problem with the
charging system. Turn the engine off and
check the generator belt. If the belt is loose,
broken, missing or if the light remains on, see
an authorized NISSAN dealer immediately.
CAUTION
Do not continue driving if the belt is
loose, broken or missing.
Low fuel warning light
This light comes on when the fuel in the tank
is low. Refuel as soon as it is convenient,
preferably before the fuel gauge reaches E
(Empty).
2-10Instruments and controls
ZX
Page 65 of 269
There will be a small reserve of fuel
remaining in the tank when the fuel
gauge needle reaches E (Empty).
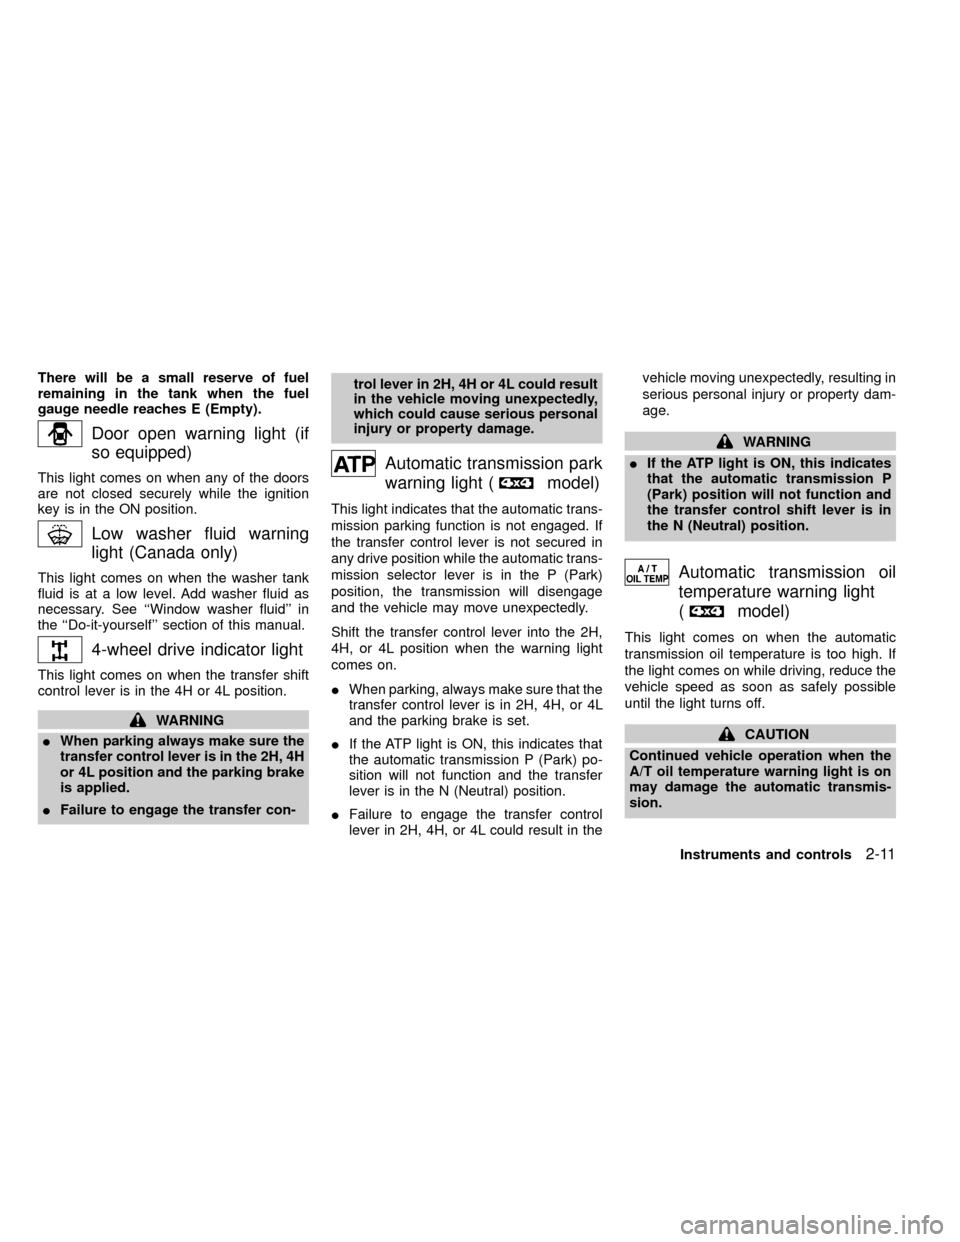
Door open warning light (if
so equipped)
This light comes on when any of the doors
are not closed securely while the ignition
key is in the ON position.
Low washer fluid warning
light (Canada only)
This light comes on when the washer tank
fluid is at a low level. Add washer fluid as
necessary. See ``Window washer fluid'' in
the ``Do-it-yourself'' section of this manual.
4-wheel drive indicator light
This light comes on when the transfer shift
control lever is in the 4H or 4L position.
WARNING
IWhen parking always make sure the
transfer control lever is in the 2H, 4H
or 4L position and the parking brake
is applied.
IFailure to engage the transfer con-trol lever in 2H, 4H or 4L could result
in the vehicle moving unexpectedly,
which could cause serious personal
injury or property damage.
Automatic transmission park
warning light (
model)
This light indicates that the automatic trans-
mission parking function is not engaged. If
the transfer control lever is not secured in
any drive position while the automatic trans-
mission selector lever is in the P (Park)
position, the transmission will disengage
and the vehicle may move unexpectedly.
Shift the transfer control lever into the 2H,
4H, or 4L position when the warning light
comes on.
IWhen parking, always make sure that the
transfer control lever is in 2H, 4H, or 4L
and the parking brake is set.
IIf the ATP light is ON, this indicates that
the automatic transmission P (Park) po-
sition will not function and the transfer
lever is in the N (Neutral) position.
IFailure to engage the transfer control
lever in 2H, 4H, or 4L could result in thevehicle moving unexpectedly, resulting in
serious personal injury or property dam-
age.
WARNING
IIf the ATP light is ON, this indicates
that the automatic transmission P
(Park) position will not function and
the transfer control shift lever is in
the N (Neutral) position.
Automatic transmission oil
temperature warning light
(
model)
This light comes on when the automatic
transmission oil temperature is too high. If
the light comes on while driving, reduce the
vehicle speed as soon as safely possible
until the light turns off.
CAUTION
Continued vehicle operation when the
A/T oil temperature warning light is on
may damage the automatic transmis-
sion.
Instruments and controls
2-11
ZX