2000 NISSAN ALTIMA interior lights
[x] Cancel search: interior lightsPage 47 of 242

2 Instruments and controls
Meters and gauges ................................................2-2
Speedometer and odometer ..................................2-3
Tachometer ............................................................2-4
Engine coolant temperature gauge........................2-4
Fuel gauge .............................................................2-5
Warning/indicator lights and chimes ......................2-6
Checking bulbs .......................................................2-6
Warning lights.........................................................2-6
Indicator lights ........................................................2-8
Chimes ...................................................................2-9
Security systems ..................................................2-10
Nissan vehicle immobilizer system (NVIS) ..........2-10
Enhanced immobilizer security system
(if so equipped) ....................................................2-12
Windshield wiper and washer switch ...................2-14
Switch operation ...................................................2-14
Rear window defogger switch ..............................2-15
Headlight and turn signal switch ..........................2-16
Headlight switch ...................................................2-16
Turn signal switch ................................................2-17
Cornering light ......................................................2-18
Fog light switch (if so equipped) ..........................2-18Hazard warning flasher switch .............................2-18
Horn ......................................................................2-19
Power socket ......................................................2-19
Cigarette lighter (accessory) and ash tray ...........2-20
Storage .................................................................2-21
Map pocket ...........................................................2-21
Glasses case ........................................................2-21
Cup holders ..........................................................2-22
Glove box .............................................................2-23
Console box .........................................................2-23
Cargo net (if so equipped) ...................................2-25
Trunk side net ......................................................2-26
Windows ...............................................................2-26
Power windows ....................................................2-26
Sunroof (if so equipped).......................................2-27
Interior light...........................................................2-29
Map lights (if so equipped)...................................2-29
Trunk light.............................................................2-30
Integrated HomeLinkTuniversal transceiver
(if so equipped) ....................................................2-30
Programming HomeLinkT.....................................2-31
ZX
Page 76 of 242

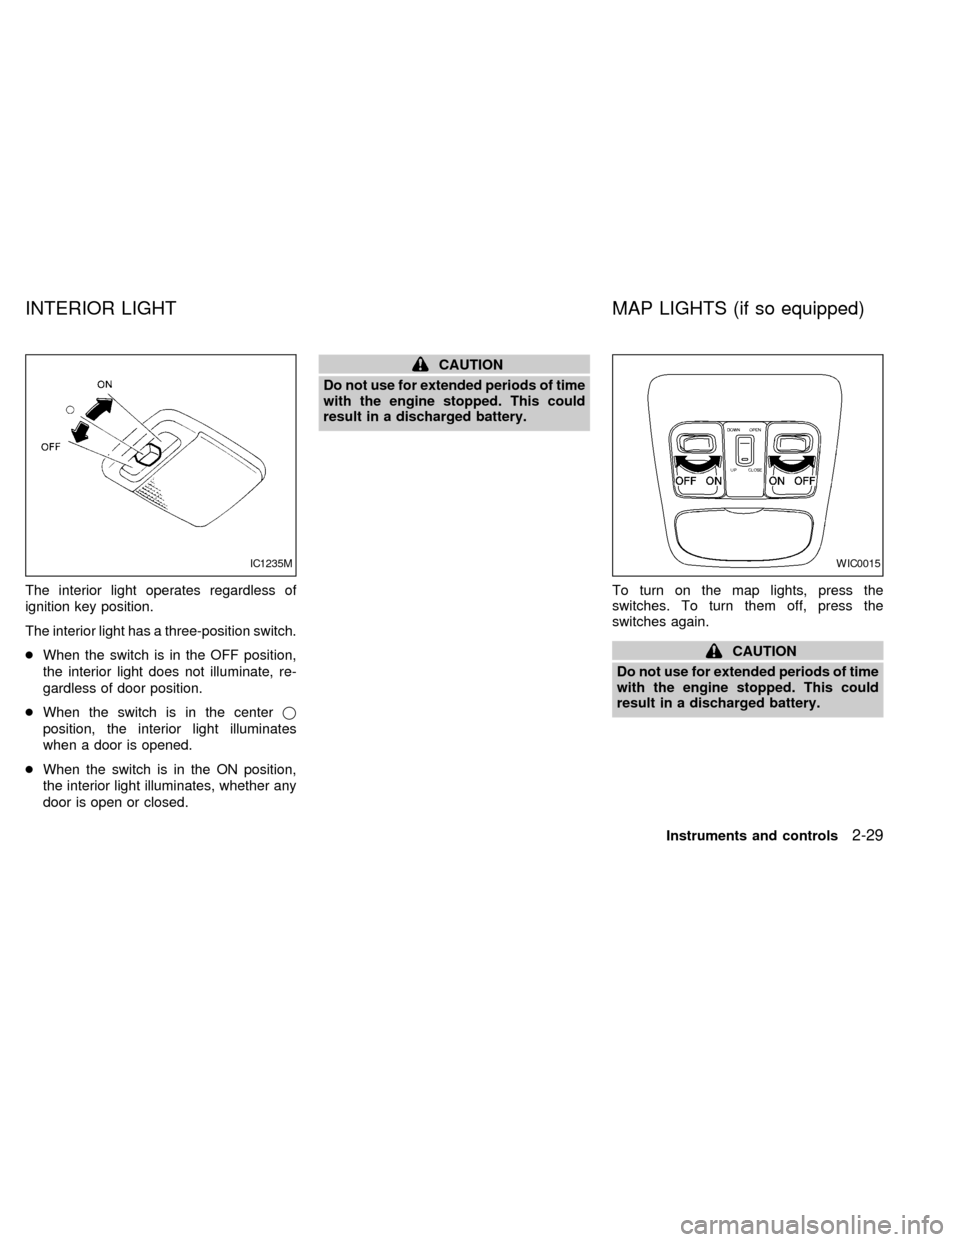
The interior light operates regardless of
ignition key position.
The interior light has a three-position switch.
cWhen the switch is in the OFF position,
the interior light does not illuminate, re-
gardless of door position.
cWhen the switch is in the centerj
position, the interior light illuminates
when a door is opened.
cWhen the switch is in the ON position,
the interior light illuminates, whether any
door is open or closed.
CAUTION
Do not use for extended periods of time
with the engine stopped. This could
result in a discharged battery.
To turn on the map lights, press the
switches. To turn them off, press the
switches again.
CAUTION
Do not use for extended periods of time
with the engine stopped. This could
result in a discharged battery.
IC1235MWIC0015
INTERIOR LIGHT MAP LIGHTS (if so equipped)
Instruments and controls2-29
ZX
Page 86 of 242

CHILD SAFETY REAR DOOR
LOCK
Child safety locks help prevent rear doors
from being opened accidentally, especially
when small children are in the vehicle.
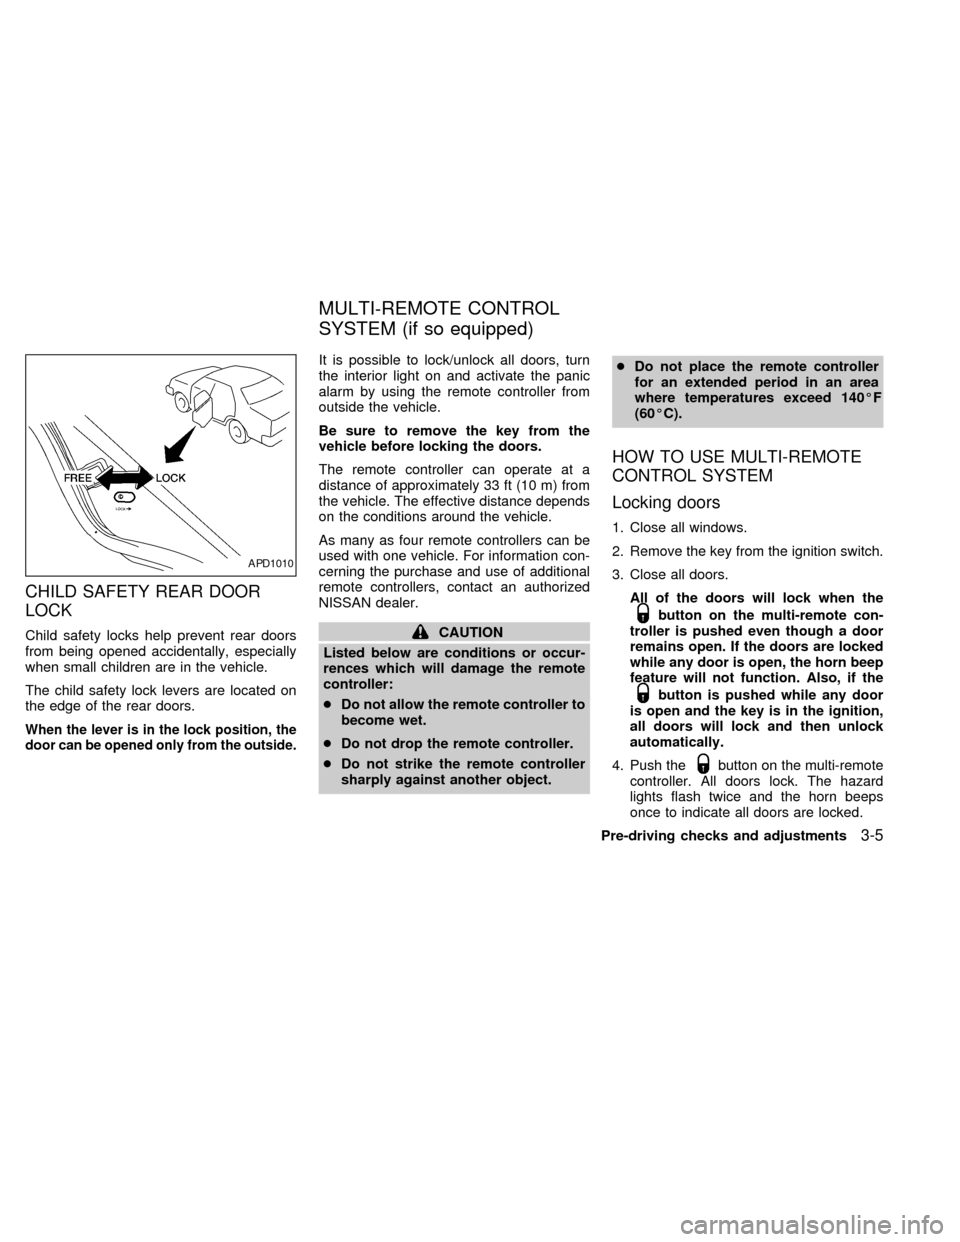
The child safety lock levers are located on
the edge of the rear doors.
When the lever is in the lock position, the
door can be opened only from the outside.
It is possible to lock/unlock all doors, turn
the interior light on and activate the panic
alarm by using the remote controller from
outside the vehicle.
Be sure to remove the key from the
vehicle before locking the doors.
The remote controller can operate at a
distance of approximately 33 ft (10 m) from
the vehicle. The effective distance depends
on the conditions around the vehicle.
As many as four remote controllers can be
used with one vehicle. For information con-
cerning the purchase and use of additional
remote controllers, contact an authorized
NISSAN dealer.
CAUTION
Listed below are conditions or occur-
rences which will damage the remote
controller:
cDo not allow the remote controller to
become wet.
cDo not drop the remote controller.
cDo not strike the remote controller
sharply against another object.cDo not place the remote controller
for an extended period in an area
where temperatures exceed 140ÉF
(60ÉC).
HOW TO USE MULTI-REMOTE
CONTROL SYSTEM
Locking doors
1. Close all windows.
2. Remove the key from the ignition switch.
3. Close all doors.
All of the doors will lock when the
button on the multi-remote con-
troller is pushed even though a door
remains open. If the doors are locked
while any door is open, the horn beep
feature will not function. Also, if the
button is pushed while any door
is open and the key is in the ignition,
all doors will lock and then unlock
automatically.
4. Push the
button on the multi-remote
controller. All doors lock. The hazard
lights flash twice and the horn beeps
once to indicate all doors are locked.
APD1010
MULTI-REMOTE CONTROL
SYSTEM (if so equipped)
Pre-driving checks and adjustments3-5
ZX
Page 87 of 242

cWhen thebutton is pushed with all
doors locked, the hazard lights flash
twice and the horn beeps once as a
reminder that the doors are already
locked.
The horn may or may not beep once.
Refer to ``Silencing the horn beep fea-
ture'' later in this section for details.
Unlocking doors
1. Push thebutton on the multi-
remote controller. Only the driver's side
door unlocks.
2. Push the
button on the multi-
remote controller again within five sec-onds. The passenger doors unlock.
3. The interior light comes on and stays on
for 30 seconds when the light switch is in
the O position.Releasing the trunk lid
1. Push the trunk button on the multi-
WPD0004
3-6Pre-driving checks and adjustments
ZX
Page 88 of 242

remote controller for longer than 0.5 sec-
ond. The trunk release button on the
multi-remote controller will not operate
when the ignition switch is in the ON
position.
2. The trunk lid opens.
Using the panic alarm
If you are near your vehicle and feel threat-
ened, you may activate the alarm to call
attention as follows:
1. Push and hold the
button on the
remote controller forlonger than 1.5
seconds.
2. The theft warning alarm and headlights
will stay on for 30 seconds.
3. The panic alarm stops when:
cit has run for 30 seconds, or
cany button is pressed on the multi-
remote controller.
Silencing the horn beep feature
If desired, the horn beep feature can be
deactivated using the multi-remote control-
ler. The instructions are on the back of the
multi-remote controller.
To deactivate:Press and hold the
andbuttonsfor at least two seconds.
The hazard lights will flash three times to
confirm that the horn beep feature has been
deactivated.
To activate:Press and hold the
andbuttonsfor at least two seconds
once more.The hazard lights will flash three times to
confirm that the horn beep feature has been
reactivated.
Deactivating the horn feature does not si-
lence the horn if the alarm is triggered.
Using the interior light
The interior light can be turned off without
waiting 30 seconds by inserting the key into
the ignition or locking the doors with the
multi-remote controller or pushing the inte-
rior light button to OFF.
WPD0005
Pre-driving checks and adjustments3-7
ZX
Page 163 of 242

8 Do-it-yourself
Maintenance precautions .......................................8-2
Engine compartment check locations ....................8-4
Engine cooling system ...........................................8-5
Checking engine coolant level ...............................8-5
Changing engine coolant .......................................8-6
Engine oil ...............................................................8-8
Checking engine oil level .......................................8-8
Changing engine oil ...............................................8-9
Changing engine oil filter .....................................8-10
Automatic transmission fluid ................................8-10
Temperature conditions for checking ...................8-11
Power steering fluid..............................................8-12
Brake fluid ............................................................8-12
Clutch fluid............................................................8-12
Window washer fluid ............................................8-13
Window washer fluid reservoir .............................8-13
Battery ..................................................................8-14
Jump starting ........................................................8-15
Drive belts ............................................................8-15
Spark plugs ..........................................................8-15
Replacing spark plugs ..........................................8-15
Air cleaner ............................................................8-16Windshield wiper blades ......................................8-18
Cleaning ...............................................................8-18
Replacing .............................................................8-18
Parking brake and brake pedal ............................8-19
Checking parking brake .......................................8-19
Checking brake pedal ..........................................8-19
Brake booster .......................................................8-20
Clutch pedal .........................................................8-21
Checking clutch pedal ..........................................8-21
Fuses ....................................................................8-21
Engine compartment ............................................8-21
Passenger compartment ......................................8-22
Multi-remote controller battery replacement ........8-23
Lights ....................................................................8-24
Headlights ............................................................8-24
Front turn signal lamp ..........................................8-27
Front parking and cornering lamp ........................8-27
Front sidemarker lamp .........................................8-28
Fog lights ..............................................................8-29
Exterior and interior lights ....................................8-30
Wheels and tires ..................................................8-34
Tire pressure ........................................................8-34
ZX
Page 193 of 242

EXTERIOR AND INTERIOR
LIGHTS
Item Wattage (W) Bulb No.
Headlamp assembly
High/Low 65/55 HB5 (9007)
Front turn signal 30 3457AK
Parking and cornering 27/8 4157K or 3157K
Side marker 3.8 194
Front fog light 37.5 881L
Rear combination light:
Turn signal: 27 3156K
Stop/Tail 27/8 3157K
Back-up 18 921
License plate light 5 168
High-mounted stop light 18 921
Interior light 8 68
Map light 10 578
Trunk light 3.4 158
Glove box light (if so equipped) 1.1 658
8-30Do-it-yourself
ZX
Page 204 of 242

Tires* ÐCheck the pressure with a gauge
periodically when at a service station, in-
cluding the spare, and adjust to the speci-
fied pressure if necessary. Check carefully
for damage, cuts or excessive wear.
Wheel nuts* ÐWhen checking the tires,
make sure no wheel nuts are missing, and
check for any loose wheel nuts. Tighten if
necessary.
Tire rotation* ÐTires should be rotated
every 7,500 miles (12,000 km).
Wheel alignment and balance ÐIf the
vehicle should pull to either side while driv-
ing on a straight and level road, or if you
detect uneven or abnormal tire wear, there
may be a need for a wheel alignment.
If the steering wheel or seat vibrates at
normal highway speeds, wheel balancing
may be needed.Windshield wiper blades* ÐCheck for
cracks or wear if they do not wipe properly.
Doors and engine hood ÐCheck that all
doors and the hood operate properly. Also
ensure all latches lock securely. Lubricate
hinges, latches, rollers and links if neces-
sary. Make sure the secondary latch keeps
the hood from opening when the primary
latch is released.
When driving in areas using road salt or
other corrosive materials, check lubrication
frequently.
Lights* ÐMake sure the headlights, stop
lights, tail lights, turn signal lights, and other
lights are all operating properly and installed
securely. Also check headlight aim.
INTERIOR MAINTENANCE
The maintenance items listed here should
be checked on a regular basis, such as
when performing periodic maintenance,
cleaning the vehicle, etc.
Additional information on the following
items with an ``*'' is found in the ``Do-it-
yourself'' section of this manual.Warning lights and chimes ÐMake sure
all warning lights and buzzers/chimes are
operating properly.
Windshield wiper and washer* ÐCheck
that the wipers and washer operate properly
and that the wipers do not streak.
Windshield defroster ÐCheck that the air
comes out of the defroster outlets properly
and in sufficient quantity when operating the
heater or air conditioner.
Steering wheel ÐCheck for changes in
the steering conditions, such as excessive
freeplay, hard steering or strange noises.
Seats ÐCheck seat position controls such
as seat adjusters, seatback recliner, etc. to
ensure they operate smoothly and all
latches lock securely in every position.
Check that the head restraints move up and
down smoothly and the locks (if so
equipped) hold securely in all latched posi-
tions.
Seat belts ÐCheck that all parts of the seat
belt system (for example, buckles, anchors,
adjusters and retractors) operate properly
and smoothly, and are installed securely.
Check the belt webbing for cuts, fraying,
wear or damage.
Maintenance
9-3
ZX