Page 70 of 242
GLOVE BOX
The glove box opens by pulling the handle.
The glove box with key lock (if so equipped)
can be locked or unlocked with the master
key.
To illuminate the glove box light (if so
equipped), the headlight switch must be
turned to the
orposition.
WARNING
Keep glove box lid closed while driving
to help prevent injury in an accident or
a sudden stop.CONSOLE BOX
WARNING
The center console box should not be
used while driving so full attention may
be given to vehicle operation.
CAUTION
cThis power socket is not designed
for use with a cigarette lighter unit.
cDo not use accessories that exceed
12 volt, 120W (10A) power draw. Do
not use double adapters or more
than one electrical accessory.
APD1001
Instruments and controls2-23
ZX
Page 72 of 242
CARGO NET (if so equipped)
The cargo net helps keep packages in the
cargo area from moving around while the
vehicle is in motion.
To install the cargo net, attach the hooks to
the retainers.
To remove the cargo net, detach the hooks
from the cargo net retainers.
WARNING
cProperly secure all cargo to help
prevent it from sliding or shifting.
cBe sure to secure hooks into the
retainers. The cargo restrained in the
net must not exceed 30 lbs. (13.6 kg)
or the net may not stay secured.
LIC0024LIC0011
Instruments and controls2-25
ZX
Page 73 of 242
TRUNK SIDE NET
The trunk side net helps keep small objects
from moving around in the cargo area while
the vehicle is in motion.
POWER WINDOWS
WARNING
cMake sure that all passengers have
their hands, etc. inside the vehicle
before closing the windows. Use the
window lock switch to prevent unex-
pected use of the power windows.
cDo not leave children unattended in-
side the vehicle. They could un-
knowingly activate switches or con-
trols and become trapped in a
window. Unattended children could
become involved in serious acci-
dents.
The power windows operate only when the
ignition key is in the ON position. To open a
window, press down on the switch. To close
a window, pull up on the switch. To stop the
opening or closing function at any time,
simply release the switch.
The driver side control panel is equipped
with switches to open or close all of the
windows.
LPD0001AIC1017
WINDOWS
2-26Instruments and controls
ZX
Page 75 of 242
Sun shade
Open and close the sun shade by sliding it
forward or backward.
WARNING
cIn an accident you could be thrown
from the vehicle through an open
sunroof. Always use seat belts and
child restraints.
c
Do not allow anyone to stand up or
extend any portion of their body out of
the opening while the vehicle is in
motion or while the sunroof is closing.
CAUTION
c
Remove water drops, snow, ice or
sand from the sunroof before opening.
cDo not place heavy objects on the
sunroof or surrounding area.
If the sunroof does not close
1. Turn the ignition key to the OFF position.
Be sure no objects are caught in the
sunroof opening.
2. Remove the map light unit. The shaft end
of the sunroof motor will be visible.3. Using a wide blade screwdriver, turn the
shaft clockwise to close the sunroof.
Have the sunroof system checked and re-
paired by your NISSAN dealer.
WIC0014AIC1016
2-28Instruments and controls
ZX
Page 77 of 242

The light illuminates when the trunk lid is
opened. When the trunk lid is closed, the
light goes off.
INTEGRATED HomeLinkTUNI-
VERSAL TRANSCEIVER (if so
equipped)
The Integrated HomeLinkTUniversal Trans-
ceiver provides a convenient way to consoli-
date the functions of up to three individual
hand-held transmitters into one built-in de-
vice.
Integrated HomeLinkTUniversal Trans-
ceiver:
cWill operate most Radio Frequency (RF)
devices such as garage doors, gates,
home and office lighting, entry door locks
and security systems.
cIs powered by your vehicle's battery. No
separate batteries are required. If the
vehicle's battery is discharged or is dis-
connected, HomeLinkTwill retain all pro-
gramming.Once the Integrated HomeLinkTUniver-
sal Transceiver is programmed, retain
the original transmitter for future pro-
gramming procedures (i.e., new vehicle
purchases). Upon sale of the vehicle, the
programmed Integrated HomeLinkTUni-
versal Transceiver buttons should be
erased for security purposes. For addi-
tional information refer to ``Program-
ming the Integrated HomeLinkTUniver-
sal Transceiver'' later in this section.
WARNING
cDo not use the Integrated
HomeLinkTUniversal Transceiver
with any garage door opener that
lacks safety stop and reverse fea-
tures as required by federal safety
standards. (These standards be-
came effective for opener models
manufactured after April 1, 1982). A
garage door opener which cannot
detect an object in the path of a
closing garage door and then auto-
matically stop and reverse, does not
meet current federal safety stan-
dards. Using a garage door opener
without these features increases the
risk of serious injury or death.
cDuring programming, your garage
door or gate may open or close.
Make sure that people and objects
are clear of the garage door or gate
that you are programming.
cYour vehicle's engine should be
turned off while programming the
Integrated HomeLinkTUniversal
Transceiver.
TRUNK LIGHT
2-30Instruments and controls
ZX
Page 83 of 242

NISSAN VEHICLE IMMOBILIZER
SYSTEM (NVIS) KEYS
You can only start your vehicle using the
keys which are supplied by your NISSAN
dealer. Each key has a transponder chip in
the key head which is electronically regis-
tered to your vehicle's NVIS. These keys
can be used for all the key locks on your
vehicle.
Never leave these keys in the vehicle.
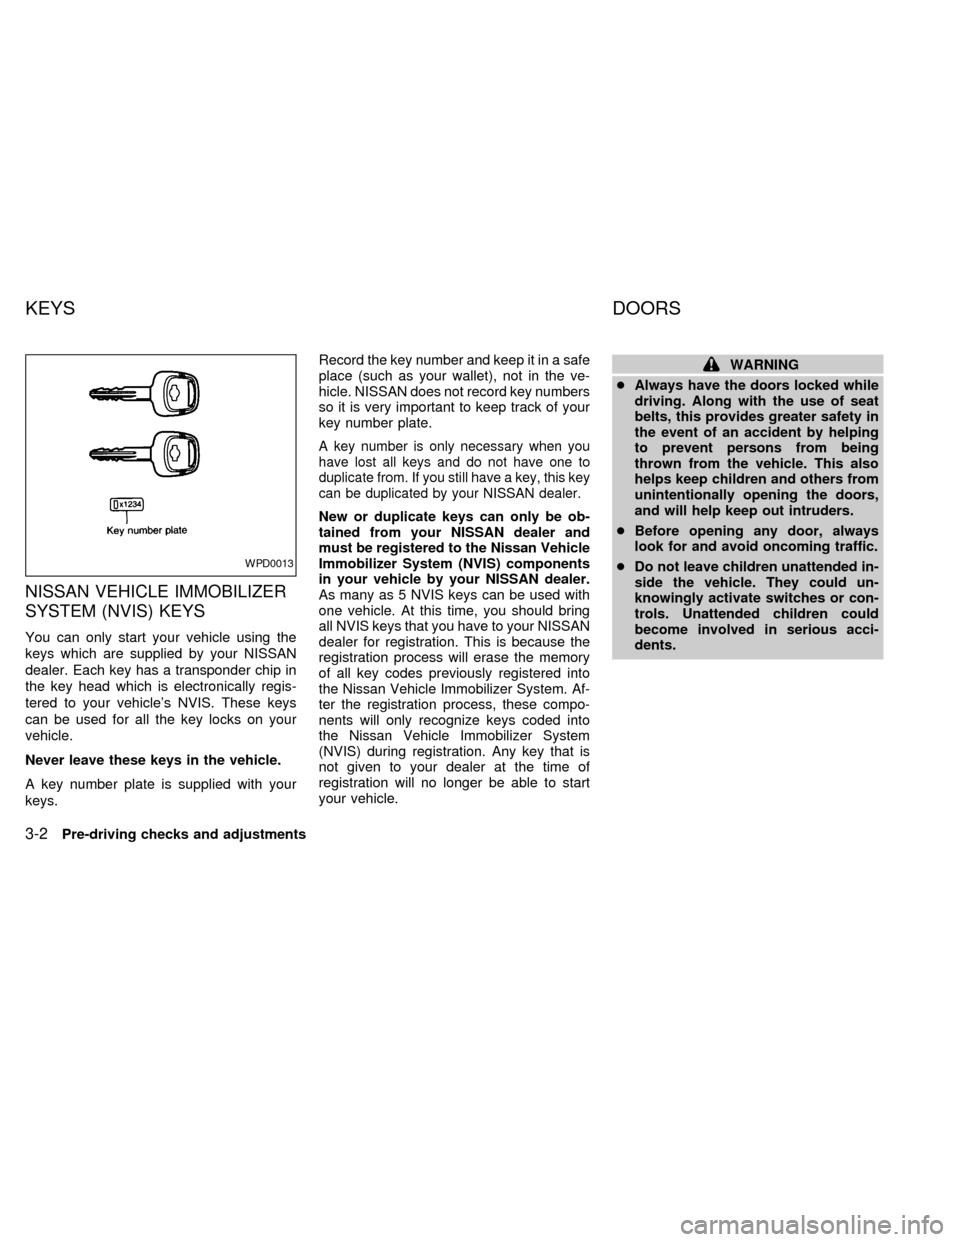
A key number plate is supplied with your
keys.Record the key number and keep it in a safe
place (such as your wallet), not in the ve-
hicle. NISSAN does not record key numbers
so it is very important to keep track of your
key number plate.
A key number is only necessary when you
have lost all keys and do not have one to
duplicate from. If you still have a key, this key
can be duplicated by your NISSAN dealer.
New or duplicate keys can only be ob-
tained from your NISSAN dealer and
must be registered to the Nissan Vehicle
Immobilizer System (NVIS) components
in your vehicle by your NISSAN dealer.
As many as 5 NVIS keys can be used with
one vehicle. At this time, you should bring
all NVIS keys that you have to your NISSAN
dealer for registration. This is because the
registration process will erase the memory
of all key codes previously registered into
the Nissan Vehicle Immobilizer System. Af-
ter the registration process, these compo-
nents will only recognize keys coded into
the Nissan Vehicle Immobilizer System
(NVIS) during registration. Any key that is
not given to your dealer at the time of
registration will no longer be able to start
your vehicle.
WARNING
cAlways have the doors locked while
driving. Along with the use of seat
belts, this provides greater safety in
the event of an accident by helping
to prevent persons from being
thrown from the vehicle. This also
helps keep children and others from
unintentionally opening the doors,
and will help keep out intruders.
cBefore opening any door, always
look for and avoid oncoming traffic.
cDo not leave children unattended in-
side the vehicle. They could un-
knowingly activate switches or con-
trols. Unattended children could
become involved in serious acci-
dents.
WPD0013
KEYS DOORS
3-2Pre-driving checks and adjustments
ZX
Page 84 of 242
LOCKING WITH KEY
Manual
To lock the door, turn the key toward the
front of the vehicle. To unlock, turn it toward
the rear.
Power
For vehicles equipped with the theft warn-
ing system,the power door lock system
allows you to lock or unlock all doors simul-
taneously.
Turning the front door key (driver or passen-
ger side) to the front of the vehicle locks all
doors.
Turning the front door key one time to the
rear of the vehicle unlocks the corresponding
door. From that position, returning the key to
neutral (where the key can only be removed
and inserted) and turning it to the rear again
within 5 seconds unlocks all doors.
LOCKING WITH INSIDE LOCK
KNOB
Manual
To lock a door without the key, move the
inside lock knob to the lock position.
When locking a door this way, be certain not
to leave the key inside the vehicle.
Power
For vehicles equipped with the theft
warning system,moving the inside lock
APD1024APD1011AIC1012
Pre-driving checks and adjustments3-3
ZX
Page 88 of 242

remote controller for longer than 0.5 sec-
ond. The trunk release button on the
multi-remote controller will not operate
when the ignition switch is in the ON
position.
2. The trunk lid opens.
Using the panic alarm
If you are near your vehicle and feel threat-
ened, you may activate the alarm to call
attention as follows:
1. Push and hold the
button on the
remote controller forlonger than 1.5
seconds.
2. The theft warning alarm and headlights
will stay on for 30 seconds.
3. The panic alarm stops when:
cit has run for 30 seconds, or
cany button is pressed on the multi-
remote controller.
Silencing the horn beep feature
If desired, the horn beep feature can be
deactivated using the multi-remote control-
ler. The instructions are on the back of the
multi-remote controller.
To deactivate:Press and hold the
andbuttonsfor at least two seconds.
The hazard lights will flash three times to
confirm that the horn beep feature has been
deactivated.
To activate:Press and hold the
andbuttonsfor at least two seconds
once more.The hazard lights will flash three times to
confirm that the horn beep feature has been
reactivated.
Deactivating the horn feature does not si-
lence the horn if the alarm is triggered.
Using the interior light
The interior light can be turned off without
waiting 30 seconds by inserting the key into
the ignition or locking the doors with the
multi-remote controller or pushing the inte-
rior light button to OFF.
WPD0005
Pre-driving checks and adjustments3-7
ZX