Page 41 of 242
4. Allow the seat belt to retract. Pull up on
the seat belt to remove any slack in the
belt.5. Before placing the child in the child re-
straint, use force to tilt the child restraint
from side to side, and tug it forward to
make sure that it is securely held in
place.
6. Check that the retractor is in the auto-
matic locking mode by trying to pull more
seat belt out of the retractor. If you can-
not pull any more seat belt webbing out
of the retractor, the seat belt is in the
automatic locking mode.
7. Check to make sure that the child re-
straint is properly secured prior to eachuse. If the belt is not locked, repeat steps
three through six.
After the child restraint is removed and the
seat belt is allowed to wind back into the
retractor, the automatic locking mode (child
restraint mode) is canceled; the seat belt
only locks during a sudden stop or impact.
SSS0109SSS0110
1-34Seats, restraints and supplemental air bag systems
ZX
Page 42 of 242
TOP TETHER STRAP CHILD RE-
STRAINT
If your child restraint has a top tether strap,
it must be secured to the provided anchor
point. First, secure the child restraint with
the rear seat belt.
Flip up the anchor cover from the anchor
point which is located directly behind the
child seat.
Secure the top tether strap to the anchor
bracket.
WARNING
Child restraint anchor points are de-
signed to withstand only those loads
imposed by correctly fitted child re-
straints. Under no circumstances are
they to be used for adult seat belts or
harnesses.
Anchor point locations
Anchor points are located on the rear parcel
shelf finisher.
When installing a top strap child re-
straint on the rear seat for the first time,
consult your NISSAN dealer for details.
WRS0011
Seats, restraints and supplemental air bag systems1-35
ZX
Page 43 of 242

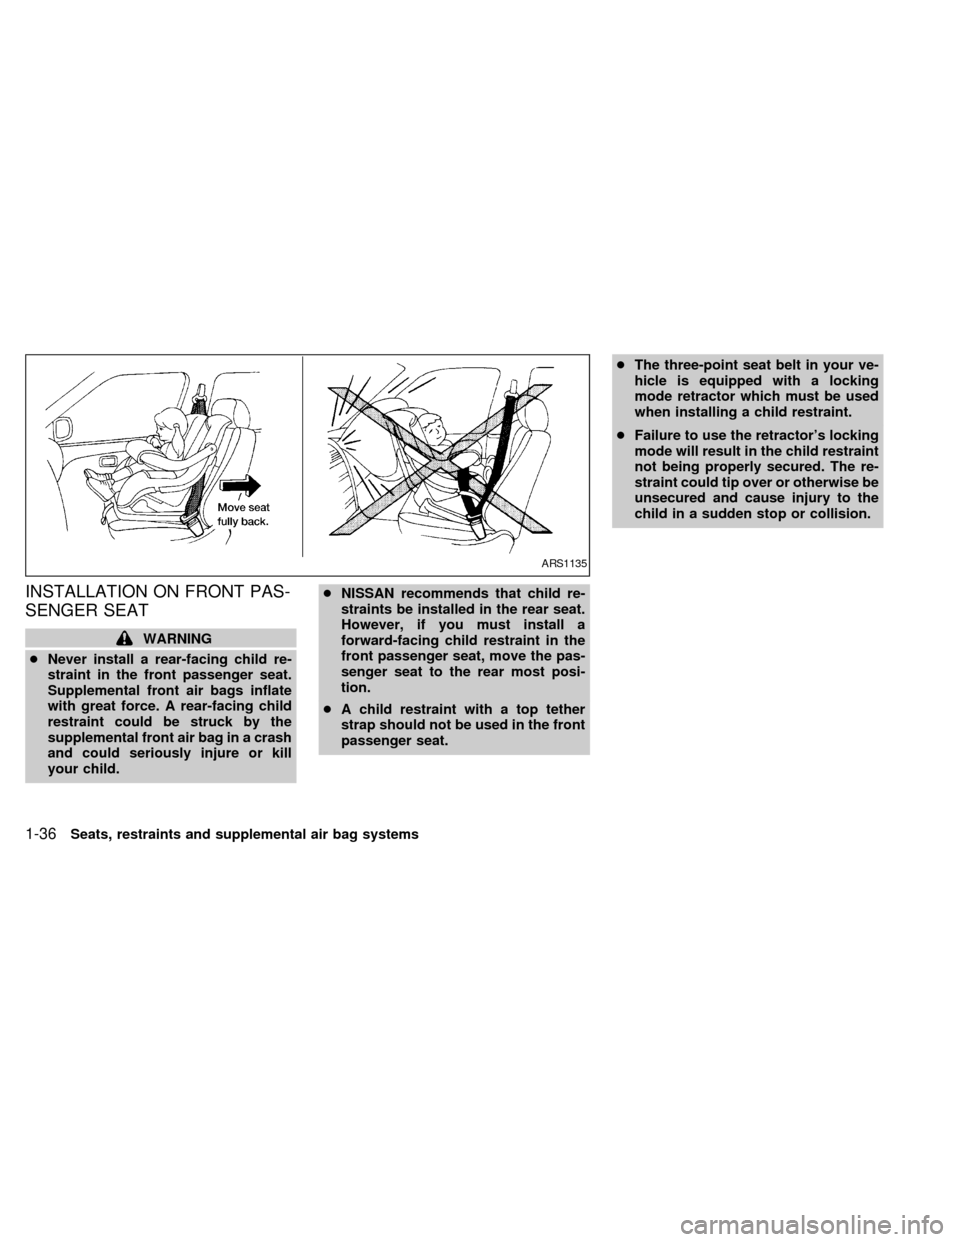
INSTALLATION ON FRONT PAS-
SENGER SEAT
WARNING
cNever install a rear-facing child re-
straint in the front passenger seat.
Supplemental front air bags inflate
with great force. A rear-facing child
restraint could be struck by the
supplemental front air bag in a crash
and could seriously injure or kill
your child.cNISSAN recommends that child re-
straints be installed in the rear seat.
However, if you must install a
forward-facing child restraint in the
front passenger seat, move the pas-
senger seat to the rear most posi-
tion.
cA child restraint with a top tether
strap should not be used in the front
passenger seat.cThe three-point seat belt in your ve-
hicle is equipped with a locking
mode retractor which must be used
when installing a child restraint.
cFailure to use the retractor's locking
mode will result in the child restraint
not being properly secured. The re-
straint could tip over or otherwise be
unsecured and cause injury to the
child in a sudden stop or collision.
ARS1135
1-36Seats, restraints and supplemental air bag systems
ZX
Page 44 of 242
If you must install a child restraint in the front
seat, follow these steps:
1. Position the child restraint on the front
passenger seat.It should be placed in
a forward-facing direction only.Move
the seat to the rear most position. Always
follow the child restraint manufacturer's
instructions.Child restraints for infants
must be used in the rear-facing direc-
tion and therefore must not be used in
the front seat.2. Route the seat belt tongue through the
child restraint and insert it into the buckle
until you hear and feel the latch engage.
Be sure to follow the child restraint manu-
facturer's instructions for belt routing.3. Pull on the shoulder belt until all of the
belt is fully extended. At this time, the
seat belt retractor is in the automatic
locking mode (child restraint mode). It
reverts back to emergency locking mode
when the seat belt is fully retracted.
WRS0019ARS1073ARS1034
Seats, restraints and supplemental air bag systems1-37
ZX
Page 45 of 242
4. Allow the seat belt to retract. Pull up on
the seat belt to remove any slack in the
belt.5. Before placing the child in the child re-
straint, use force to tilt the child restraint
from side to side, and tug it forward to
make sure it is securely held in place.
6. Check that the retractor is in the auto-
matic locking mode by trying to pull more
seat belt out of the retractor. If you can-
not pull any more belt webbing out of the
retractor, the seat belt is in the automatic
locking mode.
7. Check to make sure the child restraint is
properly secured prior to each use. If the
lap belt is not locked, repeat steps 3
through 6.After the child restraint is removed and the
seat belt is fully retracted, the automatic
locking mode (child restraint mode) is can-
celed.
ARS1074ARS1079
1-38Seats, restraints and supplemental air bag systems
ZX
Page 75 of 242
Sun shade
Open and close the sun shade by sliding it
forward or backward.
WARNING
cIn an accident you could be thrown
from the vehicle through an open
sunroof. Always use seat belts and
child restraints.
c
Do not allow anyone to stand up or
extend any portion of their body out of
the opening while the vehicle is in
motion or while the sunroof is closing.
CAUTION
c
Remove water drops, snow, ice or
sand from the sunroof before opening.
cDo not place heavy objects on the
sunroof or surrounding area.
If the sunroof does not close
1. Turn the ignition key to the OFF position.
Be sure no objects are caught in the
sunroof opening.
2. Remove the map light unit. The shaft end
of the sunroof motor will be visible.3. Using a wide blade screwdriver, turn the
shaft clockwise to close the sunroof.
Have the sunroof system checked and re-
paired by your NISSAN dealer.
WIC0014AIC1016
2-28Instruments and controls
ZX
Page 83 of 242

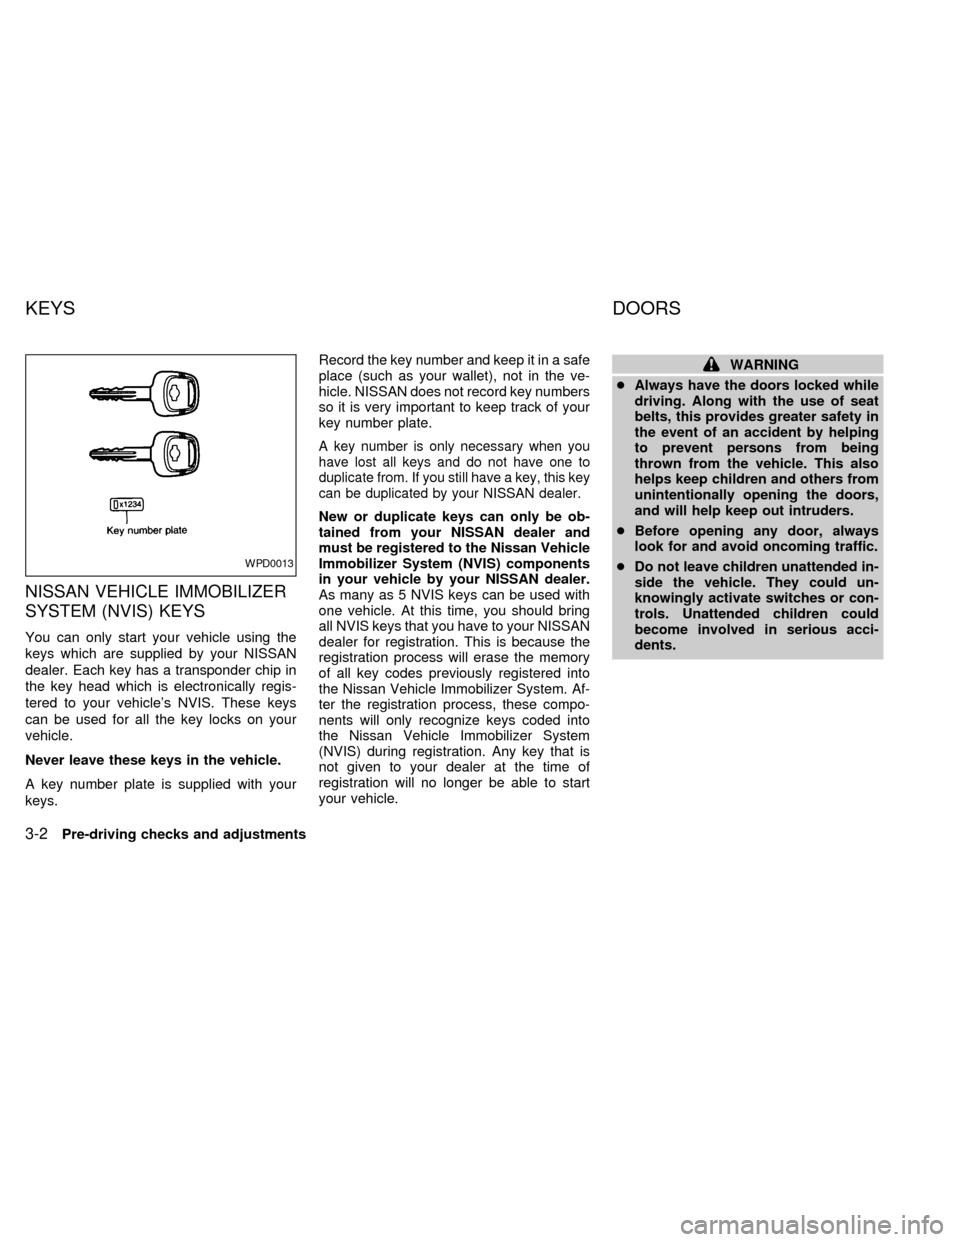
NISSAN VEHICLE IMMOBILIZER
SYSTEM (NVIS) KEYS
You can only start your vehicle using the
keys which are supplied by your NISSAN
dealer. Each key has a transponder chip in
the key head which is electronically regis-
tered to your vehicle's NVIS. These keys
can be used for all the key locks on your
vehicle.
Never leave these keys in the vehicle.
A key number plate is supplied with your
keys.Record the key number and keep it in a safe
place (such as your wallet), not in the ve-
hicle. NISSAN does not record key numbers
so it is very important to keep track of your
key number plate.
A key number is only necessary when you
have lost all keys and do not have one to
duplicate from. If you still have a key, this key
can be duplicated by your NISSAN dealer.
New or duplicate keys can only be ob-
tained from your NISSAN dealer and
must be registered to the Nissan Vehicle
Immobilizer System (NVIS) components
in your vehicle by your NISSAN dealer.
As many as 5 NVIS keys can be used with
one vehicle. At this time, you should bring
all NVIS keys that you have to your NISSAN
dealer for registration. This is because the
registration process will erase the memory
of all key codes previously registered into
the Nissan Vehicle Immobilizer System. Af-
ter the registration process, these compo-
nents will only recognize keys coded into
the Nissan Vehicle Immobilizer System
(NVIS) during registration. Any key that is
not given to your dealer at the time of
registration will no longer be able to start
your vehicle.
WARNING
cAlways have the doors locked while
driving. Along with the use of seat
belts, this provides greater safety in
the event of an accident by helping
to prevent persons from being
thrown from the vehicle. This also
helps keep children and others from
unintentionally opening the doors,
and will help keep out intruders.
cBefore opening any door, always
look for and avoid oncoming traffic.
cDo not leave children unattended in-
side the vehicle. They could un-
knowingly activate switches or con-
trols. Unattended children could
become involved in serious acci-
dents.
WPD0013
KEYS DOORS
3-2Pre-driving checks and adjustments
ZX
Page 91 of 242
OPENER OPERATION
WARNING
cDo not drive with the trunk lid open.
This could allow dangerous exhaust
gases to be drawn into the vehicle.
See ``Exhaust gas'' in the ``Starting
and driving'' section of this manual.
cClosely supervise children when
they are around cars to prevent them
from playing and becoming lockedin the trunk where they could be seri-
ously injured. Keep the car locked, with
the trunk closed, when not in use, and
prevent children's access to car keys.
The trunk lid opener lever is located on the
outside of the driver's seat. To open the
trunk lid, pull the opener lever up.
To close the trunk lid, lower and push the
trunk lid down securely.
KEY OPERATION
To open the trunk lid, turn the key clock-
wise. To close the trunk lid, lower and push
the trunk lid down securely.
WPD0007WPD0008
TRUNK LID
3-10Pre-driving checks and adjustments
ZX