Page 70 of 273
67 Rear view mirrors
Te ch n ica l
data Instruments
and controlsOperationDrivingInstrument
cluster displayPractical hints Car care Index With the key in steering lock position 2, the driver’s
side mirror reflection brightness responds to changes in
light sensitivity.
W it h g e a r s e l e c t or l e ve r ( m a nu a l t ra ns m i s si o n: g e a rs h if t
l ever) in position “R”, or w it h t he interior la mp switch ed
on, the driver’s side mirror brightness does not respond
to changes in light sensitivity.
Important!
Electrolyte drops coming into contact with the vehicle
paint finish can only be completely removed while in
their liquid state, by applying plenty of water.
Wa r n i n g !
In the case of an accident liquid electrolyte may
escape the mirror housing when the mirror glass
breaks.Electrolyte has an irritating effect. Do not allow the
liquid come into contact with eyes, skin, clothing,
or respiratory system. In cases it does, imm edi ately
flush affected area with water, and seek medical
help if necessary.
Page 72 of 273
69 Instrument cluster
Te ch n ica l
data Instruments
and controlsOperationDrivingInstrument
cluster displayPractical hints Car care Index 1Coolant temperature gauge, see page 73
2Fuel gauge with reserve and fuel cap placement
warning lamp, see page 181
3Outside temperature indicator, see page 73
4Push button for activating the instrument cluster,
intensity of instrument lamps, for trip odometer, and
for Flexible service system (FSS) indicator, see
pages 72, 74 and 75
5Left turn signal indicator lamp, see combination
switch on page 81
6Electronic stability program (ESP) warning lamp,
system is adjusting to road conditions, see page 1817Right turn signal indicator lamp, see combination
switch on page 81
8Speedometer
9Trip odometer, see page 74
10Main odometer, Flexible service system (FSS)
indicator, see page 75
11Push button for setting clock, see page 74
12Tachometer, see page 74
13Clock, see page 74
14Gear range indicator display, see selector lever
position, page 147
Page 73 of 273

70 Instrument cluster
Te ch n ica l
data Instruments
and controlsOperationDrivingInstrument
cluster displayPractical hints Car care Index
Indicator lamps in the instrument cluster
High beam
ABS malfunction, see page 182
Brake fluid low (except Canada).
Parking brake engaged, see page 179
Brake fluid low (Canada only).
Parking brake engaged, see page 179
BAS malfunction, see page 181
ESP malfunction, see page 181
ESP. Adjust driving to road condition,
see page 181
Fasten seat belts, see page 180
Fluid level for windshield and headlamp
washer system low, see page 183
Coolant level low, see page 183
Engine oil level low, see page 184Brake pads worn down, see page 180
Battery not being charged properly,
see page 184
Exterior lamp failure, see page 185
Telescoping steering column not locked,
see page 182
SRS malfunction, see page 180
Engine malfunction indicator lamp. If the
malfunction indicator lamp comes on when
the engine is running, it indicates a
malfunction of the fuel management system,
emission control system, systems which
impact emissions, or the fuel cap is not
c l o se d t i g h t. I n a l l c a se s, w e r e c o m m e n d t h a t
you have the malfunction checked as soon as
possible, see page 178
Function indicator lamp on the center console
Front passenger airbag automatically
switched off, see page 185
ABS
AIRBAGOFF
Page 86 of 273
83 Hazard warning flasher
Te ch n ica l
data Instruments
and controlsOperationDrivingInstrument
cluster displayPractical hints Car care Index Windshield wipers smear
If the windshield wipers smear the windshield, even
during rain, activate the washer system as often as
necessary. The fluid in the washer reservoir should be
mixed in the correct ratio.
Blocked windshield wipers
If the windshield wipers become blocked (for example,
due to snow), switch off the wipers.
For safety reasons before removing ice or snow, remove
key from steering lock. Remove blockage.
Activate combination switch again (key in steering lock
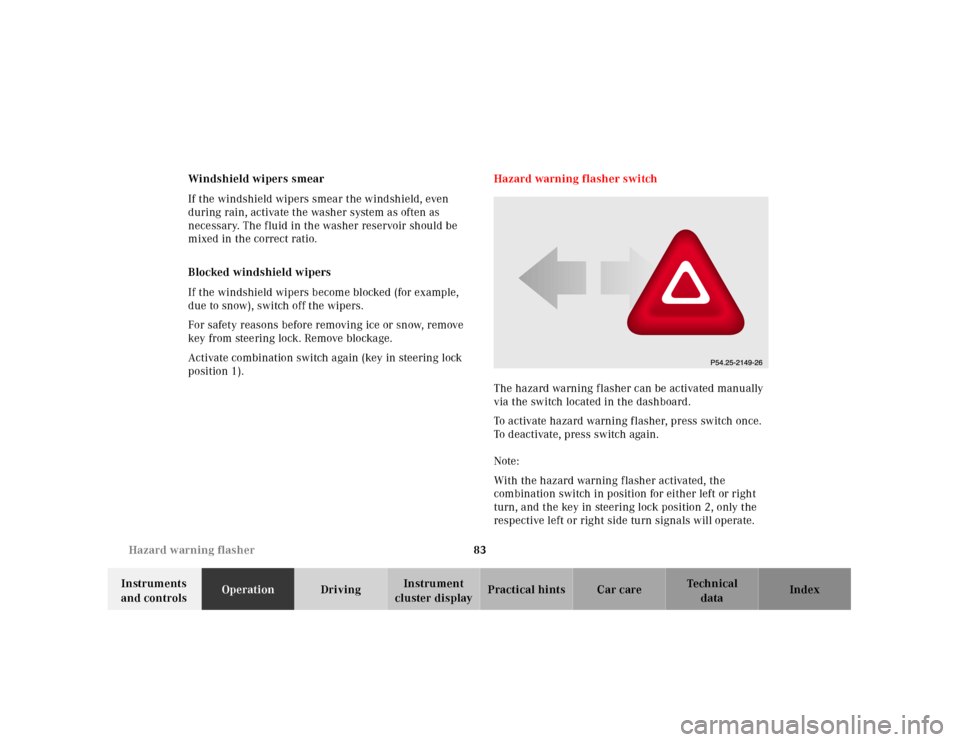
position 1).Hazard warning flasher switch
The hazard warning f lasher can be activated manually
via the switch located in the dashboard.
To activate hazard warning flasher, press switch once.
To deactivate, press switch again.
Note:
With the hazard warning flasher activated, the
combination switch in position for either left or right
turn, and the key in steering lock position 2, only the
respective left or right side turn signals will operate.
Page 91 of 273
88 Climate control
Te ch n ica l
data Instruments
and controlsOperationDrivingInstrument
cluster displayPractical hints Car care Index
Windshield fogged up on outside.
Switch on windshield wipers.
Set air distribution control switch to position d
ora.
Economy
The function of this setting corresponds to the air
conditioning mode. However, because the air
conditioning compressor will not engage (fuel savings),
it is not possible to air condition in this setting.
Press S button to activate.
Press S button once again to return to previous
setting.
Climate control - OFF
To switch the climate control off, set air volume control
switch to position 0.
The fresh air supply to the vehicle interior is shut off.
While driving, use this setting only temporarily,
otherwise the windshield could fog up.Rear window defroster
Turn key in steering lock to position 2.
To select, press F button.
To cancel, press F button again.
Note:
Heavy accumulation of snow and ice should be removed
before activating the defroster.
T h e re a r w in d ow d e f r o ste r u s e s a l a rg e a m ou n t of p ow e r.
To keep the battery drain to a minimum, turn off the
defroster as soon as the window is clear.
The defroster is automatically turned off after a
maximum of 12 minutes of operation.
If several power consumers are turned on
simultaneously, or the battery is only partially charged,
it is possible that the defroster will automatically turn
itself off. When this happens, the indicator lamp inside
the switch starts blinking.
As soon as the battery has sufficient voltage, the
defroster automatically turns itself back on.
Page 101 of 273
98 Audio system
Te ch n ica l
data Instruments
and controlsOperationDrivingInstrument
cluster displayPractical hints Car care Index
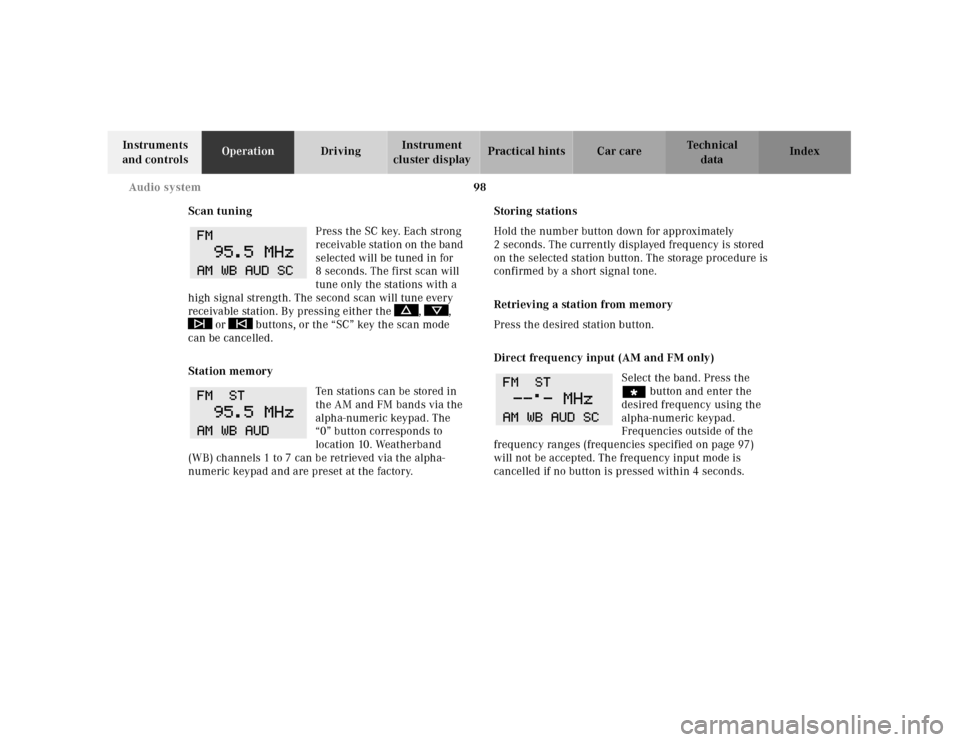
Scan tuning
Press the SC key. Each strong
receivable station on the band
selected will be tuned in for
8 seconds. The first scan will
tune only the stations with a
high signal strength. The second scan will tune every
receivable station. By pressing either the , ,
or buttons, or the “SC” key the scan mode
can be cancelled.
Station memory
Ten stations can be stored in
the AM and FM bands via the
alpha-numeric keypad. The
“0” button corresponds to
location 10. Weatherband
(WB) channels 1 to 7 can be retrieved via the alpha-
numeric keypad and are preset at the factory.Storing stations
Hold the number button down for approximately
2 seconds. The currently displayed frequency is stored
on the selected station button. The storage procedure is
confirmed by a short signal tone.
Retrieving a station from memory
Press the desired station button.
Direct frequency input (AM and FM only)
Select the band. Press the
“ button and enter the
desired frequency using the
alpha-numeric keypad.
Frequencies outside of the
frequency ranges (frequencies specified on page 97)
will not be accepted. The frequency input mode is
cancelled if no button is pressed within 4 seconds.
Page 102 of 273
99 Audio system
Te ch n ica l
data Instruments
and controlsOperationDrivingInstrument
cluster displayPractical hints Car care Index Cassette mode
Playing cassettes
Press the “TAPE” button. When the eject (EJ) key is
pressed, the display folds down and the cassette slot
becomes visible. Push the cassette into the slot until it
engages. The cassette will be pulled in automatically.
Notes:
Do not press directly on the radio display face.
Return the display panel to its normal position by
folding it back up and pressing gently on the display
frame to lock in place.
When playing mono recorded tapes (e.g. books) through
a stereo system the sound from one track might bleed to
the other track, despite setting the balance to the full
left or full right speakers.
Important:
If the display is in the down position for more than
20 seconds, 2 successive beeps will be heard. This will
continue at 5 second intervals until the display is
returned to its normal position.The radio will switch to
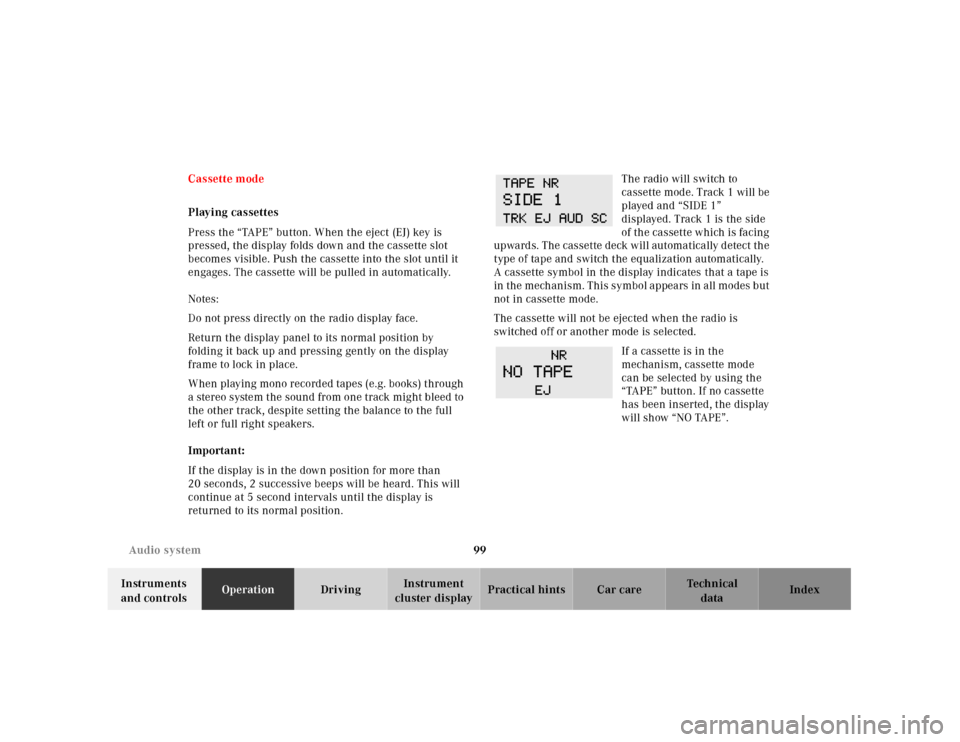
cassette mode. Track 1 will be
played and “SIDE 1”
displayed. Track 1 is the side
of th e ca ssette w hich is fa cing
upwards. The cassette deck will automatically detect the
type of tape and switch the equalization automatically.
A cassette symbol in the display indicates that a tape is
in the mechanism. This symbol appears in all modes but
not in cassette mode.
The cassette will not be ejected when the radio is
switched off or another mode is selected.
If a cassette is in the
mechanism, cassette mode
can be selected by using the
“TAPE” button. If no cassette
has been inserted, the display
will show “NO TAPE”.
Page 107 of 273
104 Audio system
Te ch n ica l
data Instruments
and controlsOperationDrivingInstrument
cluster displayPractical hints Car care Index
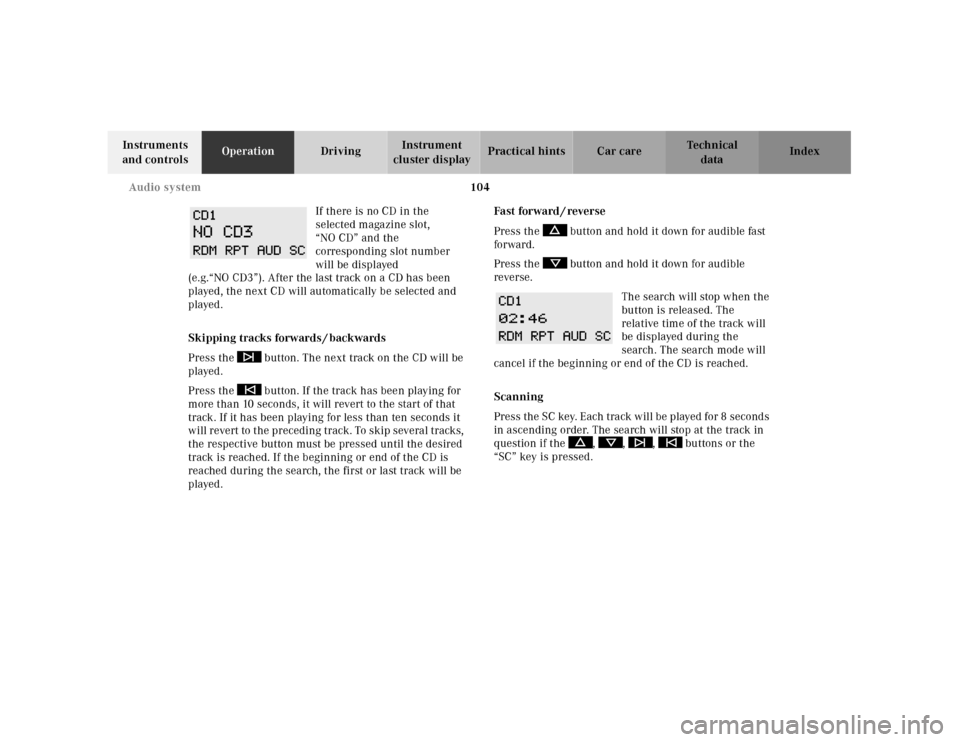
If there is no CD in the
selected magazine slot,
“NO CD” and the
corresponding slot number
will be displayed
(e.g.“NO CD3”). After the last track on a CD has been
played, the next CD will automatically be selected and
played.
Skipping tracks forwards / backwards
Press the button. The next track on the CD will be
played.
Press the button. If the track has been playing for
more than 10 seconds, it will revert to the start of that
track. If it has been playing for less than ten seconds it
will revert to the preceding track. To skip several tracks,
the respective button must be pressed until the desired
track is reached. If the beginning or end of the CD is
reached during the search, the first or last track will be
played.Fa st for wa rd / reve r se
Press the button and hold it down for audible fast
forward.
Press the button and hold it down for audible
reverse.
The search will stop when the
button is released. The
relative time of the track will
be displayed during the
search. The search mode will
cancel if the beginning or end of the CD is reached.
Scanning
Press the SC key. Each tra ck w il l be played for 8 second s
in ascending order. The search will stop at the track in
question if the , , , buttons or the
“SC” key is pressed.