Page 214 of 297
210 Malfunction and indicator lamps
Technical
data Instruments
and controlsOperation DrivingInstrument
cluster displayPractical hints Car care Index
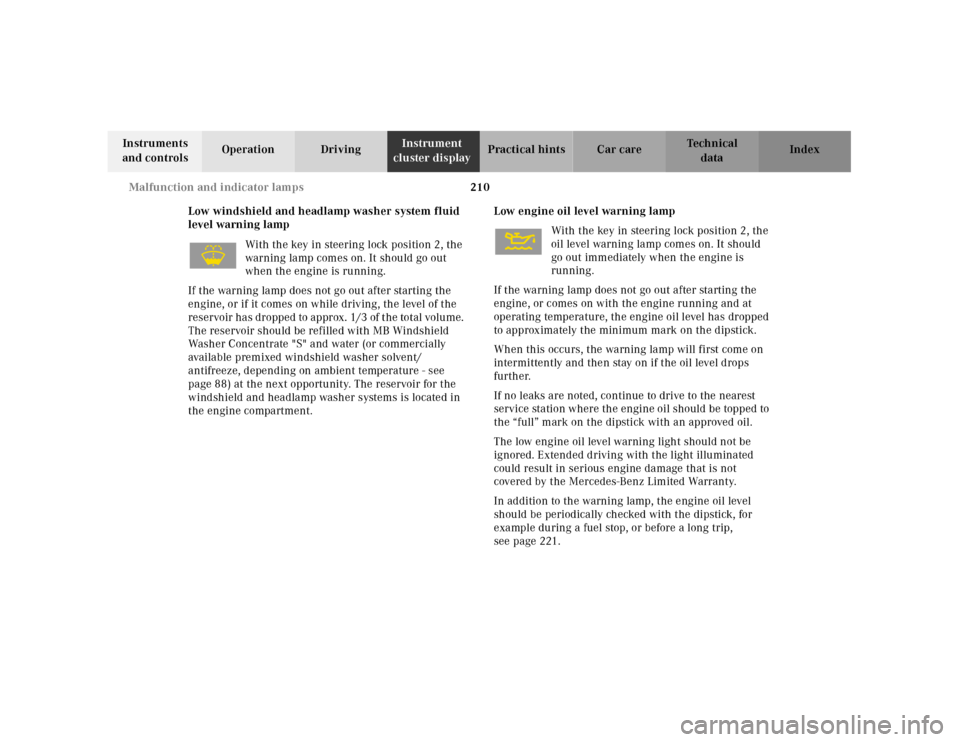
Low windshield and headlamp washer system fluid
level warning lamp
With the key in steering lock position 2, the
warning lamp comes on. It should go out
when the engine is running.
If the warning lamp does not go out after starting the
engine, or if it comes on while driving, the level of the
reservoir has dropped to approx. 1/3 of the total volume.
The reservoir should be refilled with MB Windshield
Washer Concentrate "S" and water (or commercially
available premixed windshield washer solvent/
antifreeze, depending on ambient temperature - see
page 88) at the next opportunity. The reservoir for the
windshield and headlamp washer systems is located in
the engine compartment.Low engine oil level warning lamp
With the key in steering lock position 2, the
oil level warning lamp comes on. It should
go out immediately when the engine is
running.
If the warning lamp does not go out after starting the
engine, or comes on with the engine running and at
operating temperature, the engine oil level has dropped
to approximately the minimum mark on the dipstick.
When this occurs, the warning lamp will first come on
intermittently and then stay on if the oil level drops
further.
If no leaks are noted, continue to drive to the nearest
service station where the engine oil should be topped to
the “full” mark on the dipstick with an approved oil.
The low engine oil level warning light should not be
ignored. Extended driving with the light illuminated
could result in serious engine damage that is not
covered by the Mercedes-Benz Limited Warranty.
In addition to the warning lamp, the engine oil level
should be periodically checked with the dipstick, for
example during a fuel stop, or before a long trip,
see page 221.
Page 215 of 297
211 Malfunction and indicator lamps
Technical
data Instruments
and controlsOperation DrivingInstrument
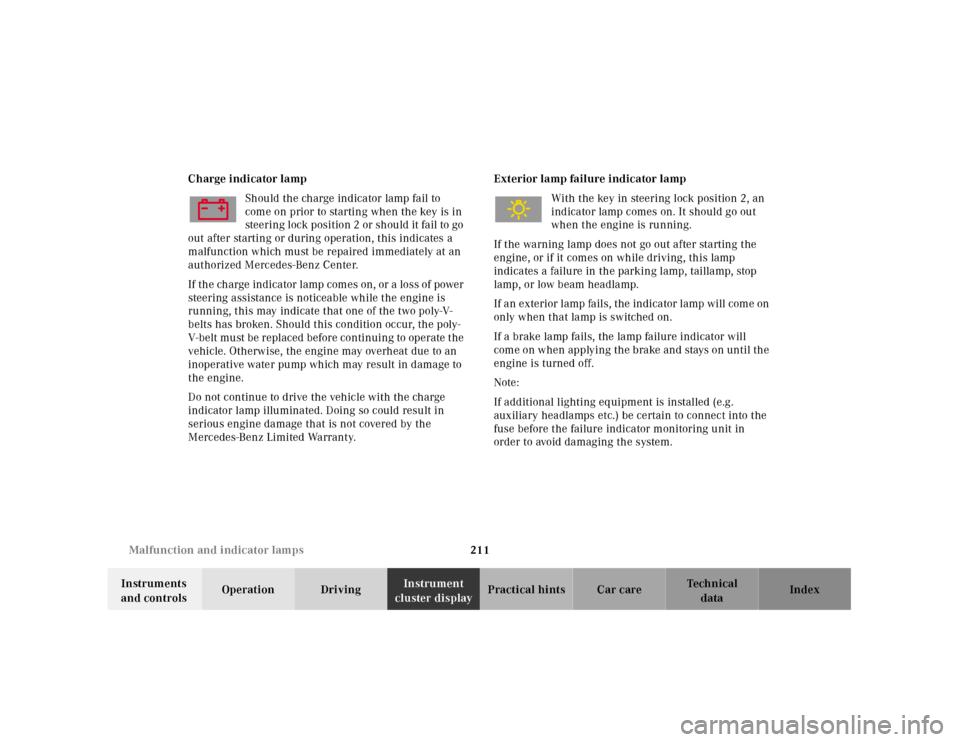
cluster displayPractical hints Car care Index Charge indicator lamp
Should the charge indicator lamp fail to
come on prior to starting when the key is in
steering l ock position 2 or sh ou ld it fa il to go
out after starting or during operation, this indicates a
malfunction which must be repaired immediately at an
authorized Mercedes-Benz Center.
If th e ch arge indica tor l amp com es on, or a loss of power
steering assistance is noticeable while the engine is
running, this may indicate that one of the two poly-V-
belts has broken. Should this condition occur, the poly-
V-belt mu st be repl aced before continuing to operate t he
vehicle. Otherwise, the engine may overheat due to an
inoperative water pump which may result in damage to
the engine.
Do not continue to drive the vehicle with the charge
indicator lamp illuminated. Doing so could result in
serious engine damage that is not covered by the
Mercedes-Benz Limited Warranty.Exterior lamp failure indicator lamp
With the key in steering lock position 2, an
indicator lamp comes on. It should go out
when the engine is running.
If the warning lamp does not go out after starting the
engine, or if it comes on while driving, this lamp
indicates a failure in the parking lamp, taillamp, stop
lamp, or low beam headlamp.
If a n exterior lamp fa ils, the indica tor lamp will com e on
only when that lamp is switched on.
If a brake lamp fails, the lamp failure indicator will
come on when applying the brake and stays on until the
engine is turned off.
Note:
If additional lighting equipment is installed (e.g.
auxiliary headlamps etc.) be certain to connect into the
fuse before the failure indicator monitoring unit in
order to avoid damaging the system.
Page 216 of 297
212 Malfunction and warning messages
Technical
data Instruments
and controlsOperation DrivingInstrument
cluster displayPractical hints Car care Index
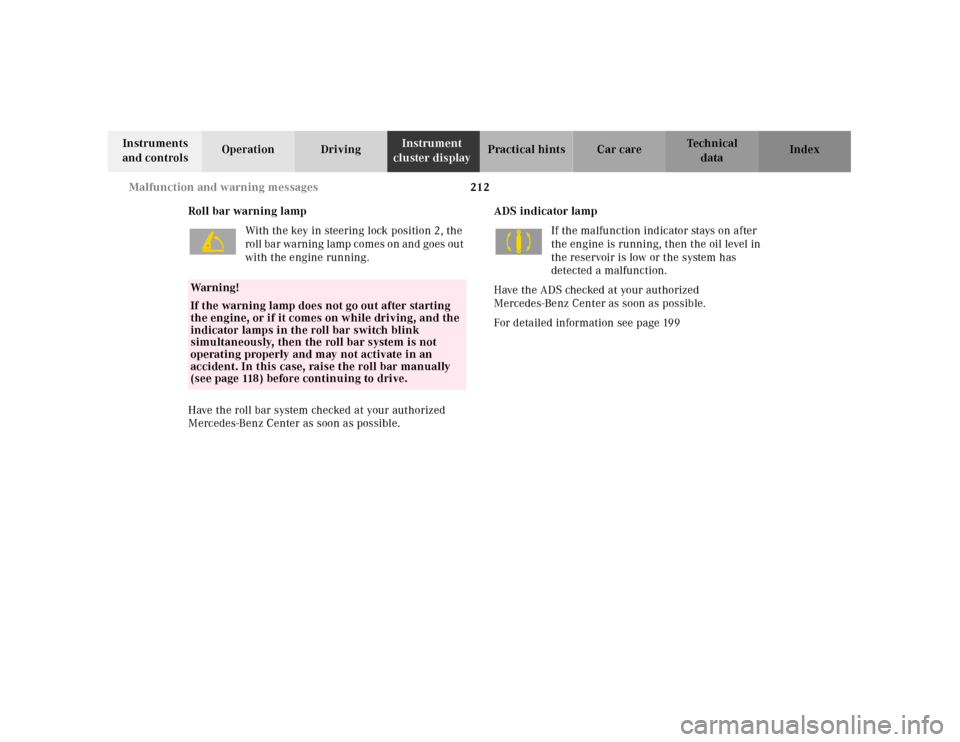
Roll bar warning lamp
With the key in steering lock position 2, the
roll bar warning lamp comes on and goes out
with the engine running.
Have the roll bar system checked at your authorized
Mercedes-Benz Center as soon as possible.ADS indicator lamp
If the malfunction indicator stays on after
the engine is running, then the oil level in
the reservoir is low or the system has
detected a malfunction.
Have the ADS checked at your authorized
Mercedes-Benz Center as soon as possible.
For detailed information see page 199
Wa r n i n g !
If the warning lamp does not go out after starting
the engine, or if it comes on while driving, and the
indicator lamps in the roll bar switch blink
simultaneously, then the roll bar system is not
operating properly and may not activate in an
accident. In this case, raise the roll bar manually
(see page 118) before continuing to drive.
Page 217 of 297
213 Malfunction and warning messages
Technical
data Instruments
and controlsOperation DrivingInstrument
cluster displayPractical hints Car care Index High beam indicator lamp
High beam indicator lamp, see page 86
Additional function indicator lamps
(in the odometer display)
FSS indicator (distance, Service A),
seepage80.
FSS indicator (distance, Service B),
seepage80.
FSS indicator (days, Service A),
seepage80.
FSS indicator (days, Service B),
seepage80.
Start lock-out malfunction, see page 34.Malfunction and indicator lamp
(in the dashboard)
Passenger airbag indicator lamp
üPassenger airbag automatically switched off,
see page 60.
Page 218 of 297
214 Contents – Practical hints
Technical
data Instruments
and controlsOperation DrivingInstrument
cluster displayPractical hintsCar careIndex
Practical hintsFirst aid kit ..................................... 215
Stowing things in the vehicle ...... 215
Vehicle tools .................................... 216
Vehicle jack ..................................... 217
Fuses ................................................ 218
Hood ................................................. 219
Automatic transmission
fluid level ...................................221
Checking engine oil level .............221
Coolant level ...................................223
Adding coolant ...............................224Windshield and headlamp
washer f luid mixing ratio ....... 225
Wheels ............................................ 226
Tire replacement ........................... 226
Rotating wheels ............................. 227
Spare wheel .................................... 228
Changing wheels ........................... 230
Tire inflation pressure ................. 234
Battery ............................................. 236
Battery Recycling ....................... 237
Jump starting ................................. 238
Towing the vehicle ........................ 240Exterior lamps ................................242
Headlamp assembly
(Halogen) .....................................243
Taillamp assemblies ..................249
Changing batteries in
the remote control .................... 251
Synchronizing ............................252
Raising soft top manually .............253
Replacing wiper blade insert .......257
Manual release of
fuel filler flap .............................259
Trunk lamp .....................................259
Page 219 of 297
215 First aid kit
Technical
data Instruments
and controlsOperation DrivingInstrument
cluster displayPractical hintsCar care Index First aid kit
The first aid kit is located in the storage compartment
behind the seats.Stowing things in the vehicle
Wa r n i n g !
To help avoid personal injury during a collision or
sudden maneuver, exercise care when stowing
things. Put luggage or cargo in the trunk if
possible.
Page 220 of 297
216 Vehicle tools
Technical
data Instruments
and controlsOperation DrivingInstrument
cluster displayPractical hintsCar care Index
Vehicle tools 1Trunk f loor
2Strap
3Structured spare wheel
4Wing nut and washer
5Jack arm
6Jack base
7To o l k i t
Roll back the floor mat, lift the trunk floor (1) and
engage strap (2) in the hooks on the upper edge of the
trunk lid.
First remove the vehicle jack, then the spare wheel;
reinstall in reverse order.
Page 221 of 297
217 Vehicle jack
Technical
data Instruments
and controlsOperation DrivingInstrument
cluster displayPractical hintsCar care Index Ve h i c l e j a c k
See illustration for proper storage of jack.
Before storing t he ja ck, the ja ck arm (5) must be lowered
almost to the base (6) of the jack.
Note:
First remove the vehicle jack, then the spare wheel;
reinstall in reverse order.
Wa r n i n g !
The jack is designed exclusively for jacking up the
veh icle at th e jack tu bes bu ilt into eit her side of th e
vehicle. To help avoid personal injury, use the jack
only to lift the vehicle during a wheel change.
Never get beneath the vehicle while it is supported
by t he jack. Keep hands and feet away from th e area
under the lifted vehicle. Always firmly set parking
brake and block wheels before raising vehicle with
jack.Do not disengage parki ng brake wh ile th e vehi cle i s
raised. Be certain that the jack is always vertical
when in use, especially on hills. Always try to use
the jack on level surface. Be sure that the jack arm
is fully inserted in the jack tube. Always lower the
vehicle onto sufficient capacity jackstands before
working under the vehicle.