Page 198 of 297
194 Driving systems
Technical
data Instruments
and controlsOperationDrivingInstrument
cluster displayPractical hints Car care Index
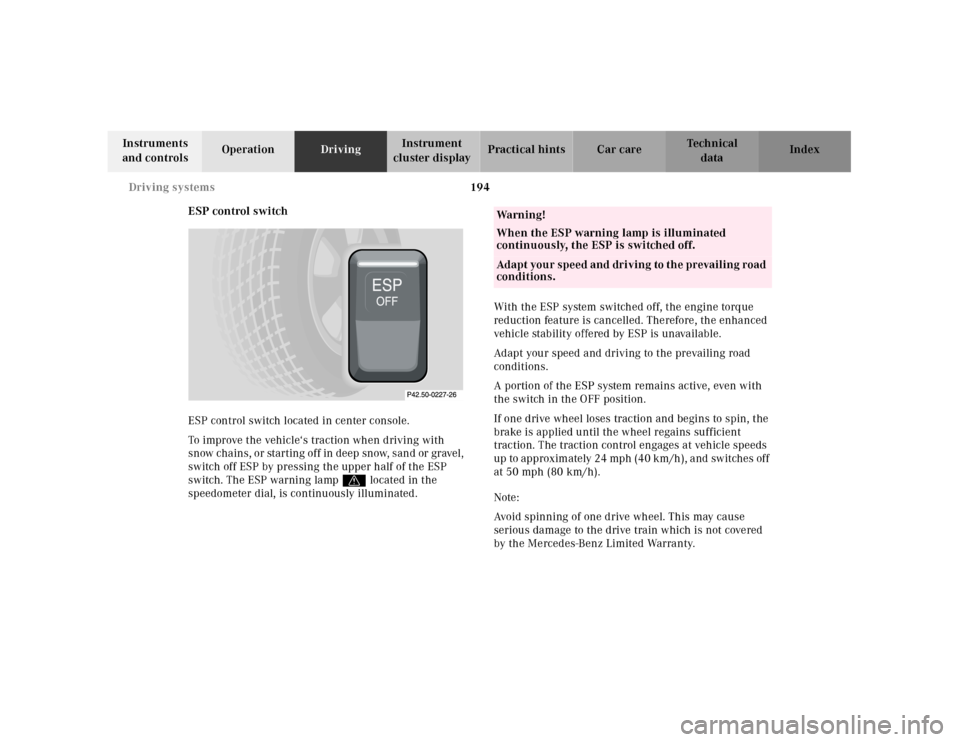
ESP control switch
ESP control switch located in center console.
To improve the vehicle‘s traction when driving with
snow chains, or starting off in deep snow, sand or gravel,
switch off ESP by pressing the upper half of the ESP
switch. The ESP warning lampv located in the
speedometer dial, is continuously illuminated.With the ESP system switched off, the engine torque
reduction feature is cancelled. Therefore, the enhanced
vehicle stability offered by ESP is unavailable.
Adapt your speed and driving to the prevailing road
conditions.
A portion of the ESP system remains active, even with
the switch in the OFF position.
If one drive wheel loses traction and begins to spin, the
brake is applied until the wheel regains sufficient
traction. The traction control engages at vehicle speeds
up to approxim ately 24 mph (40 km /h ), a nd sw itches of f
at 50 mph (80 km/h).
Note:
Avoid spinning of one drive wheel. This may cause
serious damage to the drive train which is not covered
by the Mercedes-Benz Limited Warranty.
Wa r n i n g !
When the ESP warning lamp is illuminated
continuously, the ESP is switched off. Adapt you r speed and dri ving to th e prevailing road
conditions.
Page 199 of 297
195 Driving systems
Technical
data Instruments
and controlsOperationDrivingInstrument
cluster displayPractical hints Car care Index The ESP warning lamp, located in the speedometer dial,
starts to f lash at any vehicle speed as soon as the tires
lose traction and the wheels begin to spin.
To return to the enhanced vehicle stability offered by
ESP: press lower half of the switch (the ESP warning
lamp in the speedometer dial goes out).Important!
If the ESP warning lamp flashes:
• during take-off, apply as little throttle as possible,
• while driving, ease up on the accelerator.
Page 200 of 297
196 Driving systems
Technical
data Instruments
and controlsOperationDrivingInstrument
cluster displayPractical hints Car care Index
Level control system
(SL 600 only)
The switch is located next to the exterior lamp switch
1Level control switch
2Wheel change switchLevel control switch positions
Press upper half of switch once for option 1. One
indicator lamp lights up.
Press upper half of switch twice for option 2. Both
indicator lamps light up.
Note:
The indicator lamps blink at first, and stay on
continuously once the selected level is attained.
Press lower half of switch once:
From option 2, system switches to option 1. Only one
indicator lamp is illuminated.
From option 1, system returns to Normal Level. Indicator
lamp goes out.
Press lower half of switch twice:
From option 2, system returns to Normal Level. Both
indicator lamps go out.
12
P32.35-0219-26
Page 201 of 297
197 Driving systems
Technical
data Instruments
and controlsOperationDrivingInstrument
cluster displayPractical hints Car care Index Normal level
Used for normal operation of the vehicle.
At speeds above approximately 60 mph (95 km/h) the
vehicle chassis is lowered automatically by about one
half inch (15 mm).
Option 1
Level increases one half inch (15 mm)
This setting may be used when road surface conditions
are rough.
When option 1 is selected, the vehicle chassis is raised
by one ha lf inch (15 mm) a t vehicle speed s u p to approx.
35 mph (60 km/h).
At speeds between approximately 35 mph (60 km/h)
and 60 mph (95 km/h) the vehicle chassis is lowered to
its normal level.
At speeds above approximately 60 mph (95 km/h) the
vehicle chassis is lowered an additional one half inch
(15 mm). Notes:
When exceeding approximately 60 mph (95 km/h), the
system switches from option 1 back to Normal Level.
The indicator lamp will go out.
If speed exceeds 35 mph (60 km/h) but does not exceed
60 mph (95 km/h), the vehicle chassis will be
automatically raised again by one half inch (15 mm)
when vehicle speed drops below approx. 35 mph
(60 km/h).
Option 2
Level increases one inch (30 mm)
This setting may be used when road surface conditions
are very rough for increased ground clearance.
Upon selection of option 2 the vehicle chassis is raised
by one inch (30 mm). This option can only be selected at
vehicle standstill, and the raised level is only retained
up to speeds of approximately 15 mph (25 km/h).
At speeds between approximately 15 mph (25 km/h)
and 35 mph (60 km/h) the vehicle chassis is lowered by
one half inch (15 mm).
Page 202 of 297
198 Driving systems
Technical
data Instruments
and controlsOperationDrivingInstrument
cluster displayPractical hints Car care Index
At speeds between approximately 35 mph (60 km/h)
and 60 mph (95 km/h) the vehicle chassis is lowered to
its normal level.
At speeds above approximately 60 mph (95 km/h) the
vehicle chassis is lowered an additional one half inch
(15 mm).
Notes:
When exceeding approximately 35 mph (60 km/h), the
system will switch from option 2 to option 1. Only one
indicator lamp will be illuminated.
When exceeding approximately 60 mph (95 km/h) the
system will switch from option 1 to Normal Level. The
indicator lamp will go out.
If speed exce eds approx. 35 mph (60 km/h) bu t d oes not
exceed 60 mph (95 km/h), the system will switch from
option 2 to option 1 when vehicle speeds drop below
approximately 35 mph (60 km/h).
If speed does not exceed 35 mph (60 km/h), the system
will switch from option 2 to option 1 when driving on
after the vehicle has been stopped.Wheel change switch (2)
Prior to changing a wheel, depress wheel change switch
with engine running. The indicator lamp in the switch
and ADS malfunction indicator lamp light up. The
presently selected level option cannot be changed now.
After activating the wheel change switch turn off the
engine.
Wa r n i n g !
Do not drive the vehicle while the wheel change
switch is activated since the vehicle suspension
will not function properly.
Page 203 of 297
199 Driving systems
Technical
data Instruments
and controlsOperationDrivingInstrument
cluster displayPractical hints Car care Index Adaptive Damping System (ADS)
(SL 600 only)
Depending upon road surface conditions, load, driving
style, ADS will automatically adjust the optimal ride
firmness.
The malfunction indicator lamp comes on with the key
in steering lock position 2 and should go out with the
engine running.
If the malfunction indicator lamp stays on after the
engine is running or comes on while driving, then the
system has detected a malfunction.
Have the ADS checked at your authorized
Mercedes-Benz Center as soon as possible.
Note:
If the power supply was interrupted (battery
disconnected or empty), the malfunction indicator lamp
will light up when the engine is running.
Turn the steering wheel from full left to full right lock
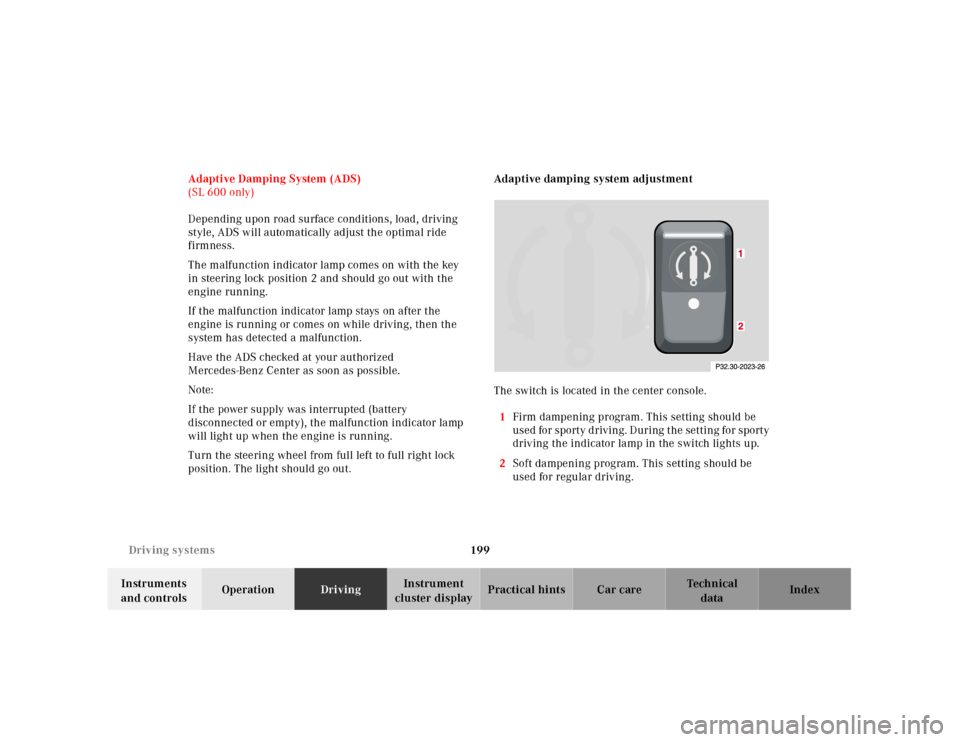
position. The light should go out. Adaptive damping system adjustment
The switch is located in the center console.
1Firm dampening program. This setting should be
u s e d fo r s po rt y d r iv i n g . D u r i ng t h e se t t i n g f o r s po rt y
driving the indicator lamp in the switch lights up.
2Soft dampening program. This setting should be
used for regular driving.
Page 204 of 297
200 What you should know at the gas station
Technical
data Instruments
and controlsOperationDrivingInstrument
cluster displayPractical hints Car care Index
What you should know at the gas station
Fuel supply
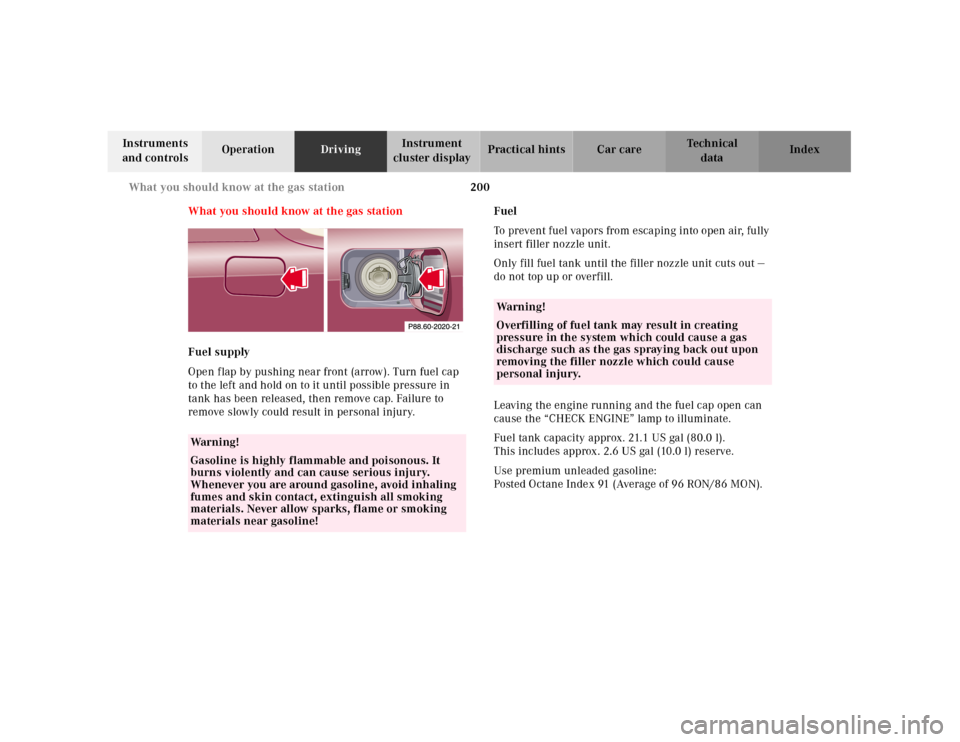
Open flap by pushing near front (arrow). Turn fuel cap
to the left and hold on to it until possible pressure in
tank has been released, then remove cap. Failure to
remove slowly could result in personal injury.Fuel
To prevent fuel vapors from escaping into open air, fully
insert filler nozzle unit.
Only fill fuel tank until the filler nozzle unit cuts out —
do not top up or overfill.
Leaving the engine running and the fuel cap open can
cause the “CHECK ENGINE” lamp to illuminate.
Fuel tank capacity approx. 21.1 US gal (80.0 l).
This includes approx. 2.6 US gal (10.0 l) reserve.
Use premium unleaded gasoline:
Posted Octane Index 91 (Average of 96 RON/86 MON).
Wa r n i n g !
Gasoline is highly flammable and poisonous. It
burns violently and can cause serious injury.
Whenever you are around gasoline, avoid inhaling
fumes and skin contact, extinguish all smoking
materials. Never allow sparks, flame or smoking
materials near gasoline!
Wa r n i n g !
Overfilling of fuel tank may result in creating
pressure in the system which could cause a gas
discharge such as the gas spraying back out upon
removing the filler nozzle which could cause
personal injury.
Page 205 of 297
201 What you should know at the gas station
Technical
data Instruments
and controlsOperationDrivingInstrument
cluster displayPractical hints Car care Index •Engine oil
Engine oil level check, see page 82 or 221.
Fill quantity between upper and lower dipstick
marking level: 2.1 US qt (2.0 l).
Recommended engine oils, see page 276.
•Coolant
For normal replenishing, use water (potable water
quality).
For further information (e.g. anticorrosion/
antifreeze), see page 224.
•Spark plugs
Approved spark plugs, see page 275.
•Tire pressure
For tire pressure, refer to tire pressure label inside
the fuel filler flap.
•Air conditioner
R-134a refrigerant and special PAG lubricant,
see page 276.•Bulbs
High and low beams: Halogen type 9004,
low beam: Xenon, for model SL 600 (SL 500
optional)
high beam (models with Xenon): H 1 (55 W)
fog lamps: H1 (55 W),
turn signal, standing, side marker and parking
lamps, front: 2357 NA (28.5/8.3 W/30/2.2 cp), tail,
parking, standing and driver’s side rear fog lamp:
21 / 4 W,
turn signal lamps, rear: 21 W/32 cp,
side marker lamps, rear: 10W/6 cp,
sto p lamp s: 21 W /32 cp ,
backup lamps: 21 W/32 cp,
license plate lamps: 5W/4 cp.