2000 MERCEDES-BENZ SL600 back up
[x] Cancel search: back upPage 56 of 297
52 Restraint systems
Technical
data Instruments
and controlsOperationDrivingInstrument
cluster displayPractical hints Car care Index
Seat belts and integrated restraint system
Your vehicle is equipped with lap-shoulder seat belts,
emergency tensioning retractors for the seat belts, as
well as airbags and knee bolsters.
Seat belts
Important!
Laws in most states and all Canadian provinces require
seat belt use.
All states and provinces require use of child restraints
that comply with U.S. Federal Motor Vehicle Safety
Standard 213 and Canadian Motor Vehicle Safety
Standard 213.
All child restraint systems are designed to be secured in
vehicle seats by lap belts or the lap belt portion of a lap-
shoulder belt.
For your safety and that of your passenger we strongly
recommend their use.
Note:
For cleaning and care of the seat belts, see page 265.
Wa r n i n g !
The seat belts provide protection only with the
backrest locked in place. If the seat belt warning
lamp< does not go out, but is instead lit
continuously, then a backrest is not engaged in its
lock.Never ride in a moving vehicle with the backrest
reclined. Sitting in an excessi vely reclined position
can be dangerous. You could slide under the seat
belt in a collision. If you slide under it, the belt
would apply force at the abdomen or neck. That
could cause serious or even fatal injuries. The
backrest and seat belt provide the best restraint
when the wearer is in an upright position and the
belt is properly positioned on the body.
Page 60 of 297
56 Restraint systems
Technical
data Instruments
and controlsOperationDrivingInstrument
cluster displayPractical hints Car care Index
Caution!
For safety reasons, avoid adjusting the seat or backrest
into positions which could affect the correct seat belt
positioning.
Unfastening of seat belts
Push the release button (3) in the belt buckle (2).
Allow the retractor to completely rewind the seat belt by
guiding the latch plate (1).
Wa r n i n g !
USE SEAT BELTS PROPERLY.• Each occupant should wear their seat belt at all
times, because seat belts help reduce the
likelihood of and potential severity of injuries
in accidents, including rollovers. The
integrated restraint system includes "SRS"
(driver airbag, passenger airbag, door mounted
side impact airbags), "ETR" (seat belt
emergency tensioning retractors), and front
seat knee bolsters. The system is designed to
enhance the protection offered to properly
belted occupants in certain frontal (front
airbags) and side (side impact airbags) impacts
which exceed preset deployment thresholds.• Never wear belts over rigid or breakable
objects in or on your clothing, such as
eyeglasses, pens, keys etc., as these might
cause injuries.• Position the lap belt as low as possible on your
hips and not across the abdomen. If the belt is
positioned across your abdomen, it can cause
serious injuries in a crash.
Page 68 of 297
64 Restraint systems
Technical
data Instruments
and controlsOperationDrivingInstrument
cluster displayPractical hints Car care Index
To reduce the risk of injury when the front airbags
inflate, it is very important for the driver and front
passenger to always be in a properly seated
position and to wear your seat belt.
For maximum protection in the event of a collision
always be in normal seated position w ith your back
against the backrest. Fasten your seat belt and
ensure that it is properly positioned on your body.For unobstructive inflation of door side impact
airbags, keep door pocket lids closed.Since the airbag inflates with considerable speed
and force, a proper seating and hands on steering
wheel position will help to keep you at a safe
distance from the airbag.
Occupants who are unbelted, out of position or too
close to the airbag can be seriously injured by an
airbag as it inflates with great force in the blink of
an eye:• Sit properly belted in an upright position with
your back against the backrest.
• Adjust the driver seat as far as possible
rearward, still permitting proper operation of
vehicle controls. Adjust the driver seat as far
as possible rearward, still permitting proper
operation of vehicle controls. The distance
from the center of the driver’s breastbone to
the center of the airbag cover on the steering
wheel must be at least ten inches (25 cm) or
more. You should be able to accomplish this by
a combination of adjustments to the seat and
steering wheel. If you have any problems,
please see your authorized Mercedes-Benz
Center.• Do not lean wi th you r head or chest close to th e
steering wheel or dashboard.• Keep hands on the outside of steering wheel
rim. Placing hands and arms inside the rim
can increase the risk and potential severity of
hand/arm injury when the driver front airbag
inflates.• Do not lean against doors.
Page 76 of 297
72 Rear view mirrors
Technical
data Instruments
and controlsOperationDrivingInstrument
cluster displayPractical hints Car care Index
Exterior rear view mirrors
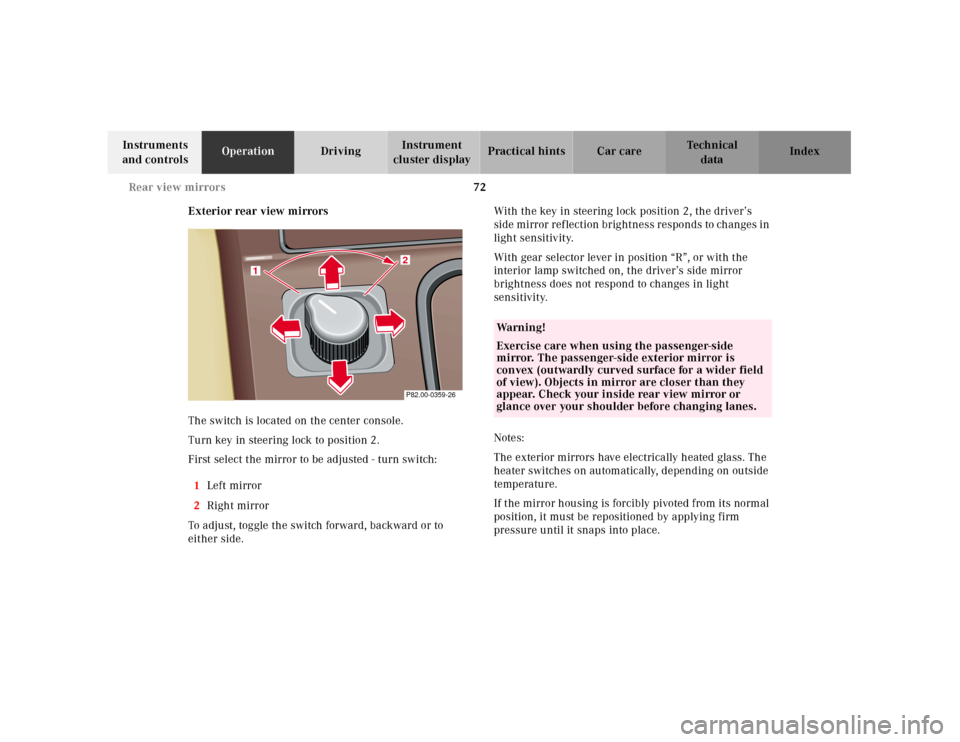
The switch is located on the center console.
Turn key in steering lock to position 2.
First select the mirror to be adjusted - turn switch:
1Left mirror
2Right mirror
To adjust, toggle the switch forward, backward or to
either side.With the key in steering lock position 2, the driver’s
side mirror reflection brightness responds to changes in
light sensitivity.
With gear selector lever in position “R”, or with the
interior lamp switched on, the driver’s side mirror
brightness does not respond to changes in light
sensitivity.
Notes:
The exterior mirrors have electrically heated glass. The
heater switches on automatically, depending on outside
temperature.
If the mirror housing is forcibly pivoted from its normal
position, it must be repositioned by applying firm
pressure until it snaps into place.
2
1
P82.00-0359-26
Wa r n i n g !
Exercise care when using the passenger-side
mirror. The passenger-side exterior mirror is
convex (outwardly curved surface for a wider field
of view). Objects in mirror are closer than they
appear. Check your inside rear view mirror or
glance over your shoulder before changing lanes.
Page 83 of 297
79 Instrument cluster
Technical
data Instruments
and controlsOperationDrivingInstrument
cluster displayPractical hints Car care Index Trip odometer
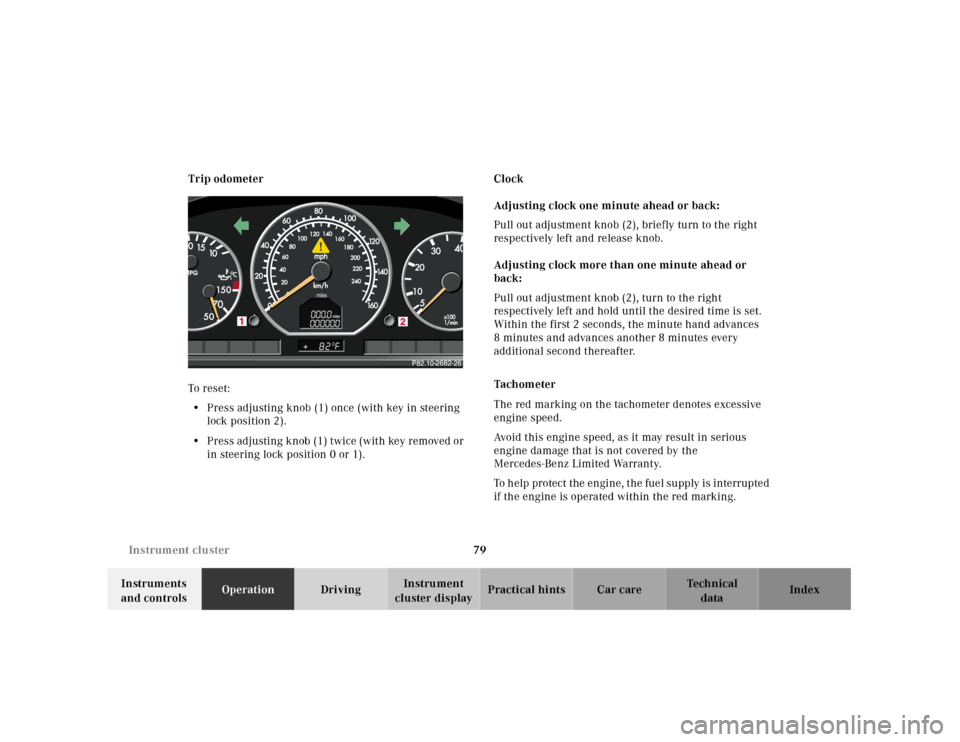
To reset:
• Press adjusting knob (1) once (with key in steering
lock position 2).
• Press adjusting knob (1) twice (with key removed or
in steering lock position 0 or 1).Clock
Adjusting clock one minute ahead or back:
Pull out adjustment knob (2), briefly turn to the right
respectively left and release knob.
Adjusting clock more than one minute ahead or
back:
Pull out adjustment knob (2), turn to the right
respectively left and hold until the desired time is set.
Within the first 2 seconds, the minute hand advances
8 minutes and advances another 8 minutes every
additional second thereafter.
Tachometer
The red marking on the tachometer denotes excessive
engine speed.
Avoid this engine speed, as it may result in serious
engine damage that is not covered by the
Mercedes-Benz Limited Warranty.
To help protect the engine, the fuel supply is interrupted
if the engine is operated within the red marking.
Page 99 of 297
95 Automatic climate control
Technical
data Instruments
and controlsOperationDrivingInstrument
cluster displayPractical hints Car care Index Rear window defroster
(only functions with hardtop installed)
Turn electronic key in steering lock to position 2.
To select, press F button.
To cancel, press F button again.
Note:
H eavy accu mul ation of snow and ic e shoul d be removed
before activating the defroster.
Th e rea r window defroster u ses a large am ou nt of power.
To keep the battery drain to a minimum, turn off the
defroster as soon as the window is clear.
The defroster is automatically turned off after a
maximum of 12 minutes of operation.
If several power consumers are turned on
simultaneously, or the battery is only partially charged,
it is possible that the defroster will automatically turn
itself off. When this happens, the indicator lamp inside
the switch starts blinking.
As soon as the battery has sufficient voltage, the
defroster automatically turns itself back on.Air distribution
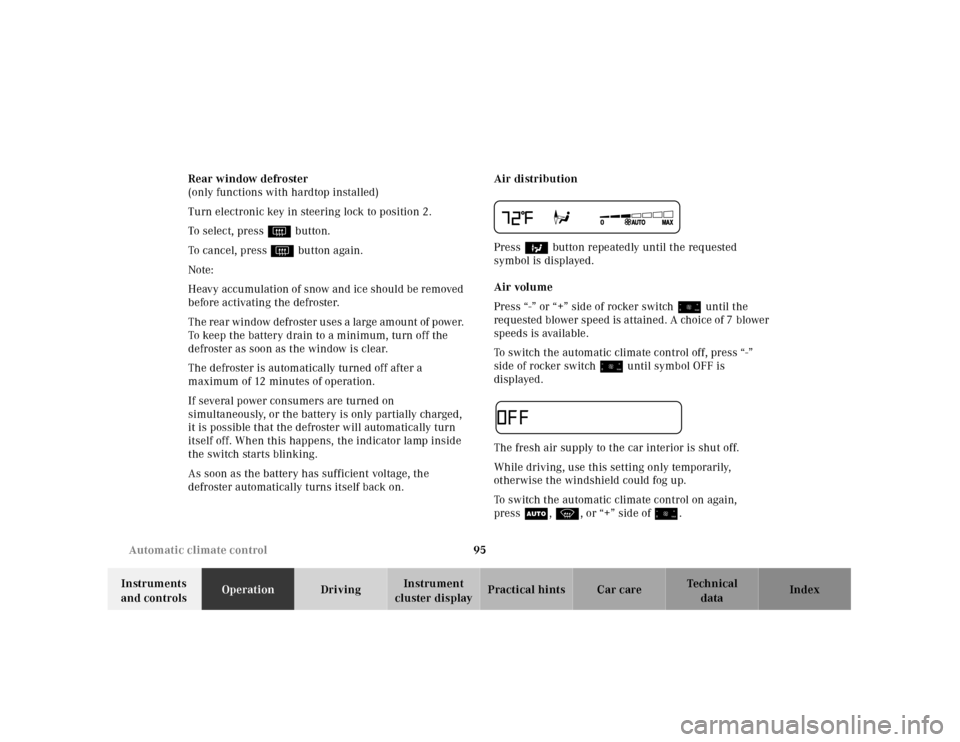
Press b button repeatedly until the requested
symbol is displayed.
Air volume
Press “-” or “+” side of rocker switch ï until the
requested blower speed is attained. A choice of 7 blower
speeds is available.
To switch the automatic climate control off, press “-”
side of rocker switch ï until symbol OFF is
displayed.
The fresh air supply to the car interior is shut off.
While driving, use this setting only temporarily,
otherwise the windshield could fog up.
To switch the automatic climate control on again,
pressU, P, or “+” side ofï.
Page 100 of 297
96 Automatic climate control
Technical
data Instruments
and controlsOperationDrivingInstrument
cluster displayPractical hints Car care Index
Air recirculation
This mode can be selected to temporarily reduce the
entry of annoying odors or dust into the vehicle’s
interior.
Outside air is not supplied to the car’s interior.
To select, press O button.
To cancel, press O button again.
The system will automatically switch from recirculated
air to fresh air
• after approx. 5 minutes at outside temperatures
below approx. 40°F (5°C),
• after approx. 30 minutes, at outside temperatures
above approx. 40°F (5°C),
• after approx. 5 minutes, if button S is pressed.
Notes:
If the windows should fog up from the inside, switch
from recirculated air back to fresh air.
At high outside temperatures, the system automatically
engages the recirculated air mode thereby increasing
the cooling capacity performance, switching to partially
fresh air within 20 minutes.Residual engine heat utilization
With the engine switched off, it is possible to continue
heating the interior for a short while.
Air volume and distribution are controlled
automatically.
To select:
Turn electronic key in steering lock to position 1 or 0 or
remove electronic key.
Press T button.
This function selection will not activate if the battery
charge level is insufficient.
To c a n c e l :
Press T button.
The system will automatically shut off
• If you turn electronic key in steering lock to
position 2,
• after approx. 30 minutes,
• if the battery voltage drops.
Page 110 of 297
106 Audio system
Technical
data Instruments
and controlsOperationDrivingInstrument
cluster displayPractical hints Car care Index
Cassette mode
Playing cassettes
Press the “TAPE” button. When the eject (EJ) key is
pressed, the display folds down and the cassette slot
becomes visible. Push the cassette into the slot until it
engages. The cassette will be pulled in automatically.
Note:
Do not press directly on the radio display face.
Return the display panel to its normal position by
folding it back up and pressing gently on the display
frame to lock in place.
Important:
If the display is in the down position for more than
20 seconds, 2 successive beeps will be heard. This will
continue at 5 second intervals until the display is
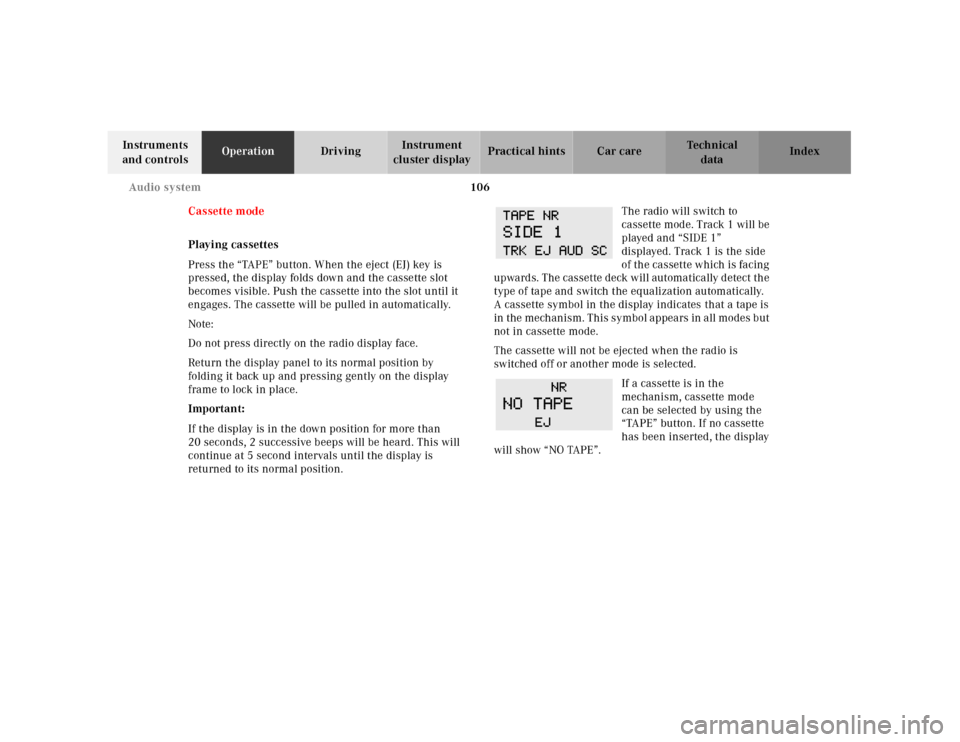
returned to its normal position.The radio will switch to
cassette mode. Track 1 will be
played and “SIDE 1”
displayed. Track 1 is the side
of th e ca ssette w hich is fa cing
upwards. The cassette deck will automatically detect the
type of tape and switch the equalization automatically.
A cassette symbol in the display indicates that a tape is
in t h e m e ch a n i s m . T h i s s y m b o l a p pe a rs in a l l m o d e s b u t
not in cassette mode.
The cassette will not be ejected when the radio is
switched off or another mode is selected.
If a cassette is in the
mechanism, cassette mode
can be selected by using the
“TAPE” button. If no cassette
has been inserted, the display
will show “NO TAPE”.