2000 MERCEDES-BENZ SL500 steering wheel
[x] Cancel search: steering wheelPage 197 of 297
193 Driving systems
Technical
data Instruments
and controlsOperationDrivingInstrument
cluster displayPractical hints Car care Index Notes:
The malfunction indicator lamp for the ESP is combined
with that of the BAS.
The yellow BAS/ESP malfunction indicator lamp in the
instrument cluster and the yellow ESP warning
lampv in the speedometer dial come on with the
key in steering lock position 2. They should go out with
the engine running.
If the BAS/ESP malfunction indicator lamp comes on
permanently with the engine running, a malfunction
has been detected in either system. Pressing the
a ccelera tor peda l will require greater e ffort. Only partia l
engine output will be available.
If the BAS malfunctions, the brake system functions in
the usual manner, but without BAS.
If the BAS/ESP malfunction indicator lamp come s on,
have the BAS or ESP checked at your authorized
Mercedes-Benz Center as soon as possible.
With the ABS malfunctioning, the ESP is also switched
off.Driving the vehicle with varied size tires will cause the
wheels to rotate at different speeds, therefore the ESP
may activate (yellow ESP warning lamp in speedometer
dial comes on). For this reason, all wheels, including the
spare wheel, must have the same tire outside diameter.
When testing the parking brake on a brake test
dynamometer, the engine must be shut off. Otherwise,
the ESP will immediately be engaged and will apply the
rear wheel brakes.
In winter operation, the maximum effectiveness of the
ESP is only achieved with Mercedes-Benz recommended
M+S rated radial-ply tires and/or snow chains.
Synchronizing ESP
If the power supply was interrupted (battery
disconnected or empty), the BAS/ESP malfunction
indicator lamp may be illuminated with the engine
running.
Turn steering wheel completely to the left and then to
the right. The BAS/ESP malfunction indicator lamp
should go out.
Page 203 of 297
199 Driving systems
Technical
data Instruments
and controlsOperationDrivingInstrument
cluster displayPractical hints Car care Index Adaptive Damping System (ADS)
(SL 600 only)
Depending upon road surface conditions, load, driving
style, ADS will automatically adjust the optimal ride
firmness.
The malfunction indicator lamp comes on with the key
in steering lock position 2 and should go out with the
engine running.
If the malfunction indicator lamp stays on after the
engine is running or comes on while driving, then the
system has detected a malfunction.
Have the ADS checked at your authorized
Mercedes-Benz Center as soon as possible.
Note:
If the power supply was interrupted (battery
disconnected or empty), the malfunction indicator lamp
will light up when the engine is running.
Turn the steering wheel from full left to full right lock
position. The light should go out. Adaptive damping system adjustment
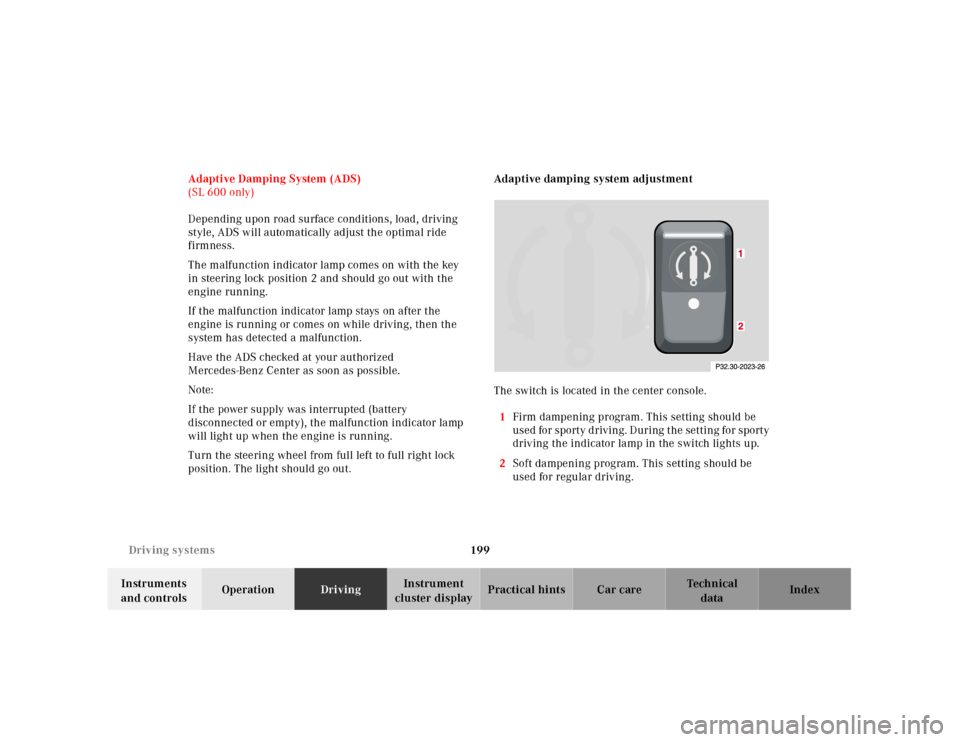
The switch is located in the center console.
1Firm dampening program. This setting should be
u s e d fo r s po rt y d r iv i n g . D u r i ng t h e se t t i n g f o r s po rt y
driving the indicator lamp in the switch lights up.
2Soft dampening program. This setting should be
used for regular driving.
Page 234 of 297
230 Tires, Wheels
Technical
data Instruments
and controlsOperation DrivingInstrument
cluster displayPractical hintsCar care Index
Changing wheelsMove vehicle to a level area which is a safe distance
from the roadway.
1. Firmly set parking brake, raise roll bar, and turn on
hazard warning f lasher.
2. Move selector lever to position “P”.
3. While engine is running, depress wheel change
switch for level control. The indicator lamp in the
sw it ch a n d t h e A D S m a l f u n c t i on i n d i c a to r l a mp l ig h t
up.
4. Turn off engine.
5. Prevent vehicle from rolling away by blocking
wheels with wheel chocks (not supplied with
vehicle) or sizable wood block or stone. When
changing a wheel on a hill, place chocks on the
downhill side blocking both wheels of the other
axl e. On a l evel road, pl ace one ch ock in front of a nd
one behind the wheel that is diagonally opposite to
the wheel being changed.
The jack is designed exclusively for jacking up the
veh icle at the jack tu bes bui lt into eith er si de of th e
vehicle. To help avoid personal injury, use the jack
only to lift the vehicle during a wheel change.
Never get beneath the vehicle while it is supported
by th e jack. Keep hands and feet away from the area
under the lifted vehicle. Always firmly set parking
brake and block wheels before raising vehicle with
jack.Do not disengage parking brake whi le th e vehic le is
raised. Be certain that the jack is always vertical
when in use, especially on hills. Always try to use
the jack on level surface. Be sure that the jack arm
is fully inserted in the jack tube. Always lower the
vehicle onto sufficient capacity jackstands before
working under the vehicle.Before working on the vehicle, e.g. when changing
wheels, the roll bar should be raised with the
switch, and the key be removed from the steering
lock, to prevent possible injury.
Page 245 of 297
241 Towing the vehicle
Technical
data Instruments
and controlsOperation DrivingInstrument
cluster displayPractical hintsCar care Index The vehicle may be towed with all wheels on the ground
and the selector lever in position “N” for distances up to
30 miles (50 km) and at a speed not to exceed 30 mph
(50 km/h). The key must be in steering lock position 2.
To be certain to avoid a possibility of damage to the
transmission, however, we recommend the drive shaft
be disconnected at the rear axle drive f lange for any
towing beyond a short tow to a nearby garage.
Do not tow with sling-type equipment. Towing with
sling-type equipment over bumpy roads will damage
radiator and supports.
The use of wheel lift equipment will damage engine oil
pan.
Important!
When towing the vehicle, please, note the following:
With the automatic central locking activated and the
key in steering lock position 2, the vehicle doors lock if
the left front wheel as well as the right rear wheel are
tu rning a t veh ic le speeds of approx . 9 mph (15 k m/h) or
more.
To prevent the vehicle door locks from locking,
deactivate the automatic central locking.When transporting vehicle on flat bed equipment, the
front end of the vehicle must be loaded first. Additional
ramping may be required for loading to protect bumper
fascia.
Note:
To signal turns while being towed with hazard warning
f lash er in u se, turn key in steering l ock to position 2 a nd
activate combination switch for left or right turn signal
in usual manner – only the selected turn signal will
operate.
Upon canceling the turn signal, the hazard warning
f lasher will operate again.
Wa r n i n g !
With the engine not running, there is no power
assistance for the braking and steering systems. In
this case, it is important to keep in mind that a
considerably higher degree of effort in necessary to
brake and steer the vehicle.
Page 264 of 297
260 Contents – Vehicle care
Technical
data Instruments
and controlsOperation DrivingInstrument
cluster displayPractical hints Car care Index
Vehicle careCleaning and care
of the vehicle ............................. 261
Power washer ..............................262
Tar stains .....................................262
Paintwork, Painted Body
Components ................................262
Engine cleaning ..........................263
Vehicle washing .........................263Ornamental moldings ............... 263
Headlamps, taillamps,
turn signal lenses ...................... 263
Window cleaning ....................... 264
Light alloy wheels ..................... 264
Instrument cluster ..................... 264
Steering wheel and
gear selector lever ..................... 264
Cup holder .................................. 264
Seat belts ..................................... 265
Headliner, shelf behind
roll bars, and other hard
plastic trim items ....................... 265Soft top .........................................265
Headliner .....................................266
Wind screen ................................266
Automatic antenna .....................266
Wiper blade .................................266
Headlamp cleaning system .......266
Leather upholstery .....................267
Plastic and rubber parts ............267
Illuminated door sill panels .....267
Page 268 of 297
264 Cleaning and care of the vehicle
Technical
data Instruments
and controlsOperation DrivingInstrument
cluster displayPractical hintsCar careIndex
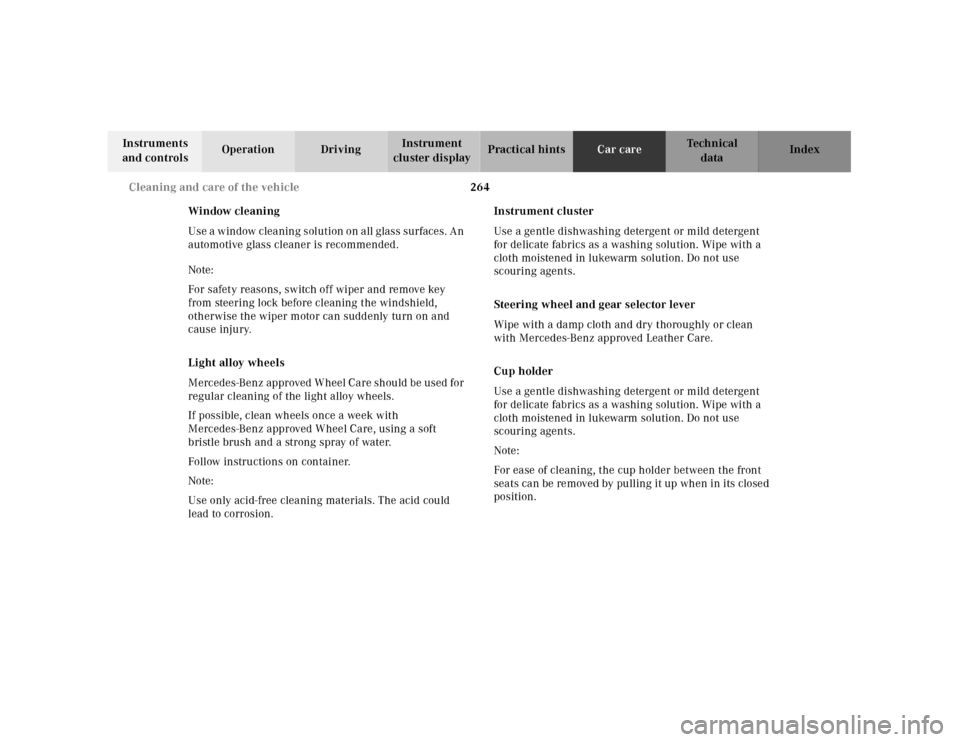
Window cleaning
Use a window cleaning solution on all glass surfaces. An
automotive glass cleaner is recommended.
Note:
For safety reasons, switch off wiper and remove key
from steering lock before cleaning the windshield,
otherwise the wiper motor can suddenly turn on and
cause injury.
Light alloy wheels
Mercedes-Benz approved Wheel Care should be used for
regular cleaning of the light alloy wheels.
If possible, clean wheels once a week with
Mercedes-Benz approved Wheel Care, using a soft
bristle brush and a strong spray of water.
Follow instructions on container.
Note:
Use only acid-free cleaning materials. The acid could
lead to corrosion.Instrument cluster
Use a gentle dishwashing detergent or mild detergent
for delicate fabrics as a washing solution. Wipe with a
cloth moistened in lukewarm solution. Do not use
scouring agents.
Steering wheel and gear selector lever
Wipe with a damp cloth and dry thoroughly or clean
with Mercedes-Benz approved Leather Care.
Cup holder
Use a gentle dishwashing detergent or mild detergent
for delicate fabrics as a washing solution. Wipe with a
cloth moistened in lukewarm solution. Do not use
scouring agents.
Note:
For ease of cleaning, the cup holder between the front
seats can be removed by pulling it up when in its closed
position.
Page 280 of 297
276 Fuels, coolants, lubricants etc. - capacities
Technical
data Instruments
and controlsOperation DrivingInstrument
cluster displayPractical hints Car care Index
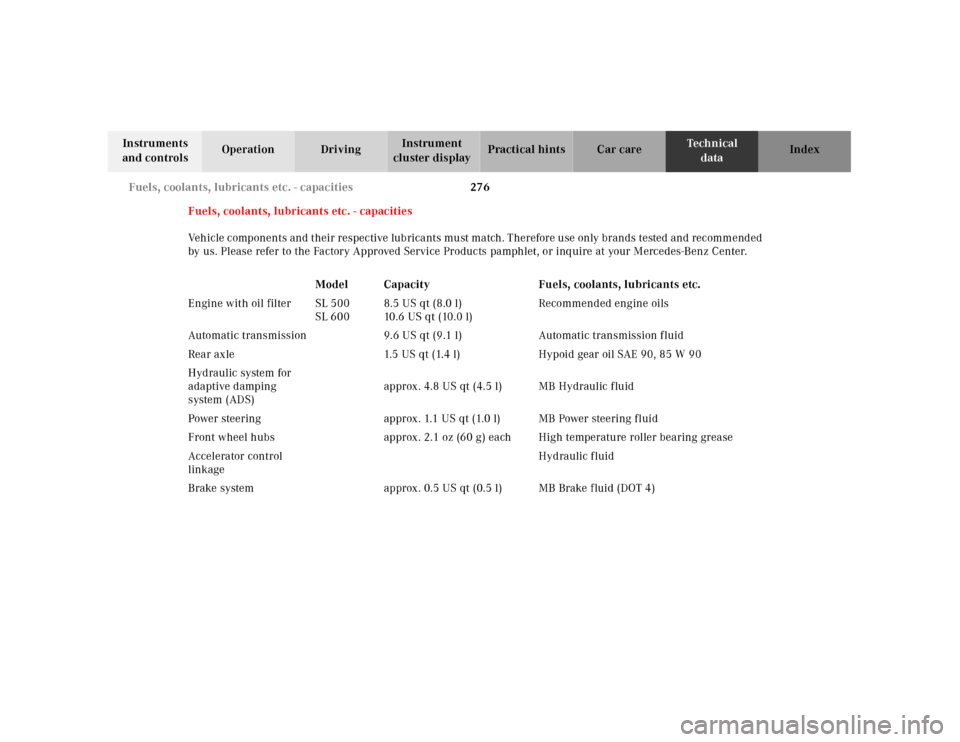
Fuels, coolants, lubricants etc. - capacities
Veh icle c omponents and t heir respec tive lub rica nts mu st ma tch . T herefore u se only brands tested and rec omm end ed
by us. Please refer to the Factory Approved Service Products pamphlet, or inquire at your Mercedes-Benz Center.
Model Capacity Fuels, coolants, lubricants etc.
Engine with oil filter SL 500
SL 6008.5 US qt (8.0 l)
10 . 6 U S q t ( 10 . 0 l )Recommended engine oils
Automatic transmission 9.6 US qt (9.1 l) Automatic transmission fluid
Rear axle 1.5 US qt (1.4 l) Hypoid gear oil SAE 90, 85 W 90
Hydraulic system for
adaptive damping
system (ADS)approx. 4.8 US qt (4.5 l) MB Hydraulic fluid
Power steering approx. 1.1 US qt (1.0 l) MB Power steering fluid
Front wheel hubs approx. 2.1 oz (60 g) each High temperature roller bearing grease
Accelerator control
linkageHydraulic fluid
Brake system approx. 0.5 US qt (0.5 l) MB Brake fluid (DOT 4)
Page 295 of 297
291
Technical
data Instruments
and controlsOperation DrivingInstrument
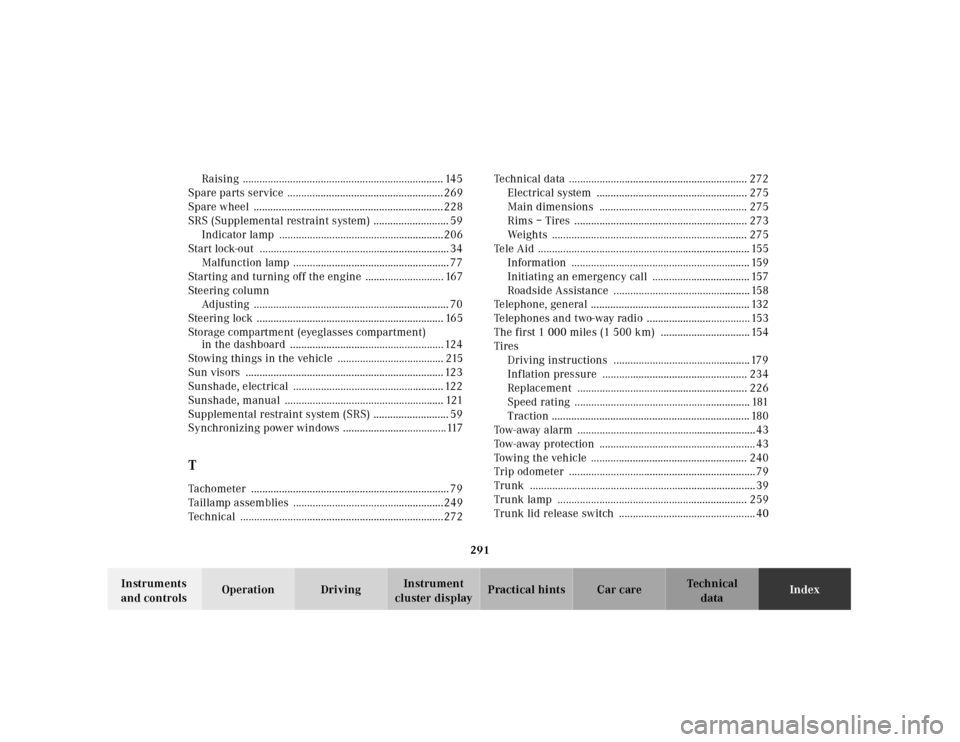
cluster displayPractical hints Car careIndex Raising ........................................................................ 145
Spare parts service ........................................................269
Spare wheel ....................................................................228
SRS (Supplemental restraint system) ........................... 59
Indicator lamp ...........................................................206
Start lock-out .................................................................... 34
Malfunction lamp ........................................................ 77
Starting and turning off the engine ............................ 167
Steering column
Adjusting ...................................................................... 70
Steering lock ................................................................... 165
Storage compartment (eyeglasses compartment)
in the dashboard ....................................................... 124
Stowing things in the vehicle ...................................... 215
Sun visors ....................................................................... 123
Sunshade, electrical ...................................................... 122
Sunshade, manual ......................................................... 121
Supplemental restraint system (SRS) ........................... 59
Synchronizing power windows .....................................117
TTachometer ....................................................................... 79
Taillamp assemblies ......................................................249
Technical .........................................................................272Technical data ................................................................ 272
Electrical system ...................................................... 275
Main dimensions ..................................................... 275
Rims – Tires .............................................................. 273
Weights ...................................................................... 275
Tele Aid ............................................................................ 155
Information ................................................................ 159
Initiating an emergency call ................................... 157
Roadside Assistance ................................................. 158
Telephone, general ......................................................... 132
Telephones and two-way radio ..................................... 153
The first 1 000 miles (1 500 km) ................................ 154
Tires
Driving instructions .................................................179
Inflation pressure .................................................... 234
Replacement ............................................................. 226
Speed rating ............................................................... 181
Traction ....................................................................... 180
Tow-away alarm ................................................................43
Tow-away protection ........................................................ 43
Towing the vehicle ........................................................ 240
Trip odometer ...................................................................79
Trunk .................................................................................39
Trunk lamp .................................................................... 259
Trunk lid release switch ................................................. 40