Page 16 of 224
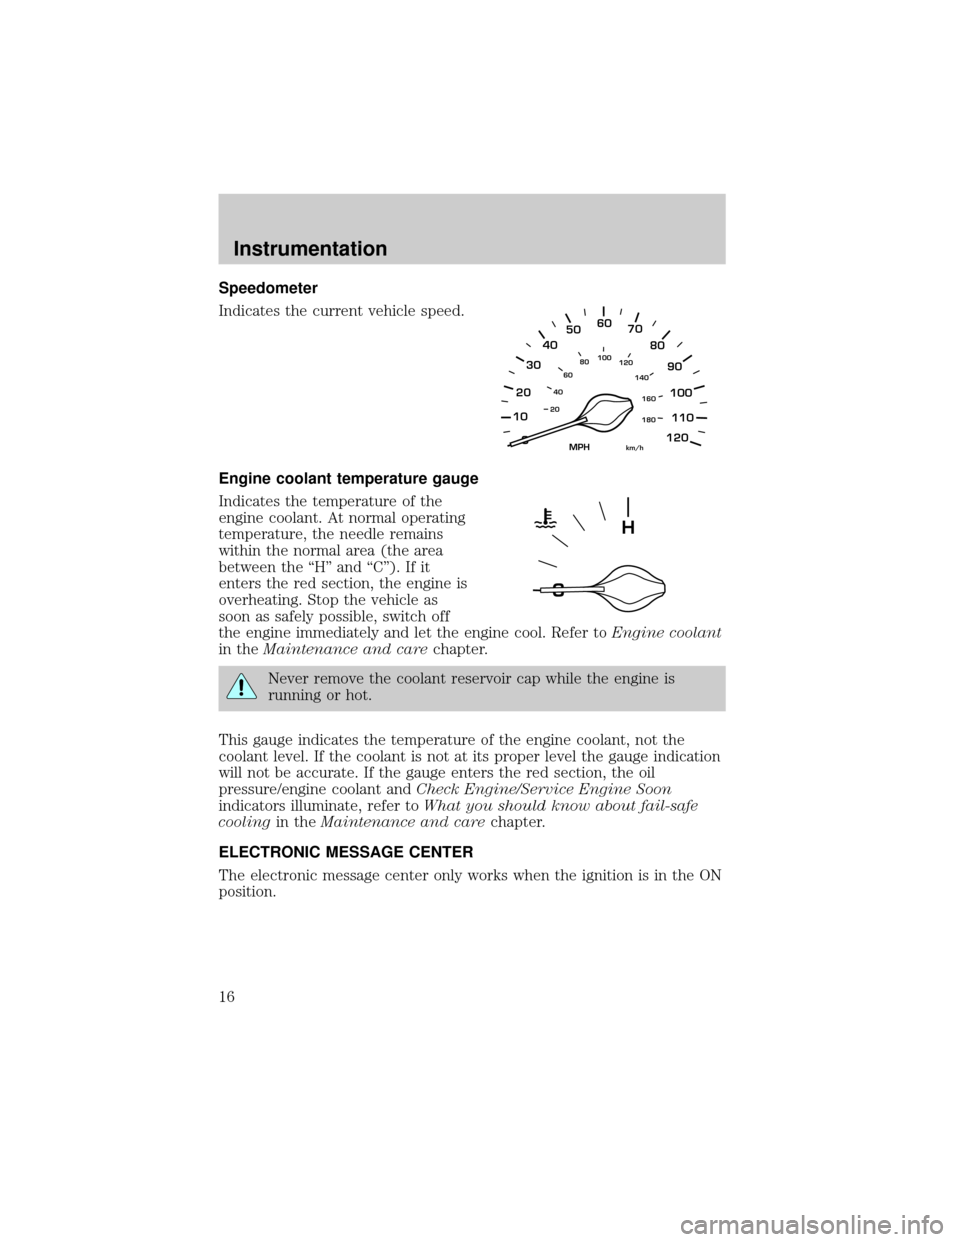
Speedometer
Indicates the current vehicle speed.
Engine coolant temperature gauge
Indicates the temperature of the
engine coolant. At normal operating
temperature, the needle remains
within the normal area (the area
between the ªHº and ªCº). If it
enters the red section, the engine is
overheating. Stop the vehicle as
soon as safely possible, switch off
the engine immediately and let the engine cool. Refer toEngine coolant
in theMaintenance and carechapter.
Never remove the coolant reservoir cap while the engine is
running or hot.
This gauge indicates the temperature of the engine coolant, not the
coolant level. If the coolant is not at its proper level the gauge indication
will not be accurate. If the gauge enters the red section, the oil
pressure/engine coolant andCheck Engine/Service Engine Soon
indicators illuminate, refer toWhat you should know about fail-safe
coolingin theMaintenance and carechapter.
ELECTRONIC MESSAGE CENTER
The electronic message center only works when the ignition is in the ON
position.
10
2030405060
70
80
90
100
120206080
40100
120
160 140
180
MPHkm/h
110
H
Instrumentation
16
Page 19 of 224
Compass zone adjustment
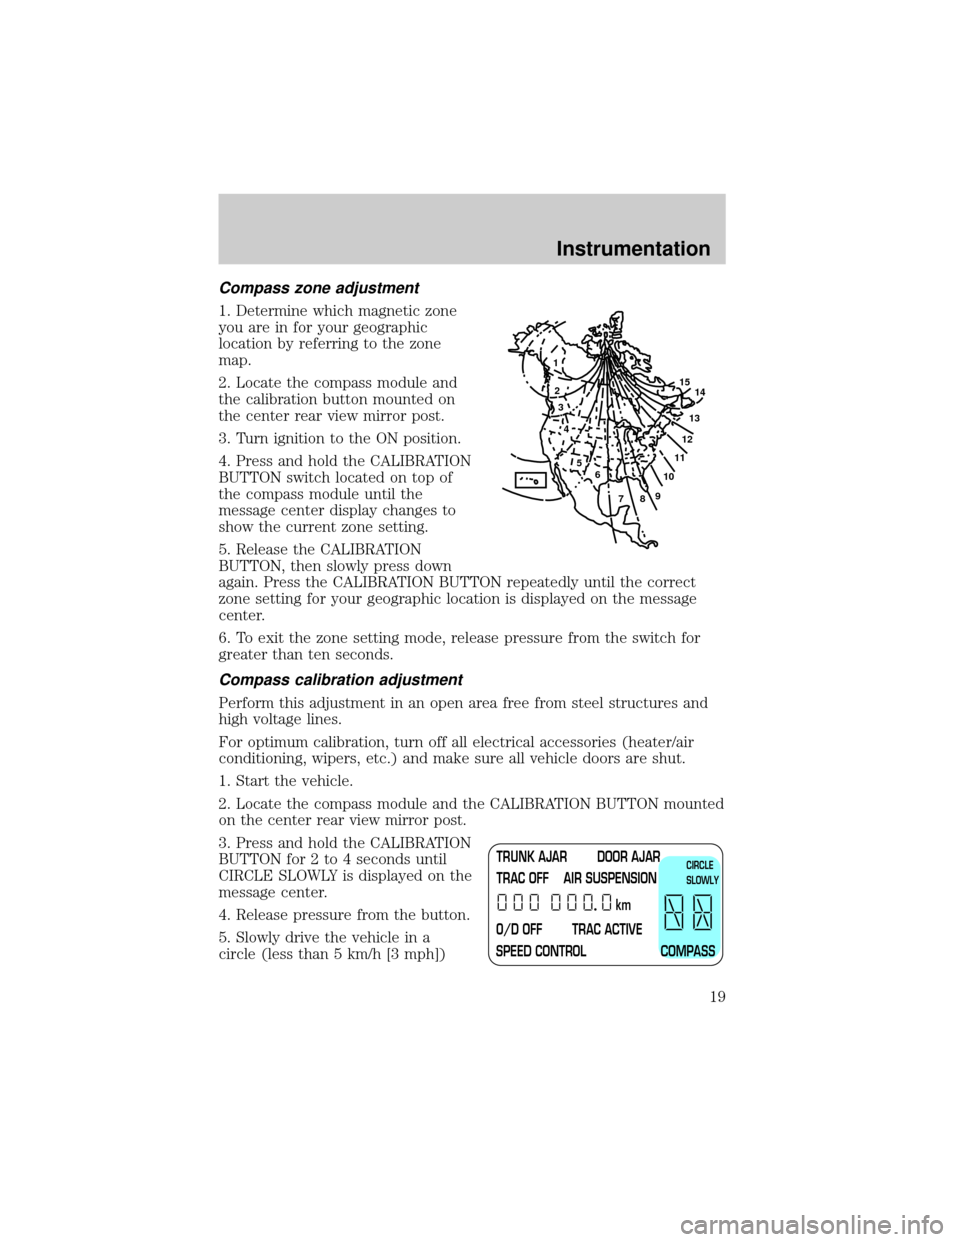
1. Determine which magnetic zone
you are in for your geographic
location by referring to the zone
map.
2. Locate the compass module and
the calibration button mounted on
the center rear view mirror post.
3. Turn ignition to the ON position.
4. Press and hold the CALIBRATION
BUTTON switch located on top of
the compass module until the
message center display changes to
show the current zone setting.
5. Release the CALIBRATION
BUTTON, then slowly press down
again. Press the CALIBRATION BUTTON repeatedly until the correct
zone setting for your geographic location is displayed on the message
center.
6. To exit the zone setting mode, release pressure from the switch for
greater than ten seconds.
Compass calibration adjustment
Perform this adjustment in an open area free from steel structures and
high voltage lines.
For optimum calibration, turn off all electrical accessories (heater/air
conditioning, wipers, etc.) and make sure all vehicle doors are shut.
1. Start the vehicle.
2. Locate the compass module and the CALIBRATION BUTTON mounted
on the center rear view mirror post.
3. Press and hold the CALIBRATION
BUTTON for 2 to 4 seconds until
CIRCLE SLOWLY is displayed on the
message center.
4. Release pressure from the button.
5. Slowly drive the vehicle in a
circle (less than 5 km/h [3 mph])
1
2
3
4
5
6
7891011121314 15
TRUNK AJAR DOOR AJAR
TRAC OFF AIR SUSPENSION
O/D OFF TRAC ACTIVE
SPEED CONTROL COMPASSkmCIRCLE
SLOWLY
Instrumentation
19
Page 21 of 224
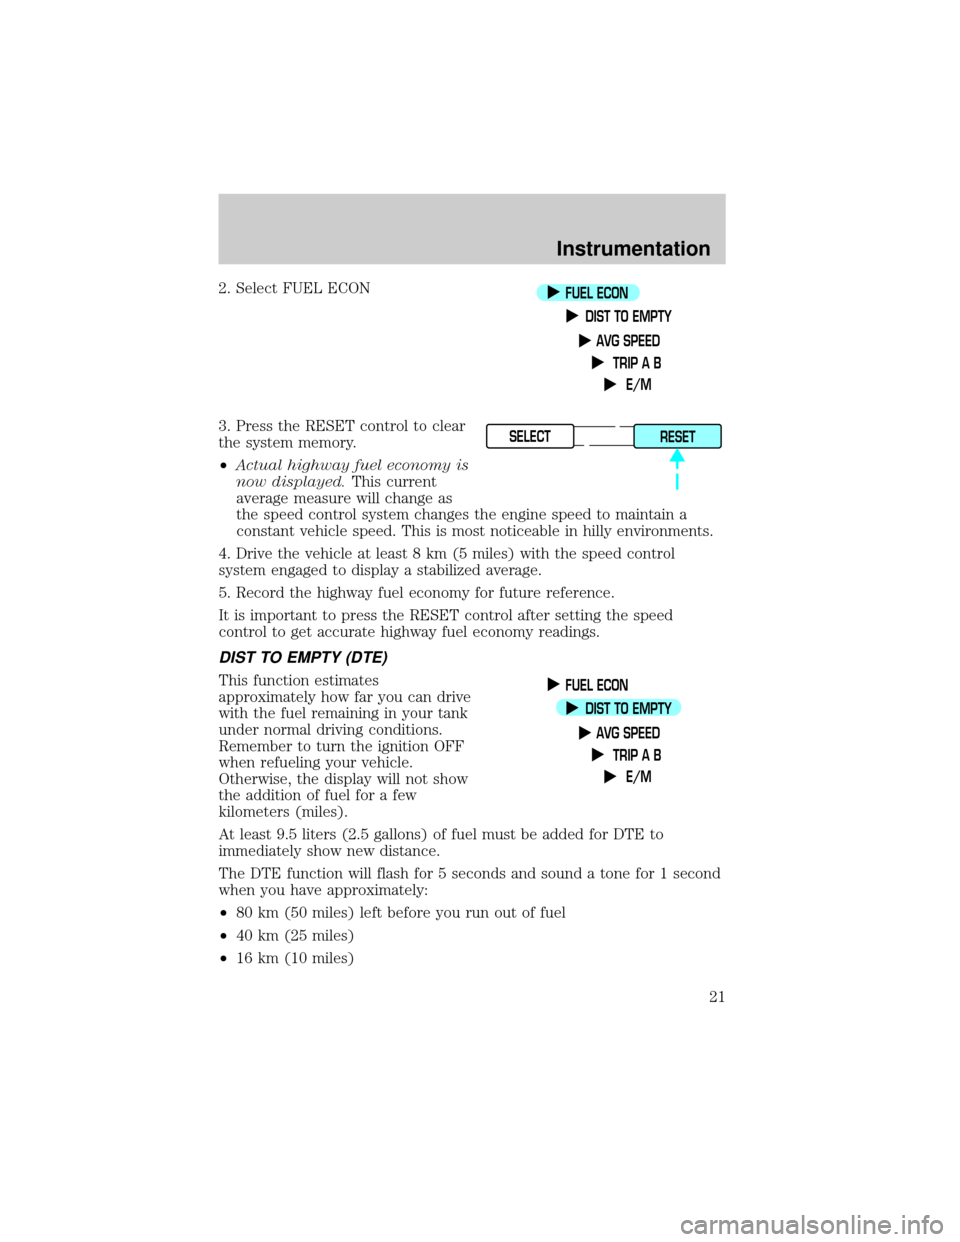
2. Select FUEL ECON
3. Press the RESET control to clear
the system memory.
²Actual highway fuel economy is
now displayed.This current
average measure will change as
the speed control system changes the engine speed to maintain a
constant vehicle speed. This is most noticeable in hilly environments.
4. Drive the vehicle at least 8 km (5 miles) with the speed control
system engaged to display a stabilized average.
5. Record the highway fuel economy for future reference.
It is important to press the RESET control after setting the speed
control to get accurate highway fuel economy readings.
DIST TO EMPTY (DTE)
This function estimates
approximately how far you can drive
with the fuel remaining in your tank
under normal driving conditions.
Remember to turn the ignition OFF
when refueling your vehicle.
Otherwise, the display will not show
the addition of fuel for a few
kilometers (miles).
At least 9.5 liters (2.5 gallons) of fuel must be added for DTE to
immediately show new distance.
The DTE function will flash for 5 seconds and sound a tone for 1 second
when you have approximately:
²80 km (50 miles) left before you run out of fuel
²40 km (25 miles)
²16 km (10 miles)
FUEL ECON
DIST TO EMPTY
AVG SPEED
TRIP A B
E/M
SELECT
RESET
FUEL ECON
DIST TO EMPTY
AVG SPEED
TRIP A B
E/M
Instrumentation
21
Page 23 of 224
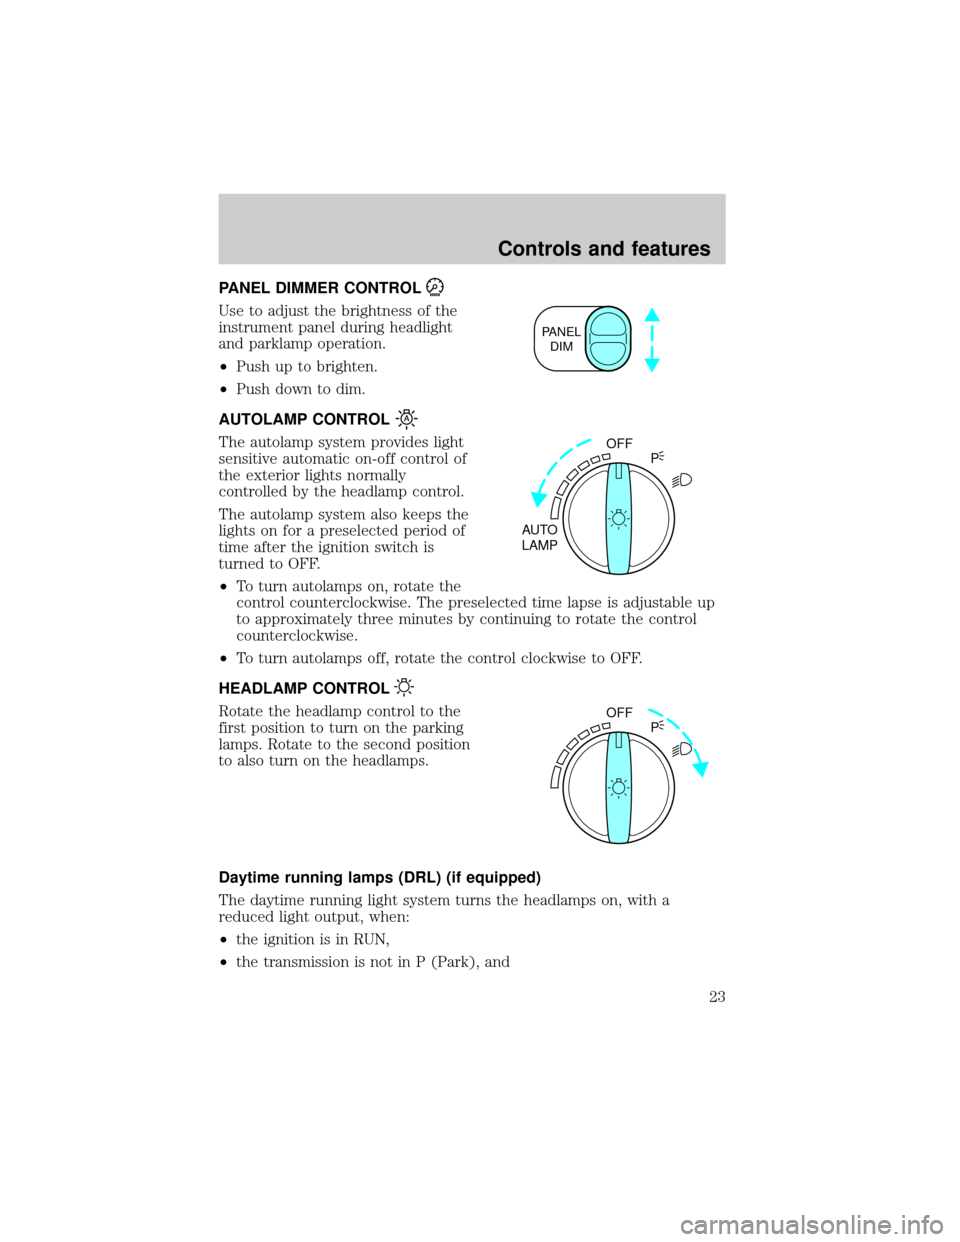
PANEL DIMMER CONTROL
Use to adjust the brightness of the
instrument panel during headlight
and parklamp operation.
²Push up to brighten.
²Push down to dim.
AUTOLAMP CONTROL
The autolamp system provides light
sensitive automatic on-off control of
the exterior lights normally
controlled by the headlamp control.
The autolamp system also keeps the
lights on for a preselected period of
time after the ignition switch is
turned to OFF.
²To turn autolamps on, rotate the
control counterclockwise. The preselected time lapse is adjustable up
to approximately three minutes by continuing to rotate the control
counterclockwise.
²To turn autolamps off, rotate the control clockwise to OFF.
HEADLAMP CONTROL
Rotate the headlamp control to the
first position to turn on the parking
lamps. Rotate to the second position
to also turn on the headlamps.
Daytime running lamps (DRL) (if equipped)
The daytime running light system turns the headlamps on, with a
reduced light output, when:
²the ignition is in RUN,
²the transmission is not in P (Park), and
PANEL
DIM
OFF
AUTO
LAMPP
OFF
P
Controls and features
23
Page 25 of 224
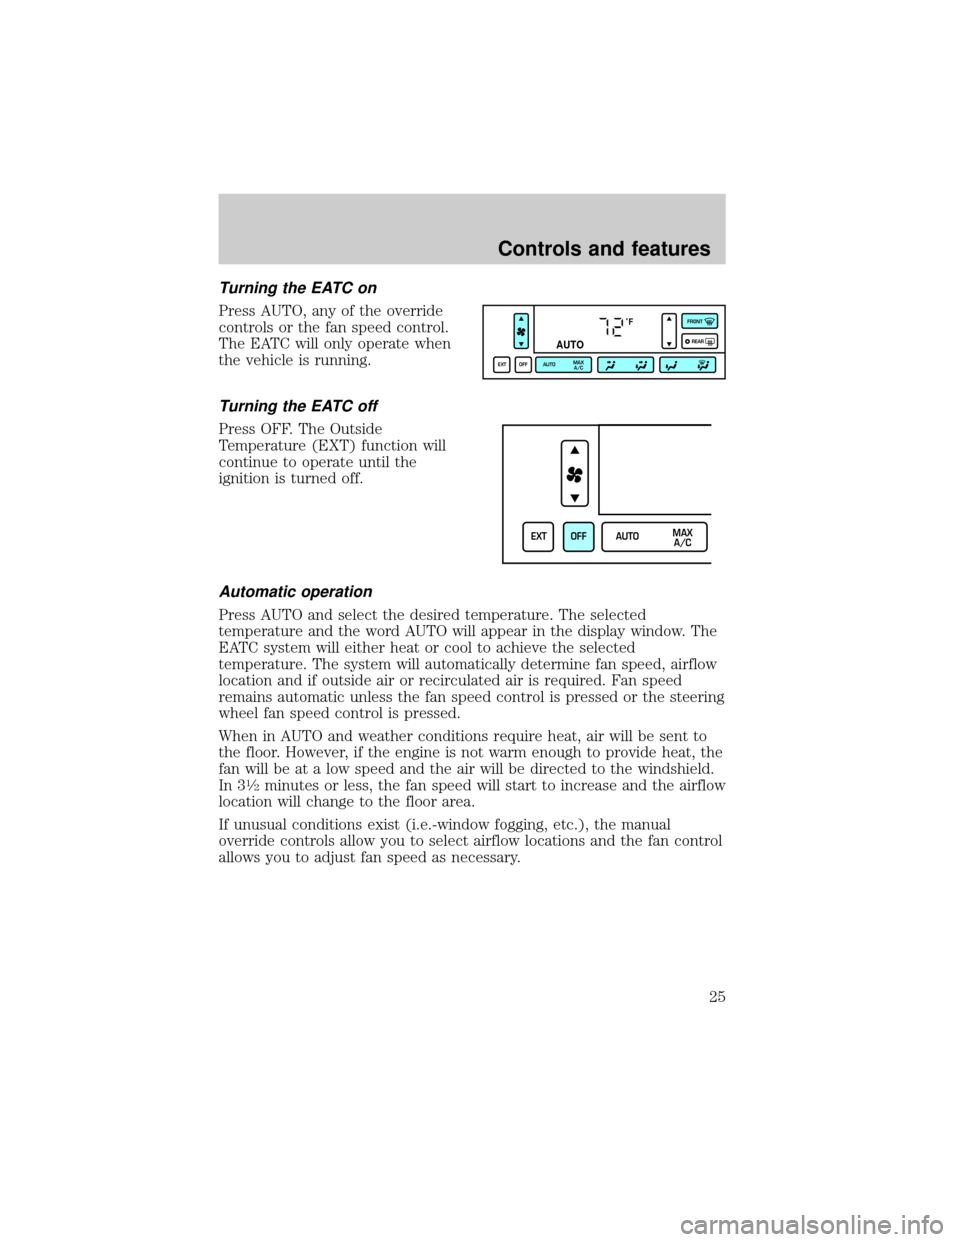
Turning the EATC on
Press AUTO, any of the override
controls or the fan speed control.
The EATC will only operate when
the vehicle is running.
Turning the EATC off
Press OFF. The Outside
Temperature (EXT) function will
continue to operate until the
ignition is turned off.
Automatic operation
Press AUTO and select the desired temperature. The selected
temperature and the word AUTO will appear in the display window. The
EATC system will either heat or cool to achieve the selected
temperature. The system will automatically determine fan speed, airflow
location and if outside air or recirculated air is required. Fan speed
remains automatic unless the fan speed control is pressed or the steering
wheel fan speed control is pressed.
When in AUTO and weather conditions require heat, air will be sent to
the floor. However, if the engine is not warm enough to provide heat, the
fan will be at a low speed and the air will be directed to the windshield.
In 3
1¤2minutes or less, the fan speed will start to increase and the airflow
location will change to the floor area.
If unusual conditions exist (i.e.-window fogging, etc.), the manual
override controls allow you to select airflow locations and the fan control
allows you to adjust fan speed as necessary.
˚F
AUTO
EXT OFF AUTOMAX
A/CFRONT
REAR
EXT OFF AUTOMAX
A/C
Controls and features
25
Page 30 of 224

²If your vehicle has been parked with the windows closed during hot
weather, the air conditioner will do a much faster job of cooling if you
drive for two or three minutes with the windows open. This will force
most of the hot, stale air out of the vehicle. Then operate the air
conditioner as you would normally.
²Do not place objects over the defroster outlets. These objects can
block airflow and reduce your ability to see through your windshield.
Also, avoid placing small objects on top of your instrument panel.
These objects can fall down into the defroster outlets and block
airflow and possibly damage your climate control system.
Do not place objects on top of the instrument panel, as these
objects may become projectiles in a collision or sudden stop.
USING YOUR AUDIO SYSTEM
AM/FM stereo cassette
Your vehicle is equipped with a delayed accessory feature. This feature
enables the audio playing media to continue playing up to 10 minutes
after the ignition has been turned off, or until a door is opened.
SCAN
BASS TREB BAL FADE
SIDE
EJ
REW FF1 - 2TAPE
AMS
VOL - PUSH ON
SEEK
TUNE
AM
FMCLK
12 3456
FM1ST
Controls and features
30
Page 31 of 224
Volume/power control
Press the control to turn the audio
system on or off.
Turn the control to raise or lower
volume.
If the volume is set above a certain level and the ignition is turned off,
the volume will come back on at a ªnominalº listening level when the
ignition switch is turned back on.
AM/FM select
The AM/FM select control works in
radio and tape modes.
AM/FM select in radio mode
This control allows you to select AM or FM frequency bands. Press the
AM control to select from AM selections, and press the FM control to
select from FM1 or FM2 memory preset stations.
AM/FM select in tape mode
Press this control to stop tape play and begin radio play.
VOL - PUSH ON
VOL - PUSH ON
AM
FM
Controls and features
31
Page 38 of 224
Your audio system is equipped with selective lighting, a unique lighting
strategy. This lighting feature is operable when the headlamps are
illuminated. During the operation of any selected mode, lighting for the
individual function controls will either illuminate or turn off. Those
controls which have a function for the specific mode of operation
selected will be lit, while the controls which have no function for that
mode will be turned off.
Your vehicle is equipped with a delayed accessory feature. This feature
enables the audio playing media to continue playing up to 10 minutes
after the ignition has been turned off, or until a door is opened.
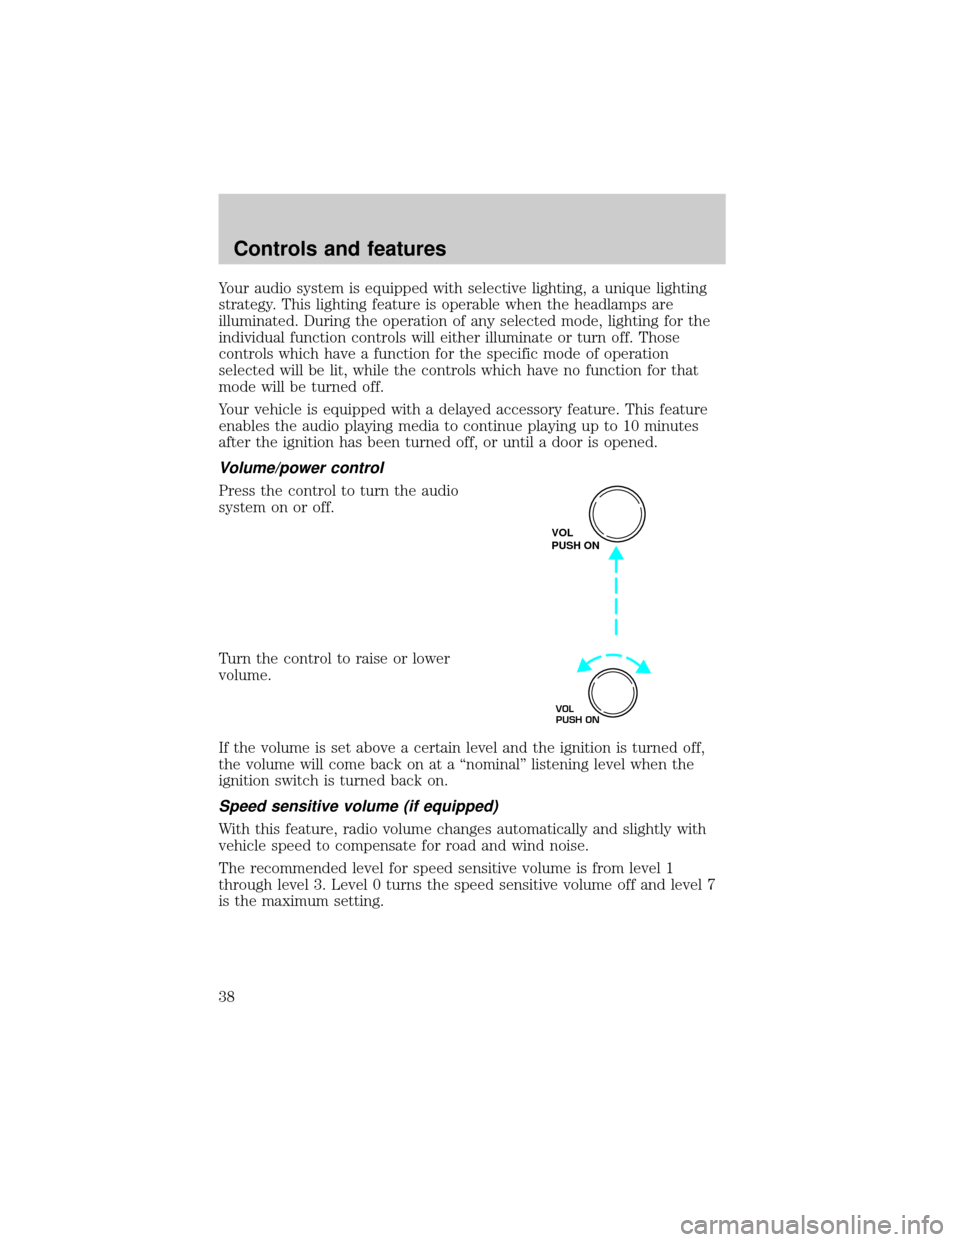
Volume/power control
Press the control to turn the audio
system on or off.
Turn the control to raise or lower
volume.
If the volume is set above a certain level and the ignition is turned off,
the volume will come back on at a ªnominalº listening level when the
ignition switch is turned back on.
Speed sensitive volume (if equipped)
With this feature, radio volume changes automatically and slightly with
vehicle speed to compensate for road and wind noise.
The recommended level for speed sensitive volume is from level 1
through level 3. Level 0 turns the speed sensitive volume off and level 7
is the maximum setting.
VOL
PUSH ON
VOL
PUSH ON
Controls and features
38