Page 160 of 272

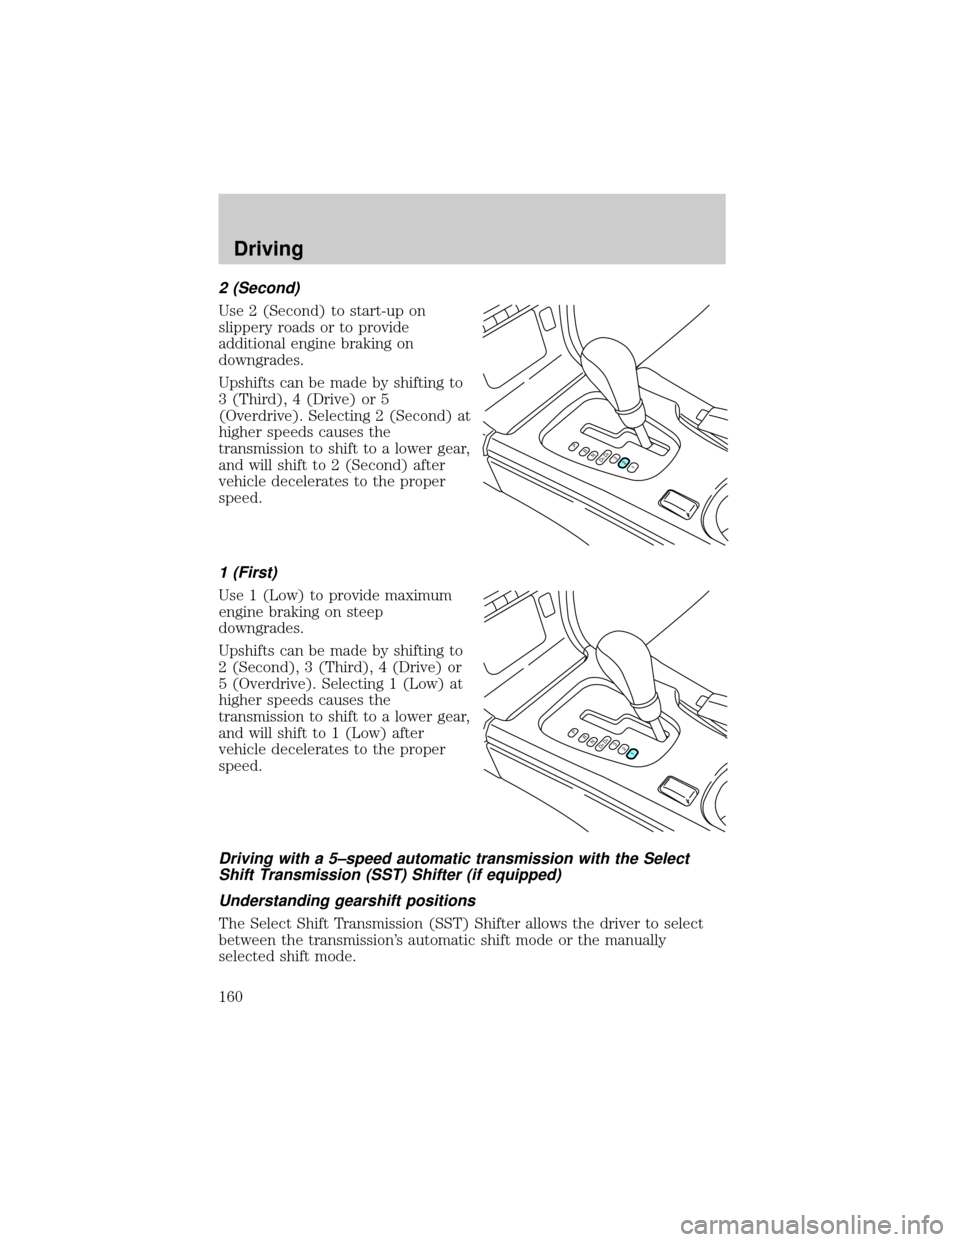
2 (Second)
Use 2 (Second) to start-up on
slippery roads or to provide
additional engine braking on
downgrades.
Upshifts can be made by shifting to
3 (Third), 4 (Drive) or 5
(Overdrive). Selecting 2 (Second) at
higher speeds causes the
transmission to shift to a lower gear,
and will shift to 2 (Second) after
vehicle decelerates to the proper
speed.
1 (First)
Use 1 (Low) to provide maximum
engine braking on steep
downgrades.
Upshifts can be made by shifting to
2 (Second), 3 (Third), 4 (Drive) or
5 (Overdrive). Selecting 1 (Low) at
higher speeds causes the
transmission to shift to a lower gear,
and will shift to 1 (Low) after
vehicle decelerates to the proper
speed.
Driving with a 5±speed automatic transmission with the Select
Shift Transmission (SST) Shifter (if equipped)
Understanding gearshift positions
The Select Shift Transmission (SST) Shifter allows the driver to select
between the transmission's automatic shift mode or the manually
selected shift mode.
PRND5D4321
PRND5D4321
Driving
160
Page 161 of 272
Automatic shift mode
When in the automatic shift mode
(D5 position), the 5±speed
automatic transmission operates like
a typical automatic transmission.
Pull the gearshift lever towards you
and downward to move the
automatic gearshift.
Refer toDriving with a 5±speed
automatic transmissionin this
chapter for Park, Reverse, Neutral,
D5 and D4 information.
Manual shift mode
With the gearshift lever in D5
(Overdrive), the gearshift lever can
be moved to the right and into the
manual shift mode. The transmission
will remain in the manual shift mode
until the gearshift lever is moved
back to D5 (Overdrive).
Driving
161
Page 162 of 272

+ and - position operation
These positions allow the driver to
manually select the appropriate
upshift (+) or downshift (-) and
gear range.
²Can only be entered from the D5
(Overdrive) shift position.
²Gear ranges 1±5 provide the same
function and ratio as found in the
D5 or D4 automatic mode
positions.
²The transmission will not upshift
or downshift unless the gearshift
lever is moved forward or
rearward.
²One tap forward (+) will
commandthe transmission to upshift one gear range.
²One tap rearward (-) willcommandthe transmission to downshift one
gear range.
²Upshifts are allowed at any vehicle speed.
²2 (Second) gear is normally used for start-up. A 3 (Third) gear
start-up will be allowed only if selected. All other selection(s) will
revert to 2 (Second) gear.
²If the driver starts in 2 (Second) gear and does not pass a throttle
angle of 60%, the transmission will remain in 2 (Second) gear. No
automatic upshift will occur.
²If the driver passes the 60% throttle angle, a 2±1 kickdown will occur.
Once the 2±1 kickdown has occurred, the transmission will remain in
1 (First) gear until 2 (Second) gear is manually selected by moving
the gearshift lever. No automatic upshift will occur.
²Once a 2±1 kickdown has occurred, manually shifting in and out of 1
(First ) gear is allowed until the vehicle comes to a complete stop.
²A shift to 1 (First) with the vehicle at a stop is never allowed.
²When downshifting at normal road speeds, the transmission will only
allow a downshift into thenext lowergear.
Driving
162
Page 163 of 272
²If the gearshift lever is moved into the downshift (-) position more
than once in rapid succession, the transmission will only allow a
downshift into thenext lowergear to prevent possible engine and/or
transmission damage. Once the vehicle reaches below a specified entry
speed for the next lower gear, the transmission will allow another
downshift to occur if selected by the driver.
MANUAL TRANSMISSION OPERATION (IF EQUIPPED)
Using the clutch
Vehicles equipped with a manual transmission have a starter interlock
that prevents cranking the engine unless the clutch pedal is fully
depressed.
When starting a vehicle with a manual transmission, you must:
1. Make sure the parking brake is
fully set.
2. Depress the clutch pedal fully.
3. Put the gearshift lever in N
(Neutral).
1
2
45
R3
Driving
163
Page 164 of 272
4. Turn the ignition to position 5
(START) to start the engine, let the
engine idle for a few seconds.
5. Depress the brake pedal.
6. Release the parking brake.
7. Move the gearshift lever to the
desired gear.
8. Release the brake pedal.
9. Slowly release the clutch pedal
while slowly pressing down on the
accelerator pedal.
²Do not drive with your foot resting on the clutch pedal and do not use
the clutch to hold your vehicle at a standstill while waiting on a hill.
These actions will greatly reduce clutch life.
Recommended shift speeds
Upshift according to the following chart:
Upshifts when accelerating (recommended for best fuel economy)
5-speed manual transmission
Shift from:
1 - 2 24 km/h (15 mph)
2 - 3 45 km/h (28 mph)
3 - 4 60 km/h (37 mph)
4 - 5 82 km/h (51 mph)
2
3
4
5
1
Driving
164
Page 185 of 272
²use tire chains
²drive through an automatic car wash, because of the vehicle's reduced
ground clearance
²try to repair the temporary spare tire or remove it from its wheel
²drive for long distances when the temporary-use spare is on
²operate the vehicle with more than one temporary-use spare tire
²improperly inflate the temporary-use spare
²use the wheel for any other type of vehicle
Tire change procedure
To prevent the vehicle from moving when you change a tire, be
sure the parking brake is set, then block (in both directions) the
wheel that is diagonally opposite (other side and end of the vehicle) to
the tire being changed.
If the vehicle slips off the jack, you or someone else could be
seriously injured.
1. Park on a level surface, activate
hazard flashers and set parking
brake.
2. Place gearshift lever in P (Park)
or R (manual transmission), turn
engine OFF, and block the
diagonally opposite wheel.
Roadside emergencies
185
Page 195 of 272

SERVICE RECOMMENDATIONS
To help you service your vehicle:
²We highlight do-it-yourself items in the engine compartment for easy
location.
²We provide a Scheduled Maintenance Guide which makes tracking
routine service easy.
If your vehicle requires professional service, your dealership can provide
necessary parts and service. Check your ªWarranty Guideº to find out
which parts and services are covered.
Use only recommended fuels, lubricants, fluids and service parts
conforming to specifications. Motorcraft parts are designed and built to
provide the best performance in your vehicle.
PRECAUTIONS WHEN SERVICING YOUR VEHICLE
Be especially careful when inspecting or servicing your vehicle.
²Do not work on a hot engine.
²When the engine is running, keep loose clothing, jewelry or long hair
away from moving parts.
²Do not work on a vehicle with the engine running in an enclosed
space, unless you are sure you have enough ventilation.
²Keep all lit cigarettes, open flames and other lit material away from
the battery and all fuel related parts.
If you disconnect the battery, the engine must ªrelearnº its idle
conditions before your vehicle will drive properly, as explained in the
Batterysection in this chapter.
Working with the engine off
²Automatic transmission:
1. Set the parking brake and ensure the gearshift is securely latched in P
(Park).
2. Turn off the engine and remove the key.
3. Block the wheels to prevent the vehicle from moving unexpectedly.
²Manual transmission:
1. Set the parking brake.
2. Depress the clutch and place the gearshift in 1 (First).
Maintenance and care
195
Page 196 of 272

3. Turn off the engine and remove the key.
4. Block the wheels to prevent the vehicle from moving unexpectedly.
Working with the engine on
²Automatic transmission:
1. Set the parking brake and ensure the gearshift is securely latched in P
(Park).
2. Block the wheels to prevent the vehicle from moving unexpectedly.
Do not start your engine with the air cleaner removed and do
not remove it while the engine is running.
²Manual transmission:
1. Set the parking brake, depress the clutch and place the gearshift in N
(Neutral).
2. Block the wheels to prevent the vehicle from moving unexpectedly.
Do not start your engine with the air cleaner removed and do
not remove it while the engine is running.
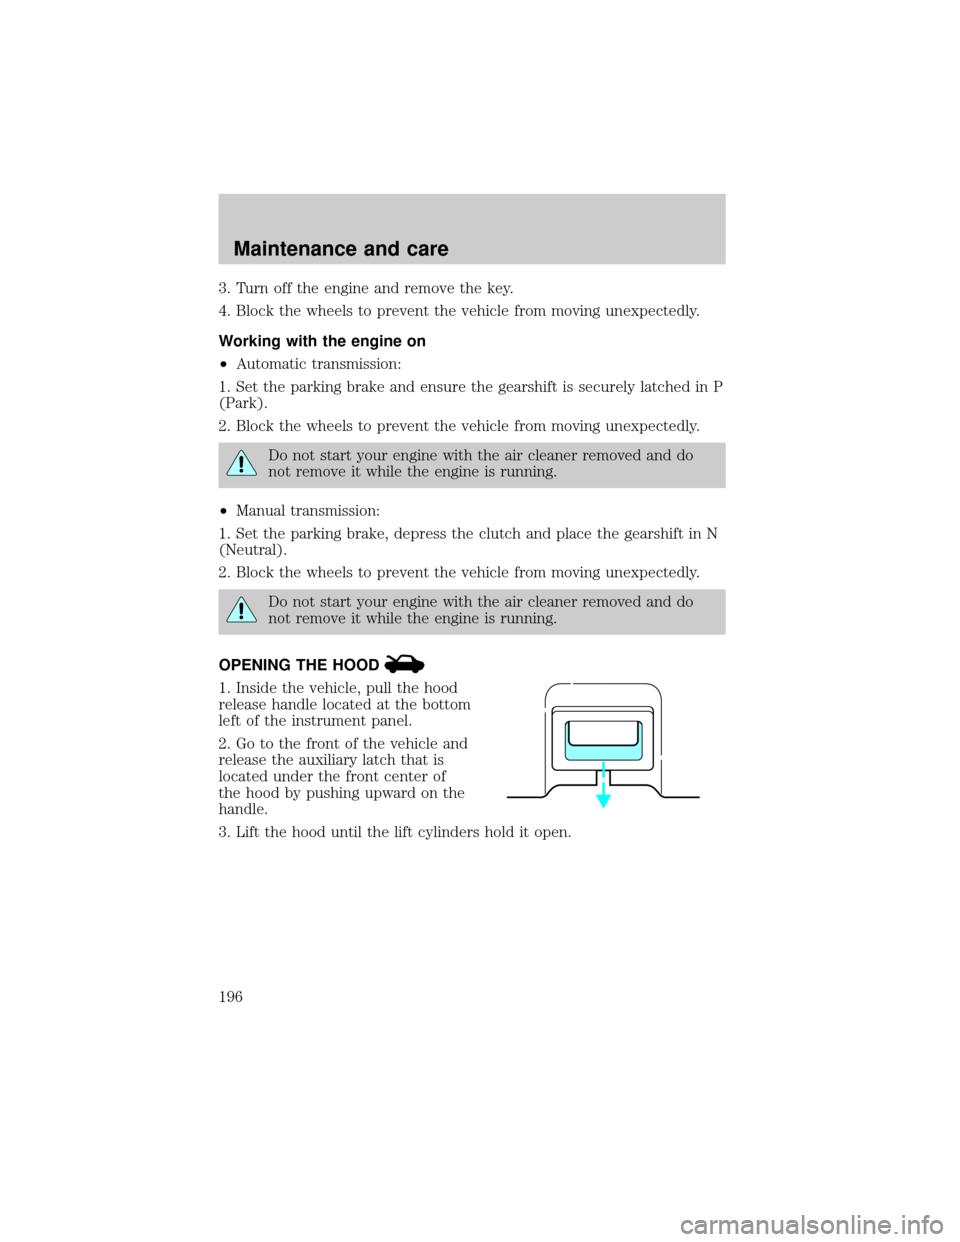
OPENING THE HOOD
1. Inside the vehicle, pull the hood
release handle located at the bottom
left of the instrument panel.
2. Go to the front of the vehicle and
release the auxiliary latch that is
located under the front center of
the hood by pushing upward on the
handle.
3. Lift the hood until the lift cylinders hold it open.
Maintenance and care
196