Page 23 of 232
Flash to pass
Pull toward you to activate and
release to deactivate.
PANEL DIMMER CONTROL
Use to adjust the brightness of the
instrument panel during headlight
and parklamp operation.
²Push up to brighten.
²Push down to dim.
AUTOLAMP CONTROL
The autolamp system provides light
sensitive automatic on-off control of
the exterior lights normally
controlled by the headlamp control.
The autolamp system also keeps the
lights on for a preselected period of
time after the ignition switch is
turned to OFF.
²To turn autolamps on, push the
control up toward the MAX position. As you press this switch, the
autolamp system's status will be displayed in the message center. The
system can be set to provide light for up to three minutes after you
turn the ignition OFF.
²To turn autolamps off, push the control down toward OFF.
HI
LO
F
S
OFF
MAX
OFF
PANEL
DIM
MAX
OFF
AUTO
LAMP
Controls and features
23
Page 25 of 232
If unusual conditions exist (i.e.-window fogging, etc.), the manual
override controls allow you to select airflow locations and the fan control
allows you to adjust fan speed as necessary.
Temperature selection
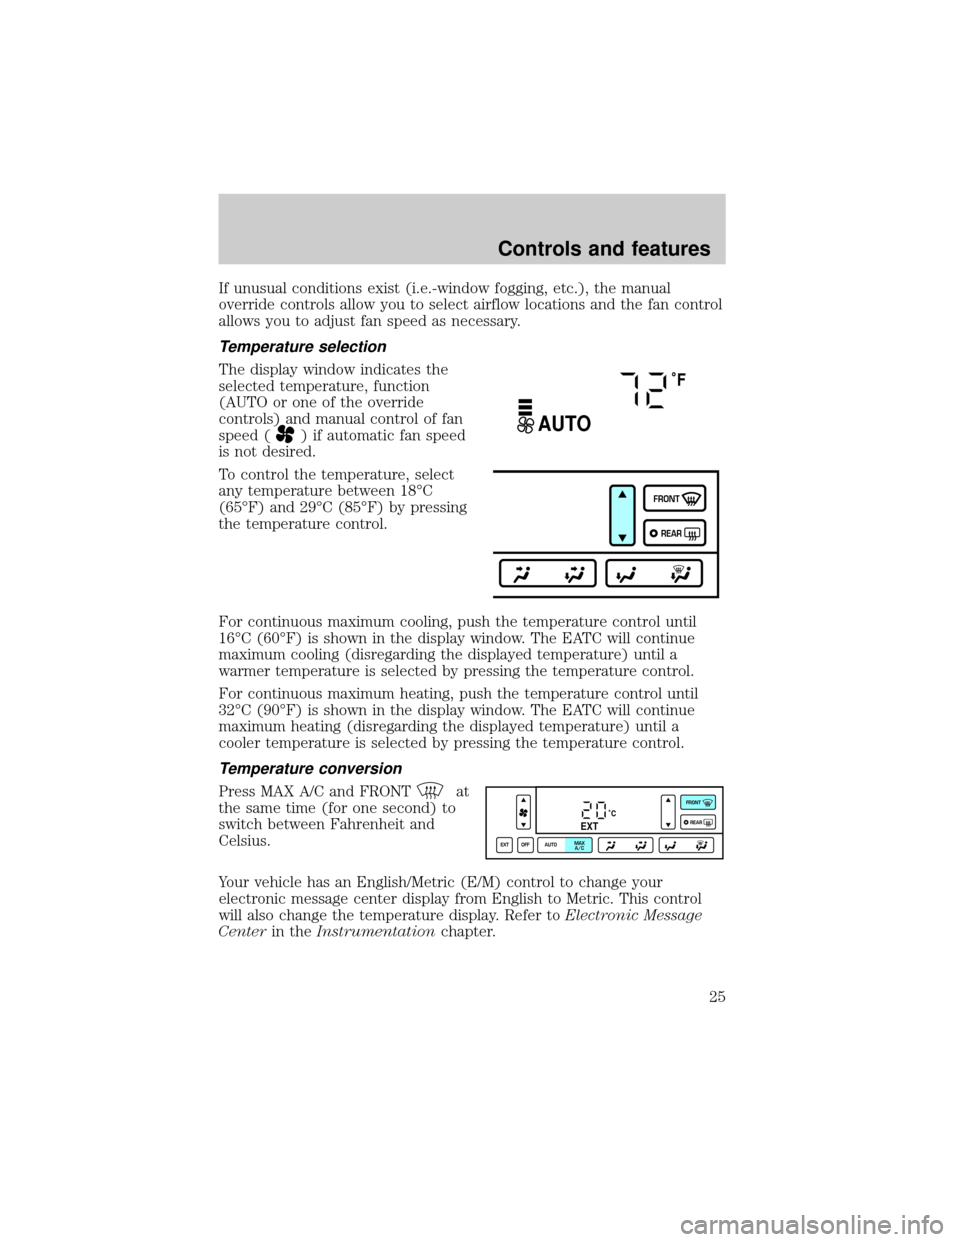
The display window indicates the
selected temperature, function
(AUTO or one of the override
controls) and manual control of fan
speed (
) if automatic fan speed
is not desired.
To control the temperature, select
any temperature between 18ÉC
(65ÉF) and 29ÉC (85ÉF) by pressing
the temperature control.
For continuous maximum cooling, push the temperature control until
16ÉC (60ÉF) is shown in the display window. The EATC will continue
maximum cooling (disregarding the displayed temperature) until a
warmer temperature is selected by pressing the temperature control.
For continuous maximum heating, push the temperature control until
32ÉC (90ÉF) is shown in the display window. The EATC will continue
maximum heating (disregarding the displayed temperature) until a
cooler temperature is selected by pressing the temperature control.
Temperature conversion
Press MAX A/C and FRONTat
the same time (for one second) to
switch between Fahrenheit and
Celsius.
Your vehicle has an English/Metric (E/M) control to change your
electronic message center display from English to Metric. This control
will also change the temperature display. Refer toElectronic Message
Centerin theInstrumentationchapter.
˚F
AUTO
FRONT
REAR
˚CEXT
EXT OFF AUTOMAX
A/CFRONT
REAR
Controls and features
25
Page 49 of 232
In Tape mode:
²Press MEM/NEXT to listen to the next selection on the tape.
In CD mode:
²Press MEM/NEXT to listen to the next track on the disc.
In any mode:
²Press VOL up or down to adjust the volume.
Climate control features
²Press TEMP up or down to adjust temperature.
²Press FAN up or down to adjust fan speed.
SPEED CONTROL
To turn speed control on
²Press ON.
Vehicle speed cannot be controlled
until the vehicle is traveling at or
above 48 km/h (30 mph).
When the ON control is pressed, the
message ªSPEED CONTROL
READYº will appear for 5 seconds in
your message center. Or, if the
speed control is already ON and
SET, the message ªSPEED CONTROL SETº will appear for 5 seconds in
your message center.
Do not use the speed control in heavy traffic or on roads that
are winding, slippery, or unpaved.
Do not shift the gearshift lever into N (Neutral) with the speed
control on.
ON
OFF
Controls and features
49
Page 50 of 232
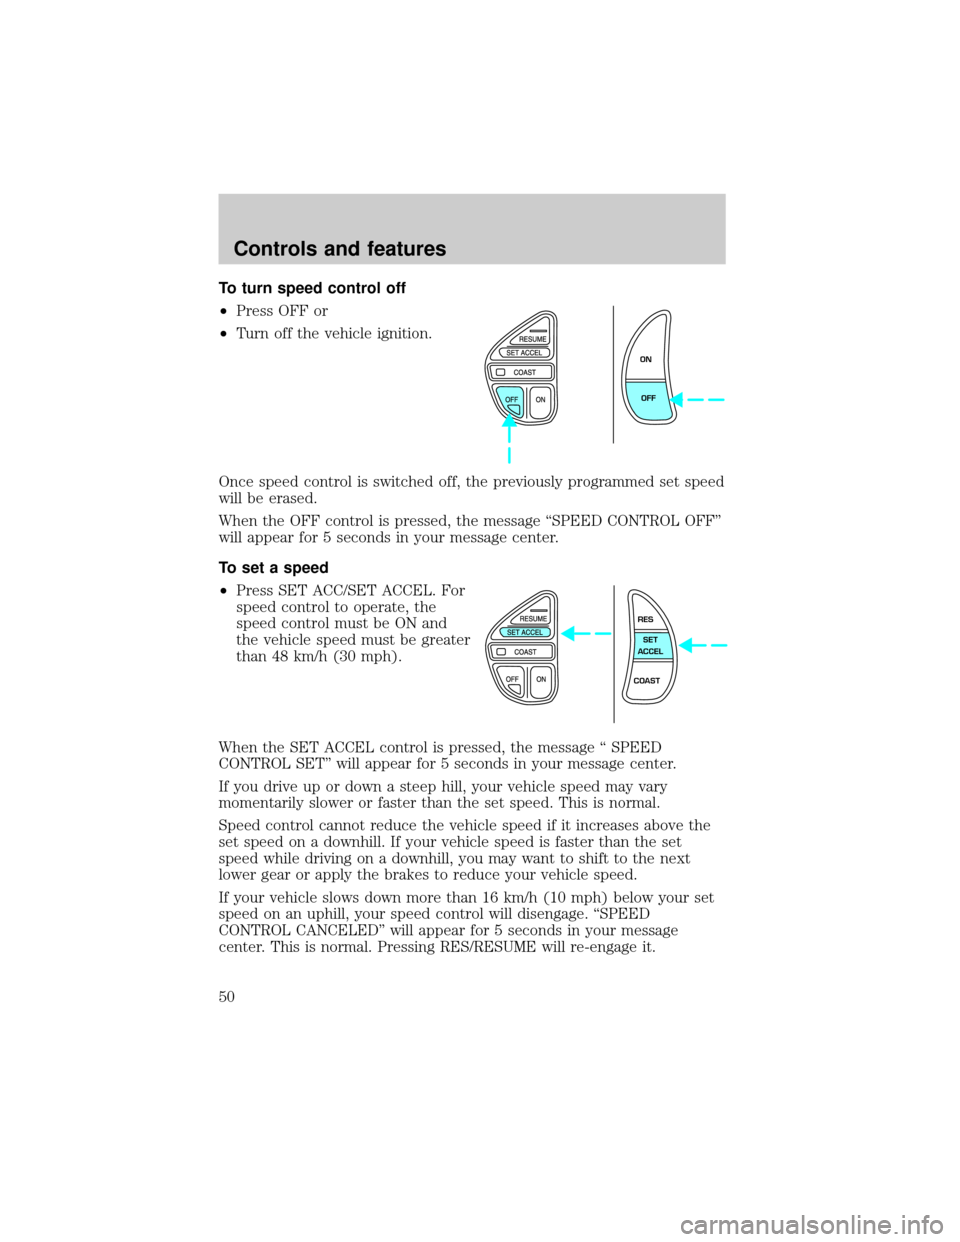
To turn speed control off
²Press OFF or
²Turn off the vehicle ignition.
Once speed control is switched off, the previously programmed set speed
will be erased.
When the OFF control is pressed, the message ªSPEED CONTROL OFFº
will appear for 5 seconds in your message center.
To set a speed
²Press SET ACC/SET ACCEL. For
speed control to operate, the
speed control must be ON and
the vehicle speed must be greater
than 48 km/h (30 mph).
When the SET ACCEL control is pressed, the message ª SPEED
CONTROL SETº will appear for 5 seconds in your message center.
If you drive up or down a steep hill, your vehicle speed may vary
momentarily slower or faster than the set speed. This is normal.
Speed control cannot reduce the vehicle speed if it increases above the
set speed on a downhill. If your vehicle speed is faster than the set
speed while driving on a downhill, you may want to shift to the next
lower gear or apply the brakes to reduce your vehicle speed.
If your vehicle slows down more than 16 km/h (10 mph) below your set
speed on an uphill, your speed control will disengage. ªSPEED
CONTROL CANCELEDº will appear for 5 seconds in your message
center. This is normal. Pressing RES/RESUME will re-engage it.
ON
OFF
RES
SET
ACCEL
COAST
Controls and features
50
Page 51 of 232
Do not use the speed control in heavy traffic or on roads that
are winding, slippery, or unpaved.
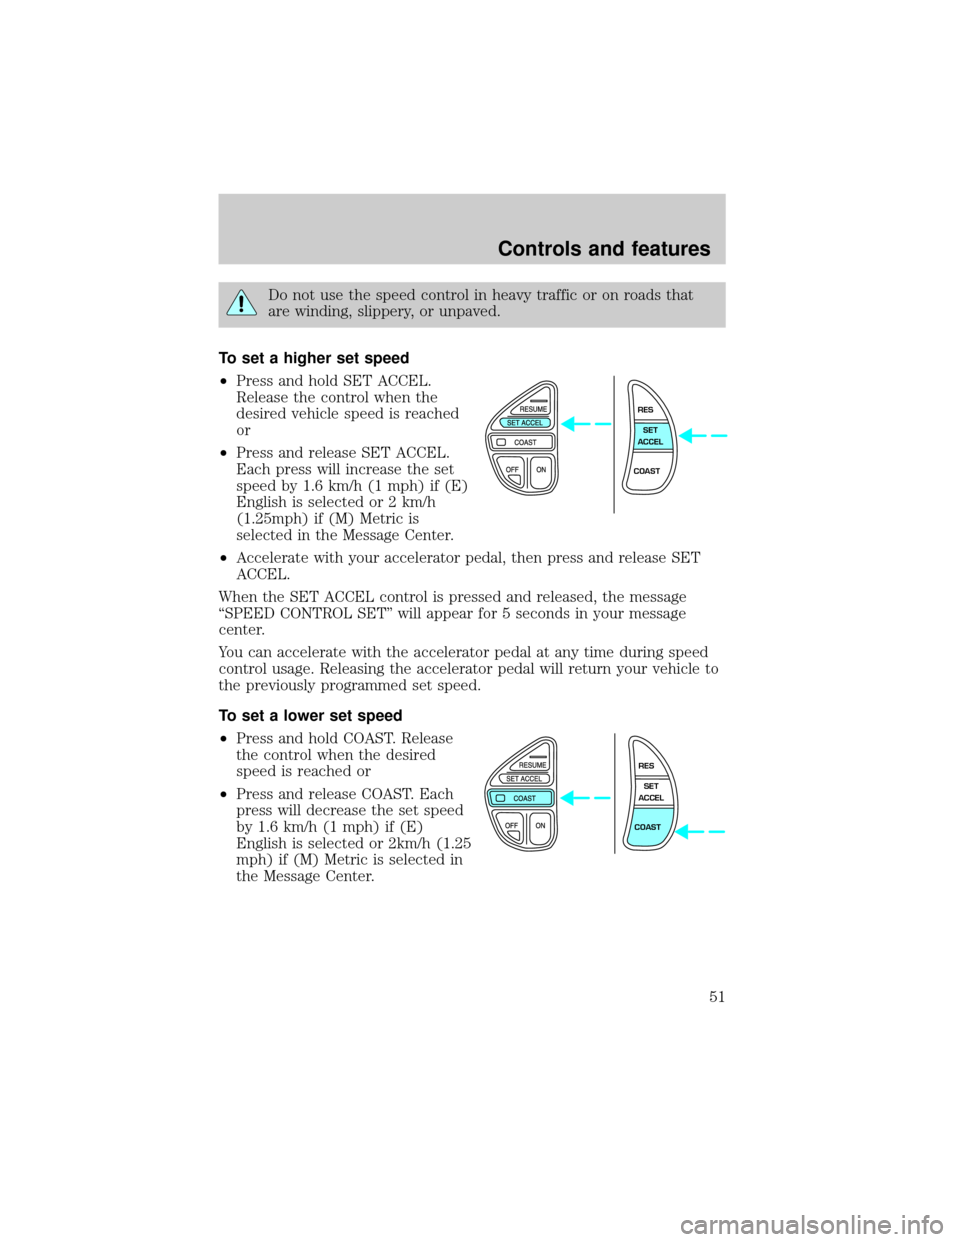
To set a higher set speed
²Press and hold SET ACCEL.
Release the control when the
desired vehicle speed is reached
or
²Press and release SET ACCEL.
Each press will increase the set
speed by 1.6 km/h (1 mph) if (E)
English is selected or 2 km/h
(1.25mph) if (M) Metric is
selected in the Message Center.
²Accelerate with your accelerator pedal, then press and release SET
ACCEL.
When the SET ACCEL control is pressed and released, the message
ªSPEED CONTROL SETº will appear for 5 seconds in your message
center.
You can accelerate with the accelerator pedal at any time during speed
control usage. Releasing the accelerator pedal will return your vehicle to
the previously programmed set speed.
To set a lower set speed
²Press and hold COAST. Release
the control when the desired
speed is reached or
²Press and release COAST. Each
press will decrease the set speed
by 1.6 km/h (1 mph) if (E)
English is selected or 2km/h (1.25
mph) if (M) Metric is selected in
the Message Center.
RES
SET
ACCEL
COAST
RES
SET
ACCEL
COAST
Controls and features
51
Page 52 of 232
²Depress the brake pedal. When
the desired vehicle speed is
reached, press SET ACCEL.
When the COAST or SET ACCEL
control is pressed and released, the
message ªSPEED CONTROL SETº
will appear for 5 seconds in your
message center.
To disengage speed control
²Depress the brake pedal.
When the brake pedal is depressed, the message ªSPEED CONTROL
CANCELEDº will appear for 5 seconds in your message center.
Disengaging the speed control will not erase the previously programmed
set speed.
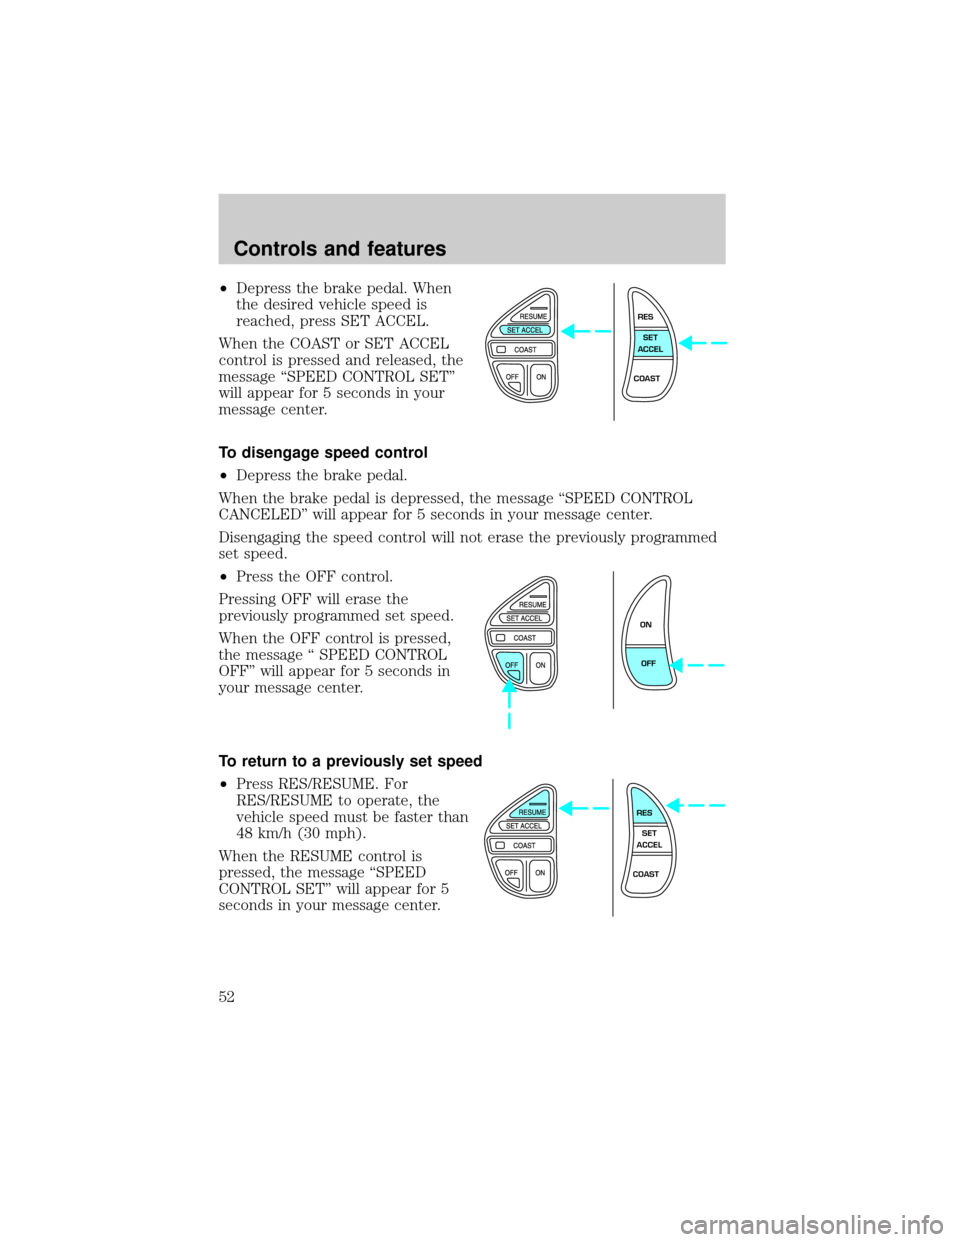
²Press the OFF control.
Pressing OFF will erase the
previously programmed set speed.
When the OFF control is pressed,
the message ª SPEED CONTROL
OFFº will appear for 5 seconds in
your message center.
To return to a previously set speed
²Press RES/RESUME. For
RES/RESUME to operate, the
vehicle speed must be faster than
48 km/h (30 mph).
When the RESUME control is
pressed, the message ªSPEED
CONTROL SETº will appear for 5
seconds in your message center.
RES
SET
ACCEL
COAST
ON
OFF
RES
SET
ACCEL
COAST
Controls and features
52
Page 54 of 232
If equipped with a moon roof, the
map lamps are located on the
rearview mirror. Press the control
next to the map lamp to illuminate
the lamp.
Rear courtesy/reading lamps
The courtesy lamp lights when:
²any door is opened.
²the instrument panel dimmer
switch is held up until the
courtesy lamps come on.
²any of the remote entry controls
are pressed and the ignition is
OFF.
With the ignition key in the ACC or ON position, the reading lamp can be
turned on by pressing the rocker control.
LINCOLN RESCU SYSTEM (IF EQUIPPED)
Lincoln RESCU runs a self-test
when you start your vehicle. During
this test, the Lincoln RESCU
warning light (located in the
overhead console) will illuminate for
several seconds. If the phone is
disconnected, or a problem is
detected during the self-check, the
light will remain lit and the message
ªRESCU FAILUREº will be displayed
on the vehicle's message center for
several seconds.
S.O.S.INFO
S.O.S.INFO
i
i
Controls and features
54
Page 55 of 232
If the phone is properly connected
and the warning light fails to
illuminate when you start your
vehicle, or if it remains lit, have
your Lincoln RESCU System
checked by an authorized dealer as soon as possible. Your system may be
inoperative.
It is important that you understand the limitations of your
Lincoln RESCU System prior to initiating an activation. See
Lincoln RESCU System Limitationslater in this chapter for details.
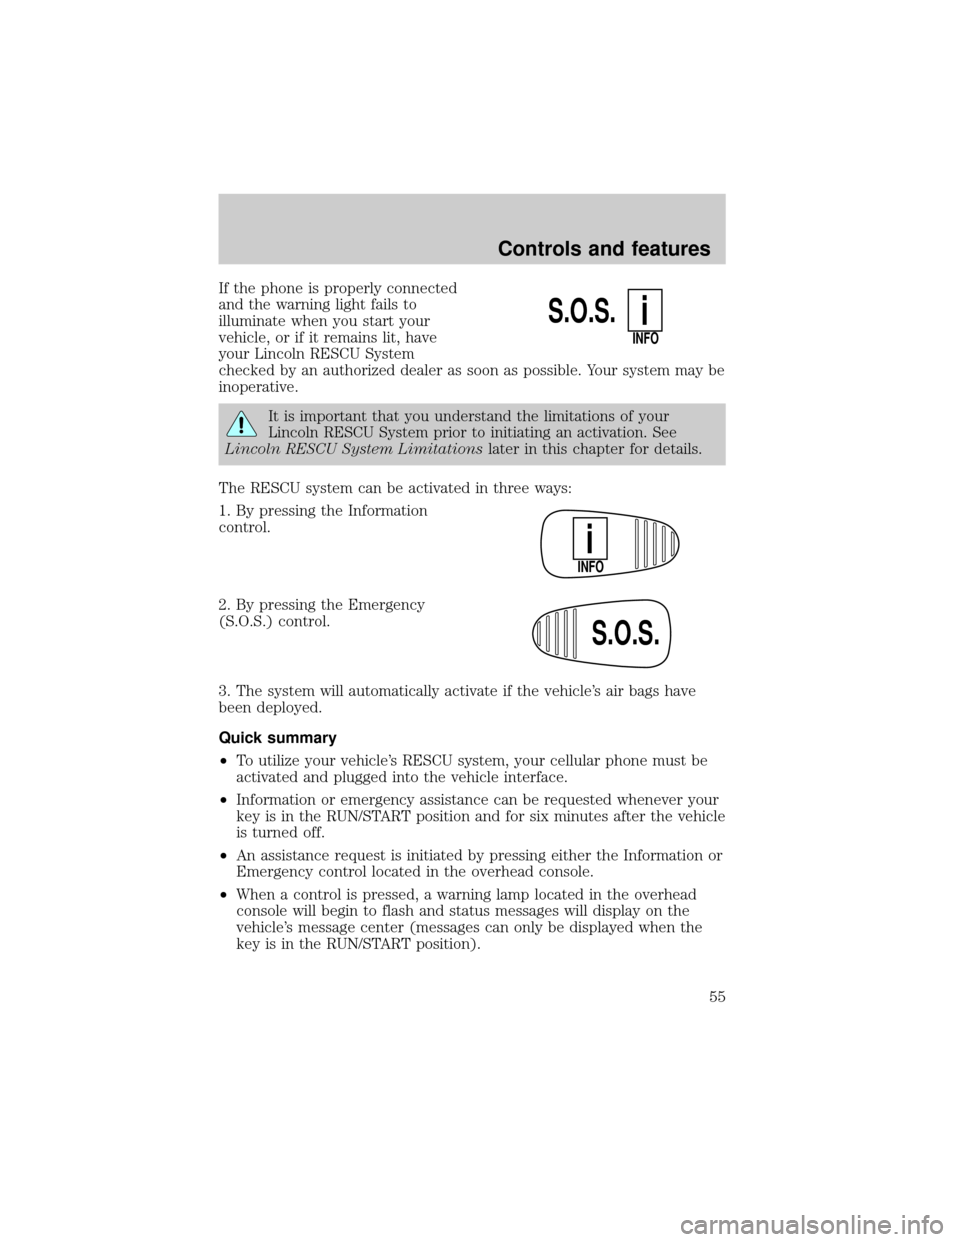
The RESCU system can be activated in three ways:
1. By pressing the Information
control.
2. By pressing the Emergency
(S.O.S.) control.
3. The system will automatically activate if the vehicle's air bags have
been deployed.
Quick summary
²To utilize your vehicle's RESCU system, your cellular phone must be
activated and plugged into the vehicle interface.
²Information or emergency assistance can be requested whenever your
key is in the RUN/START position and for six minutes after the vehicle
is turned off.
²An assistance request is initiated by pressing either the Information or
Emergency control located in the overhead console.
²When a control is pressed, a warning lamp located in the overhead
console will begin to flash and status messages will display on the
vehicle's message center (messages can only be displayed when the
key is in the RUN/START position).
S.O.S.
INFO
i
INFO
i
S.O.S.
Controls and features
55