2000 HONDA PASSPORT power steering
[x] Cancel search: power steeringPage 54 of 267
Engin
e Compartmen t
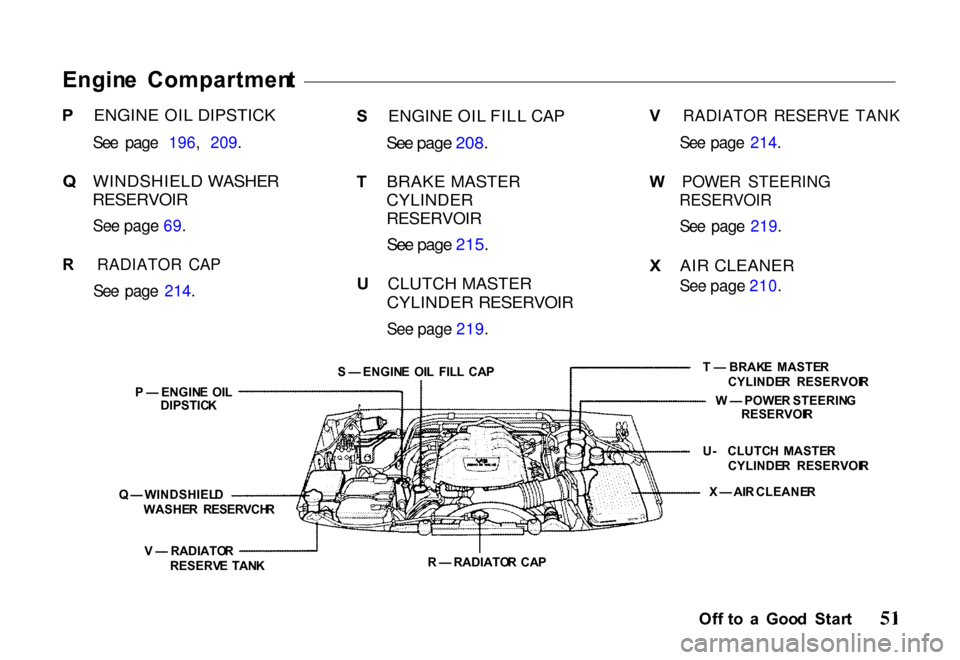
P ENGINE OIL DIPSTICK
See page 196, 209.
Q WINDSHIELD WASHER
RESERVOIR
See page 69.
R RADIATOR CAP
See page 214.
P — ENGIN E OI L
DIPSTIC K
Q — WINDSHIEL D
WASHE R RESERVCH R
V — RADIATO R
RESERV E TAN K
S
ENGINE OIL FILL CAP
See page 208.
T BRAKE MASTER
CYLINDER
RESERVOIR
See page 215.
U CLUTCH MASTER
CYLINDER RESERVOIR
See page 219. V
RADIATOR RESERVE TANK
See page 214.
W POWER STEERING
RESERVOIR
See page 219.
X AIR CLEANER
See page 210.
T — BRAK E MASTE R
CYLINDE R RESERVOI R
U - CLUTC H MASTE R
CYLINDE R RESERVOI R
R — RADIATO R CA P
Off t o a Goo d Star t
S
— ENGIN E OI L FIL L CA P
W — POWE R STEERIN G
RESERVOI R
X — AIR CLEANE R
Page 98 of 267
Interio
r Feature s
Keys and Ignition .......... 97
Steering Column Lock/
Ignition Switch ........ 97 LOCK .............. 97
ACC ................ 97
ON ................. 97START .............. 97
Key Removal ........... 98
Key Reminder .......... 98
Guard Against Theft ..... 98
Locks ................... 99 Power Door Locks ...... 100
Child-Safe Door Locks .. 101
Mirrors ................. 101 Interior Mirror ......... 101Power Mirrors ......... 101Vanity Mirror .......... 102 Power Windows .......... 103
Checking the CircuitBreaker ............. 104
Tailgate ................ 104 Operation ............. 104
Hood Release ............ 105
Interior Lights ........... 107 Luggage Light ......... 107Dome Light ........... 107
Courtesy Lights ........ 108
Map Lights............ 108
Moonroof ............... 108 Conveniences ............ 109
Beverage Holder ....... 109
Sun Visor ............. 110Glove Box ............ 110
Assist Grip ............ 111
Horn Button ........... 11
Tilt Steering Wheel ..... 1
11
1
Cigarette Lighte
r ....... 112
Ashtrays .............. 112
Accessory Power Outlets . 113
Interio r Feature s
Page 160 of 267
If anything goes wrong, the ABS
indicator on the instrument panel
comes on (see page 65). This
means th
e anti-lock function of
the braking system has shut down.
The brakes still work like a conventional system without
anti-lock, providing normal stopping ability. You should have
the dealer inspect your vehicle as soon as possible if this light stays
on after you start the engine, or
comes on while driving. Drivin
g Wit h We t Brake s
Driving through deep water may get the brakes wet and reduce
their effectiveness. As a result, the
vehicle may not slow down
normally or may pull in one direction or the other.
If you drive through deep water,apply the brakes lightly to see if
the water has affected them. To
dry the brakes quickly, press
lightly on the brake pedal while
maintaining the same speed with the accelerator pedal. Continue
this until the brakes operate
normally.
Powe
r Brake s
The braking system uses engine vacuum to provide power assist. If
the power assist fails because of astalled engine or other reason, the
reserve vacuum in the system will usually allow you to apply the
brakes at least one time.
The reserve vacuum is partly used up each time the brake pedal isapplied and released. Do not
pump the brakes when the power assist has been lost, except when
needed to maintain steering
control on slippery surfaces.
You can still stop the vehicle
without the power assist by pushing
harder on the brake pedal.
However, the stopping distance
may be longer, even though the
brakes themselves remain fully
operational.
Driving Tip s
Page 177 of 267
Traile
r Towin g
Your Honda vehicle is designed
for passenger and cargo transportation. With the proper
equipment installed, your vehicle
can also tow a trailer under certain
conditions, as detailed in this section. Be sure to read this entire
section and follow all
requirements.
Towing a trailer will have an
effect on handling, performance,
braking, durability and fuel
consumption.
Honda recommends that you do
not tow a trailer with a new Honda vehicle or one with a new
powertrain component (engine, transmission, differential) for the
first 500 miles. For your safety and the safety
of others, use equipment
specifically designed for your
vehicle. Improper towing
equipment and improper installation of same can cause
damage to your vehicle and may also result in personal injury.
Additional care and cautious
driving habits are essential to trailer towing.
Do not exceed 45 mph or the
posted towing speed limit, whichever is lower. Higher speed
may cause loss of vehicle control.
Drivin g Tip s
Improperly loading your
vehicle and trailer can seriously affect the steering
and braking performance,
causing a crash in which you
can be seriously injured.
Check the loading of your
vehicle and trailer carefully before starting to drive.
Page 190 of 267

find a leak, it must be repaired
before you can continue
driving. (See
Towing on page
187.)
If you don't find an obvious leak, check the coolant level inthe radiator reserve tank. If the
level is below the MIN mark, add
coolant to halfway between the
MIN and MAX marks.
If there was no coolant in the
reserve tank, you may also
have to add coolant to the
radiator.
Let the engine cool down until
the pointer reaches the middle
of the temperature gauge, orlower, before checking the
radiator. If needed, add coolant to the
radiator to bring the level up to the filler neck, and to the
reservoir up to the level indicated on the reservoir tank. Proper equipment must be used to
prevent damage to vehicles during
any towing. State and local laws
that apply to vehicles in tow must
be followed. Get detailed towing
instructions from your Honda
dealer.
Should it become necessary to
tow your vehicle, follow these
directions.
Precaution s
Before towing, make sure that
the power train, axle,
transmission, wheels and steering system are in good
condition.
If any of these items are
damaged, a flatbed trailer must
be used.
In Cas e o f Emergenc y
Towin
g
Removing the radiator cap
while the engine is hot can
cause the coolant to spray out, seriously scalding you.
Always let the engine andradiator cool down before
removing the radiator cap.
Page 195 of 267
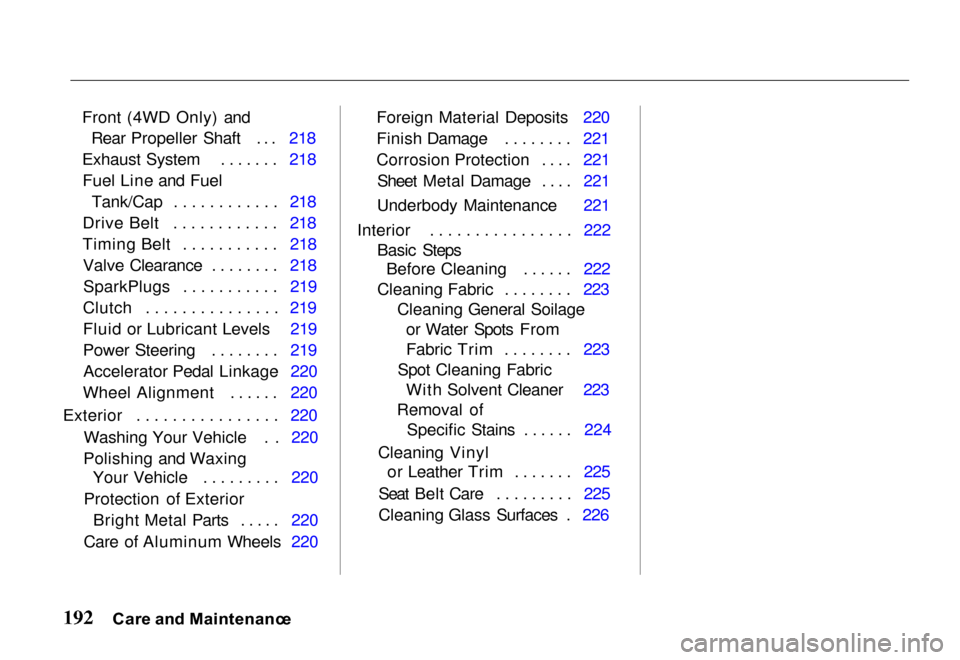
Front (4WD Only) and
Rear Propeller Shaft ... 218
Exhaust System ....... 218 Fuel Line and Fuel Tank/Cap ............ 218
Drive Belt ............ 218
Timing Belt ........... 218 Valve Clearance ........ 218SparkPlugs ........... 219
Clutch ............... 219
Fluid or Lubricant Levels 219
Power Steering ........ 219 Accelerator Pedal Linkage 220
Wheel Alignment ...... 220
Exterior ................ 220 Washing Your Vehicle . . 220
Polishing and Waxing Your Vehicle ......... 220
Protection of Exterior Bright Metal Parts ..... 220
Care of Aluminum Wheels 220 Foreign Material Deposits 220
Finish Damage ........ 221
Corrosion Protection .... 221
Sheet Metal Damage .... 221
Underbody Maintenance 221
Interior ................ 222 Basic StepsBefore Cleaning ...... 222
Cleaning Fabric ........ 223 Cleaning General Soilageor Water Spots From
Fabric Trim ........ 223
Spot Cleaning Fabric With Solvent Cleaner 223
Removal of Specific Stains ...... 224
Cleaning Vinyl or Leather Trim ....... 225
Seat Belt Care ......... 225
Cleaning Glass Surfaces . 226
Car e an d Maintenanc e
Page 221 of 267
Fron
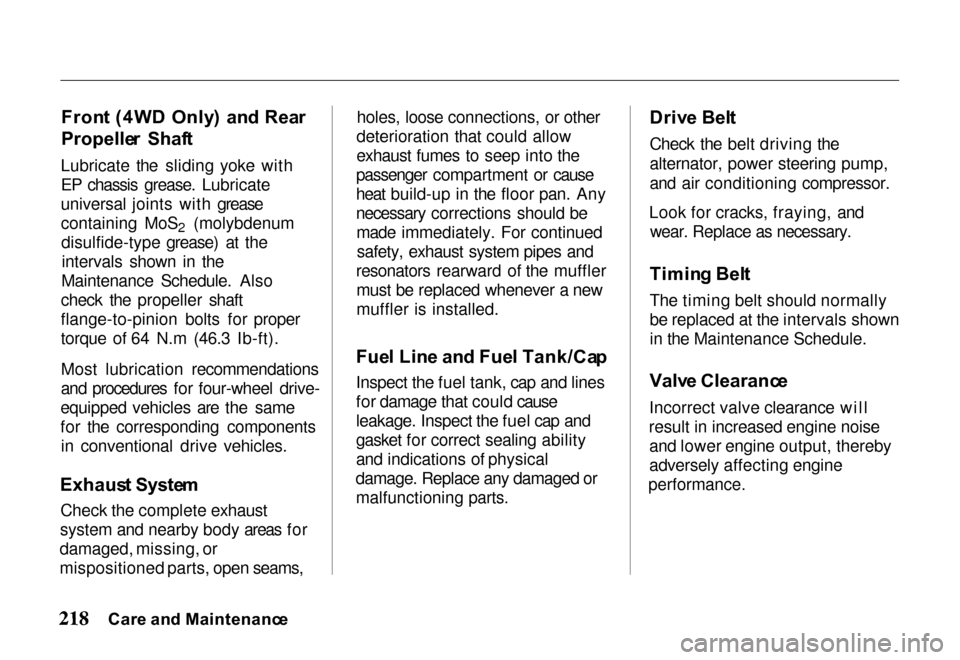
t (4W D Only ) an d Rea r
Propelle r Shaf t
Lubricate the sliding yoke with
EP chassis grease. Lubricate
universal joints with grease
containing MoS 2 (molybdenum
disulfide-type grease) at the intervals shown in the
Maintenance Schedule. Also
check the propeller shaft
flange-to-pinion bolts for proper
torque of 64 N.m (46.3 Ib-ft).
Most lubrication recommendations
and procedures for four-wheel drive-
equipped vehicles are the same
for the corresponding components in conventional drive vehicles.
Exhaus t Syste m
Check the complete exhaust
system and nearby body areas for
damaged, missing, or
mispositioned parts, open seams, holes, loose connections, or other
deterioration that could allow
exhaust fumes to seep into the
passenger compartment or cause
heat build-up in the floor pan. Any
necessary corrections should be made immediately. For continuedsafety, exhaust system pipes and
resonators rearward of the muffler must be replaced whenever a new
muffler is installed.
Fue l Lin e an d Fue l Tank/Ca p
Inspect the fuel tank, cap and lines
for damage that could cause
leakage. Inspect the fuel cap and
gasket for correct sealing ability
and indications of physical
damage. Replace any damaged or
malfunctioning parts.
Driv
e Bel t
Check the belt driving the
alternator, power steering pump,
and air conditioning compressor.
Look for cracks, fraying, and wear. Replace as necessary.
Timin g Bel t
The timing belt should normally
be replaced at the intervals shown
in the Maintenance Schedule.
Valv e Clearanc e
Incorrect valve clearance will
result in increased engine noise and lower engine output, thereby
adversely affecting engine
performance.
Car e an d Maintenanc e
Page 222 of 267

Spar
k Plug s
Replace the spark plugs with the
type specified in the "Technical
Data" section.
Clutc h
Check the clutch play at the pedal.
Lubricate the clutch pedal bushing and clevis pin, at the intervalsshown in the Maintenance
Schedule, with water-resistant
chassis lubricant. If you hear a squeaking noise coming from the
area of the bushing or clevis pin at
the clutch pedal arm when the
clutch pedal is depressed,
lubricate it with water-resistant EP
chassis grease.
Check the fluid level in the clutch
reservoir at the interval shown in
the Maintenance Schedule. If the fluid is low in the reservoir, it
should be filled to the
maximum
level lin
e with DOT-3 or DOT-4
fluid.
Flui d o r Lubrican t Level s
Check the fluid or lubricant level in the brake master cylinder,
clutch master cylinder, power steering reservoir, rear axle,
engine and transmission, windshield washer reservoir and
engine coolant at specified
intervals.
Powe
r Steerin g
Check the fluid level in the power steering fluid reservoir as
recommended in the Maintenance Schedule. The fluid level should
be between the "MIN" and "MAX" marks on the reservoir.
Use only automatic transmission
fluid labeled DEXRON III.
Car e an d Maintenanc e