2000 HONDA ODYSSEY Gear
[x] Cancel search: GearPage 197 of 352
Fuel Econom y
The condition of your vehicle and
your driving habits are the two most important things that affect the fuelmileage you get.
Vehicl e Conditio n
Always maintain your vehicle accord- ing to the maintenance schedule.
This will keep it in top operating
condition.
An important part of that mainte- nance is the Owne r Maintenanc e
Check s (see page 237 ). For
example, an underinflated tire
causes more "rolling resistance,"
which uses fuel. It also wears out faster, so check the tire pressure atleast monthly.
In winter, the build-up of snow on
your vehicle's underside adds weight and rolling resistance. Frequent
cleaning helps your fuel mileage and
reduces the chance of corrosion. Drivin
g Habit s
You can improve fuel economy by driving moderately. Rapid acceler-ation, abrupt cornering, and hard
braking use more fuel.
Always drive in the highest gear that allows the engine to run and acceler-
ate smoothly.
Depending on traffic conditions, try
to maintain a constant speed. Every
time you slow down and speed up,
your vehicle uses extra fuel. Use the cruise control, when appropriate, toincrease fuel economy. A cold engine uses more fuel than a
warm engine. It is not necessary to"warm-up" a cold engine by letting itidle for a long time. You can drive
away in about a minute, no matter
how cold it is outside. The engine
will warm up faster, and you get better fuel economy. To cut down on
the number of "cold starts," try to
combine several short trips into one.
The air conditioning puts an extra load on the engine which makes ituse more fuel. Turn off the A/C to
cut down on air conditioning use. Use the flow-through ventilation
when the outside air temperature is
moderate.
Befor e Drivin g
Page 209 of 352
Automatic Transmissio n
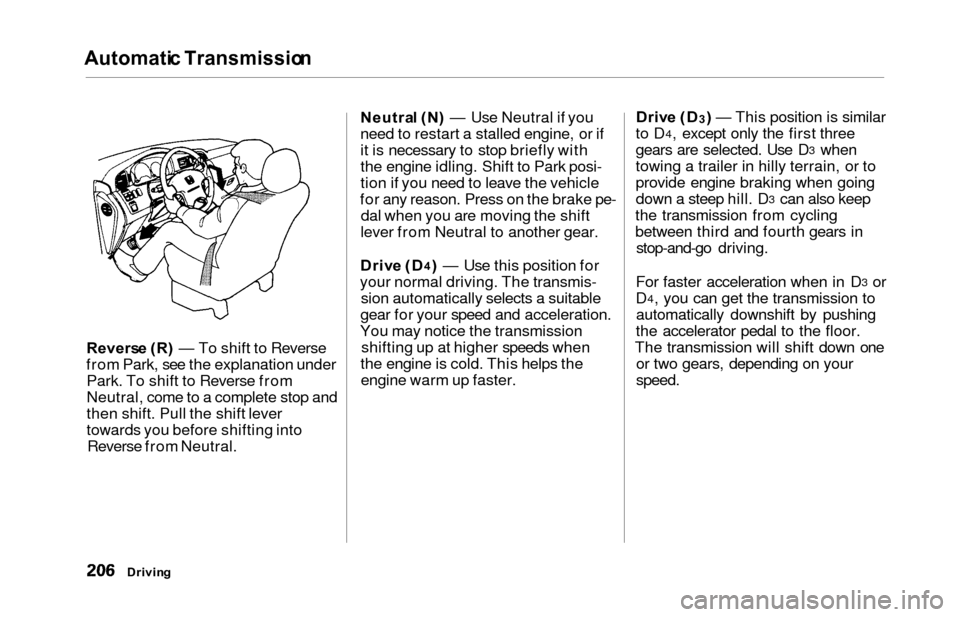
Reverse (R ) — To shift to Reverse
from Park, see the explanation under Park. To shift to Reverse from
Neutral, come to a complete stop and
then shift. Pull the shift lever
towards you before shifting into Reverse from Neutral. Neutra
l (N ) — Use Neutral if you
need to restart a stalled engine, or if
it is necessary to stop briefly with
the engine idling. Shift to Park posi-
tion if you need to leave the vehicle
for any reason. Press on the brake pe- dal when you are moving the shift
lever from Neutral to another gear.
Driv e (D
4) — Use this position for
your normal driving. The transmis- sion automatically selects a suitable
gear for your speed and acceleration.
You may notice the transmission shifting up at higher speeds when
the engine is cold. This helps the engine warm up faster. Driv
e (D
3) — This position is similar
to D4, except only the first three
gears are selected. Use D3 when
towing a trailer in hilly terrain, or to
provide engine braking when going
down a steep hill. D
3 can also keep
the transmission from cycling
between third and fourth gears in stop-and-go driving.
For faster acceleration when in D
3 or
D4, you can get the transmission to
automatically downshift by pushing
the accelerator pedal to the floor.
The transmission will shift down one or two gears, depending on your
speed.
Drivin g
Page 210 of 352

Automatic Transmissio n
Second (2 ) — To shift to Second,
pull the shift lever towards you, then shift to the lower gear. This position
locks the transmission in second
gear. It does not downshift to first
gear when you come to a stop. Second gives you more power when
climbing, and increased engine
braking when going down steep hills. Use second gear when starting outon a slippery surface or in deep snow.
It will help reduce wheelspin.
When driving down hill with a trailer, use the Second position.
Firs t (1 ) — To shift from Second to
First, pull the shift lever towards you,
then shift to the lower gear. With the
lever in this position, the transmis- sion locks in First gear. By upshift-
ing and downshifting through 1, 2,
D
3 and D4, you can operate this
transmission much like a manual
transmission without a clutch pedal. Engin
e Spee d Limite r
If you exceed the maximum speed
for the gear you are in, the engine speed will enter into the tachometer's
red zone. If this occurs, you may feel the engine cut in and out. This is
caused by a limiter in the engine's
computer controls. The engine will
run normally when you reduce the
RPM below the red zone. Shif
t Loc k Releas e
This allows you to move the shift lever out of Park if the normalmethod of pushing on the brake
pedal and pulling the shift lever does not work.
1. Set the Parking brake.
2. Remove the key from the ignition switch.
3. Place a cloth on the edge of the shift lock release slot cover on the
steering column. Remove the
cover by carefully prying on the
edge with a small flat-tipped screwdriver (not included in the
toolkit).
Drivin g
CONTINUED
Page 213 of 352
The Brakin g Syste m
Your Honda is equipped with front
disc brakes. The brakes on the rear
wheels are drum. A power assist helps reduce the effort needed on
the brake pedal. The ABS helps you
retain steering control when braking
very hard.
Put your foot on the brake pedal only
when you intend to brake. Resting
your foot on the pedal keeps the brakes applied lightly, causing them
to build up heat. Heat build-up canreduce how well your brakes work. It
also keeps your brake lights on all
the time, confusing drivers behind
you.
Constant application of the brakes
when going down a long hill builds up heat and reduces their effective-
ness. Use the engine to assist the
brakes by downshifting to a lower
gear and taking your foot off the accelerator pedal.
Check your brakes after driving
through deep water. Apply the
brakes moderately to see if they feel normal. If not, apply them gently and
frequently until they do. Since a
longer distance is needed to stop
with wet brakes, be extra cautious and alert in your driving. Brak
e Wea r Indicator s
The front disc brakes on all vehicles have audible brake wear indicators.
When the brake pads need replacing,
you will hear a distinctive metallic "screeching" sound when you apply
the brakes. If you do not have the
brake pads replaced, they will begin screeching all the time.
Your brakes may sometimes squeal or squeak when you apply them
lightly. Do not confuse this with the
brake wear indicators. They make a
very audible "screeching."
Drivin g
Page 226 of 352

Towing a Traile r
Drivin g Safel y Wit h a Traile r
The added weight, length, and height of a trailer will affect your
vehicle's handling and performance, so driving with a trailer requires
some special driving skills and
techniques.
For your safety and the safety of
others, take time to practice driving
maneuvers before heading for the
open road, and follow the guidelines
discussed below.
Towing Speeds and Gears
Driving slower than normal in all
driving situations, and obey postedspeed limits for vehicles with trailers.
Use the D
4 position when towing a
trailer on level roads. D3 is the
proper shift lever position to use
when towing a trailer in hilly terrain.
(See "Driving on Hills" in the next
column for additional gear
information.)
Making Turns and Braking
Make turns more slowly and wider
than normal. The trailer tracks a smaller arc than your vehicle, and it
can hit or run over something the
vehicle misses. Allow more time and distance for braking. Do not brake or
turn suddenly as this could cause the
trailer to jackknife or turn over.
Driving on Hills
When climbing hills, closely watch your temperature gauge. If it nearsthe red mark, turn the air
conditioning off, reduce speed and, if
necessary, pull to the side of the
road to let the engine cool.
If the automatic transmission shifts
frequently between 3rd and 4th
gears while going up a hill, shift to D
3. If you must stop when facing uphill,
use the foot brake or parking brake.
Do not try to hold the vehicle in
place by pressing on the accelerator,
as this can cause the automatic
transmission to overheat.
When driving down hills, reduce
your speed and shift down to 2nd
gear. Do not "ride" the brakes, and
remember it will take longer to slowdown and stop when towing a trailer.
Drivin g
CONTINUED
Page 313 of 352
Brake Syste m Indicato r
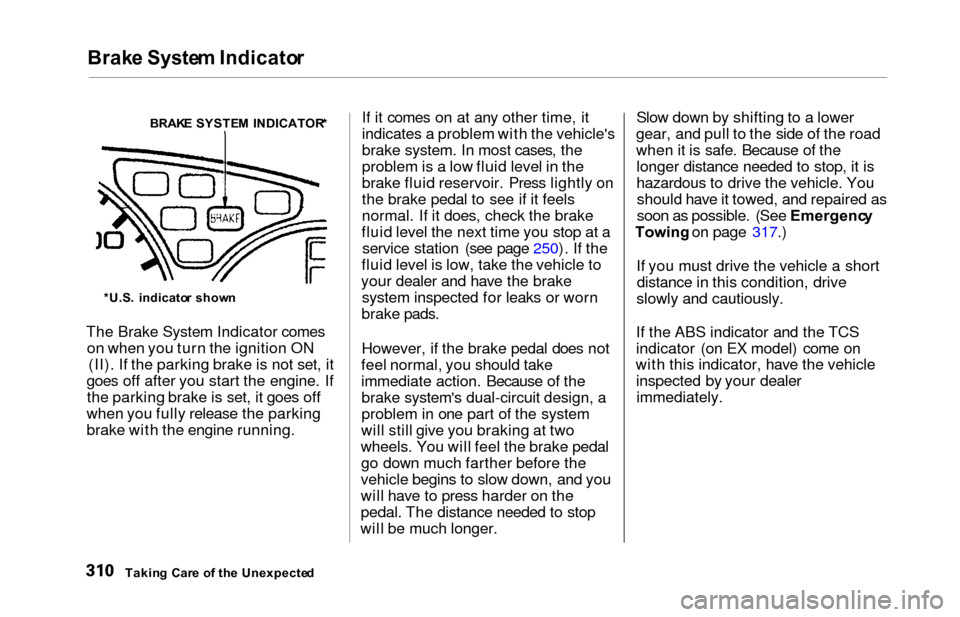
The Brake System Indicator comes
on when you turn the ignition ON (II). If the parking brake is not set, it
goes off after you start the engine. If the parking brake is set, it goes off
when you fully release the parking
brake with the engine running. If it comes on at any other time, it
indicates a problem with the vehicle's
brake system. In most cases, the
problem is a low fluid level in the
brake fluid reservoir. Press lightly on
the brake pedal to see if it feels
normal. If it does, check the brake
fluid level the next time you stop at a service station (see page 250). If the
fluid level is low, take the vehicle to
your dealer and have the brake system inspected for leaks or worn
brake pads.
However, if the brake pedal does not
feel normal, you should take
immediate action. Because of the brake system's dual-circuit design, a
problem in one part of the system
will still give you braking at two
wheels. You will feel the brake pedal go down much farther before the
vehicle begins to slow down, and you
will have to press harder on the
pedal. The distance needed to stop
will be much longer. Slow down by shifting to a lower
gear, and pull to the side of the road
when it is safe. Because of the longer distance needed to stop, it is
hazardous to drive the vehicle. Youshould have it towed, and repaired as
soon as possible. (See Emergenc y
Towing on page 317.)
If you must drive the vehicle a short distance in this condition, drive
slowly and cautiously.
If the ABS indicator and the TCS
indicator (on EX model) come on
with this indicator, have the vehicle inspected by your dealerimmediately.
Takin g Car e o f th e Unexpecte d
BRAK
E SYSTE M INDICATOR *
*U.S . indicato r show n
Page 345 of 352
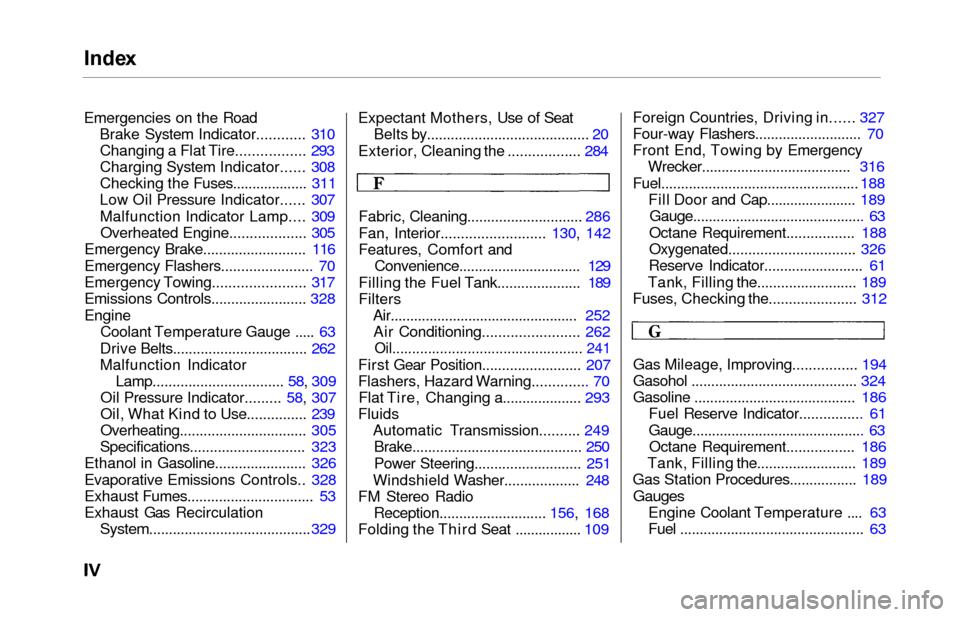
Index
Emergencies on the Road
Brake System Indicator............ 310Changing a Flat Tire................. 293
Charging System Indicator...... 308
Checking the Fuses................... 311
Low Oil Pressure Indicator...... 307
Malfunction Indicator Lamp.... 309Overheated Engine................... 305
Emergency Brake.......................... 116
Emergency Flashers....................... 70
Emergency Towing....................... 317
Emissions Controls........................ 328
Engine Coolant Temperature Gauge ..... 63
Drive Belts.................................. 262
Malfunction Indicator Lamp................................. 58, 309
Oil Pressure Indicator......... 58, 307
Oil, What Kind to Use............... 239
Overheating................................ 305
Specifications............................. 323
Ethanol in Gasoline....................... 326
Evaporative Emissions Controls.. 328
Exhaust Fumes............................... . 53
Exhaust Gas Recirculation
System......................................... 329
Expectant Mothers, Use of Seat
Belts by......................................... 20
Exterior, Cleaning the .................. 284
Fabric, Cleaning............................. 286
Fan, Interior.......................... 130, 142
Features, Comfort and Convenience............................... 129
Filling the Fuel Tank..................... 189
Filters Air............................................... . 252
Air Conditioning........................ 262
Oil................................................ 241
First Gear Position......................... 207
Flashers, Hazard Warning.............. 70
Flat Tire, Changing a.................... 293
Fluids Automatic Transmission.......... 249Brake........................................... 250
Power Steering.......................... . 251
Windshield Washer................... 248
FM Stereo Radio Reception........................... 156, 168
Folding the Third Seat ................. 109 Foreign Countries, Driving in......
327
Four-way Flashers........................... 70
Front End, Towing by Emergency Wrecker...................................... 316
Fuel.................................................. 188
Fill Door and Cap....................... 189
Gauge............................................ 63
Octane Requirement................. 188
Oxygenated................................ 326
Reserve Indicator........................ . 61
Tank, Filling the......................... 189
Fuses, Checking the...................... 312
Gas Mileage, Improving................ 194
Gasohol .......................................... 324
Gasoline ......................................... 186 Fuel Reserve Indicator................ 61
Gauge............................................ 63
Octane Requirement................. 186
Tank, Filling the......................... 189
Gas Station Procedures................. 189
Gauges
Engine Coolant Temperature .... 63
Fuel
.............................................. . 63
Page 346 of 352
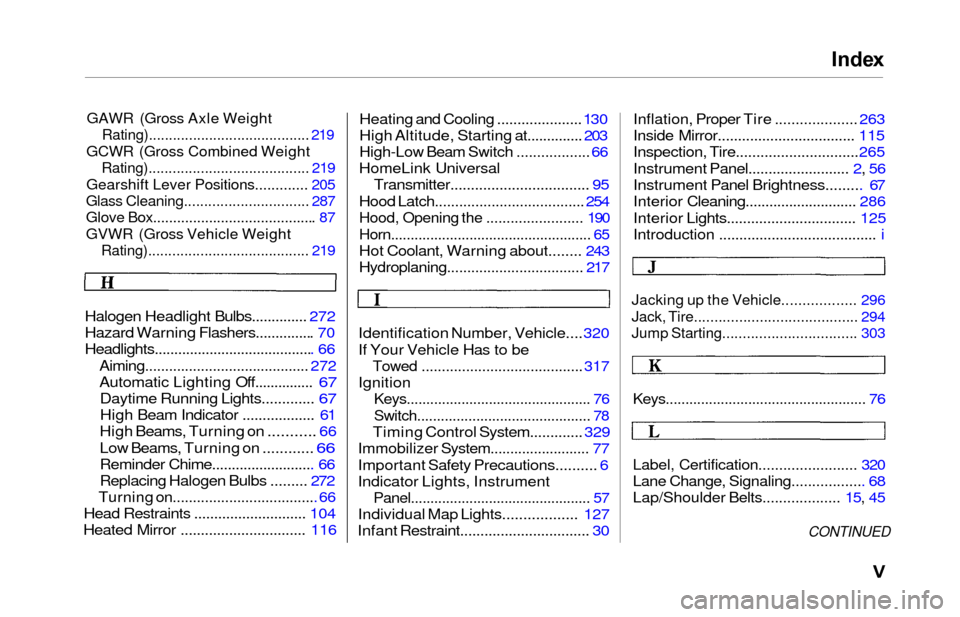
Index
GAWR (Gross Axle Weight
Rating)........................................ 219
GCWR (Gross Combined Weight
Rating)........................................ 219
Gearshift Lever Positions............. 205
Glass Cleaning............................... 287
Glove Box........................................ . 87
GVWR (Gross Vehicle Weight
Rating)........................................ 219
Halogen Headlight Bulbs.............. 272
Hazard Warning Flashers.............. . 70
Headlights........................................ . 66
Aiming......................................... 272
Automatic Lighting Off............... 67
Daytime Running Lights............. 67
High Beam Indicator .................. 6 1
High Beams, Turning on
........... 66
Low Beams, Turning on ............
66
Reminder Chime.......................... 66
Replacing Halogen Bulbs ......... 272
Turning on.................................... 66
Head Restraints ............................ 104
Heated Mirror ............................... 116Heating and Cooling .....................
130
High Altitude, Starting at.............. 203
High-Low Beam Switch .................. 66
HomeLink Universal
Transmitter.................................. 95
Hood Latch..................................... 254
Hood, Opening the ........................ 190
Horn.................................................. . 65
Hot Coolant, Warning about........ 243
Hydroplaning.................................. 217
Identification Number, Vehicle.... 320
If Your Vehicle Has to be
Towed ....................................... . 317
Ignition
Keys............................................... 76
Switch........................................... . 78
Timing Control System............. 329
Immobilizer System......................... 77
Important Safety Precautions.......... 6
Indicator Lights, Instrument
Panel............................................. . 57
Individual Map Lights.................. 127
Infant Restraint............................... . 30
Inflation, Proper Tire .................... 263
Inside Mirror.................................. 115
Inspection, Tire.............................. 265
Instrument Panel......................... 2, 56
Instrument Panel Brightness......... 67
Interior Cleaning............................ 286
Interior Lights................................ 125
Introduction ....................................... i
Jacking up the Vehicle.................. 296
Jack, Tire........................................ 294
Jump Starting................................. 303
Keys................................................... 76
Label, Certification........................ 320
Lane Change, Signaling.................. 68
Lap/Shoulder Belts................... 15, 45
CONTINUED