Page 30 of 280
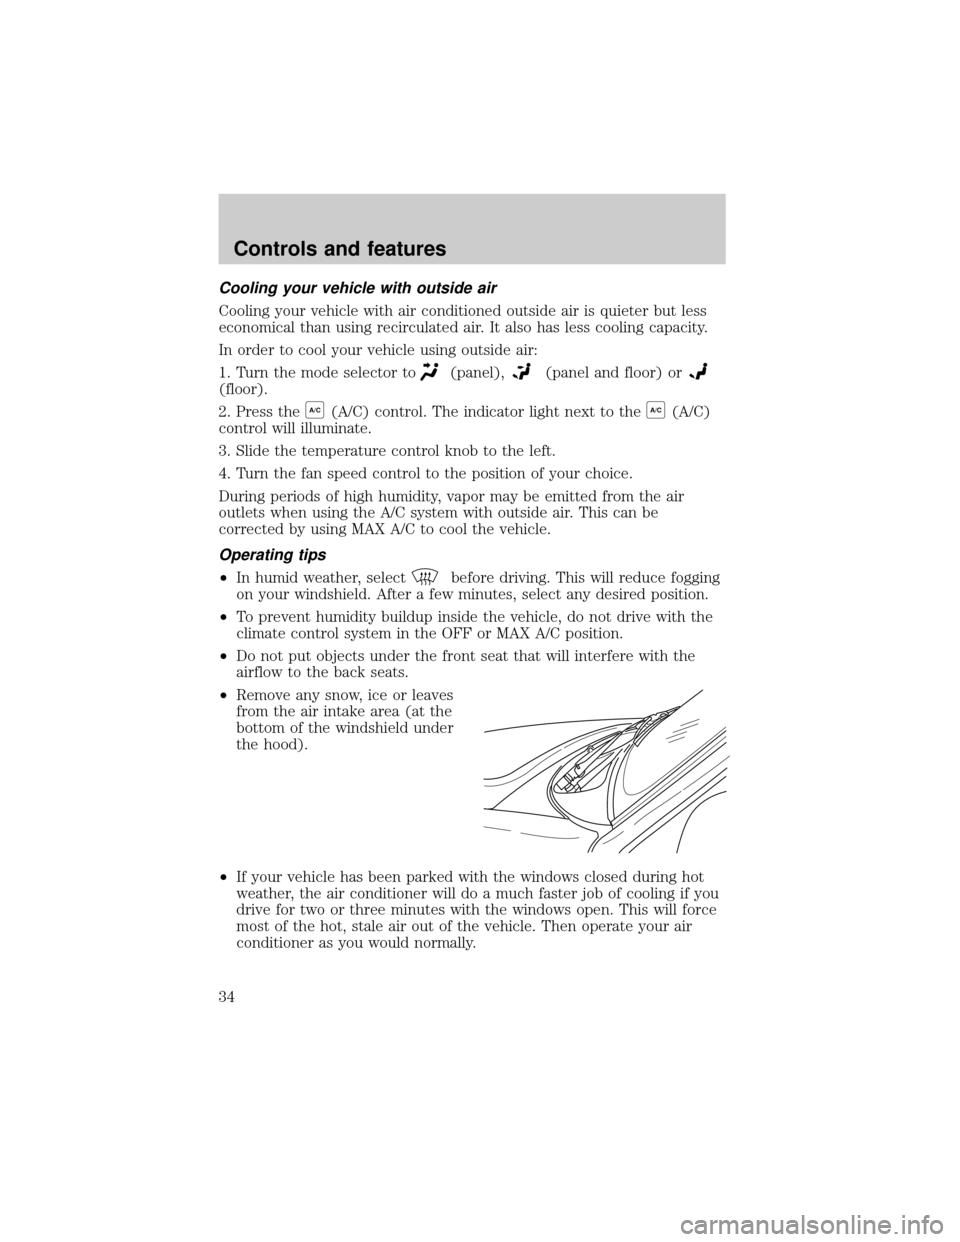
²Remove any snow, ice or leaves
from the air intake area (at the
bottom of the windshield under
the hood).
²Do not place objects over the defroster outlets. These objects can
block airflow and reduce your ability to see through your windshield.
Also, avoid placing small objects on top of your instrument panel.
These objects can fall down into the defroster outlets and block
airflow and possibly damage your climate control system.
²To get maximum heating performance from the second row floor vents
(located under the front row seats), place the front mode selector
control in the
(floor) position and set the fan speed to its highest
setting.
Do not place objects on top of the instrument panel, as these
objects may become projectiles in a collision or sudden stop.
Manual heating and air conditioning system (if equipped)
²Manual heating and air conditioning system without rear
controls (if equipped)
A/C
MAX
A/C
Controls and features
30
Page 34 of 280

Cooling your vehicle with outside air
Cooling your vehicle with air conditioned outside air is quieter but less
economical than using recirculated air. It also has less cooling capacity.
In order to cool your vehicle using outside air:
1. Turn the mode selector to
(panel),(panel and floor) or
(floor).
2. Press the
A/C(A/C) control. The indicator light next to theA/C(A/C)
control will illuminate.
3. Slide the temperature control knob to the left.
4. Turn the fan speed control to the position of your choice.
During periods of high humidity, vapor may be emitted from the air
outlets when using the A/C system with outside air. This can be
corrected by using MAX A/C to cool the vehicle.
Operating tips
²In humid weather, selectbefore driving. This will reduce fogging
on your windshield. After a few minutes, select any desired position.
²To prevent humidity buildup inside the vehicle, do not drive with the
climate control system in the OFF or MAX A/C position.
²Do not put objects under the front seat that will interfere with the
airflow to the back seats.
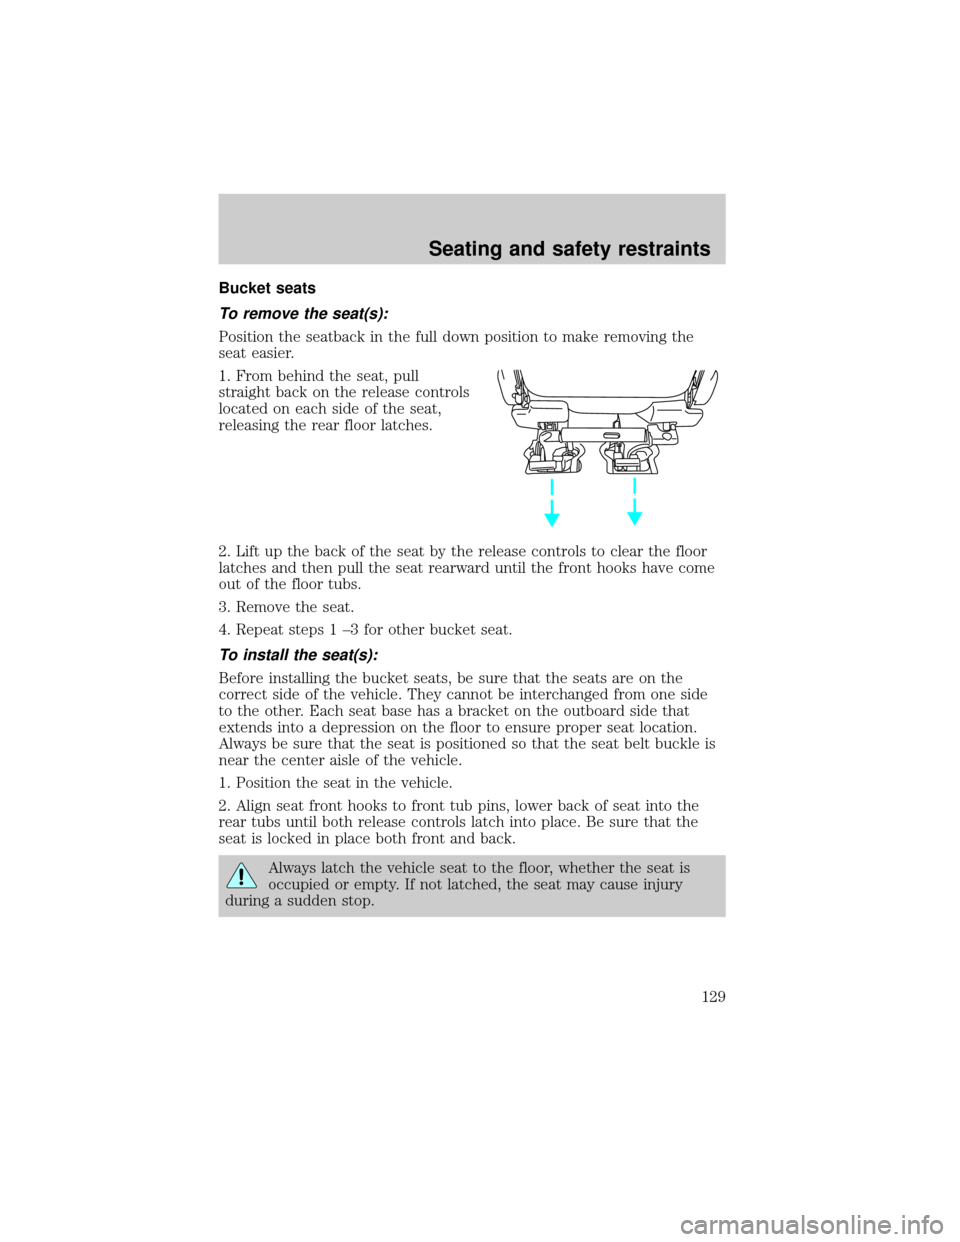
²Remove any snow, ice or leaves
from the air intake area (at the
bottom of the windshield under
the hood).
²If your vehicle has been parked with the windows closed during hot
weather, the air conditioner will do a much faster job of cooling if you
drive for two or three minutes with the windows open. This will force
most of the hot, stale air out of the vehicle. Then operate your air
conditioner as you would normally.
Controls and features
34
Page 125 of 280
Bench seat
To remove the seats:
1. (For 2nd row bench seat only.)
Disengage the lap/shoulder belt from
the side of the seat belt detach
anchors (if equipped) by inserting
the seatbelt tongue or a key into the
slot in the detachable anchor and
lifting upward.
Seating and safety restraints
125
Page 129 of 280

Bucket seats
To remove the seat(s):
Position the seatback in the full down position to make removing the
seat easier.
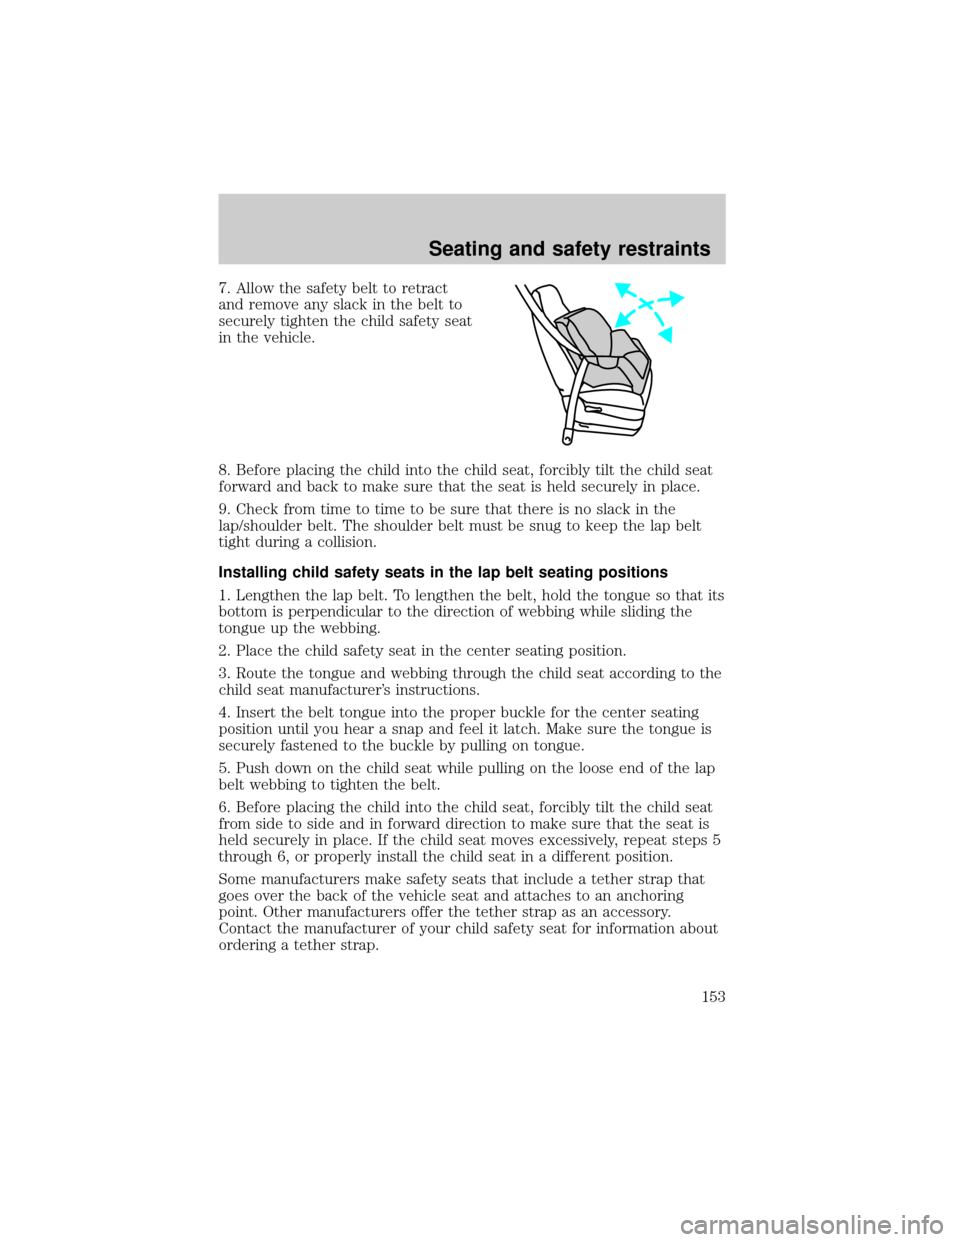
1. From behind the seat, pull
straight back on the release controls
located on each side of the seat,
releasing the rear floor latches.
2. Lift up the back of the seat by the release controls to clear the floor
latches and then pull the seat rearward until the front hooks have come
out of the floor tubs.
3. Remove the seat.
4. Repeat steps 1 ±3 for other bucket seat.
To install the seat(s):
Before installing the bucket seats, be sure that the seats are on the
correct side of the vehicle. They cannot be interchanged from one side
to the other. Each seat base has a bracket on the outboard side that
extends into a depression on the floor to ensure proper seat location.
Always be sure that the seat is positioned so that the seat belt buckle is
near the center aisle of the vehicle.
1. Position the seat in the vehicle.
2. Align seat front hooks to front tub pins, lower back of seat into the
rear tubs until both release controls latch into place. Be sure that the
seat is locked in place both front and back.
Always latch the vehicle seat to the floor, whether the seat is
occupied or empty. If not latched, the seat may cause injury
during a sudden stop.
Seating and safety restraints
129
Page 153 of 280

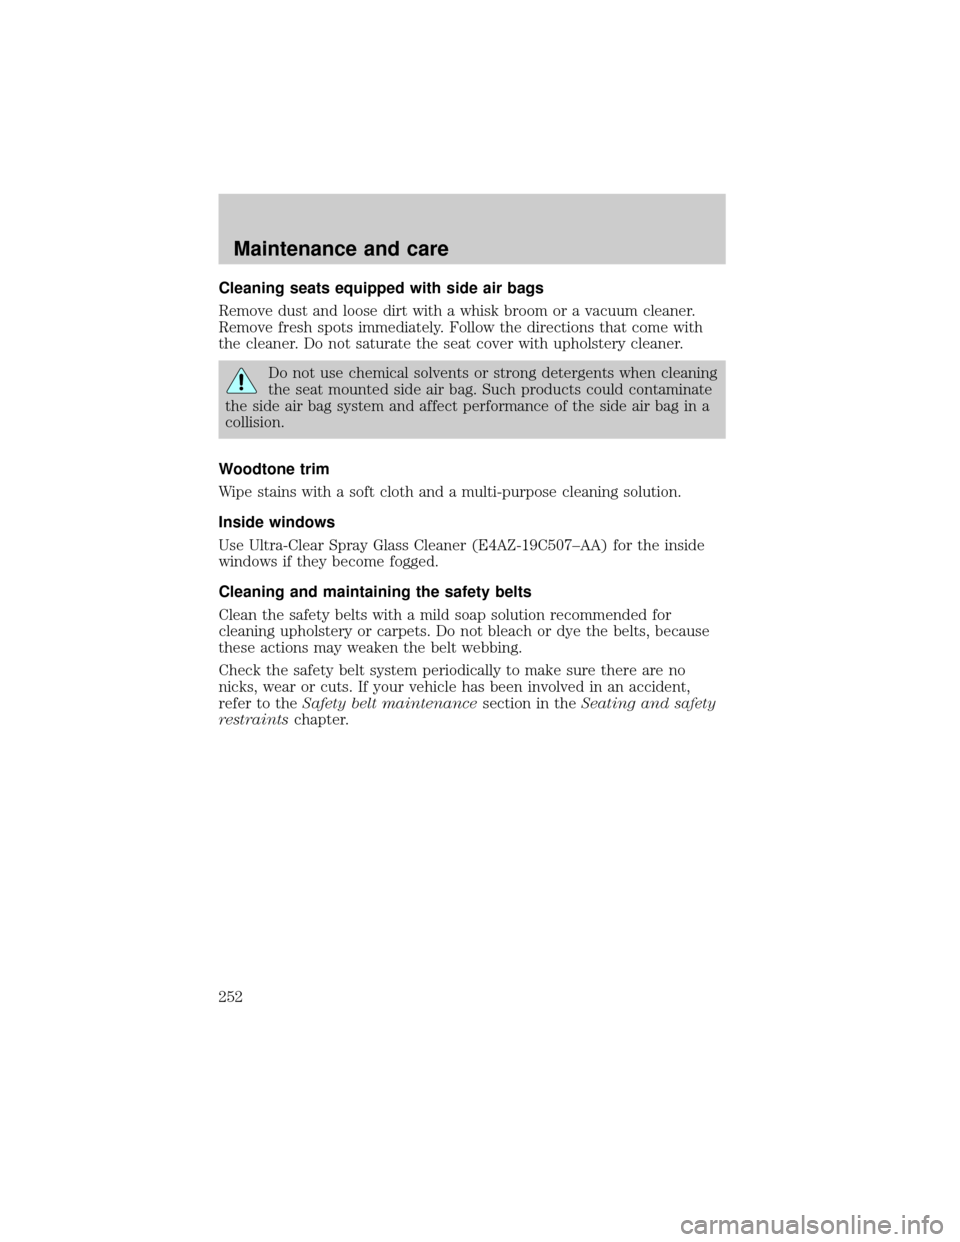
7. Allow the safety belt to retract
and remove any slack in the belt to
securely tighten the child safety seat
in the vehicle.
8. Before placing the child into the child seat, forcibly tilt the child seat
forward and back to make sure that the seat is held securely in place.
9. Check from time to time to be sure that there is no slack in the
lap/shoulder belt. The shoulder belt must be snug to keep the lap belt
tight during a collision.
Installing child safety seats in the lap belt seating positions
1. Lengthen the lap belt. To lengthen the belt, hold the tongue so that its
bottom is perpendicular to the direction of webbing while sliding the
tongue up the webbing.
2. Place the child safety seat in the center seating position.
3. Route the tongue and webbing through the child seat according to the
child seat manufacturer's instructions.
4. Insert the belt tongue into the proper buckle for the center seating
position until you hear a snap and feel it latch. Make sure the tongue is
securely fastened to the buckle by pulling on tongue.
5. Push down on the child seat while pulling on the loose end of the lap
belt webbing to tighten the belt.
6. Before placing the child into the child seat, forcibly tilt the child seat
from side to side and in forward direction to make sure that the seat is
held securely in place. If the child seat moves excessively, repeat steps 5
through 6, or properly install the child seat in a different position.
Some manufacturers make safety seats that include a tether strap that
goes over the back of the vehicle seat and attaches to an anchoring
point. Other manufacturers offer the tether strap as an accessory.
Contact the manufacturer of your child safety seat for information about
ordering a tether strap.
Seating and safety restraints
153
Page 252 of 280

Cleaning seats equipped with side air bags
Remove dust and loose dirt with a whisk broom or a vacuum cleaner.
Remove fresh spots immediately. Follow the directions that come with
the cleaner. Do not saturate the seat cover with upholstery cleaner.
Do not use chemical solvents or strong detergents when cleaning
the seat mounted side air bag. Such products could contaminate
the side air bag system and affect performance of the side air bag in a
collision.
Woodtone trim
Wipe stains with a soft cloth and a multi-purpose cleaning solution.
Inside windows
Use Ultra-Clear Spray Glass Cleaner (E4AZ-19C507±AA) for the inside
windows if they become fogged.
Cleaning and maintaining the safety belts
Clean the safety belts with a mild soap solution recommended for
cleaning upholstery or carpets. Do not bleach or dye the belts, because
these actions may weaken the belt webbing.
Check the safety belt system periodically to make sure there are no
nicks, wear or cuts. If your vehicle has been involved in an accident,
refer to theSafety belt maintenancesection in theSeating and safety
restraintschapter.
Maintenance and care
252
Page 253 of 280
Cleaning leather seats (if equipped)
To clean, simply use a soft cloth dampened with water and a mild soap.
Wipe the leather again with a damp cloth to remove soap residue. Dry
with a soft cloth. For tougher soiling concerns, Ford recommends using
the Deluxe Leather Care Kit F8AZ-19G253±AA, which is available from
your Ford Dealer. This mild cleaner and special pad, cleans the leather
and maintains its natural beauty. Follow the instructions on the cleaner
label. Regular cleaning of your leather upholstery helps maintain its
resiliency and color.
Do not use household cleaning products, alcohol solutions,
solvents or cleaners intended for rubber, vinyl or plastics.
Cleaning the interior fabric
Remove dust and loose dirt with a whisk broom or a vacuum cleaner.
Remove fresh spots immediately. Do not use household or glass cleaners.
These agents can stain and discolor the fabric. Use a mild soap and
water solution if necessary.
Maintenance and care
253