2000 FORD WINDSTAR radio controls
[x] Cancel search: radio controlsPage 71 of 280
Speaker balance adjust
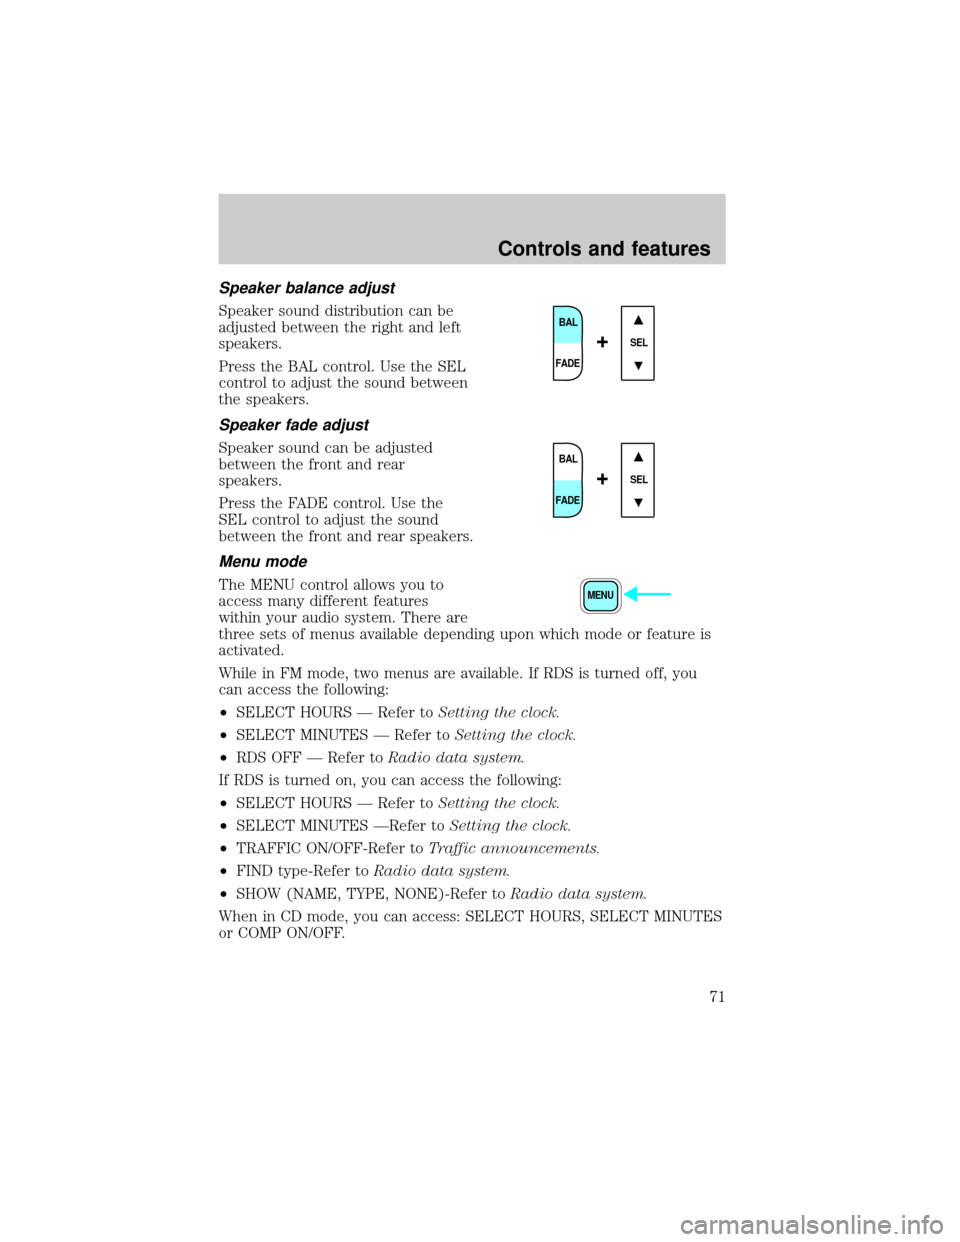
Speaker sound distribution can be
adjusted between the right and left
speakers.
Press the BAL control. Use the SEL
control to adjust the sound between
the speakers.
Speaker fade adjust
Speaker sound can be adjusted
between the front and rear
speakers.
Press the FADE control. Use the
SEL control to adjust the sound
between the front and rear speakers.
Menu mode
The MENU control allows you to
access many different features
within your audio system. There are
three sets of menus available depending upon which mode or feature is
activated.
While in FM mode, two menus are available. If RDS is turned off, you
can access the following:
²SELECT HOURS Ð Refer toSetting the clock.
²SELECT MINUTES Ð Refer toSetting the clock.
²RDS OFF Ð Refer toRadio data system.
If RDS is turned on, you can access the following:
²SELECT HOURS Ð Refer toSetting the clock.
²SELECT MINUTES ÐRefer toSetting the clock.
²TRAFFIC ON/OFF-Refer toTraffic announcements.
²FIND type-Refer toRadio data system.
²SHOW (NAME, TYPE, NONE)-Refer toRadio data system.
When in CD mode, you can access: SELECT HOURS, SELECT MINUTES
or COMP ON/OFF.
BAL
FADE
SEL+
BAL
FADE
SEL+
MENU
Controls and features
71
Page 72 of 280
SELECT HOURS, SELECT MINUTESÐ Allows you to adjust the hours
and minutes. Refer toSetting the clock.
TRAFFIC ON/OFFÐ Traffic announcements can be programmed as local
or distant. Refer toTraffic announcements.
RDS ON/OFFÐ This feature allows your audio system to receive text
information from RDS-equipped FM radio stations. Refer to.RDS feature.
FIND type Ð Allows you to select your desired FM program type and
search for that selection.
SHOW Ð Allows you to select from NAME (displays the name of the
radio station), TYPE (displays the RDS program type: rock, jazz, etc.), or
NONE (deactivates the RDS display).
Radio data system (RDS) feature
This feature allows your audio
system to receive text information
from RDS-equipped FM radio
stations.
To activate RDS:
²When in FM mode, press the MENU control until RDS OFF displays.
²Press the SEL control to engage this feature (RDS ON).
RDS features:
Once the RDS feauture is on, press the RDS control to scroll through the
following selections:
Traffic announcements
This feature allows you to hear traffic announcements while in CD mode.
These announcements are broadcast by traffic capable RDS stations.
When in this mode, traffic announcements will interrupt radio and CD
play.
²Press the MENU control until TRAFFIC is displayed.
²Press the SEL control to engage the feature. The display will read
TRAFFIC ON.
This feature also allows you to control the volume of traffic
announcements. With the display reading TRAFFIC ON, adjust the
volume using the volume control to the desired level. The volume level
will show at the bottom of the display. Interrupting traffic
announcements will be at the selected volume level.
SEL+MENU
Controls and features
72
Page 73 of 280
To disengage the feature, press the MENU control until TRAFFIC ON
displays. Press the SEL control. The display will read TRAFFIC OFF.
Traffic announcements not available in most U.S. markets.
Program type
This feature allows you to search for
RDS stations selectively by their
program type.
²Press the MENU control until
FIND program type is displayed.
²Use the SEL control to select the program type. With the feature on,
use the SEEK or SCAN control to find the desired program type from
the following selections:
²Classic
²Country
²Info
²Jazz
²Oldies
²R&B
²Religious
²Rock
²To p 4 0
Show
This feature allows you to select the
type of RDS broadcast information
the radio will regularly show in the
display.
²With RDS activated, press the MENU control until SHOW is displayed.
²Use the SEL control to select TYPE (displays the RDS program type:
rock, jazz, etc), NAME(displays the name of the radio station) or
NONE (deactivates the RDS display).
RDS clock feature
Refer toSetting the clockfor information.
SEL+MENU
SEL
+MENU
Controls and features
73
Page 76 of 280
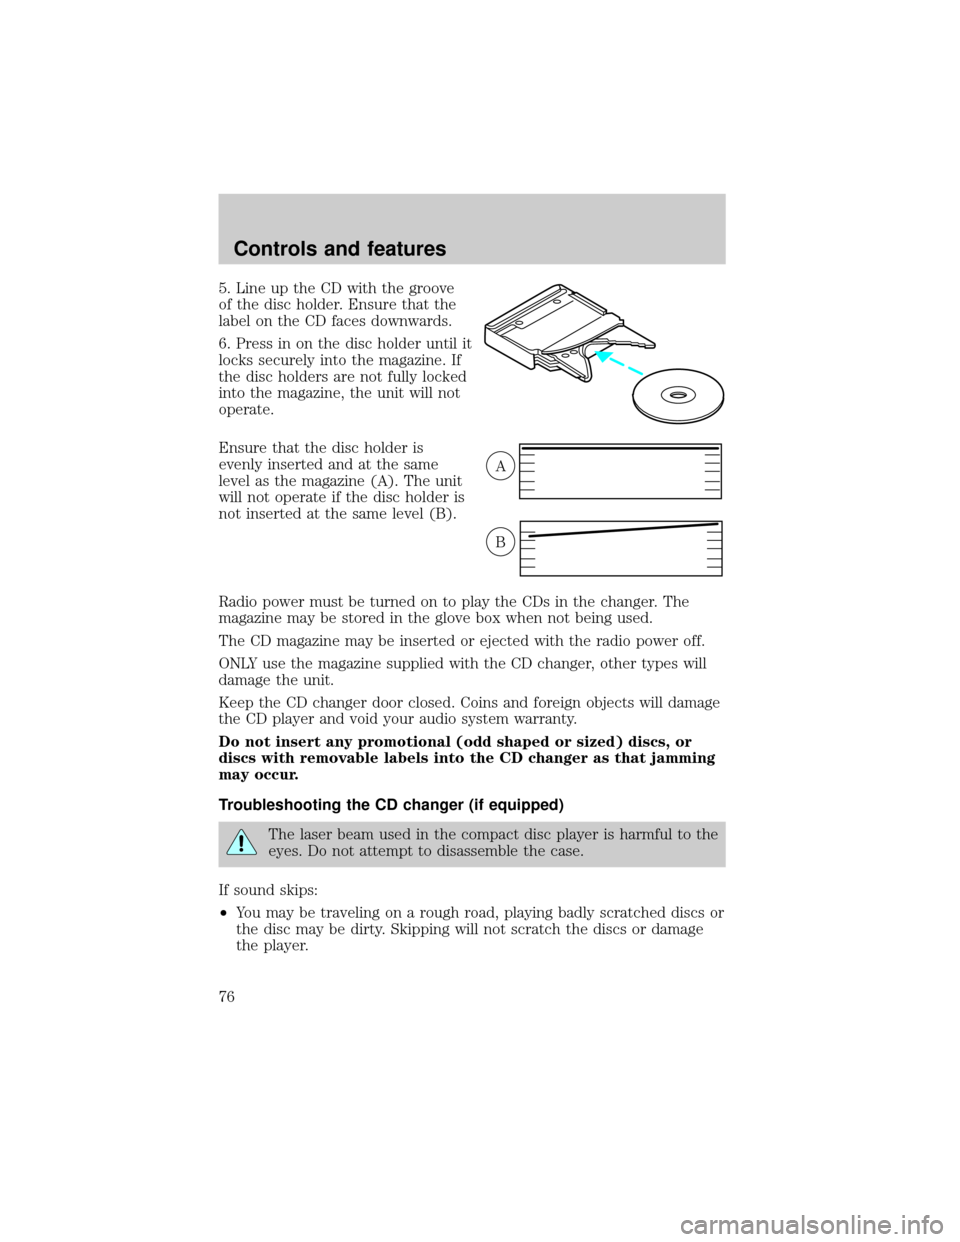
5. Line up the CD with the groove
of the disc holder. Ensure that the
label on the CD faces downwards.
6. Press in on the disc holder until it
locks securely into the magazine. If
the disc holders are not fully locked
into the magazine, the unit will not
operate.
Ensure that the disc holder is
evenly inserted and at the same
level as the magazine (A). The unit
will not operate if the disc holder is
not inserted at the same level (B).
Radio power must be turned on to play the CDs in the changer. The
magazine may be stored in the glove box when not being used.
The CD magazine may be inserted or ejected with the radio power off.
ONLY use the magazine supplied with the CD changer, other types will
damage the unit.
Keep the CD changer door closed. Coins and foreign objects will damage
the CD player and void your audio system warranty.
Do not insert any promotional (odd shaped or sized) discs, or
discs with removable labels into the CD changer as that jamming
may occur.
Troubleshooting the CD changer (if equipped)
The laser beam used in the compact disc player is harmful to the
eyes. Do not attempt to disassemble the case.
If sound skips:
²You may be traveling on a rough road, playing badly scratched discs or
the disc may be dirty. Skipping will not scratch the discs or damage
the player.
A
B
Controls and features
76
Page 78 of 280
Radio frequency information
The Federal Communications Commission (FCC) and the Canadian Radio
and Telecommunications Commission(CRTC) establish the frequencies
AM and FM stations may use for their broadcasts. Allowable frequencies
are:
AM 530, 540±1600, 1610 kHz
FM 87.7, 87.9±107.7, 107.9 MHz
Not all frequencies are used in a given area.
Radio reception factors
Three factors can affect radio reception:
²Distance/strength.The further an FM signal travels, the weaker it is.
The listenable range of the average FM station is approximately 40 km
(24 miles). This range can be affected by ªsignal modulation.º Signal
modulation is a process radio stations use to increase their
strength/volume relative to other stations.
²Terrain.Hills, mountains and tall buildings between your vehicle's
antenna and the radio station signal can cause FM reception problems.
Static can be caused on AM stations by power lines, electric fences,
traffic lights and thunderstorms. Moving away from an interfering
structure (out of its ªshadowº) returns your reception to normal.
²Station overload.Weak signals are sometimes captured by stronger
signals when you pass a broadcast tower. A stronger signal may
temporarily overtake a weaker signal and play while the weak station
frequency is displayed.
The audio system automatically switches to single channel reception if it
will improve the reception of a station normally received in stereo.
Audio system warranties and service
Refer to the ªWarranty Guideº for audio system warranty information.
If service is necessary, see your dealer or a qualified technician.
REVERSE SENSING SYSTEM (IF EQUIPPED)
The reverse sensing system (RSS) sounds a tone to warn the driver of
obstacles near the rear bumper when the reverse gear is selected.
Controls and features
78
Page 81 of 280
POWER ADJUSTABLE FOOT PEDALS (IF EQUIPPED)
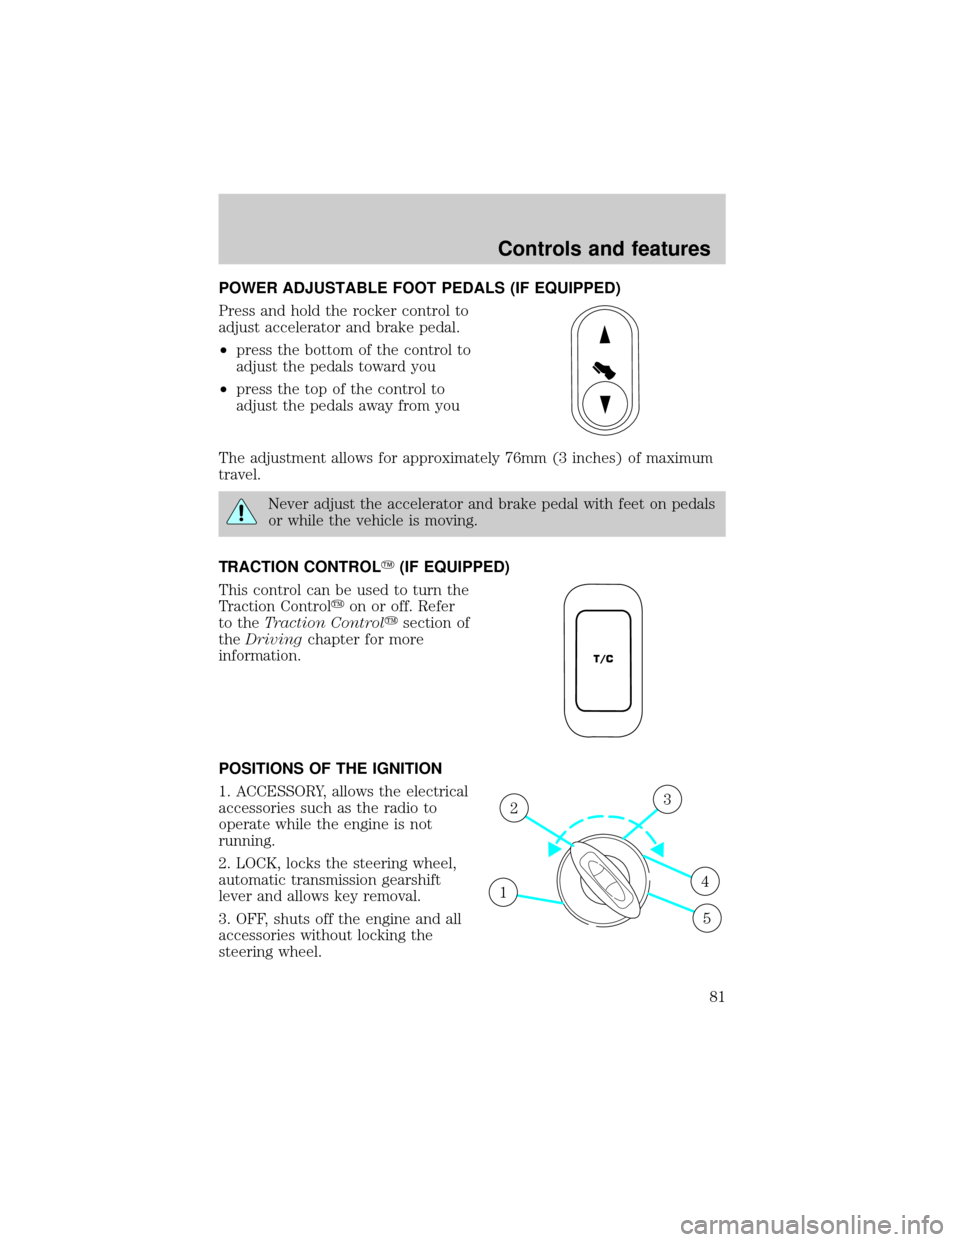
Press and hold the rocker control to
adjust accelerator and brake pedal.
²press the bottom of the control to
adjust the pedals toward you
²press the top of the control to
adjust the pedals away from you
The adjustment allows for approximately 76mm (3 inches) of maximum
travel.
Never adjust the accelerator and brake pedal with feet on pedals
or while the vehicle is moving.
TRACTION CONTROLY(IF EQUIPPED)
This control can be used to turn the
Traction Controlyon or off. Refer
to theTraction Controlysection of
theDrivingchapter for more
information.
POSITIONS OF THE IGNITION
1. ACCESSORY, allows the electrical
accessories such as the radio to
operate while the engine is not
running.
2. LOCK, locks the steering wheel,
automatic transmission gearshift
lever and allows key removal.
3. OFF, shuts off the engine and all
accessories without locking the
steering wheel.
T/C
1
23
4
5
Controls and features
81
Page 93 of 280
ILLUMINATED VISOR MIRROR (IF EQUIPPED)
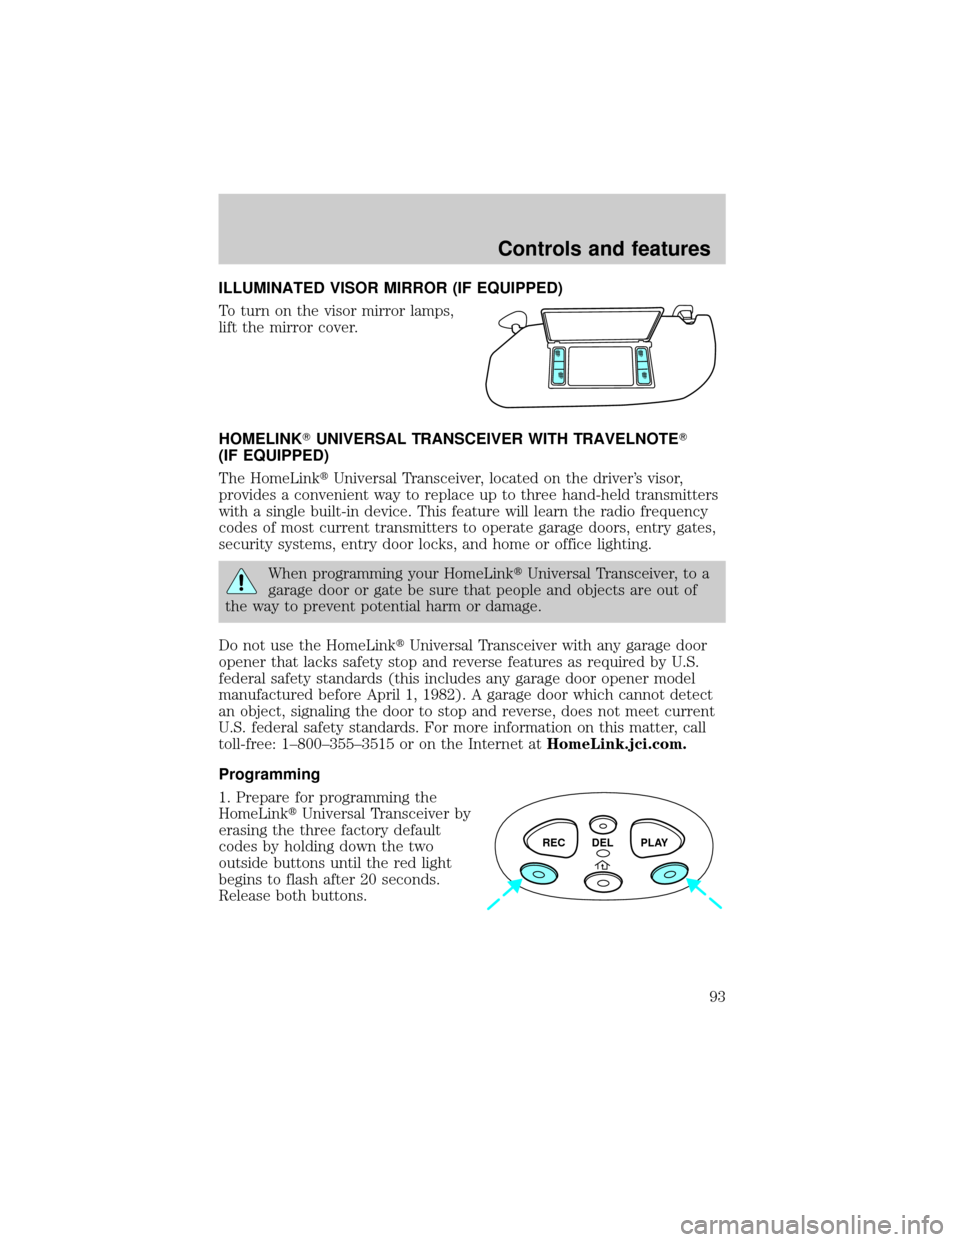
To turn on the visor mirror lamps,
lift the mirror cover.
HOMELINKTUNIVERSAL TRANSCEIVER WITH TRAVELNOTET
(IF EQUIPPED)
The HomeLinktUniversal Transceiver, located on the driver's visor,
provides a convenient way to replace up to three hand-held transmitters
with a single built-in device. This feature will learn the radio frequency
codes of most current transmitters to operate garage doors, entry gates,
security systems, entry door locks, and home or office lighting.
When programming your HomeLinktUniversal Transceiver, to a
garage door or gate be sure that people and objects are out of
the way to prevent potential harm or damage.
Do not use the HomeLinktUniversal Transceiver with any garage door
opener that lacks safety stop and reverse features as required by U.S.
federal safety standards (this includes any garage door opener model
manufactured before April 1, 1982). A garage door which cannot detect
an object, signaling the door to stop and reverse, does not meet current
U.S. federal safety standards. For more information on this matter, call
toll-free: 1±800±355±3515 or on the Internet atHomeLink.jci.com.
Programming
1. Prepare for programming the
HomeLinktUniversal Transceiver by
erasing the three factory default
codes by holding down the two
outside buttons until the red light
begins to flash after 20 seconds.
Release both buttons.
REC DEL PLAY
Controls and features
93
Page 110 of 280

This device complies with part 15 of the FCC rules and with RS-210 of
Industry Canada. Operation is subject to the following two conditions:
(1) This device may not cause harmful interference, and (2) This device
must accept any interference received, including interference that may
cause undesired operation.
Changes or modifications not expressly approved by the party
responsible for compliance could void the user's authority to
operate the equipment.
Illuminated entry
The interior lights will illuminate when the remote entry Unlock or Panic
control is pressed with the doors closed or when unlocking or opening a
power sliding door (if equipped).
The system automatically turns off after 25 seconds or when the ignition
is turned to the RUN position. The panel dimmer control mustnotbe
set to the OFF position for the illuminated entry to operate.
The inside lights will not turn off if:
²they have been turned on with the instrument panel dimmer control
or
²any door is open.
The battery saver will shut off the interior lamps 30 minutes after the
last door is closed even if the panel dimmer control is left on.
Illuminated exit
The interior lights will illuminate when the key is removed from the
ignition. When the headlamp control is on the ªsleeping baby modeº, only
the lower interior lights will illuminate.
The system automatically turns off after 25 seconds or when the driver's
door is opened. The panel dimmer control mustnotbe set to the OFF
position for the illuminated entry to operate.
Replacing the battery
The remote transmitter is powered by one coin type three-volt lithium
battery CR2032 or equivalent. Typical operating range will allow you to
be up to 10 meters (33 feet) away from your vehicle. A decrease in
operating range can be caused by:
²weather conditions
²nearby radio towers
Controls and features
110