2000 FORD WINDSTAR light
[x] Cancel search: lightPage 26 of 280

HEADLAMP CONTROL
Rotate the headlamp control to the
first position to turn on the parking
lamps. Rotate to the second position
to also turn on the headlamps.
Daytime running lamps (DRL) (if equipped)
Turns the highbeam headlamps on with a reduced output. To activate:
²the key must be in the ON position,
²the headlamp control is in the OFF or Parking lamps position.
Always remember to turn on your headlamps at dusk or during
inclement weather. The Daytime Running Light (DRL) System
does not activate your tail lamps and generally may not provide
adequate lighting during these conditions. Failure to activate your
headlamps under these conditions may result in a collision.
High beams
Push forward to activate.
Pull toward you to deactivate.
Controls and features
26
Page 27 of 280

Flash to pass
Pull toward you to activate and
release to deactivate.
Battery saver
The battery saver will shut off the exterior lamps 10 minutes after the
ignition switch has been turned off and the headlamp control is in the
HEADLAMP position. The system will not turn off the parking lamps if
the headlamp control is in the PARK position. For interior lights, refer to
Illuminated entryin this chapter.
PANEL DIMMER CONTROL
Use to adjust the brightness of the
instrument panel lighting during
headlamp and parklamp operation.
²Rotate control to full up position
to turn on all interior lights.
²Rotate control to next position
(adjustment dial) and move up
and down to adjust the
instrument panel lights.
²Rotate to the first or second
lower detent position to turn on the instrument panel lights to full
brightness.
This control also has other features that are activated whenany door is
opened:
²Rotate to full up position or next position (adjustment dial) to turn on
all interior lights.
²
Rotate to first lower detent position to activate ªsleeping baby modeº Ð
dome lamps will remain off and only the lower lamps will illuminate.
²The second lower detent position (full down) will shut off all interior
lights.
The dome lamp will not illuminate if the panel dimmer/dome lamp
control is switched to OFF.
Controls and features
27
Page 28 of 280

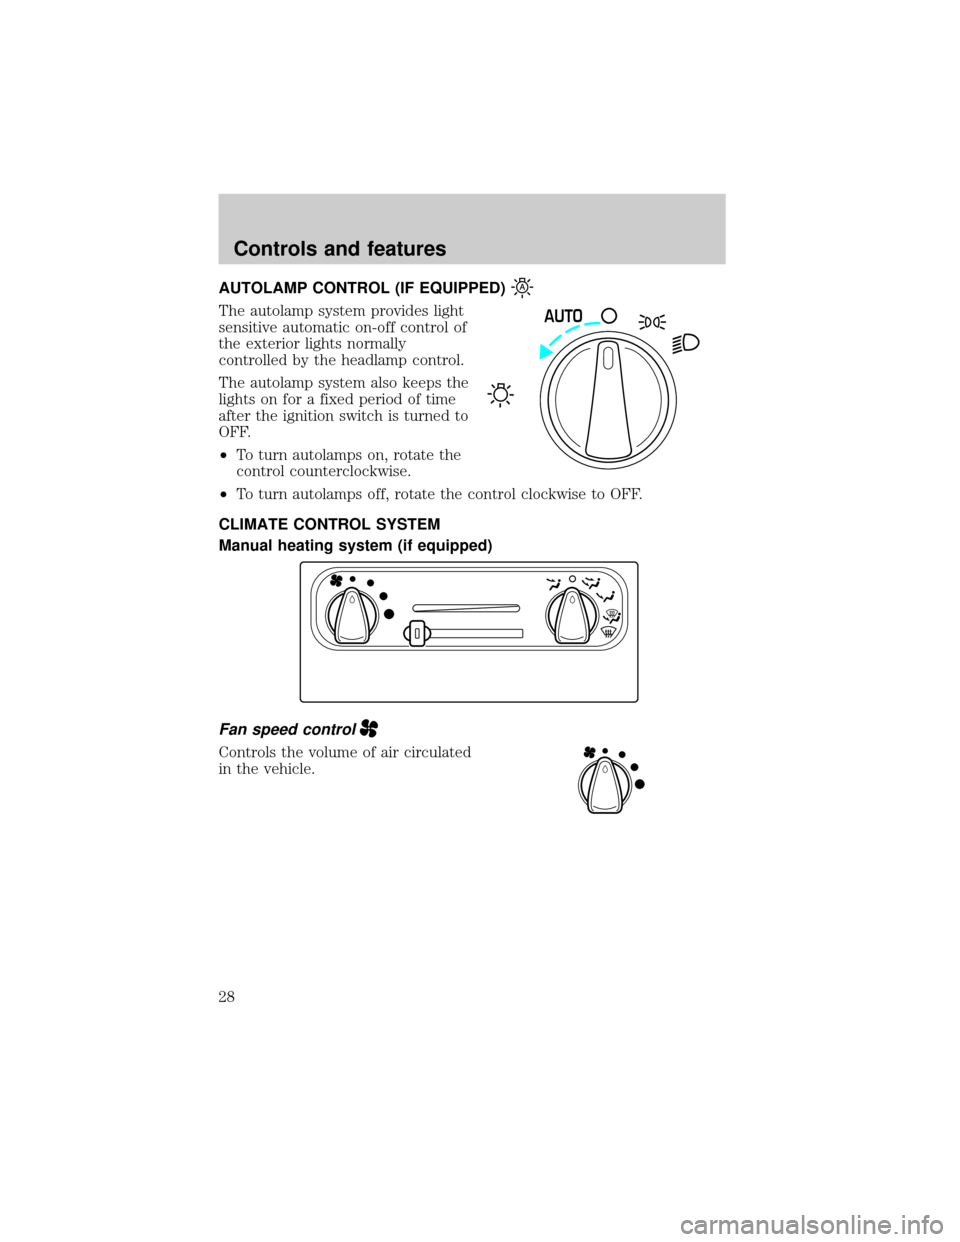
AUTOLAMP CONTROL (IF EQUIPPED)
The autolamp system provides light
sensitive automatic on-off control of
the exterior lights normally
controlled by the headlamp control.
The autolamp system also keeps the
lights on for a fixed period of time
after the ignition switch is turned to
OFF.
²To turn autolamps on, rotate the
control counterclockwise.
²To turn autolamps off, rotate the control clockwise to OFF.
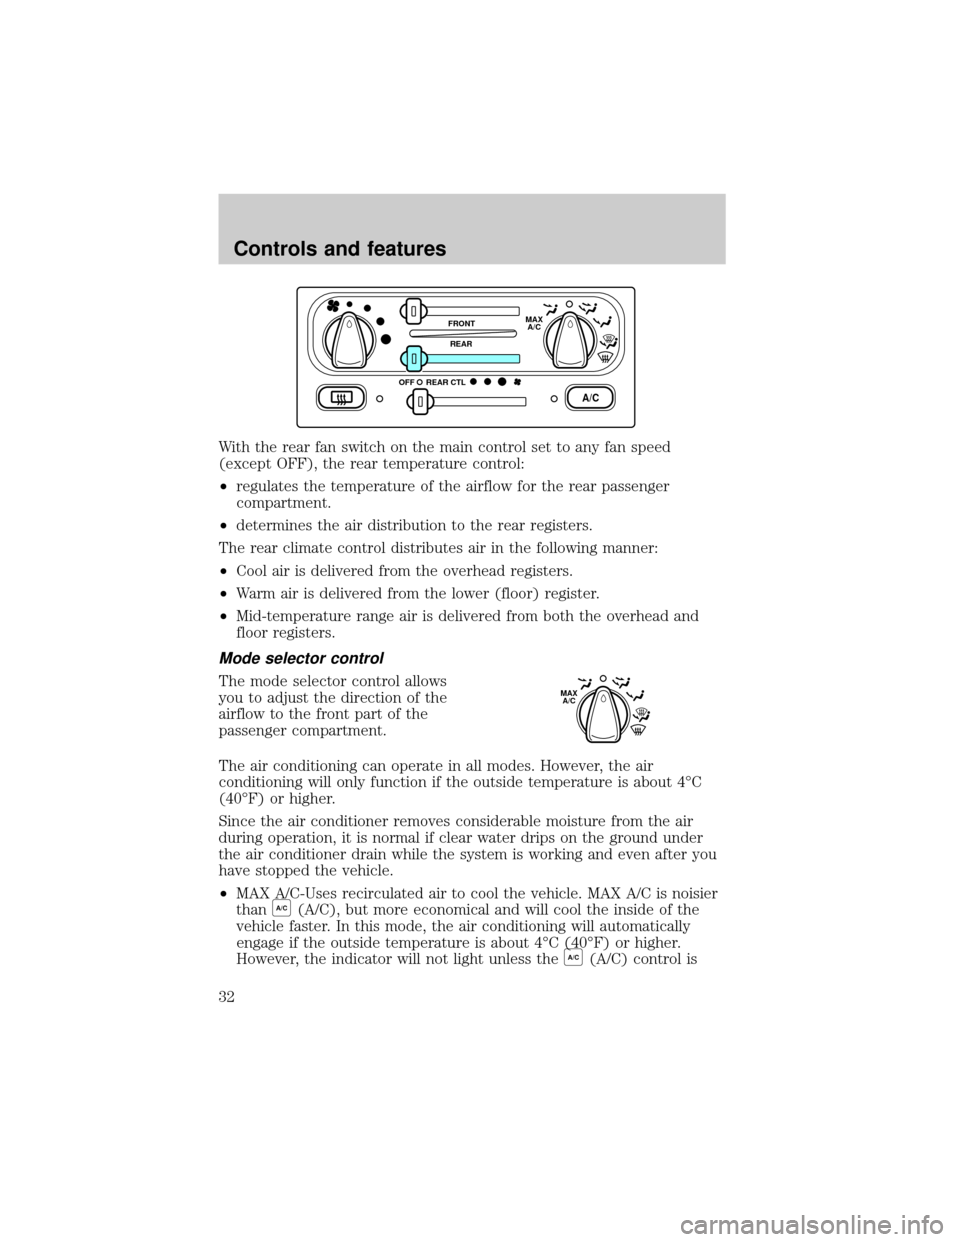
CLIMATE CONTROL SYSTEM
Manual heating system (if equipped)
Fan speed control
Controls the volume of air circulated
in the vehicle.
AUTO
Controls and features
28
Page 32 of 280

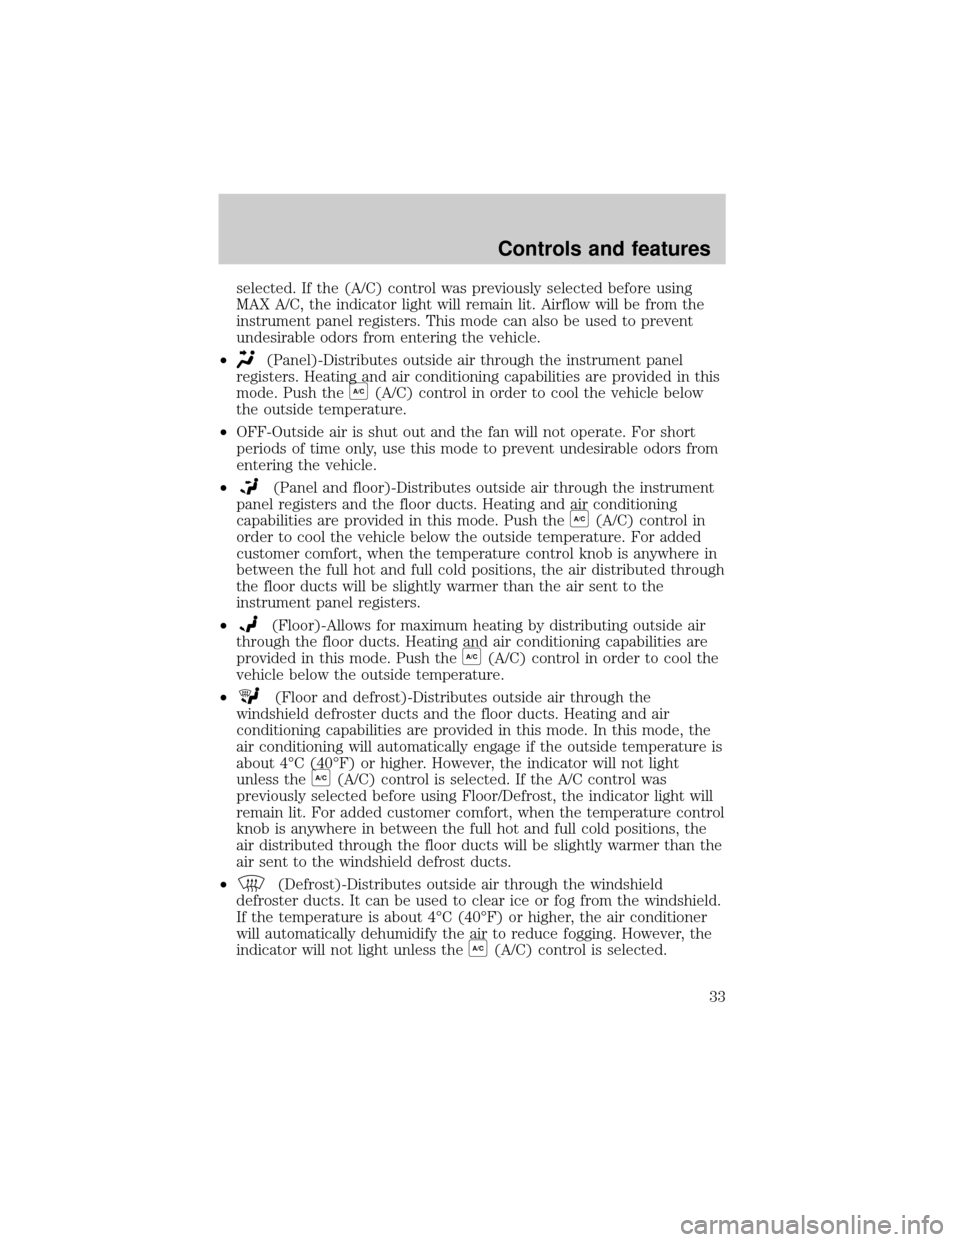
With the rear fan switch on the main control set to any fan speed
(except OFF), the rear temperature control:
²regulates the temperature of the airflow for the rear passenger
compartment.
²determines the air distribution to the rear registers.
The rear climate control distributes air in the following manner:
²Cool air is delivered from the overhead registers.
²Warm air is delivered from the lower (floor) register.
²Mid-temperature range air is delivered from both the overhead and
floor registers.
Mode selector control
The mode selector control allows
you to adjust the direction of the
airflow to the front part of the
passenger compartment.
The air conditioning can operate in all modes. However, the air
conditioning will only function if the outside temperature is about 4ÉC
(40ÉF) or higher.
Since the air conditioner removes considerable moisture from the air
during operation, it is normal if clear water drips on the ground under
the air conditioner drain while the system is working and even after you
have stopped the vehicle.
²MAX A/C-Uses recirculated air to cool the vehicle. MAX A/C is noisier
than
A/C(A/C), but more economical and will cool the inside of the
vehicle faster. In this mode, the air conditioning will automatically
engage if the outside temperature is about 4ÉC (40ÉF) or higher.
However, the indicator will not light unless the
A/C(A/C) control is
A/C
FRONT
REAR
OFFMAX
A/C
REAR CTL
MAX
A/C
Controls and features
32
Page 33 of 280

selected. If the (A/C) control was previously selected before using
MAX A/C, the indicator light will remain lit. Airflow will be from the
instrument panel registers. This mode can also be used to prevent
undesirable odors from entering the vehicle.
²
(Panel)-Distributes outside air through the instrument panel
registers. Heating and air conditioning capabilities are provided in this
mode. Push the
A/C(A/C) control in order to cool the vehicle below
the outside temperature.
²OFF-Outside air is shut out and the fan will not operate. For short
periods of time only, use this mode to prevent undesirable odors from
entering the vehicle.
²
(Panel and floor)-Distributes outside air through the instrument
panel registers and the floor ducts. Heating and air conditioning
capabilities are provided in this mode. Push the
A/C(A/C) control in
order to cool the vehicle below the outside temperature. For added
customer comfort, when the temperature control knob is anywhere in
between the full hot and full cold positions, the air distributed through
the floor ducts will be slightly warmer than the air sent to the
instrument panel registers.
²
(Floor)-Allows for maximum heating by distributing outside air
through the floor ducts. Heating and air conditioning capabilities are
provided in this mode. Push the
A/C(A/C) control in order to cool the
vehicle below the outside temperature.
²
(Floor and defrost)-Distributes outside air through the
windshield defroster ducts and the floor ducts. Heating and air
conditioning capabilities are provided in this mode. In this mode, the
air conditioning will automatically engage if the outside temperature is
about 4ÉC (40ÉF) or higher. However, the indicator will not light
unless the
A/C(A/C) control is selected. If the A/C control was
previously selected before using Floor/Defrost, the indicator light will
remain lit. For added customer comfort, when the temperature control
knob is anywhere in between the full hot and full cold positions, the
air distributed through the floor ducts will be slightly warmer than the
air sent to the windshield defrost ducts.
²
(Defrost)-Distributes outside air through the windshield
defroster ducts. It can be used to clear ice or fog from the windshield.
If the temperature is about 4ÉC (40ÉF) or higher, the air conditioner
will automatically dehumidify the air to reduce fogging. However, the
indicator will not light unless the
A/C(A/C) control is selected.
Controls and features
33
Page 34 of 280

Cooling your vehicle with outside air
Cooling your vehicle with air conditioned outside air is quieter but less
economical than using recirculated air. It also has less cooling capacity.
In order to cool your vehicle using outside air:
1. Turn the mode selector to
(panel),(panel and floor) or
(floor).
2. Press the
A/C(A/C) control. The indicator light next to theA/C(A/C)
control will illuminate.
3. Slide the temperature control knob to the left.
4. Turn the fan speed control to the position of your choice.
During periods of high humidity, vapor may be emitted from the air
outlets when using the A/C system with outside air. This can be
corrected by using MAX A/C to cool the vehicle.
Operating tips
²In humid weather, selectbefore driving. This will reduce fogging
on your windshield. After a few minutes, select any desired position.
²To prevent humidity buildup inside the vehicle, do not drive with the
climate control system in the OFF or MAX A/C position.
²Do not put objects under the front seat that will interfere with the
airflow to the back seats.
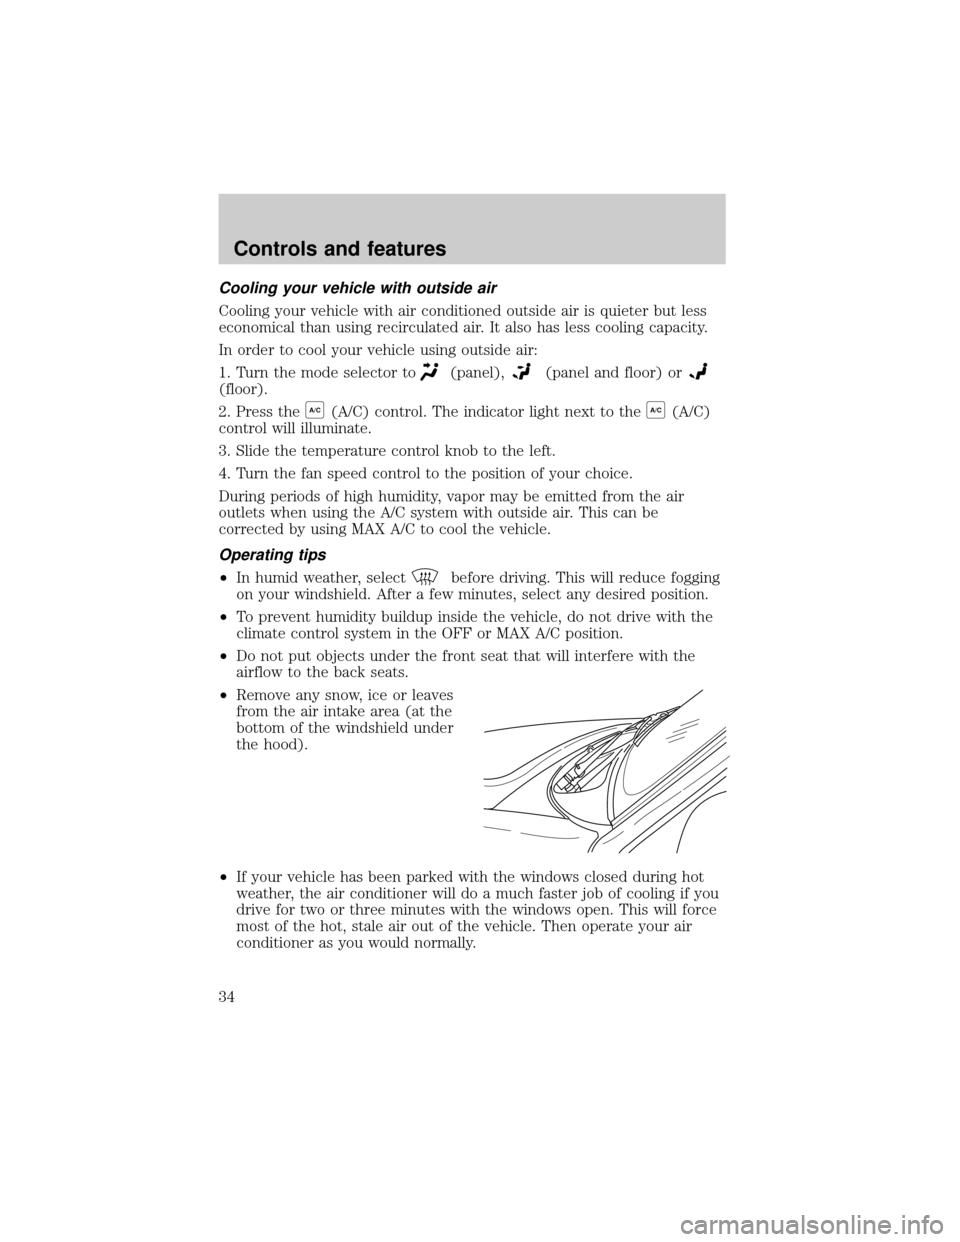
²Remove any snow, ice or leaves
from the air intake area (at the
bottom of the windshield under
the hood).
²If your vehicle has been parked with the windows closed during hot
weather, the air conditioner will do a much faster job of cooling if you
drive for two or three minutes with the windows open. This will force
most of the hot, stale air out of the vehicle. Then operate your air
conditioner as you would normally.
Controls and features
34
Page 68 of 280

Display description
Six circles are always lit in the digital display. These signify the six CD
slots in the audio system. When a disc is loaded into a particular slot
(1±6), the number inside that specific circle lights. If the circle is empty,
there is no CD in that particular slot.
Load
The load feature allows you to load
single CDs into the player internal
to the radio.
This six disc CD player is equipped with a CD door. Compact
discs should only be inserted into the player after the door has
been opened by the player. Do not attempt to force the door
open. Compact discs should only be loaded by pressing the LOAD
control.
Press the LOAD control. (You can choose which slot will be loaded by
pressing the desired preset number. If you do not choose a slot, the
system will choose the next available one.) Wait until the CD door opens.
Load the CD into the player. LOADING CD# is displayed. When the CD
has been loaded, the door will close and the CD will begin to play. For
example, to load a CD into slot #2, press the LOAD control and then
press preset #2.
Auto load
This feature allows you to autoload
up to 6 discs into the multi disc CD
player internal to the radio.
Press and hold the LOAD control until AUTOLOAD # is displayed. The
CD door will open. Load the desired disc, one at a time. The CD is
loaded into position and the audio system will display CD#. Each time
the CD door opens, INSERT CD# is displayed. The door will close and
the player will move to the next slot after each disc has been loaded.
The process is repeated until all 6 slots are full. The audio system plays
the last CD loaded and the display is updated. If some slots are already
full and autoload is activated, the system will fill all empty slots.
LOAD
LOAD
Controls and features
68
Page 77 of 280

If your changer does not work, it may be that:
²A disc is already loaded where you want to insert a disc.
²The disc is inserted with the label surface downward.
²The disc is dusty or defective.
²The player's internal temperature is above 60ÉC (140ÉF). Allow the
player to cool down before operating.
²A disc with format and dimensions not within industry standards is
inserted.
Cleaning compact discs
Inspect all discs for contamination before playing. If necessary, clean
discs only with an approved CD cleaner and wipe from the center out to
the edge. Do not use circular motion.
CD and CD changer care
²Handle discs by their edges only. Never touch the playing surface.
²Do not expose discs to direct sunlight or heat sources for extended
periods of time.
²Do not insert more than one disc into each slot of the CD changer
magazine.
Cleaning cassette player (if equipped)
Clean the tape player head with a cassette cleaning cartridge after 10 to
12 hours of play in order to maintain the best sound and operation.
Cassette and cassette player care
²Use only cassettes that are 90 minutes long or less.
²Do not expose tapes to direct sunlight, high humidity, extreme heat or
extreme cold. Allow tapes that may have been exposed to extreme
temperatures to reach a moderate temperature before playing.
²Tighten very loose tapes by inserting a finger or pencil into the hole
and turning the hub.
²Remove loose labels before inserting tapes.
²Do not leave tapes in the cassette player for a long time when not
being played.
Controls and features
77