Page 4 of 224
These are some of the symbols you may see on your
vehicle.
Vehicle Symbol Glossary
Safety Alert
See Owner's Guide
Fasten Safety BeltAir Bag-Front
Air Bag-SideChild Seat
Child Seat
Installation WarningChild Seat Tether
Anchorage
Brake SystemAnti-Lock Brake
System
Brake Fluid -
Non-Petroleum
BasedTraction Control
Master Lighting
SwitchHazard Warning
Flasher
Fog Lamps-FrontFuse Compartment
Fuel Pump ResetWindshield
Wash/Wipe
Windshield
Defrost/DemistRear Window
Defrost/Demist
Power Windows
Front/RearPower Window
Lockout
Child Safety Door
Lock/UnlockInterior Luggage
Compartment
Release Symbol
Introduction
4
Page 19 of 224
PANEL DIMMER CONTROL
To adjust the
brightness of the
instrument panel:
²Rotate clockwise/
counterclockwise
when the headlamp
control is in the
parking lamp or low-beam position.
To turn on the courtesy lamps:
²Rotate fully counterclockwise.
REAR WINDOW DEFROSTER
(IF EQUIPPED)
The rear defroster
control is located on
the instrument panel.
Press the rear defroster control to clear the rear
window of thin ice and fog.
²A small LED will illuminate when the rear
defroster is activated.
The ignition must be in the ON position to operate
the rear window defroster.
The defroster turns off automatically after 10
minutes or when the ignition is turned to the OFF
position. To manually turn off the defroster before
10 minutes have passed, push the control again.REAR DEF
Controls and features
19
Page 22 of 224

Operating tips
²In humid weather, selectbefore driving.
This will reduce fogging on your windshield. After
a few minutes, select any desired position.
²To reduce humidity buildup inside the vehicle,
don't drive with the climate control system in the
OFF or MAX A/C position.
²Don't put objects under the front seat that will
interfere with the airflow to the back seats.
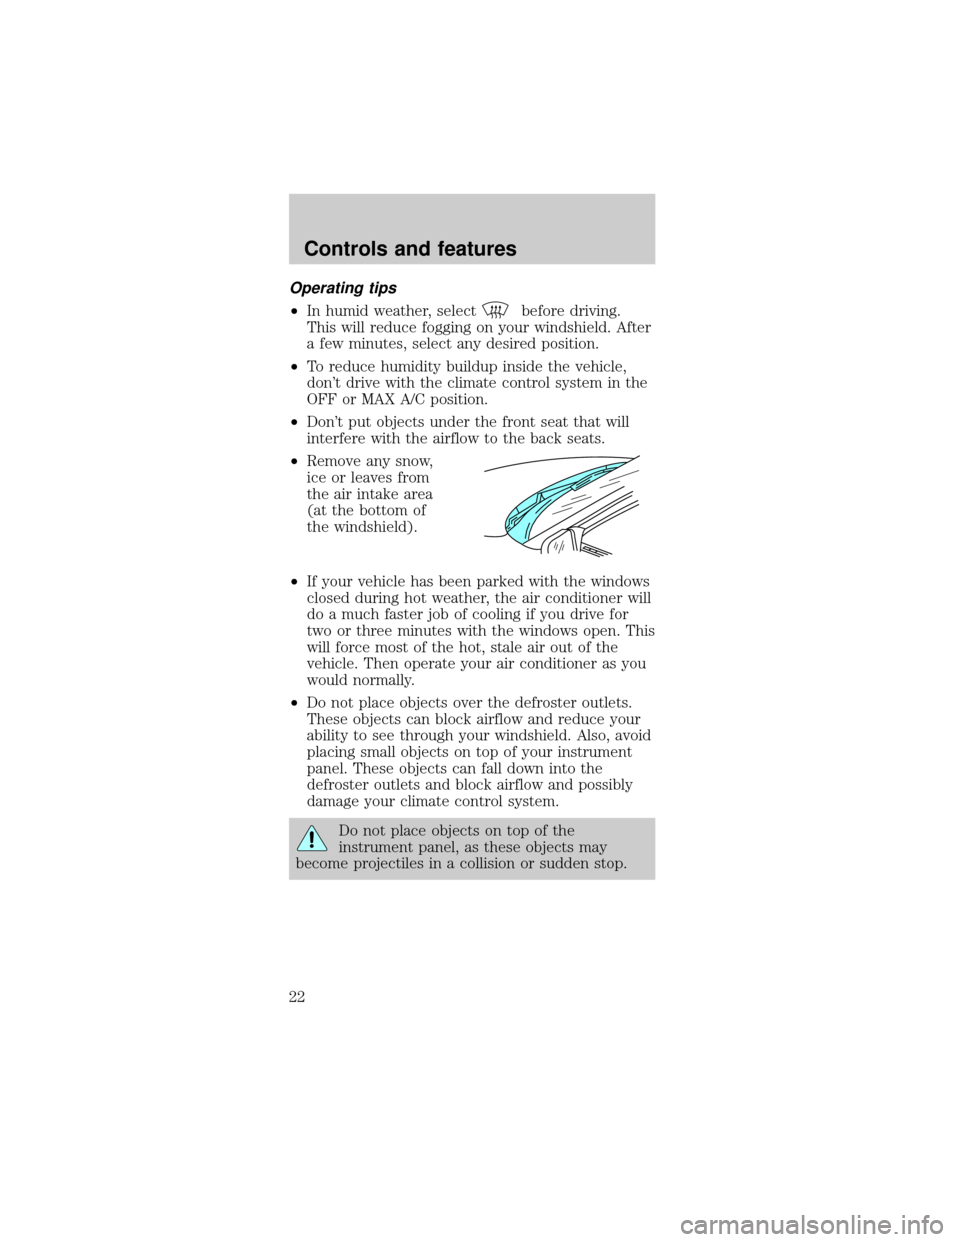
²Remove any snow,
ice or leaves from
the air intake area
(at the bottom of
the windshield).
²If your vehicle has been parked with the windows
closed during hot weather, the air conditioner will
do a much faster job of cooling if you drive for
two or three minutes with the windows open. This
will force most of the hot, stale air out of the
vehicle. Then operate your air conditioner as you
would normally.
²Do not place objects over the defroster outlets.
These objects can block airflow and reduce your
ability to see through your windshield. Also, avoid
placing small objects on top of your instrument
panel. These objects can fall down into the
defroster outlets and block airflow and possibly
damage your climate control system.
Do not place objects on top of the
instrument panel, as these objects may
become projectiles in a collision or sudden stop.
Controls and features
22
Page 46 of 224
POWER WINDOWS
Press and hold the rocker switches to open and
close windows.
²Press the top portion
of the rocker switch
to close.
²Press the bottom
portion of the rocker
switch to open.
Express down
To make the driver
window open fully
without holding the
window control, press
the driver window
control completely
down and release
quickly. Depress again
to stop window
operation.
Window lock (if equipped)
The window lock
feature allows only the
driver to operate the
power windows.
To lock out all the
window controls except
LOCK
Controls and features
46
Page 47 of 224
for the driver's press the control. Press the control
again to restore the window controls.
POWER DOOR LOCKS
Press U to unlock all
doors and L to lock all
doors.
POWER SIDE VIEW MIRRORS (IF EQUIPPED)
To adjust your mirrors:
1. Move the mirror selector control all the way to
the left to adjust the left mirror or all the way to the
right to adjust the right mirror.
2. Move the control in
the direction you wish
to tilt the mirror.
3. Return to the center position to lock mirrors in
place.
CENTER CONSOLE
Your vehicle may be equipped with a variety of
console features. These include:
²Dual cupholders
²Auxiliary power point
²Coin holder slots (if equipped)
²Foglamp control (if equipped)
²Convertible top control (if equipped)
UL
Controls and features
47
Page 48 of 224

Use only soft cups in the cupholder. Hard
objects can injure you in a collision.
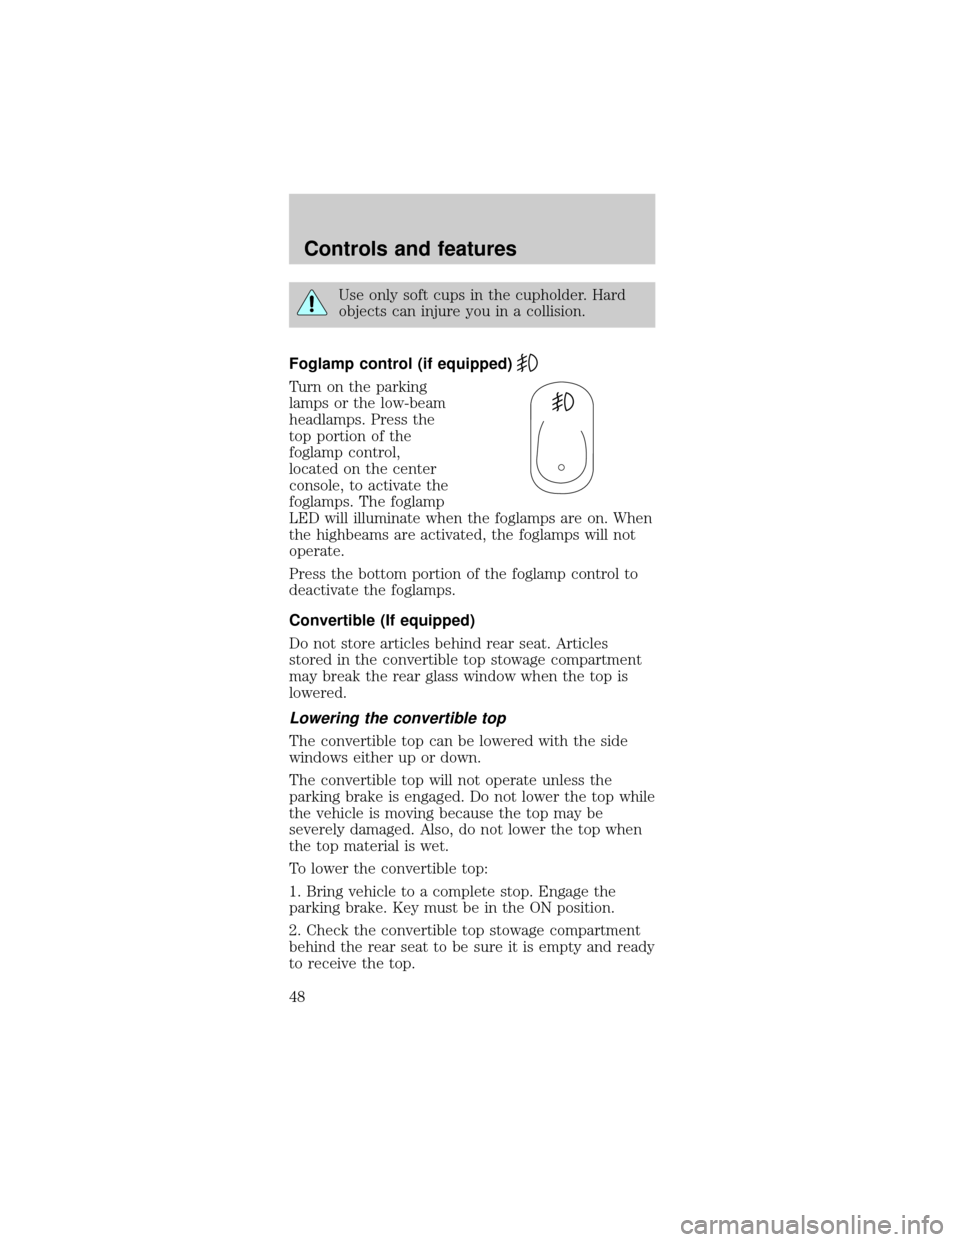
Foglamp control (if equipped)
Turn on the parking
lamps or the low-beam
headlamps. Press the
top portion of the
foglamp control,
located on the center
console, to activate the
foglamps. The foglamp
LED will illuminate when the foglamps are on. When
the highbeams are activated, the foglamps will not
operate.
Press the bottom portion of the foglamp control to
deactivate the foglamps.
Convertible (If equipped)
Do not store articles behind rear seat. Articles
stored in the convertible top stowage compartment
may break the rear glass window when the top is
lowered.
Lowering the convertible top
The convertible top can be lowered with the side
windows either up or down.
The convertible top will not operate unless the
parking brake is engaged. Do not lower the top while
the vehicle is moving because the top may be
severely damaged. Also, do not lower the top when
the top material is wet.
To lower the convertible top:
1. Bring vehicle to a complete stop. Engage the
parking brake. Key must be in the ON position.
2. Check the convertible top stowage compartment
behind the rear seat to be sure it is empty and ready
to receive the top.
Controls and features
48
Page 51 of 224

Raising the convertible top
The convertible top will not operate unless the
parking brake is engaged. Do not raise the top while
the vehicle is moving because the top may be
severely damaged.
To raise the convertible top:
1. Bring the vehicle to a complete stop. Engage the
parking brake. Key must be in the ON position.
2. Remove the boot cover and store it in the luggage
compartment.
3. Lower the front and rear side windows.
4. Push the convertible top button, holding it until
the top unfolds and moves forward toward the
windshield header.
5. Open both top clamps before the top meets the
windshield header
6. Continue to use the top motor to raise the top
until it has reached the fully closed position flush to
the header.
7. The two pins under the forward edge of the top
should seat themselves in the matching holes in the
header.
8. To fasten both clamps securely, push the clamp
handles into the header on the top until they are
flush with the header. Pulling down on the header at
the center grip while closing the latches may assist
in fastening the clamps.
9. Raise the front and rear side windows.
10. Disengage the parking brake.
Controls and features
51
Page 94 of 224
If you ever smell exhaust fumes of any kind
inside your vehicle, have your dealer inspect
and fix your vehicle immediately. Do not drive if
you smell exhaust fumes. These fumes are harmful
and could kill you.
Have the exhaust and body ventilation systems
checked whenever:
²the vehicle is raised for service.
²the sound of the exhaust system changes.
²the vehicle has been damaged in a collision.
Engine exhaust, some of its constituents,
and certain vehicle components contain or
emit chemicals known to the State of California to
cause cancer, and birth defects or other
reproductive harm.
Important ventilating information
If the engine is idling while the vehicle is stopped in
an open area for long periods of time, open the
windows at least 2.5 cm (one inch).
Adjust the heating or air conditioning (if equipped)
to bring in fresh air.
Improve vehicle
ventilation by keeping
all air inlet vents clear
of snow, leaves and
other debris.
Starting
94