2000 FORD F750 brake fluid
[x] Cancel search: brake fluidPage 138 of 208

Transmission fluid level should be checked by your dealer or a qualified
service technician.
If you must add transmission fluid, make sure the correct type of fluid is
being used. The type of fluid used is indicated in your Allison Automatic
Transmission Operator’s Manual.
Use of a non-approved automatic transmission fluid may cause
internal transmission component damage.
Manual transmission fluid
Refer to your Scheduled Maintenance Guide for transmission fluid level
checks and fluid change intervals.
Your manual transmission may be filled with an optional synthetic fluid
which allows the use of extended service intervals. A tag on the filler
plug will identify the use of the synthetic fluid.
Use only fluid that meets Ford specifications (refer toLubricant
specificationsin theCapacities and specificationchapter).
Use of a non-approved transmission fluid may cause internal
transmission component damage.
For location of the transmission filler plug, refer to your transmission
operator’s manual orTransmission Refill Capacitiesin theCapacities
and specificationschapter.
Check your transmission fluid level using the following procedure:
1. Park the vehicle on level ground.
2. Set the parking brake and shift into 1 (First) and turn the engine off.
3. Clean any dirt from around the filler plug.
4. Remove the filler plug and inspect the fluid level.
5. The fluid level should be up to the bottom of the filler plug opening.
6. If necessary, add enough fluid through the filler plug opening so that
the fluid level is at the bottom of the opening.
7. Clean and install the filler plug securely.
Drain and refill your transmission fluid using the following procedure:
1. Drain the transmission while the fluid is warm.
2. Park the vehicle on level ground.
3. Set the parking brake and shift into 1 (First) and turn the engine off.
Maintenance and care
138
Page 139 of 208

4. Clean any dirt from around the filler and drain plugs.
5. Remove the filler and drain plugs and drain the fluid into a suitable
container. Dispose all used automotive fluids in a responsible manner
following your local authorized standards.
6. Clean and install the drain plug securely.
7. Add enough fluid through the filler plug opening so that the fluid level
is up to the bottom of the opening.
8. Clean and install the filler plug securely.
REAR AXLE LUBRICANT
Refer to your Scheduled Maintenance Guide for rear axle lubricant level
checks and lubricant change intervals.
Your rear axle may be filled with an optional synthetic lubricant which
allows the use of extended service intervals. A tag on the filler plug will
identify the use of the synthetic lubricant.
Use only a lubricant that meets Ford specifications (refer toLubricant
specificationsin theCapacities and specificationchapter).
Use of a non-approved rear axle lubricant may cause internal axle
component damage.
Check your rear axle lubricant level using the following procedure:
1. Park the vehicle on level ground.
2. Set the parking brake and shift into N (Neutral) (automatic
transmission) or 1 (First) (manual transmission) and turn the engine off.
3. Clean any dirt from around the rear axle filler plug.
4. Remove the filler plug and inspect the lubricant level.
5. The lubricant level should be up to the bottom of the filler plug
opening.
6. If necessary, add enough lubricant through the filler plug opening so
that the lubricant level is at the bottom of the opening.
7. Clean and install the filler plug securely.
Drain and refill your rear axle lubricant using the following procedure:
1. Drain the rear axle while the lubricant is warm.
2. Park the vehicle on level ground.
Maintenance and care
139
Page 140 of 208

3. Set the parking brake and shift into N (Neutral) (automatic
transmission) or 1 (First) (manual transmission) and turn the engine off.
4. Clean any dirt from around the rear axle filler and drain plugs.
5. Remove the filler and drain plugs and drain the lubricant into a
suitable container. Dispose all used automotive fluids in a responsible
manner following your local authorized standards.
6. Clean and install the drain plug securely.
7. Add enough lubricant through the filler plug opening so that the
lubricant level is up to the bottom of the opening.
8. Clean and install the filler plug securely.
BATTERY
Your vehicle is equipped with two Motorcraft maintenance-free batteries
which are mounted in a covered tray and located on the left frame rail.
The covered battery tray, depending upon application, may also have one
or two steps attached.
•Covered battery tray shown.
Battery tray with steps similar.
Maintenance and care
140
Page 150 of 208

Tire inflation pressure must not exceed the recommendations of
the axle, tire and/or wheel rim manufacturer for the specific
load, speed and application. The inflation pressures on the tire sidewall
do not take the wheel rim capabilities into consideration.
Never use a rim of different manufacture or any different size or
type than original rims.
Try to replace tires in pairs on the same axle shaft. Tires larger or
smaller than originally installed may affect the accuracy of the
speedometer. Consult your dealer about the need to change the switch
setting on the back of the speedometer.
Front wheel alignment
If abnormal tire wear or ride and handling characteristics such as vehicle
lead or wander are experienced with properly inflated tires, the front
end alignment should be checked.
Wheel bearing care
Front and rear wheel bearings are adjustable to correct for bearing and
spindle wear. Long bearing life depends upon proper adjustment and
correct lubrication. If bearings are adjusted too tightly (preloaded) they
will overheat and wear rapidly. Loose adjustment will cause pounding
and will contribute to uneven tire wear, steering difficulties and
inefficient brake operation.
Refer to the Ford Service Manual applicable to your vehicle for proper
tightening procedures and torque specifications.
Periodically check the oil level on oil filled front bearing hubs. If
necessary, add oil through the filler plug so the oil level is between the
ADD and FULL marks indicated on the hub. Do not overfill. Overfilling
can result in oil on brake linings.
Refer to your Scheduled Maintenance Guide for fluid level checks and
change intervals for the front hubs.
Your front hubs may be filled with an optional synthetic fluid which
allows use of the extended service intervals. A blue colored filler plug
identifies use of the synthetic fluid.
Maintenance and care
150
Page 164 of 208

CLEANING AND CARING FOR YOUR VEHICLE
Refer to the Customer Assistance chapter for a list of Ford-approved
cleaners, polishes and waxes.
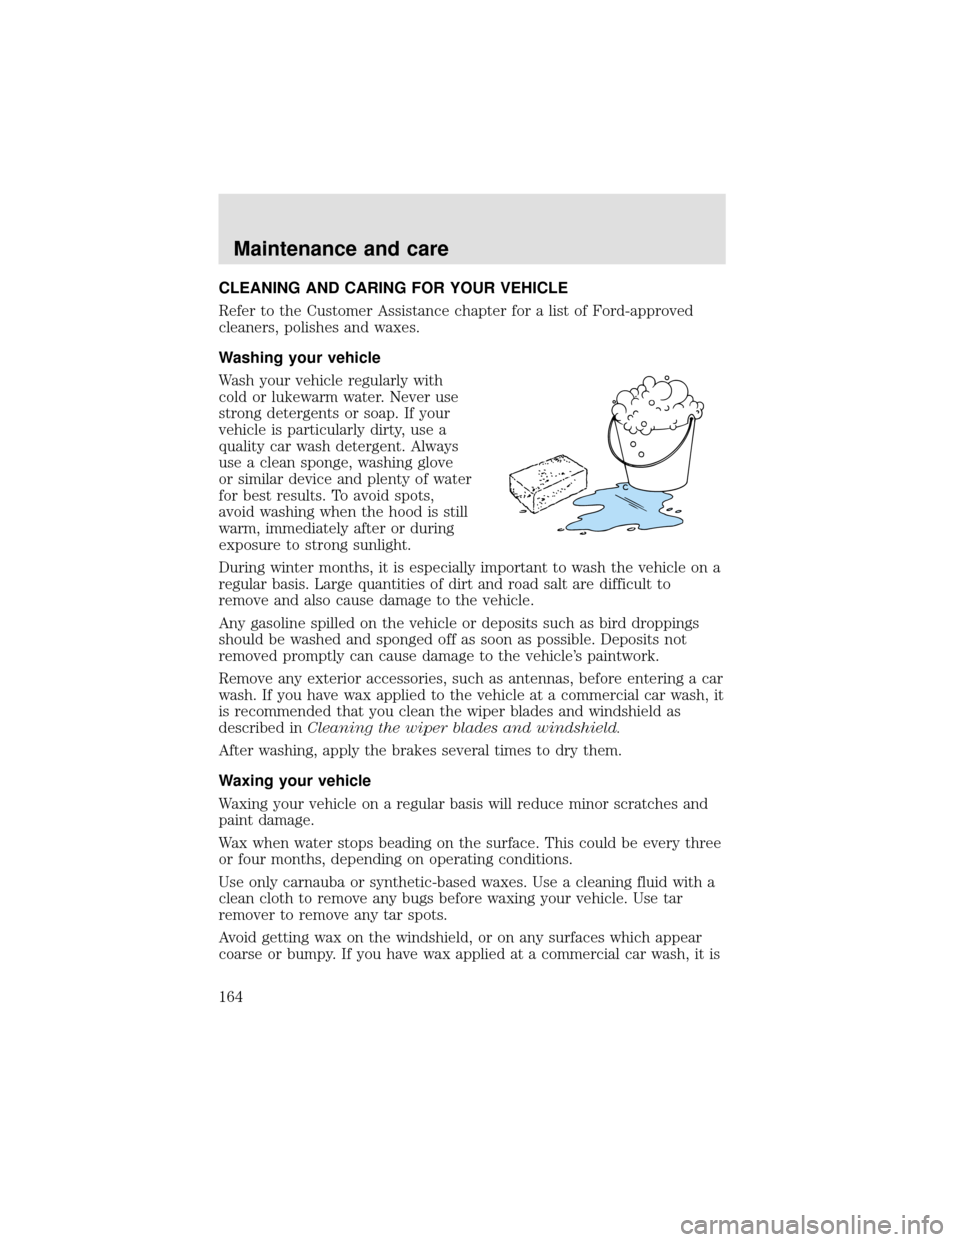
Washing your vehicle
Wash your vehicle regularly with
cold or lukewarm water. Never use
strong detergents or soap. If your
vehicle is particularly dirty, use a
quality car wash detergent. Always
use a clean sponge, washing glove
or similar device and plenty of water
for best results. To avoid spots,
avoid washing when the hood is still
warm, immediately after or during
exposure to strong sunlight.
During winter months, it is especially important to wash the vehicle on a
regular basis. Large quantities of dirt and road salt are difficult to
remove and also cause damage to the vehicle.
Any gasoline spilled on the vehicle or deposits such as bird droppings
should be washed and sponged off as soon as possible. Deposits not
removed promptly can cause damage to the vehicle’s paintwork.
Remove any exterior accessories, such as antennas, before entering a car
wash. If you have wax applied to the vehicle at a commercial car wash, it
is recommended that you clean the wiper blades and windshield as
described inCleaning the wiper blades and windshield.
After washing, apply the brakes several times to dry them.
Waxing your vehicle
Waxing your vehicle on a regular basis will reduce minor scratches and
paint damage.
Wax when water stops beading on the surface. This could be every three
or four months, depending on operating conditions.
Use only carnauba or synthetic-based waxes. Use a cleaning fluid with a
clean cloth to remove any bugs before waxing your vehicle. Use tar
remover to remove any tar spots.
Avoid getting wax on the windshield, or on any surfaces which appear
coarse or bumpy. If you have wax applied at a commercial car wash, it is
Maintenance and care
164
Page 169 of 208

4Approximate quantities only, does not include external lines and cooler
hoses.
5Approximate quantities only, does not include external lines and cooler
hoses.
REAR AXLE REFILL CAPACITIES
Make and model Approximate capacity
Rockwell RS-17-144116.6L (35 pints)
Rockwell RS-17-1451, 216.6L (35 pints)
Rockwell RS-21-1451, 216.6L (35 pints)
Rockwell RS-23-1601, 218.9L (40 pints)
1Quantities listed are approximate. Fill axle until the lubricant level is at
bottom of filler hole, with vehicle on level ground.
2If hubs have been removed, add an additional 0.75 liter (1.6 pints) of
axle lubricant. Add lubricant through the axle vent.
FUEL TANK CAPACITIES
Type Approximate capacity
Single tank 189.0L (50 gallons)
Dual tank 378.6L (100 gallons)
LUBRICANT SPECIFICATIONS
Item Ford Part NameFord Part
NumberFord
Specification
Brake and clutch
fluid (if
equipped)High Performance
DOT 3 Motor
Vehicle Brake
FluidC6AZ-19542-AB ESA-M6C25-A
and DOT 3
Body hinges,
hood hinges and
latches.Multi-Purpose
GreaseD0AZ-19584-AA
or F5AZ-
19G209-AAESB-M1C93-B
or
ESR-M1C159-A
Lock cylinders Penetrating
LubricantE8AZ-19A501-B N/A
Capacities and specifications
169
Page 182 of 208

Daily Owner Checks Engine system
Check the air filter restriction indicator
Check the engine oil
Inspect the coolant level - for Powerstroke
engine (for Caterpillar and Cummins engines,
refer to the Owner’s Manual)
Brake system
Drain the air brake system reservoir - manual
valve
Check the air brake system reservoir automatic
drain valve operation
Transmission system
Visually check the automatic transmission for
fluid leakage
Steering system
Check the power steering pump fluid level and
check the system for leaks
Check the entire vehicle for evidence of fluid
leaks
U.S. Department of Transportation,
Federal Highway Administration
requirements (ensure that the entire
system is functioning properly)
Check the service brakes
Check the parking brake
Check the steering mechanism
Check the lighting devices and reflectors
Check the tires
Check the horn
Check the windshield wipers
Check the rear vision mirrors
Check the wheels and rims
Check the emergency equipment
General maintenance information
182
Page 183 of 208

Check every oil
changeOil change
intervals are as
follows: Powerstroke -
10 000 ; Caterpillar -
10 000 ; Cummins -
15 000 (refer to the
Caterpillar and
Cummins service
manuals for further
instructions and
information)Engine system
Check the engine cooling system - hoses,
clamps and protection
Inspect the drive belts
Exhaust system
Inspect the entire exhaust system (including
the inlet pipe(s), muffler(s), outlet pipe(s),
clamps and fasteners) for holes, leakage,
breakage, corrosive damage and separation
from other components. Adjust, service or
replace with the same or the equivalent part.
(Also a noise emission control service)
Suspension system
Lubricate the front and rear spring pins
Tighten the front and rear spring U-bolts to the
specified torque
Driveline and rear axle system
Lubricate the U-joints and the slip yoke
Brake system
Lube the air brake foot control valve, hinge and
roller
Inspect the drum brake linings through the
inspection holes
Lubricate the brake camshafts (air brakes)
Lubricate the brake slack adjuster (air brakes)
Inspect the disc brake pads and the piston
boots (hydraulic brakes)
Clutch system
Lubricate the clutch release cross shaft and all
linkages
Check the clutch fluid
Fuel system
Drain the accumulated water or sediment from
the fuel tank(s)
General maintenance information
183