2000 FORD F250 key
[x] Cancel search: keyPage 155 of 256
CHANGING THE TIRES
If you get a flat tire while driving, do not apply the brake heavily.
Instead, gradually decrease your speed. Hold the steering wheel firmly
and slowly move to a safe place on the side of the road.
Spare tire information
Your vehicle may be equipped with a spare tire that can be used as
either a spare or a regular tire. The spare tire is not equipped with wheel
trim. The wheel trim from the original wheel/tire may be used on the
spare.
If your vehicle is equipped with 4WD, a spare tire of a different
size than the road tires should not be used. Such a tire could
result in damage to driveline components and make the vehicle
difficult to control.
Location of the spare tire and tools
The spare tire and tools for your vehicle are stowed in the following
locations:
Tool Location
Spare tire (pick-up
trucks only)Under the vehicle, just forward of the rear
bumper
Jack Regular cab, crew cab and SuperCab without
rear bench seat: Fastened to floor pan behind
rearmost seat on passenger side
SuperCab with rear bench seat: Under rear
bench on passenger side
Jack handle and lug
wrenchOn top of the radiator support at the front of
the engine compartment
Key, spare tire lock (if
equipped)In the glove box
Removing the spare tire (with spare tire carrier only)
1. The following tools are required to remove the spare tire:
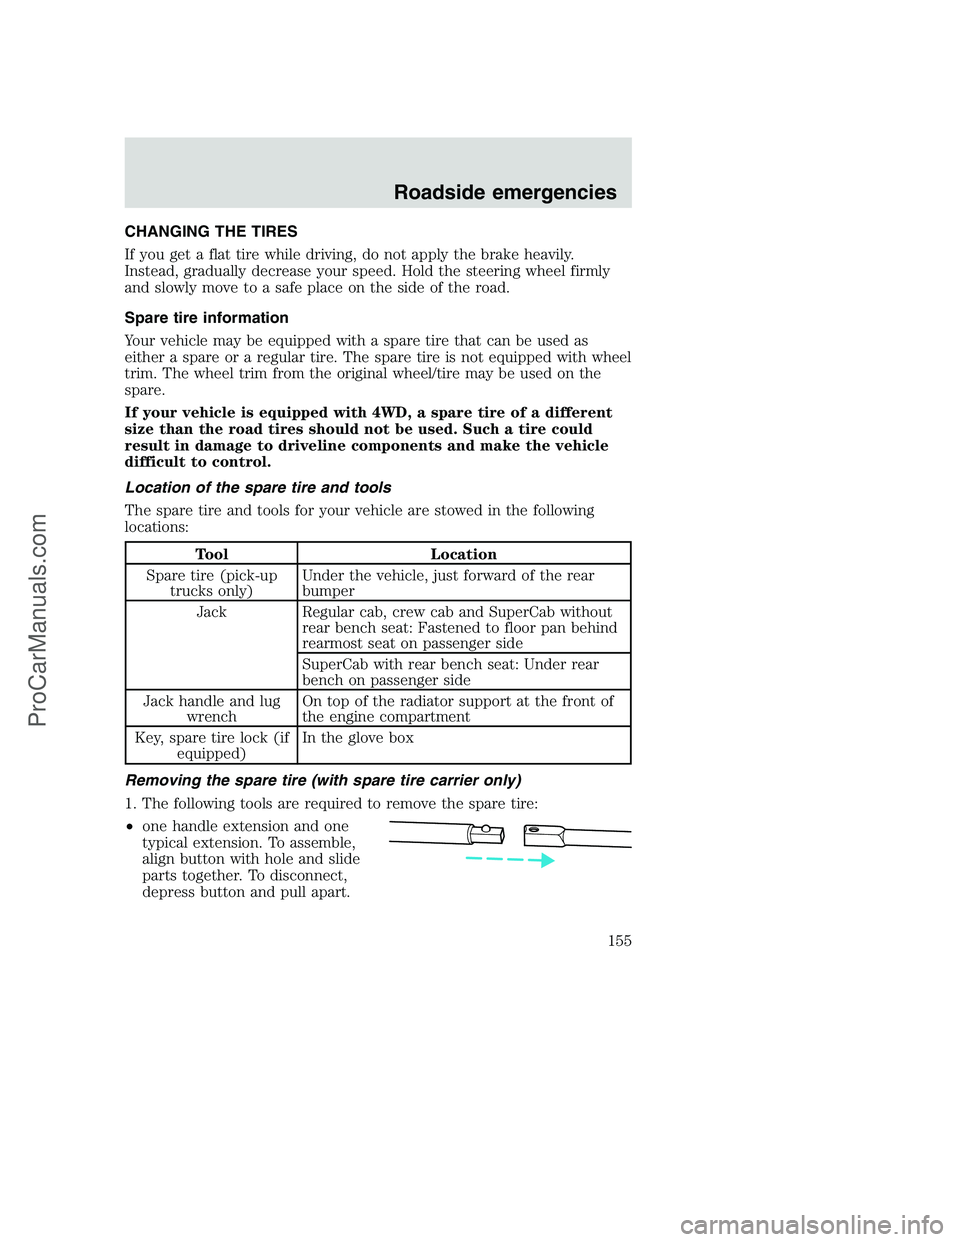
•one handle extension and one
typical extension. To assemble,
align button with hole and slide
parts together. To disconnect,
depress button and pull apart.
Roadside emergencies
155
ProCarManuals.com
Page 156 of 256
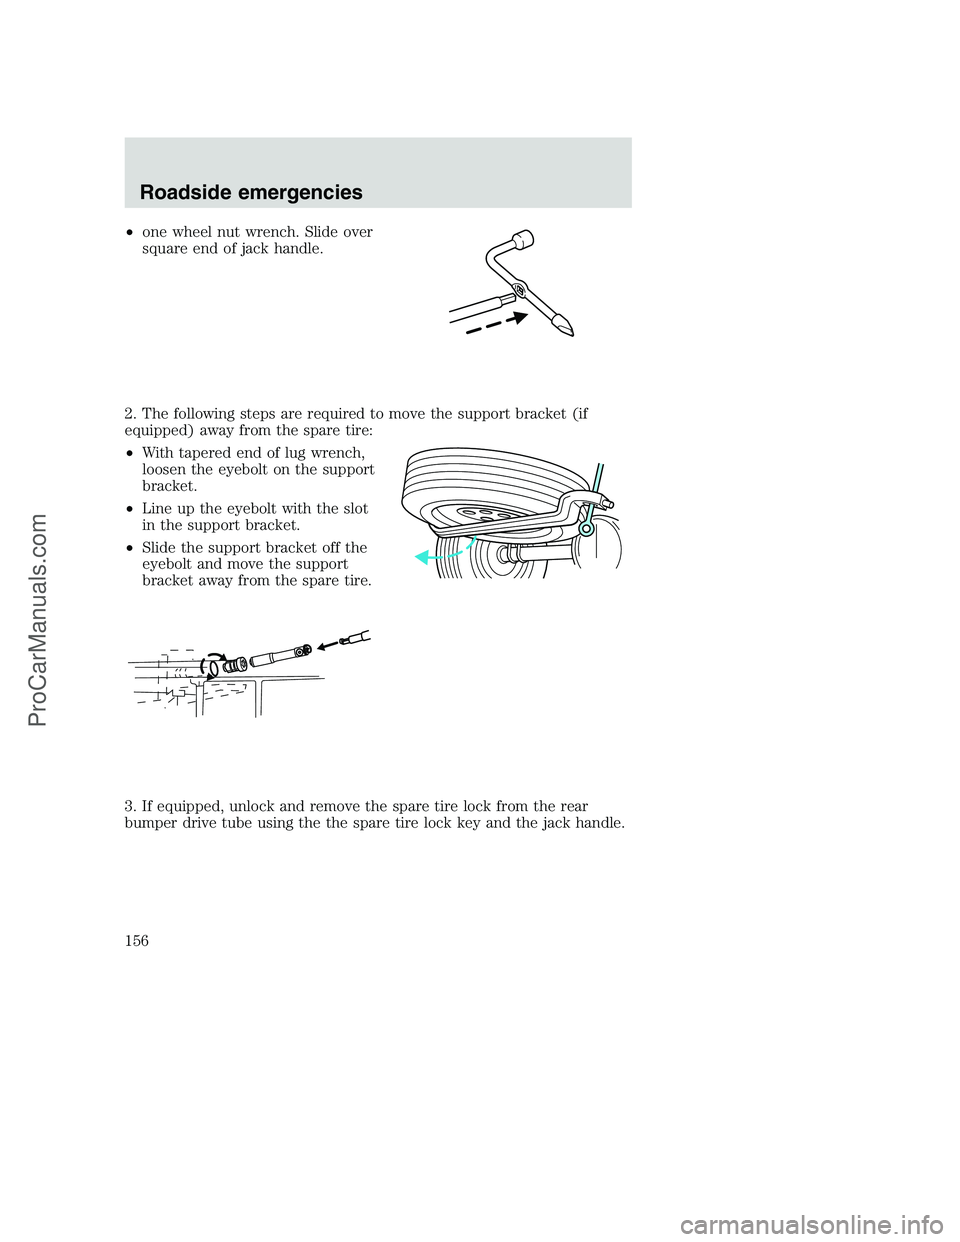
•one wheel nut wrench. Slide over
square end of jack handle.
2. The following steps are required to move the support bracket (if
equipped) away from the spare tire:
•With tapered end of lug wrench,
loosen the eyebolt on the support
bracket.
•Line up the eyebolt with the slot
in the support bracket.
•Slide the support bracket off the
eyebolt and move the support
bracket away from the spare tire.
3. If equipped, unlock and remove the spare tire lock from the rear
bumper drive tube using the the spare tire lock key and the jack handle.
Roadside emergencies
156
ProCarManuals.com
Page 157 of 256
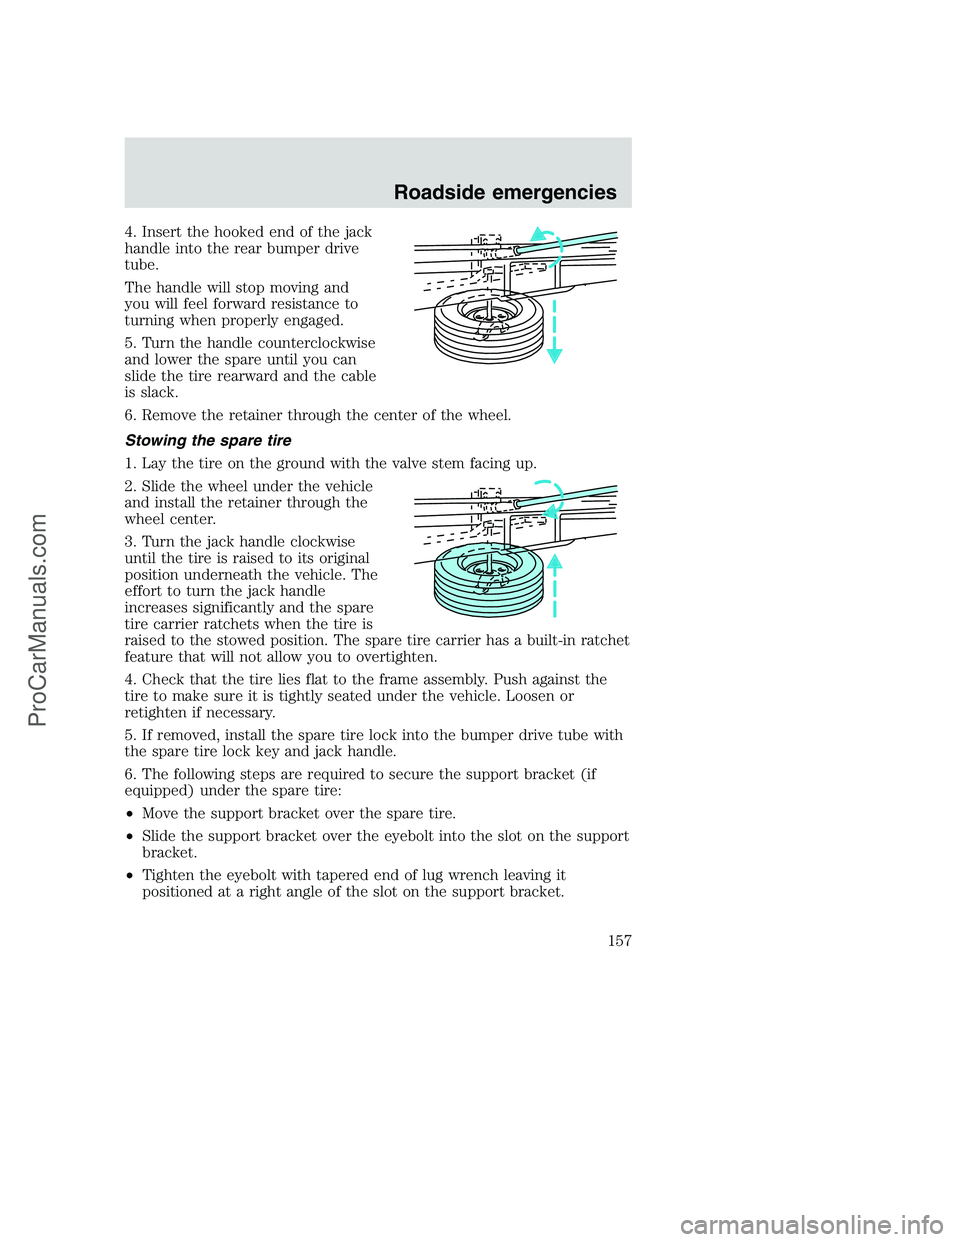
4. Insert the hooked end of the jack
handle into the rear bumper drive
tube.
The handle will stop moving and
you will feel forward resistance to
turning when properly engaged.
5. Turn the handle counterclockwise
and lower the spare until you can
slide the tire rearward and the cable
is slack.
6. Remove the retainer through the center of the wheel.
Stowing the spare tire
1. Lay the tire on the ground with the valve stem facing up.
2. Slide the wheel under the vehicle
and install the retainer through the
wheel center.
3. Turn the jack handle clockwise
until the tire is raised to its original
position underneath the vehicle. The
effort to turn the jack handle
increases significantly and the spare
tire carrier ratchets when the tire is
raised to the stowed position. The spare tire carrier has a built-in ratchet
feature that will not allow you to overtighten.
4. Check that the tire lies flat to the frame assembly. Push against the
tire to make sure it is tightly seated under the vehicle. Loosen or
retighten if necessary.
5. If removed, install the spare tire lock into the bumper drive tube with
the spare tire lock key and jack handle.
6. The following steps are required to secure the support bracket (if
equipped) under the spare tire:
•Move the support bracket over the spare tire.
•Slide the support bracket over the eyebolt into the slot on the support
bracket.
•Tighten the eyebolt with tapered end of lug wrench leaving it
positioned at a right angle of the slot on the support bracket.
Roadside emergencies
157
ProCarManuals.com
Page 172 of 256

SERVICE RECOMMENDATIONS
To help you service your vehicle:
•We highlight do-it-yourself items in the engine compartment for easy
location.
•We provide a Scheduled Maintenance Guide which makes tracking
routine service easy.
If your vehicle requires professional service, your dealership can provide
necessary parts and service. Check your “Warranty Guide” to find out
which parts and services are covered.
Use only recommended fuels, lubricants, fluids and service parts
conforming to specifications. Motorcraft parts are designed and built to
provide the best performance in your vehicle.
PRECAUTIONS WHEN SERVICING YOUR VEHICLE
Be especially careful when inspecting or servicing your vehicle.
•Do not work on a hot engine.
•When the engine is running, keep loose clothing, jewelry or long hair
away from moving parts.
•Do not work on a vehicle with the engine running in an enclosed
space, unless you are sure you have enough ventilation.
•Keep all lit cigarettes, open flames and other lit material away from
the battery and all fuel related parts.
If you disconnect the battery, the engine must “relearn” its idle
conditions before your vehicle will drive properly, as explained in the
Batterysection in this chapter.
Working with the engine off
•Automatic transmission:
1. Set the parking brake and ensure the gearshift is securely latched in P
(Park).
2. Turn off the engine and remove the key.
3. Block the wheels to prevent the vehicle from moving unexpectedly.
•Manual transmission:
1. Set the parking brake.
2. Depress the clutch and place the gearshift in 1 (First).
Maintenance and care
172
ProCarManuals.com
Page 173 of 256
3. Turn off the engine and remove the key.
4. Block the wheels to prevent the vehicle from moving unexpectedly.
Working with the engine on
•Automatic transmission:
1. Set the parking brake and ensure the gearshift is securely latched in P
(Park).
2. Block the wheels to prevent the vehicle from moving unexpectedly.
Do not start your engine with the air cleaner removed and do
not remove it while the engine is running.
•Manual transmission:
1. Set the parking brake, depress the clutch and place the gearshift in N
(Neutral).
2. Block the wheels to prevent the vehicle from moving unexpectedly.
Do not start your engine with the air cleaner removed and do
not remove it while the engine is running.
Maintenance and care
173
ProCarManuals.com
Page 249 of 256
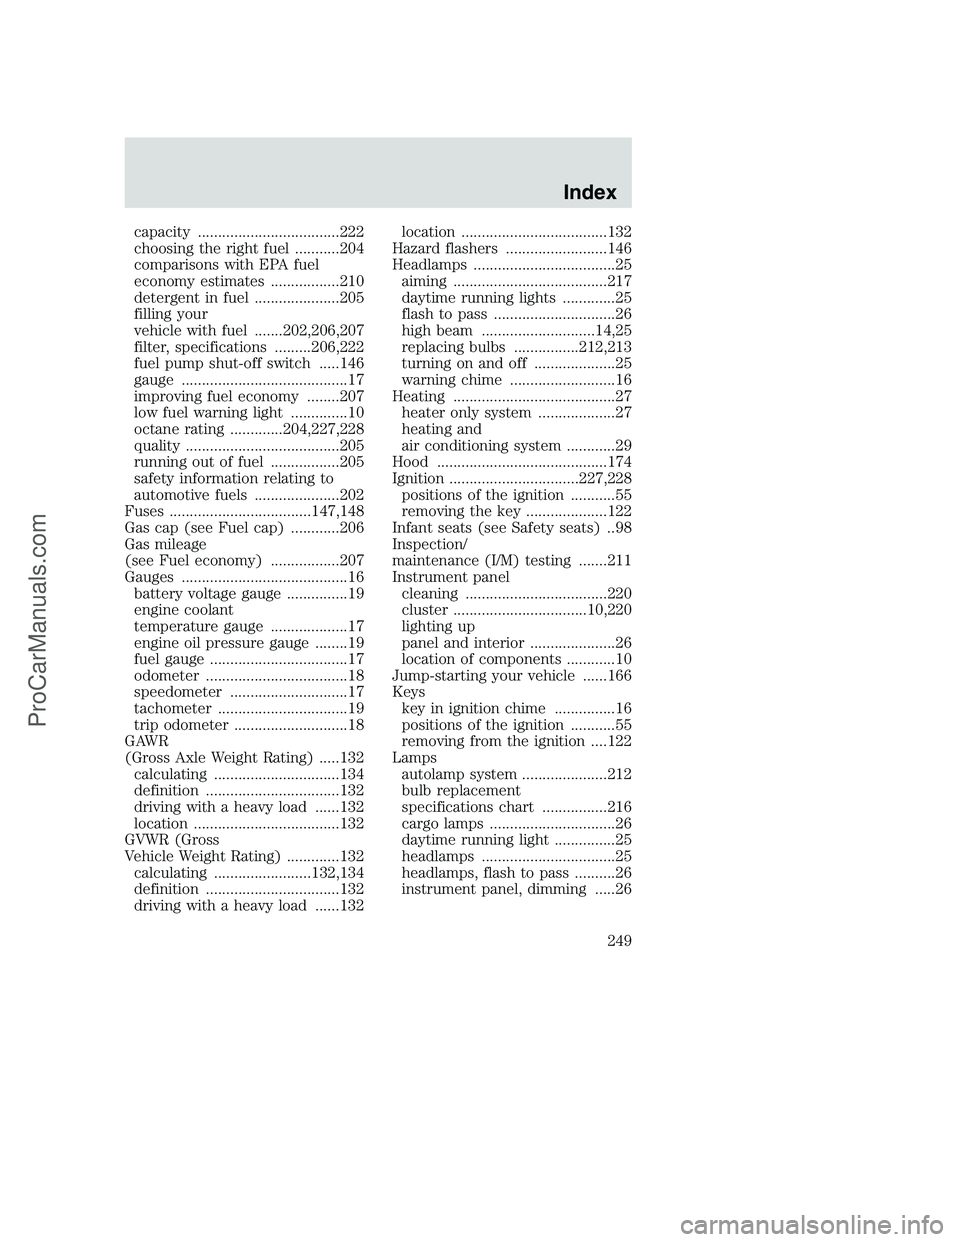
capacity ...................................222
choosing the right fuel ...........204
comparisons with EPA fuel
economy estimates .................210
detergent in fuel .....................205
filling your
vehicle with fuel .......202,206,207
filter, specifications .........206,222
fuel pump shut-off switch .....146
gauge .........................................17
improving fuel economy ........207
low fuel warning light ..............10
octane rating .............204,227,228
quality ......................................205
running out of fuel .................205
safety information relating to
automotive fuels .....................202
Fuses ...................................147,148
Gas cap (see Fuel cap) ............206
Gas mileage
(see Fuel economy) .................207
Gauges .........................................16
battery voltage gauge ...............19
engine coolant
temperature gauge ...................17
engine oil pressure gauge ........19
fuel gauge ..................................17
odometer ...................................18
speedometer .............................17
tachometer ................................19
trip odometer ............................18
GAWR
(Gross Axle Weight Rating) .....132
calculating ...............................134
definition .................................132
driving with a heavy load ......132
location ....................................132
GVWR (Gross
Vehicle Weight Rating) .............132
calculating ........................132,134
definition .................................132
driving with a heavy load ......132location ....................................132
Hazard flashers .........................146
Headlamps ...................................25
aiming ......................................217
daytime running lights .............25
flash to pass ..............................26
high beam ............................14,25
replacing bulbs ................212,213
turning on and off ....................25
warning chime ..........................16
Heating ........................................27
heater only system ...................27
heating and
air conditioning system ............29
Hood ..........................................174
Ignition ................................227,228
positions of the ignition ...........55
removing the key ....................122
Infant seats (see Safety seats) ..98
Inspection/
maintenance (I/M) testing .......211
Instrument panel
cleaning ...................................220
cluster .................................10,220
lighting up
panel and interior .....................26
location of components ............10
Jump-starting your vehicle ......166
Keys
key in ignition chime ...............16
positions of the ignition ...........55
removing from the ignition ....122
Lamps
autolamp system .....................212
bulb replacement
specifications chart ................216
cargo lamps ...............................26
daytime running light ...............25
headlamps .................................25
headlamps, flash to pass ..........26
instrument panel, dimming .....26
Index
249
ProCarManuals.com