Page 8 of 280
0E
L
LH H
F
CH
DPRND2CRUISEDOOR
AJARSELECT
RESET
4X4
LOW
RANGE
20406080
00
20
40
60
BRAKEMPHkm/h
THEFT
LOW
FUEL
FUEL DOOR SERVICE
ENGINE
SOON
ON
OFFRES
SET
ACCEL
COAST
A
P
PEDALS
Headlamp
control
(pg. 20)Instrument panel
dimmer switch
(pg. 21)
Turn signal and
wiper/washer control
(pg. 72) Instrument cluster
(pg. 10)Speed control*
(pg. 67)
Driver air bag
(pg. 25)
Parking brake
release
(pg. 141)Hood release
(pg. 198)
Power adjustable
foot pedals*
(pg. 80) Power rear
slider window*
(pg. 22)
* if equipped
Instrumentation
8
Page 141 of 280
Parking brake
Apply the parking brake whenever
the vehicle is parked. To set the
parking brake, press the parking
brake pedal down until the pedal
stops.
The BRAKE warning lamp in the
instrument cluster illuminates and
remains illuminated (when the
ignition is turned ON) until the
parking brake is released.
Always set the parking brake fully and make sure that the
gearshift is securely latched in P (Park) (automatic
transmission) or in 1 (First) (manual transmission).
The parking brake is not recommended to stop a moving vehicle.
However, if the normal brakes fail, the parking brake can be used to stop
your vehicle in an emergency. Since the parking brake applies only the
rear brakes, the vehicle's stopping distance will increase greatly and the
handling of your vehicle will be adversely affected.
BRAKE
HOOD
!
BRAKE
Driving
141
Page 142 of 280

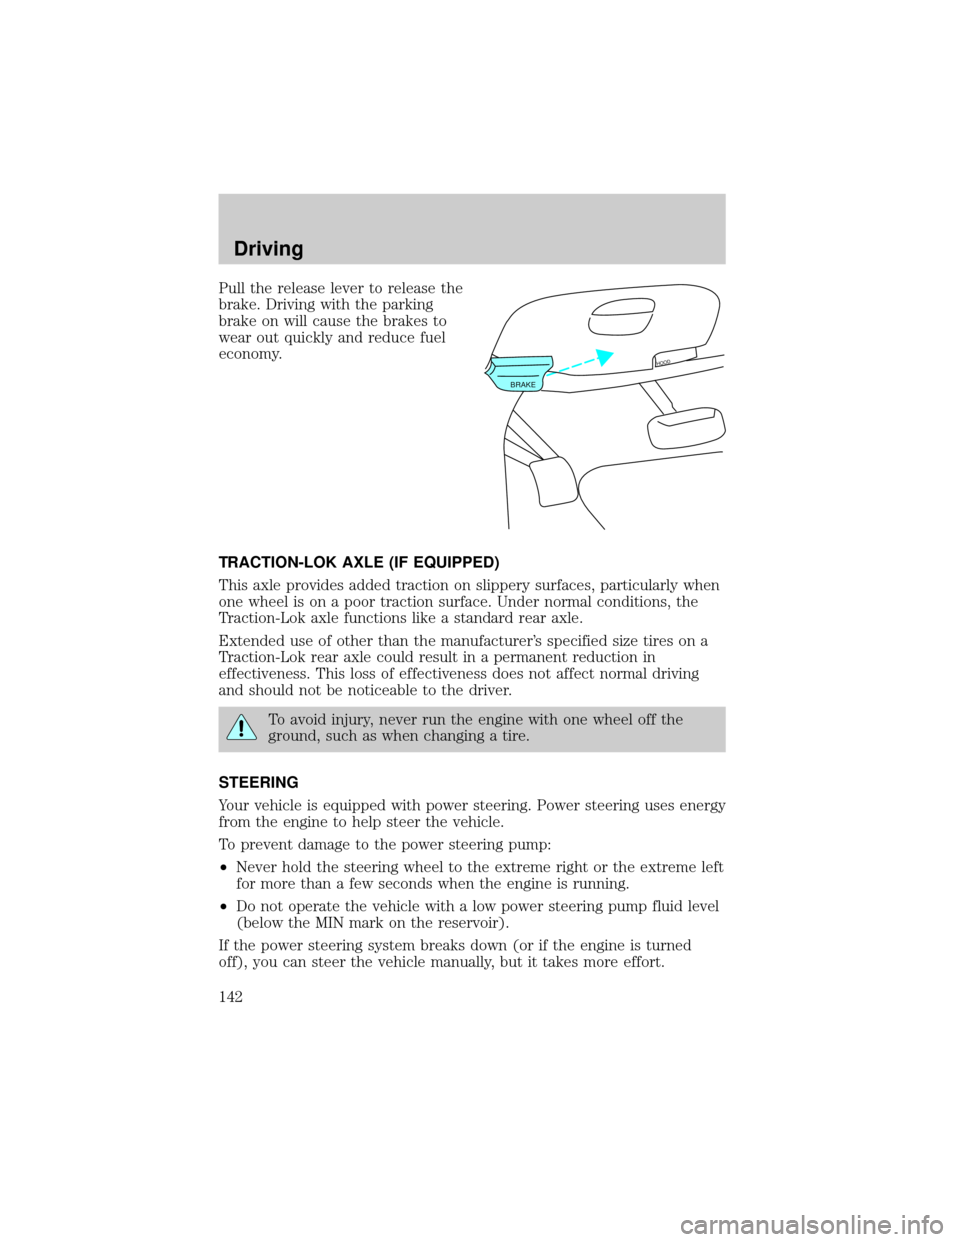
Pull the release lever to release the
brake. Driving with the parking
brake on will cause the brakes to
wear out quickly and reduce fuel
economy.
TRACTION-LOK AXLE (IF EQUIPPED)
This axle provides added traction on slippery surfaces, particularly when
one wheel is on a poor traction surface. Under normal conditions, the
Traction-Lok axle functions like a standard rear axle.
Extended use of other than the manufacturer's specified size tires on a
Traction-Lok rear axle could result in a permanent reduction in
effectiveness. This loss of effectiveness does not affect normal driving
and should not be noticeable to the driver.
To avoid injury, never run the engine with one wheel off the
ground, such as when changing a tire.
STEERING
Your vehicle is equipped with power steering. Power steering uses energy
from the engine to help steer the vehicle.
To prevent damage to the power steering pump:
²Never hold the steering wheel to the extreme right or the extreme left
for more than a few seconds when the engine is running.
²Do not operate the vehicle with a low power steering pump fluid level
(below the MIN mark on the reservoir).
If the power steering system breaks down (or if the engine is turned
off), you can steer the vehicle manually, but it takes more effort.
BRAKE
HOOD
Driving
142
Page 198 of 280

3. Turn off the engine and remove the key.
4. Block the wheels to prevent the vehicle from moving unexpectedly.
Working with the engine on
²Automatic transmission:
1. Set the parking brake and ensure the gearshift is securely latched in P
(Park).
2. Block the wheels to prevent the vehicle from moving unexpectedly.
Do not start your engine with the air cleaner removed and do
not remove it while the engine is running.
²Manual transmission:
1. Set the parking brake, depress the clutch and place the gearshift in
neutral.
2. Block the wheels to prevent the vehicle from moving unexpectedly.
Do not start your engine with the air cleaner removed and do
not remove it while the engine is running.
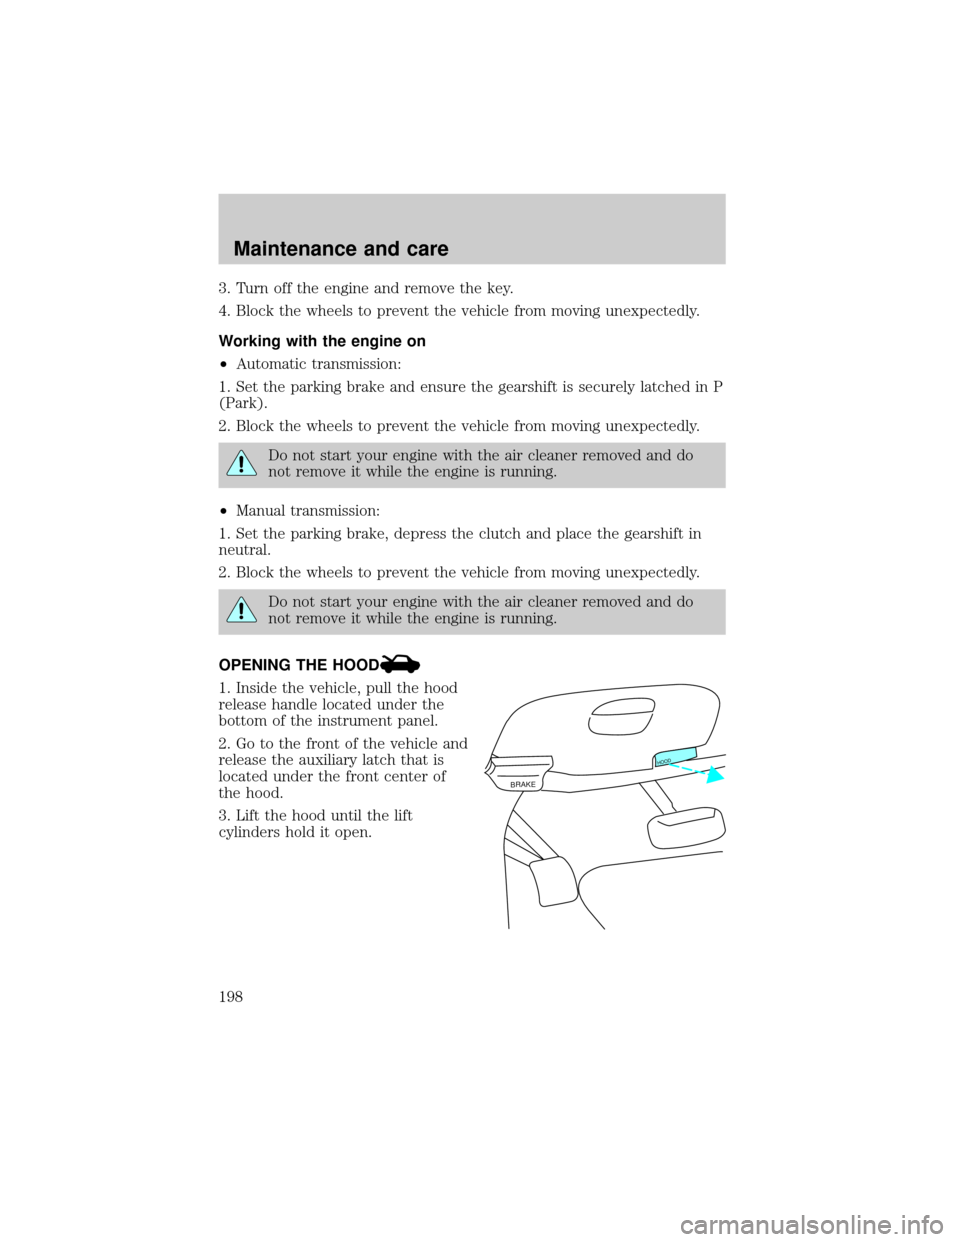
OPENING THE HOOD
1. Inside the vehicle, pull the hood
release handle located under the
bottom of the instrument panel.
2. Go to the front of the vehicle and
release the auxiliary latch that is
located under the front center of
the hood.
3. Lift the hood until the lift
cylinders hold it open.
BRAKE
HOOD
Maintenance and care
198
Page 237 of 280

²Turn signals
²License plate lamp
²Tail lamps
²Back-up lamps
Do not remove lamp bulbs unless they can be replaced immediately with
new ones. If a bulb is removed for an extended period of time,
contaminants may enter the lamp housings and affect lamp performance.
Replacing headlamp bulbs
1. Make sure that the headlamp control is in the OFF position.
2. Open the hood.
3. If equipped, remove headlamp
covers.
4. At the back of the headlamp, pull
clips rearward and up (about
3¤4
inch) to release the headlamp
assembly.
5. Slide headlamp assembly forward
and off of guide ribs to expose the
back of the bulb and wiring
connector.
6. Disconnect the electrical
connector from the bulb by pulling
rearward.
7. Remove bulb retainer ring by
turning it counterclockwise, then
slide the ring off the plastic base.
8. Without turning, carefully pull
bulb assembly out of headlamp
assembly and replace.
Handle a halogen headlamp bulb carefully and keep out of
children's reach. Grasp the bulb only by its plastic base and do
not touch the glass. The oil from your hand could cause the bulb to
break the next time the headlamps are operated.
Maintenance and care
237
Page 280 of 280

Item Information
Required fuel Unleaded fuel only - 87 octane
Fuel tank capacity-4 x 4 Regular
cab with short wheelbase92.7L (24.5 gallons)
Fuel tank capacity-4 x 2 Regular
cab, SuperCab and SuperCrew
with short wheelbase94.6L (25.0 gallons)
Fuel tank capacity-All long
wheelbase113.6L (30.0 gallons)
Engine oil
(includes filter change)5.7L (6.0 quarts). Use Motorcraft SAE
5W-20 Super Premium Motor Oil, Ford
specification WSS-M2C153-H.
Tire size and pressure Refer to the Certification Label inside
of drivers's door.
Hood release Pull handle under the left side of the
instrument panel.
Coolant capacity
1Refer toRefill capacitiesin the
Capacities and specificationschapter.
Power steering fluid capacity Fill to line on reservoir. Use Motorcraft
MERCONtAT F.
Transmission fluid capacity
2Refer toRefill capacitiesin the
Capacities and specificationschapter.
1Use Ford Premium Engine Coolant (green in color). DO NOT USE Ford
Extended Life Engine Coolant (orange in color). Refer toAdding engine
coolant, in the Maintenance and Care chapter.
2Ensure the correct automatic transmission fluid is used. Transmission fluid
requirements are indicated on the dipstick or on the dipstick handle. Check the
container to verify the fluid being added is of the correct type. Refer to your
scheduled maintenance guide to determine the correct service interval.
Some transmission fluids may be labeled as dual usage, such as MERCONtand
MERCONtV. These dual usage fluids are not to be used in an automatic
transmission that requires use of the MERCONttype fluid. However, these dual
usage fluids may be used in transmissions that require the MERCONtV type
fluid.
MERCONtand MERCONtV type fluids are not interchangeable. DO NOT
mix MERCONtand MERCONtV. Use of a transmission fluid that
indicates dual usage (MERCONtand MERCONtV) in an automatic
transmission application requiring MERCONtmay cause transmission
damage. Use of any fluid other than the recommended fluid may cause
transmission damage.
Filling station information
280