2000 FORD EXPLORER spare tire
[x] Cancel search: spare tirePage 117 of 296

Theft indicator
The theft indicator on the instrument cluster will operate as follows:
²When the ignition is OFF, the theft indicator will flash briefly every
two seconds to indicate the SecuriLockysystem is protecting your
vehicle.
²When the ignition is turned to ON or START, the theft indicator will
light for three seconds and then go out. If the theft indicator stays on
for an extended period of time or flashes rapidly, have the system
serviced by your dealership or a qualified technician.
Programming spare SecuriLockYkeys
Spare SecuriLockykeys can be purchased from your dealership and
programmed to your SecuriLockypassive anti-theft system (up to a
total of eight keys). Your dealership can program your new SecuriLocky
key(s) to your vehicle or you can do it yourself using the following
simple procedure. To program a new SecuriLockykey yourself, you will
need two previously programmed SecuriLockykeys (keys that already
operate your vehicle's engine). If two previously programmed
SecuriLockykeys are not available (one or both of your original keys
were lost or stolen), you must bring your vehicle to your dealership to
have the spare SecuriLockykey(s) programmed.
Procedure to program spare SecuriLockYkeys to your vehicle
New SecuriLockykeys must have the correct mechanical key cut for
your vehicle.
Conventional (non-SecuriLocky) keyscannotbe programmed to your
vehicle.
You will need to have two previously programmed SecuriLockykeys and
the new unprogrammed SecuriLockykey readily accessible for the
procedure. Please read and understand the entire procedure before you
begin.
1. Insert the first previously programmed SecuriLockykey into the
ignition and turn the ignition from OFF to ON (maintain ignition in ON
for at least one second).
2. Turn ignition to OFF and remove the first SecuriLockykey from the
ignition.
Controls and features
117
Page 169 of 296

Positions of the Control-Trac system
The Control-Trac system functions in three modes:
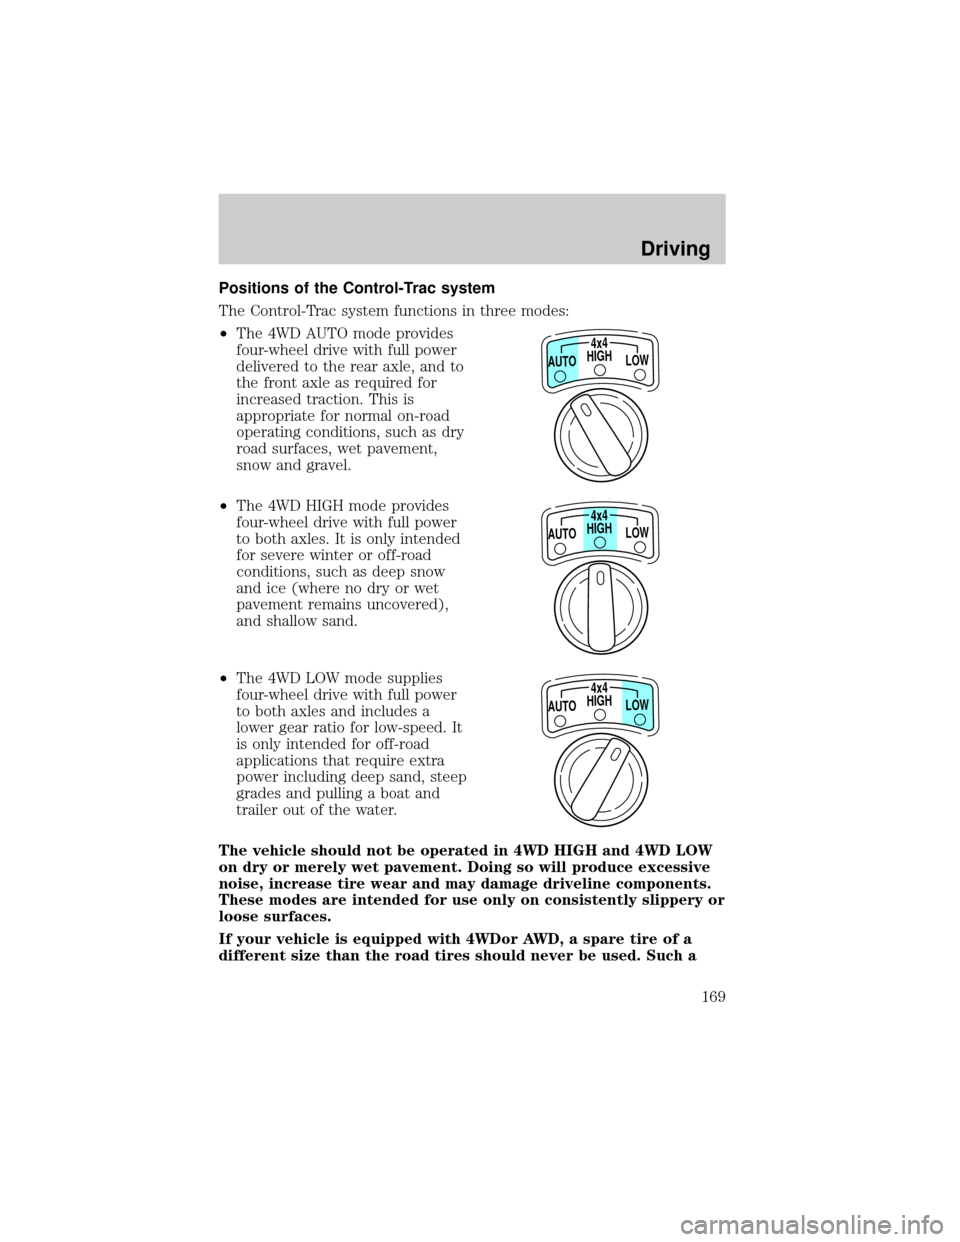
²The 4WD AUTO mode provides
four-wheel drive with full power
delivered to the rear axle, and to
the front axle as required for
increased traction. This is
appropriate for normal on-road
operating conditions, such as dry
road surfaces, wet pavement,
snow and gravel.
²The 4WD HIGH mode provides
four-wheel drive with full power
to both axles. It is only intended
for severe winter or off-road
conditions, such as deep snow
and ice (where no dry or wet
pavement remains uncovered),
and shallow sand.
²The 4WD LOW mode supplies
four-wheel drive with full power
to both axles and includes a
lower gear ratio for low-speed. It
is only intended for off-road
applications that require extra
power including deep sand, steep
grades and pulling a boat and
trailer out of the water.
The vehicle should not be operated in 4WD HIGH and 4WD LOW
on dry or merely wet pavement. Doing so will produce excessive
noise, increase tire wear and may damage driveline components.
These modes are intended for use only on consistently slippery or
loose surfaces.
If your vehicle is equipped with 4WDor AWD, a spare tire of a
different size than the road tires should never be used. Such a
HIGH4x4
LOW AUTO
HIGH4x4
LOW AUTO
HIGH4x4
LOW AUTO
Driving
169
Page 199 of 296

CHANGING THE TIRES
If you get a flat tire while driving, do not apply the brake heavily.
Instead, gradually decrease your speed. Hold the steering wheel firmly
and slowly move to a safe place on the side of the road.
Spare tire information
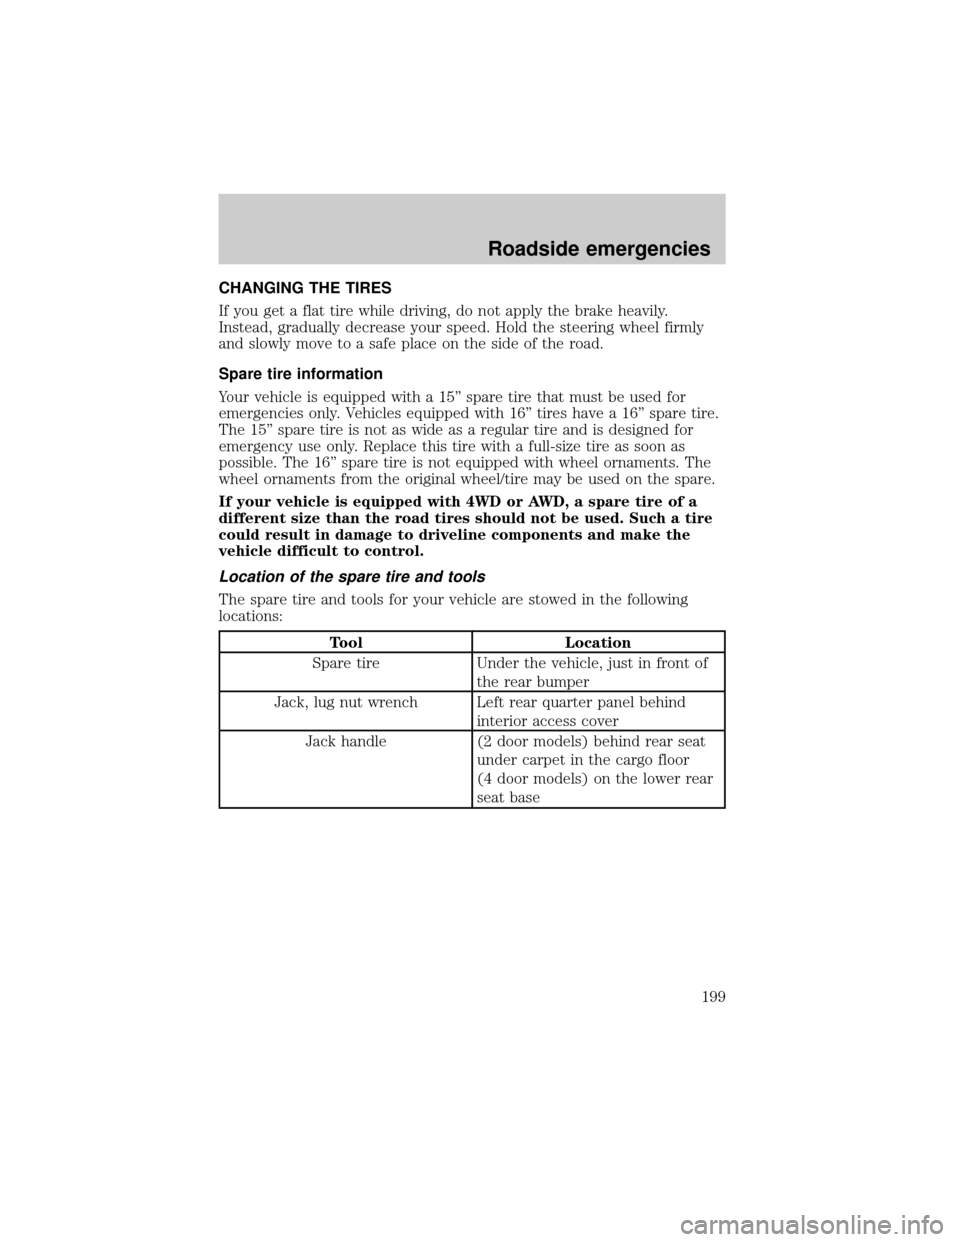
Your vehicle is equipped with a 15º spare tire that must be used for
emergencies only. Vehicles equipped with 16º tires have a 16º spare tire.
The 15º spare tire is not as wide as a regular tire and is designed for
emergency use only. Replace this tire with a full-size tire as soon as
possible. The 16º spare tire is not equipped with wheel ornaments. The
wheel ornaments from the original wheel/tire may be used on the spare.
If your vehicle is equipped with 4WD or AWD, a spare tire of a
different size than the road tires should not be used. Such a tire
could result in damage to driveline components and make the
vehicle difficult to control.
Location of the spare tire and tools
The spare tire and tools for your vehicle are stowed in the following
locations:
Tool Location
Spare tire Under the vehicle, just in front of
the rear bumper
Jack, lug nut wrench Left rear quarter panel behind
interior access cover
Jack handle (2 door models) behind rear seat
under carpet in the cargo floor
(4 door models) on the lower rear
seat base
Roadside emergencies
199
Page 200 of 296

Removing the spare tire
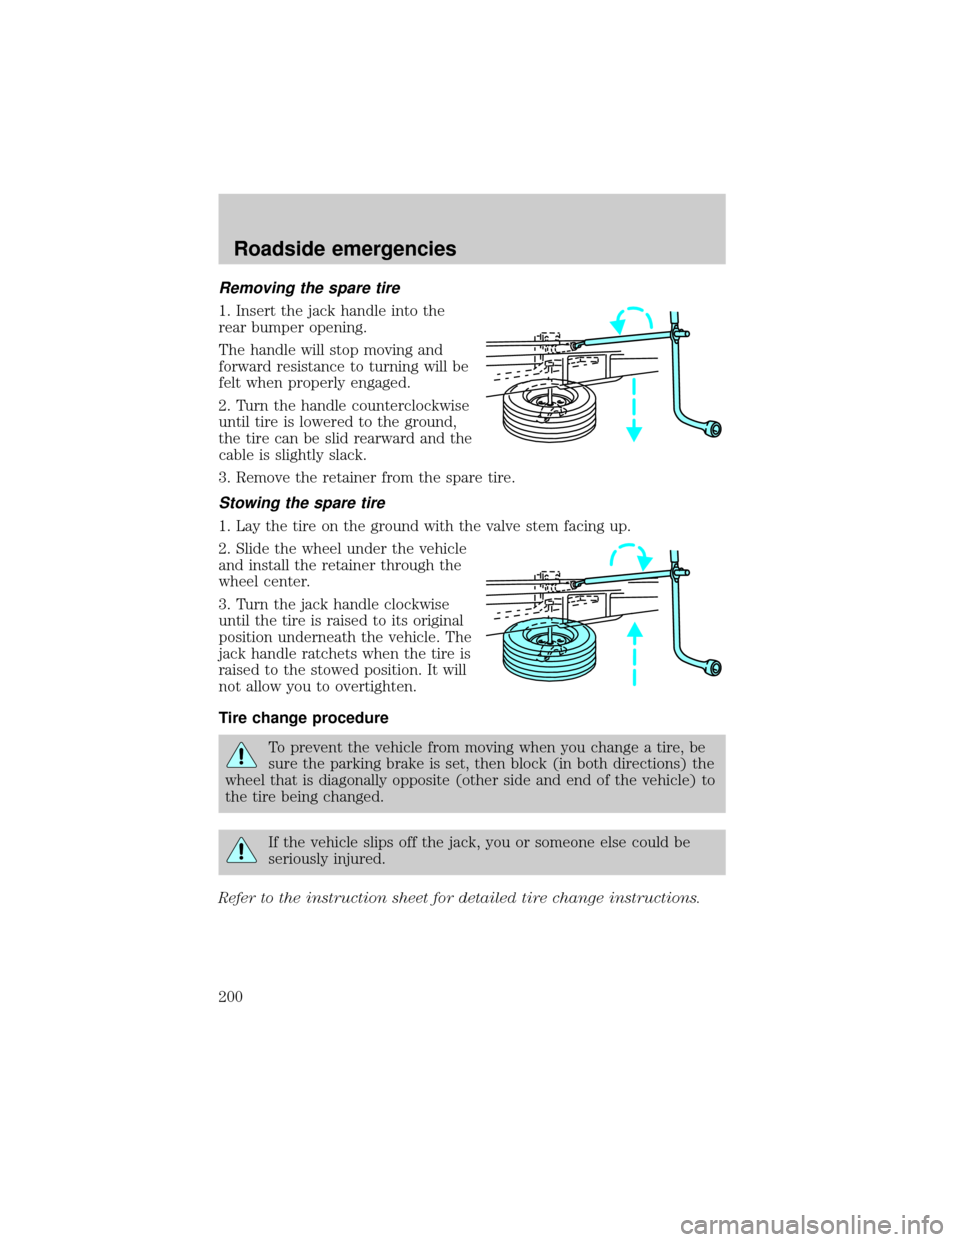
1. Insert the jack handle into the
rear bumper opening.
The handle will stop moving and
forward resistance to turning will be
felt when properly engaged.
2. Turn the handle counterclockwise
until tire is lowered to the ground,
the tire can be slid rearward and the
cable is slightly slack.
3. Remove the retainer from the spare tire.
Stowing the spare tire
1. Lay the tire on the ground with the valve stem facing up.
2. Slide the wheel under the vehicle
and install the retainer through the
wheel center.
3. Turn the jack handle clockwise
until the tire is raised to its original
position underneath the vehicle. The
jack handle ratchets when the tire is
raised to the stowed position. It will
not allow you to overtighten.
Tire change procedure
To prevent the vehicle from moving when you change a tire, be
sure the parking brake is set, then block (in both directions) the
wheel that is diagonally opposite (other side and end of the vehicle) to
the tire being changed.
If the vehicle slips off the jack, you or someone else could be
seriously injured.
Refer to the instruction sheet for detailed tire change instructions.
Roadside emergencies
200
Page 203 of 296

To lessen the risk of
personal injury, do not put
any part of your body under the
vehicle while changing a tire. Do
not start the engine when your
vehicle is on the jack. The jack is
only meant for changing the tire.
²Never use the front or rear
differential as a jacking point.
8. Remove the lug nuts with the lug wrench.
9. Replace the flat tire with the spare tire, making sure the valve stem is
facing outward. Reinstall the lug nuts, cone side in, until the wheel is
snug against the hub. Do not fully tighten the lug nuts until the wheel
has been lowered.
10. Lower the wheel by turning the jack handle counterclockwise.
11. Remove the jack and fully
tighten the lug nuts in the order
shown.
12. Stow the flat tire, jack and lug
wrench. Make sure the jack is
fastened so it does not rattle when
you drive.
13. Turn ON the air suspension
switch (if equipped).
14. Unblock the wheels.
1
4 3
2 5
Roadside emergencies
203
Page 239 of 296

Changing the wiper blades
To replace the wiper blades:
1. Pull the wiper arm away from the
windshield and lock into the service
position.
2. Turn the blade at an angle from
the wiper arm. Push the lock pin
manually to release the blade and
pull the wiper blade down toward
the windshield to remove it from the
arm.
3. Attach the new wiper to the
wiper arm and press it into place until a click is heard.
REAR WINDOW WIPER BLADES
Refer toWindshield Wiper Bladesin this section for more information
on rear wiper blades.
INFORMATION ABOUT UNIFORM TIRE QUALITY GRADING
New vehicles are fitted with tires
that have a rating on them called
Tire Quality Grades. The Quality
grades can be found where
applicable on the tire sidewall
between tread shoulder and
maximum section width. For
example:
²Treadwear 200 Traction AA Temperature A
These Tire Quality Grades are determined by standards that the United
States Department of Transportation has set.
Tire Quality Grades apply to new pneumatic tires for use on passenger
cars. They do not apply to deep tread, winter-type snow tires,
space-saver or temporary use spare tires, tires with nominal rim
diameters of 10 to 12 inches or limited production tires as defined in
Title 49 Code of Federal Regulations Part 575.104(c)(2).
U.S. Department of Transportation-Tire quality grades:The U.S.
Department of Transportation requires Ford to give you the following
information about tire grades exactly as the government has written it.
Maintenance and care
239