Page 106 of 296

The liftgate door and window should be closed before driving your
vehicle. If not, possible damage may occur to the liftgate door lift
cylinders and attaching hardware.
Make sure that the liftgate door and/or window are closed to
prevent exhaust fumes from being drawn into the vehicle. This
will also prevent passengers and cargo from falling out. If you must
drive with the liftgate door or window open, keep the vents open so
outside air comes into the vehicle.
CARGO COVER (IF EQUIPPED)
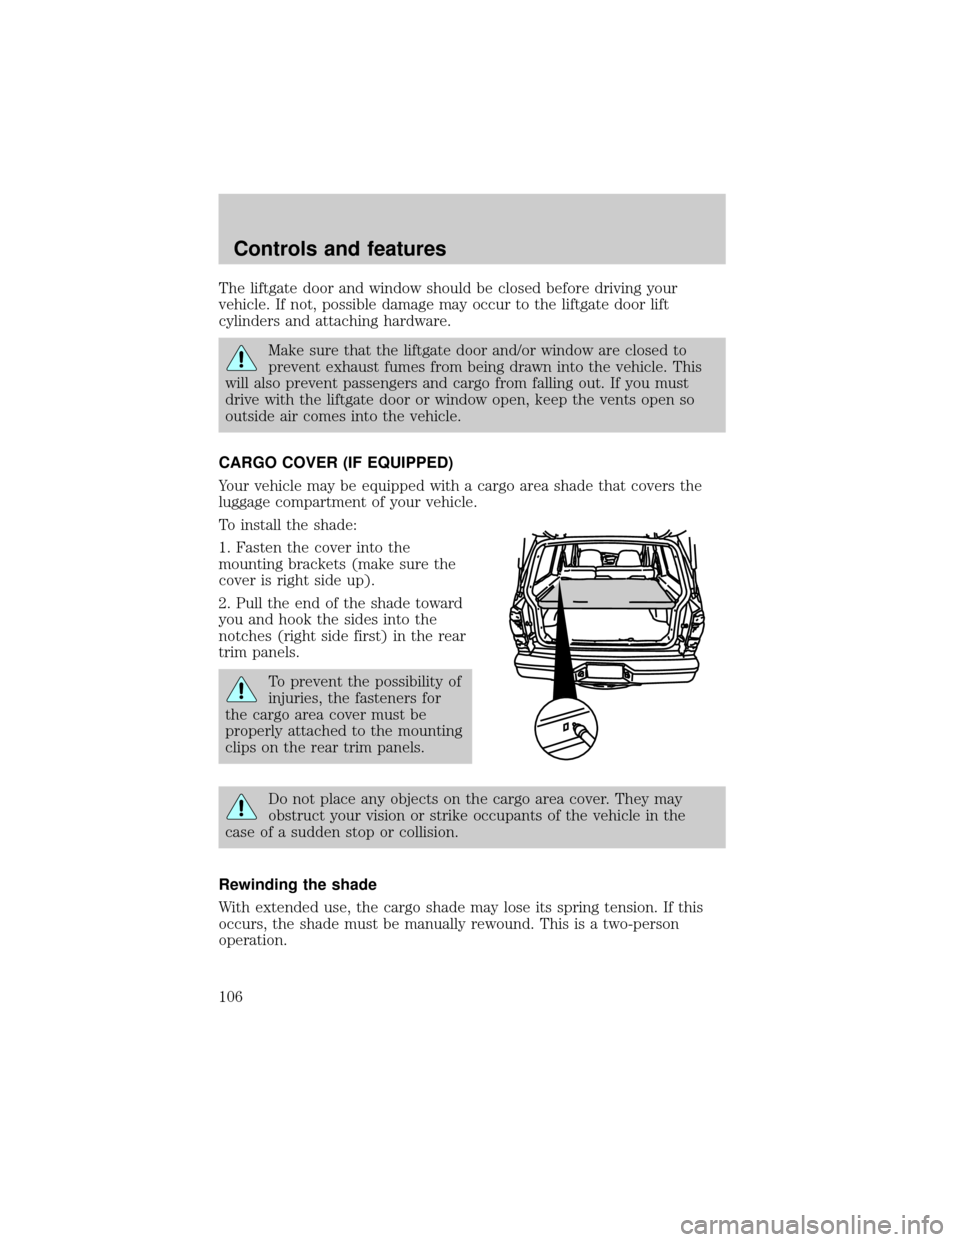
Your vehicle may be equipped with a cargo area shade that covers the
luggage compartment of your vehicle.
To install the shade:
1. Fasten the cover into the
mounting brackets (make sure the
cover is right side up).
2. Pull the end of the shade toward
you and hook the sides into the
notches (right side first) in the rear
trim panels.
To prevent the possibility of
injuries, the fasteners for
the cargo area cover must be
properly attached to the mounting
clips on the rear trim panels.
Do not place any objects on the cargo area cover. They may
obstruct your vision or strike occupants of the vehicle in the
case of a sudden stop or collision.
Rewinding the shade
With extended use, the cargo shade may lose its spring tension. If this
occurs, the shade must be manually rewound. This is a two-person
operation.
Controls and features
106
Page 107 of 296

1. Remove the shade from the vehicle and extend it with the smooth
grain facing you.
2. Wrap the vinyl around the roller
tube twice. Tuck the edges of the
vinyl inside the end cap with each
wrap.
3. Fold the edges of the vinyl
towards the center, making sure
that the edges clear the end cap
slots. Use tape or a rubber band to
hold the vinyl to the left side of the
tube.
4. Push in the right end cap
(marked RH) about
1¤4of the total
length to disengage the clutch and
hold the end cap in while turning
the roller tube toward you 14 times.
5. Let go of the right end cap. The
clutch will now engage and stop the
shade from losing its spring tension.
6. Unfold the vinyl and place it into
the end cap slots.
7. Insert the shade into the side mounting brackets and check to make
sure that it operates properly.
The cover may cause injury in a sudden stop or accident if it is
not securely installed.
REMOTE ENTRY SYSTEM (IF EQUIPPED)
The remote entry system allows you to lock or unlock all vehicle doors
without a key.
The remote entry features only operate with the ignition in the LOCK
position.
If there is any potential remote keyless entry problem with your vehicle,
ensureALL key fobs(remote entry transmitters) are brought to the
dealership, to aid in troubleshooting.
Controls and features
107
Page 110 of 296
The memory feature will continue to work from the door control even
when deactivated at the remote entry module.
Replacing the battery
The transmitter is powered by one coin type three-volt lithium battery
CR2032 or equivalent. Typical operating range will allow you to be up to
10 meters (33 feet) away from your vehicle. A decrease in operating
range can be caused by:
²weather conditions
²nearby radio towers
²structures around the vehicle
²other vehicles parked next to the vehicle
To replace the battery:
1. Twist a thin coin between the two
halves of the transmitter near the
key ring. DO NOT TAKE THE
FRONT PART OF THE
TRANSMITTER APART.
2. Place the positive (+) side of new
battery in the same orientation.
Refer to the diagram inside the
transmitter unit.
3. Snap the two halves back
together.
Controls and features
110
Page 122 of 296

Memory seats (if equipped)
This system allows automatic
positioning of the driver seat to
three programmable positions.
The memory seat control is located
on the driver door.
²To program position one, move
the driver seat to the desired
position using the seat controls.
Press the SET control. The SET
control indicator light will briefly
illuminate. While the light is illuminated, press control 1.
²To program position two, repeat the previous procedure using control
2.
²To program position three, repeat the previous procedure but press
controls 1 and 2 simultaneously.
A position can only be set or recalled when the transmission gearshift is
in Park or Neutral. A memory seat position may be programmed at any
time.
The memory seat positions are also recalled when you press your remote
entry transmitter UNLOCK control.
To program the memory seat to remote entry transmitter, refer to
Remote entry systemin theControls and features chapter.
Using the manual lumbar support
Turn the lumbar support control
toward the front of vehicle to move
the lumbar support forward for
more direct support.
Turn the lumbar support control
toward the rear of vehicle to move
the lumbar support back for less
direct support.
SE T
12
Seating and safety restraints
122
Page 148 of 296

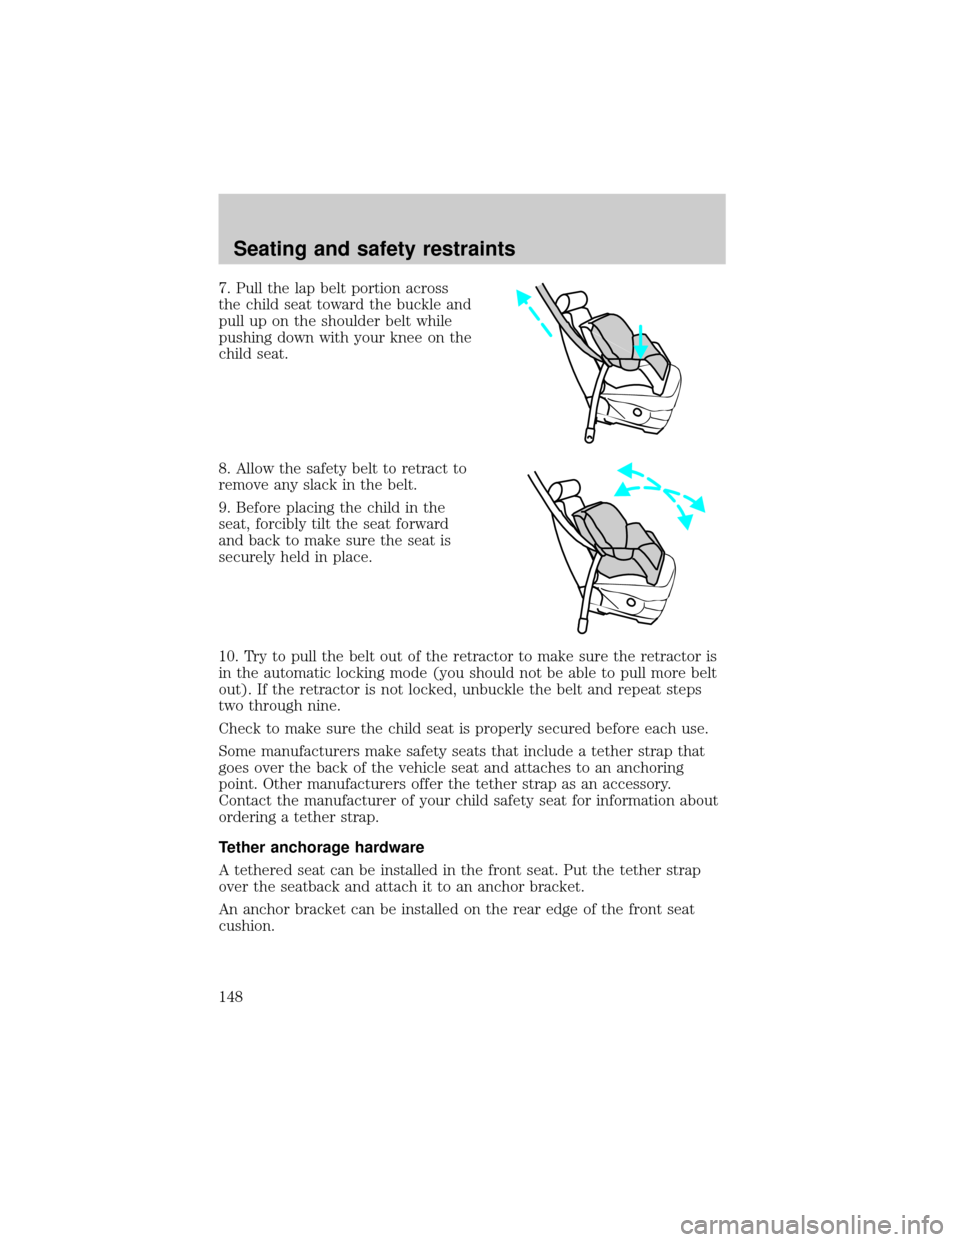
7. Pull the lap belt portion across
the child seat toward the buckle and
pull up on the shoulder belt while
pushing down with your knee on the
child seat.
8. Allow the safety belt to retract to
remove any slack in the belt.
9. Before placing the child in the
seat, forcibly tilt the seat forward
and back to make sure the seat is
securely held in place.
10. Try to pull the belt out of the retractor to make sure the retractor is
in the automatic locking mode (you should not be able to pull more belt
out). If the retractor is not locked, unbuckle the belt and repeat steps
two through nine.
Check to make sure the child seat is properly secured before each use.
Some manufacturers make safety seats that include a tether strap that
goes over the back of the vehicle seat and attaches to an anchoring
point. Other manufacturers offer the tether strap as an accessory.
Contact the manufacturer of your child safety seat for information about
ordering a tether strap.
Tether anchorage hardware
A tethered seat can be installed in the front seat. Put the tether strap
over the seatback and attach it to an anchor bracket.
An anchor bracket can be installed on the rear edge of the front seat
cushion.
Seating and safety restraints
148
Page 158 of 296

²underinflated tire(s) on any wheel(s)
²high crown in center of road
²high crosswinds
²wheels out of alignment
²loose or worn components in steering linkage
AIR SUSPENSION SYSTEM (IF EQUIPPED)
The load leveling feature of the air suspension automatically keeps the
vehicle at a constant level if a load is added or removed from the vehicle.
This system maintains the vehicle height at a constant level by
automatically adding air or releasing air from the springs to offset
changes in vehicle loads.
When ever a door is opened (including the liftgate) the system
memorizes and maintains the height of the vehicle until all doors are
closed.
It is normal to hear a buzz or clicking from the air compressor on the
vehicle when the ignition is turned off. The system stays energized for
40 minutes after the ignition is turned off to compensate for any load
changes made after the vehicle is parked.
The air suspension shut-off switch is
located in the cargo area behind the
left rear quarter trim panel.
On vehicles equipped with
Air Suspension, turn OFF
the Air Suspension switch prior to
jacking, hoisting or towing your
vehicle.
Normal vehicle operation does not
require any action by the driver.
PREPARING TO DRIVE YOUR VEHICLE
Utility vehicles have a significantly higher rollover rate than
other types of vehicles.
Driving
158
Page 162 of 296

The transmission control indicator
light (TCIL) will illuminate on the
instrument cluster.
Drive± Not shown on the display. Activate by pressing the transmission
control switch on the end of the gearshift lever with the gearshift in
the
position. The O/D OFF indicator will illuminate on the instrument
cluster. Transmission operates in gears one through three.
(Drive)
provides more engine braking than
(Overdrive) and is useful when:
²driving with a heavy load.
²towing a trailer up or down steep hills.
²additional engine braking is desired. If towing a trailer, refer to
Driving while you towin theTrailer Towingchapter.
To return to
(Overdrive) mode, press the transmission control
switch. The O/D OFF indicator will no longer be illuminated.
Each time the vehicle is started, the transmission will automatically
return to normal overdrive mode.
Every time the vehicle is shut off and restarted, you must press the
transmission control switch to cancel overdrive operation if driving in
overdrive is not desired.
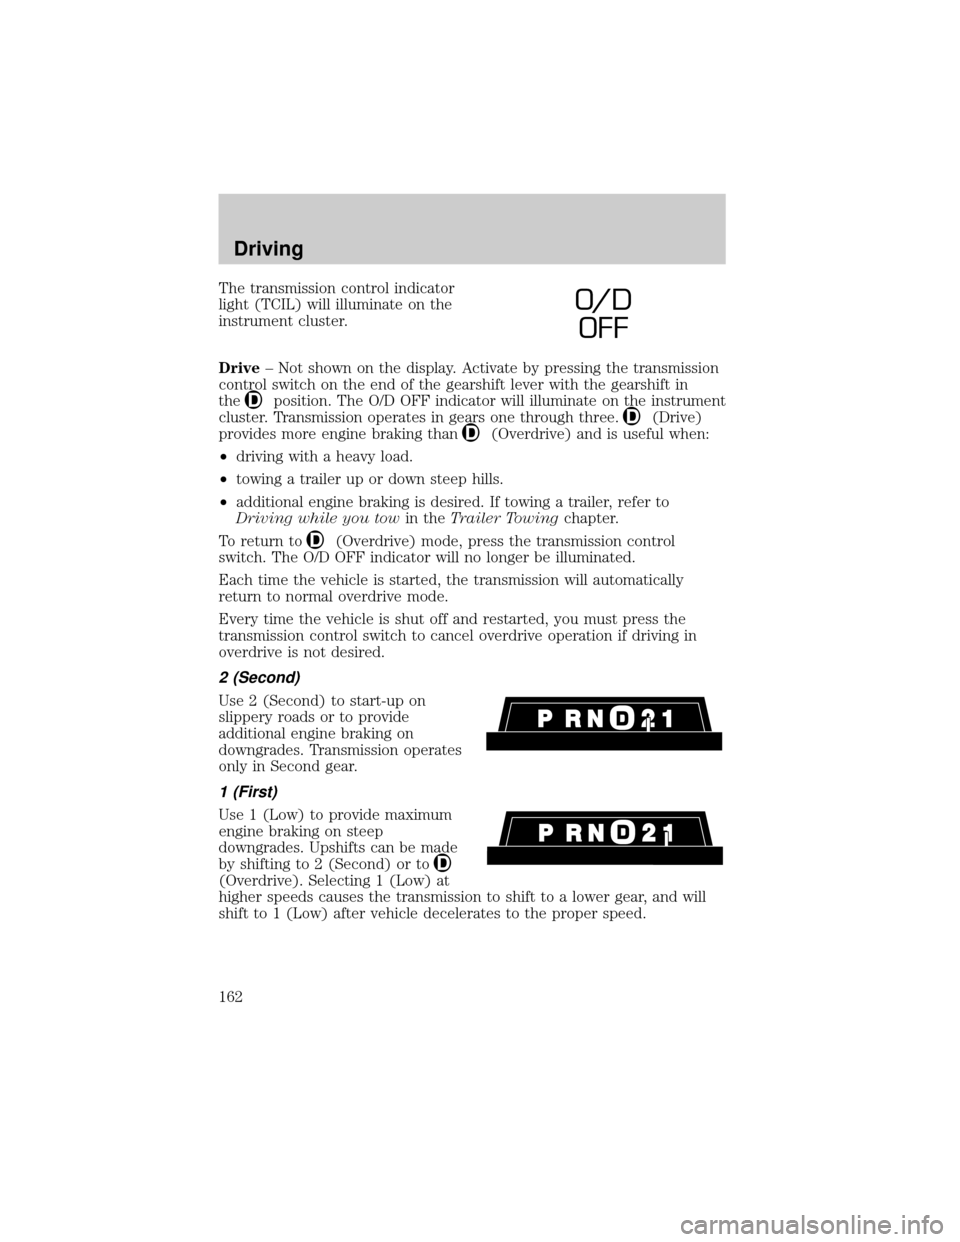
2 (Second)
Use 2 (Second) to start-up on
slippery roads or to provide
additional engine braking on
downgrades. Transmission operates
only in Second gear.
1 (First)
Use 1 (Low) to provide maximum
engine braking on steep
downgrades. Upshifts can be made
by shifting to 2 (Second) or to
(Overdrive). Selecting 1 (Low) at
higher speeds causes the transmission to shift to a lower gear, and will
shift to 1 (Low) after vehicle decelerates to the proper speed.
O/ D
OFF
Driving
162
Page 165 of 296

Drive± Not shown on the display. Activate by pressing the transmission
control switch on the end of the gearshift lever with the gearshift in
the
(Overdrive) position. The TCIL will illuminate on the instrument
cluster. Transmission operates in gears one through four. Drive (O/D
OFF) provides more engine braking than
(Overdrive) and is useful
whenever driving conditions (i.e., city traffic, hilly terrain, etc.) cause the
transmission to excessively shift between
(Overdrive) and other
gears. Deactivate
(Overdrive) when:
²driving with a heavy load.
²towing a trailer up or down steep hills.
²additional engine braking is desired. If towing a trailer, refer to
Driving while you towin theTrailer Towingchapter.
To return to
(Overdrive) mode, press the transmission control
switch. The TCIL will no longer be illuminated.
Each time the vehicle is started, the transmission will automatically
return to normal
(Overdrive) mode.
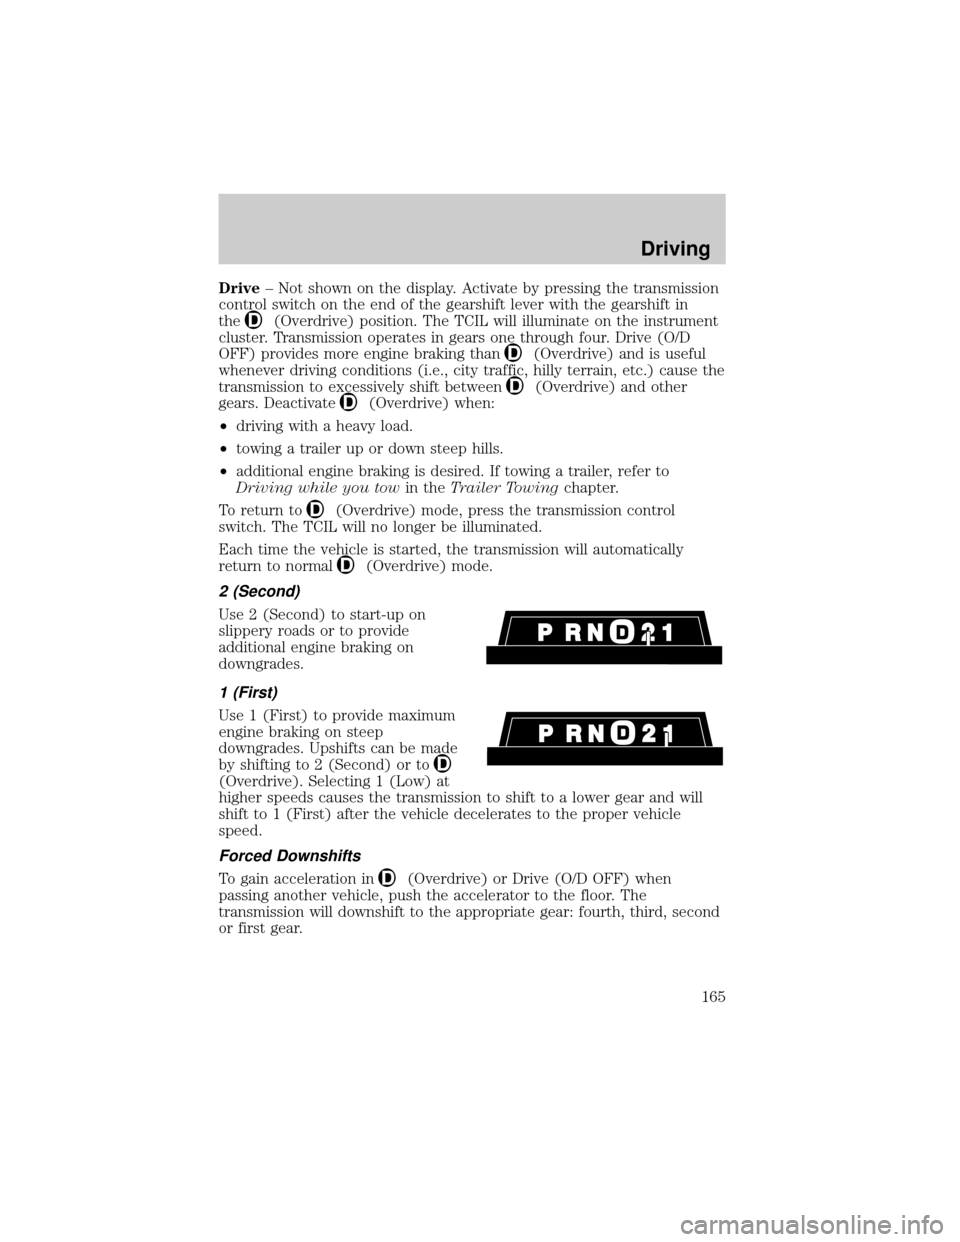
2 (Second)
Use 2 (Second) to start-up on
slippery roads or to provide
additional engine braking on
downgrades.
1 (First)
Use 1 (First) to provide maximum
engine braking on steep
downgrades. Upshifts can be made
by shifting to 2 (Second) or to
(Overdrive). Selecting 1 (Low) at
higher speeds causes the transmission to shift to a lower gear and will
shift to 1 (First) after the vehicle decelerates to the proper vehicle
speed.
Forced Downshifts
To gain acceleration in(Overdrive) or Drive (O/D OFF) when
passing another vehicle, push the accelerator to the floor. The
transmission will downshift to the appropriate gear: fourth, third, second
or first gear.
Driving
165