Page 187 of 296

²Do not allow waves to break higher than 15 cm (6 inches) above the
bottom edge of the rear bumper.
Exceeding these limits may allow water to enter critical vehicle
components, adversely affecting driveability, emissions, reliability and
causing internal transmission damage.
Replace the rear axle lubricant anytime the axle has been submerged in
water. Rear axle lubricant quantities are not to be checked or changed
unless a leak is suspected or repair required.
Disconnect the wiring to the trailer before backing the trailer into the
water. Reconnect the wiring to the trailer after the trailer is removed
from the water.
Recreational towing (all wheels on the ground)
(Neutral tow kit accessory)
On vehicles equipped with a 4.0L engine, an accessory is available that
allows you to tow your vehicle, behind another vehicle, with all the
wheels on the ground. Contact your dealer for more details. Do not tow
your vehicle with all wheels on the ground unless you install the neutral
tow kit as vehicle damage may occur.
Follow these guidelines for your specific powertrain combination to tow
your vehicle with all four wheels on the ground (such as behind a
recreational vehicle).
These guidelines are designed to ensure that your transmission is not
damaged due to insufficient lubrication.
All Rear Wheel Drive (RWD) vehicles
This applies to all cars and 4x2 trucks/sport utilities with rear wheel
drive capability.
An example of recreational towing is towing your vehicle behind a
Motorhome. The following recreational towing guidelines are designed to
ensure that your transmission is not damaged.
²Place the transmission in N (Neutral).
²Maximum speed is 56 km/h (35 mph).
²Maximum distance is 80 km (50 miles).
If a distance of 80 km (50 miles) or a speed of 56 km/h (35 mph) must
be exceeded, you must disconnect the driveshaft. Ford recommends the
driveshaft be removed/installed only by a qualified technician. See your
local dealer for driveshaft removal/installation.
Driving
187
Page 200 of 296

Removing the spare tire
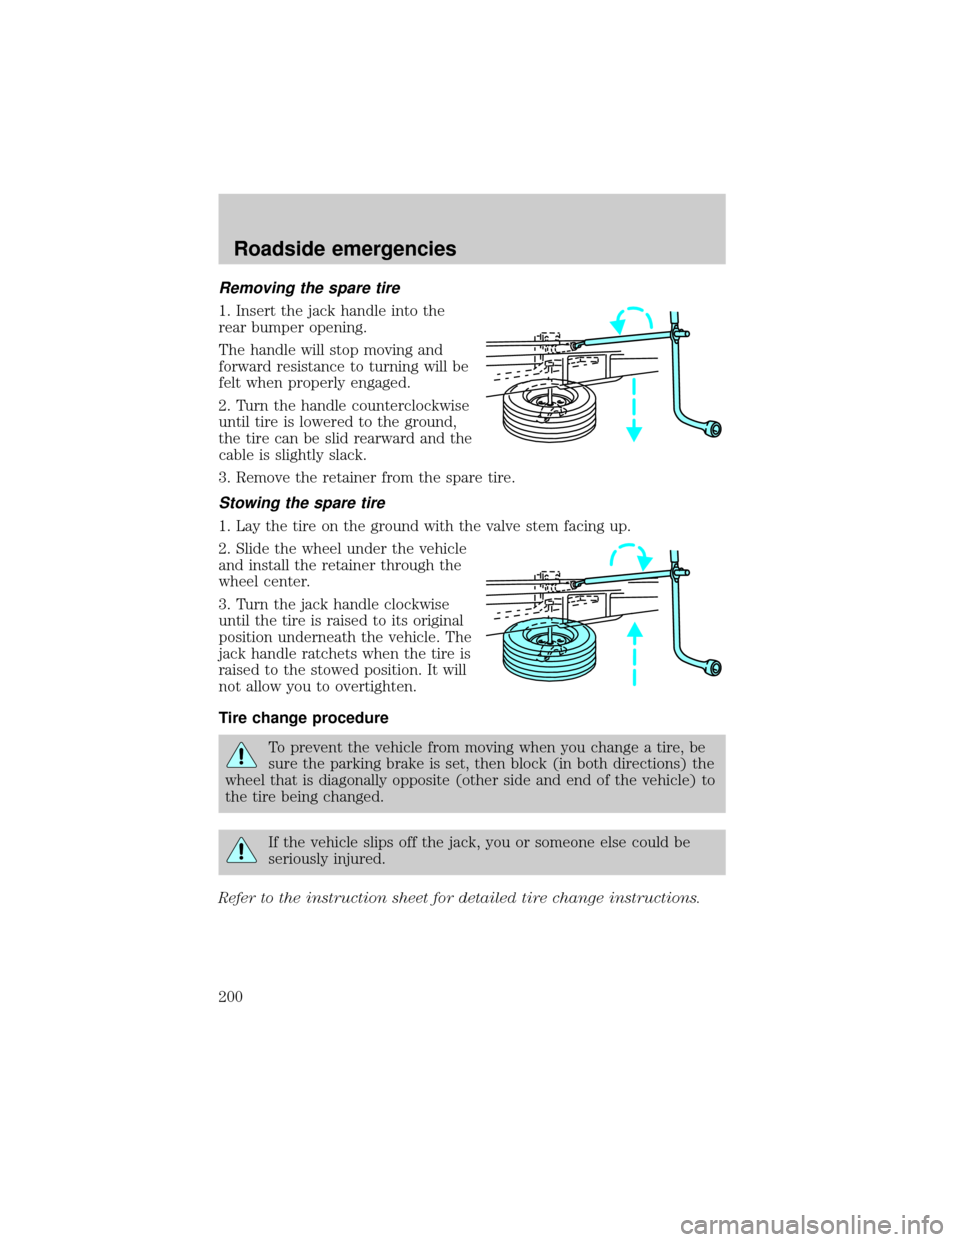
1. Insert the jack handle into the
rear bumper opening.
The handle will stop moving and
forward resistance to turning will be
felt when properly engaged.
2. Turn the handle counterclockwise
until tire is lowered to the ground,
the tire can be slid rearward and the
cable is slightly slack.
3. Remove the retainer from the spare tire.
Stowing the spare tire
1. Lay the tire on the ground with the valve stem facing up.
2. Slide the wheel under the vehicle
and install the retainer through the
wheel center.
3. Turn the jack handle clockwise
until the tire is raised to its original
position underneath the vehicle. The
jack handle ratchets when the tire is
raised to the stowed position. It will
not allow you to overtighten.
Tire change procedure
To prevent the vehicle from moving when you change a tire, be
sure the parking brake is set, then block (in both directions) the
wheel that is diagonally opposite (other side and end of the vehicle) to
the tire being changed.
If the vehicle slips off the jack, you or someone else could be
seriously injured.
Refer to the instruction sheet for detailed tire change instructions.
Roadside emergencies
200
Page 229 of 296

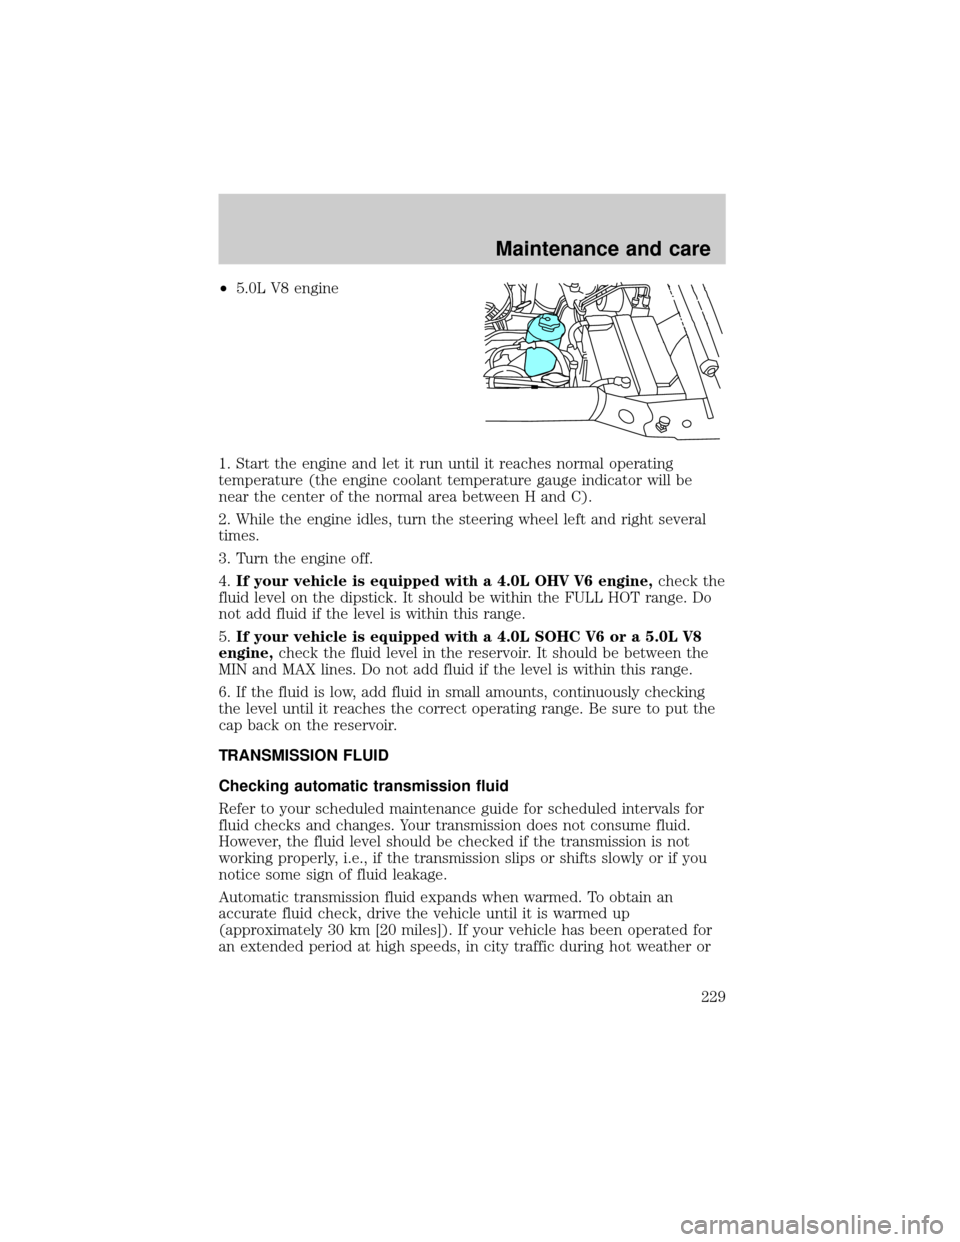
²5.0L V8 engine
1. Start the engine and let it run until it reaches normal operating
temperature (the engine coolant temperature gauge indicator will be
near the center of the normal area between H and C).
2. While the engine idles, turn the steering wheel left and right several
times.
3. Turn the engine off.
4.If your vehicle is equipped with a 4.0L OHV V6 engine,check the
fluid level on the dipstick. It should be within the FULL HOT range. Do
not add fluid if the level is within this range.
5.If your vehicle is equipped with a 4.0L SOHC V6 or a 5.0L V8
engine,check the fluid level in the reservoir. It should be between the
MIN and MAX lines. Do not add fluid if the level is within this range.
6. If the fluid is low, add fluid in small amounts, continuously checking
the level until it reaches the correct operating range. Be sure to put the
cap back on the reservoir.
TRANSMISSION FLUID
Checking automatic transmission fluid
Refer to your scheduled maintenance guide for scheduled intervals for
fluid checks and changes. Your transmission does not consume fluid.
However, the fluid level should be checked if the transmission is not
working properly, i.e., if the transmission slips or shifts slowly or if you
notice some sign of fluid leakage.
Automatic transmission fluid expands when warmed. To obtain an
accurate fluid check, drive the vehicle until it is warmed up
(approximately 30 km [20 miles]). If your vehicle has been operated for
an extended period at high speeds, in city traffic during hot weather or
Maintenance and care
229
Page 288 of 296

A
Air bag supplemental
restraint system ........135±136, 140
and child safety seats ............137
description ......................136, 140
disposal ....................................143
driver air bag ..................138, 141
indicator light ...........10, 139, 142
operation .........................138, 141
passenger air bag ...........138, 141
side air bag ..............................140
Air cleaner filter .......................266
Air conditioning ..........................22
automatic temperature
control system ..........................25
rear seat controls .....................31
Air suspension ...........................158
description ..............................158
warning light .............................12
All Wheel Drive (AWD),
driving off road .........................173
Ambulance packages ....................3
Antifreeze
(see Engine coolant) ................223
Anti-lock brake system
(see Brakes) ......................155±156
Anti-theft system
warning light .............................11
Armrests ....................................105
Audio system (see Radio) .........35
Automatic transmission
driving an automatic
overdrive .........................160, 163
fluid, adding ....................229, 231
fluid, checking ................229, 231
fluid, refill capacities ..............266fluid, specification ..................272
Auxiliary power point ...............104
Axle
lubricant specifications ..269, 272
refill capacities ........................266
traction lok ..............................176
B
Battery .......................................236
acid, treating emergencies .....236
charging system
warning light .............................11
jumping a disabled battery ....204
maintenance-free ....................236
replacement, specifications ...266
servicing ..................................236
voltage gauge ............................16
Belt minder ...............................131
Brakes ........................................155
anti-lock ...........................155±156
anti-lock brake system
(ABS) warning light .........10, 156
brake warning light ..................10
fluid, checking and adding ....221
fluid, refill capacities ..............266
fluid, specifications .........269, 272
lubricant specifications ..269, 272
parking ....................................156
shift interlock ..........................159
Break-in period .............................3
C
Capacities for refilling fluids ....266
Cargo area shade ......................106
Cargo cover ...............................106
CD changer .................................77
Index
288