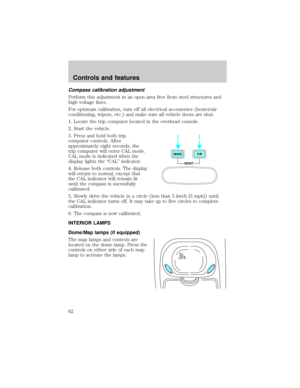
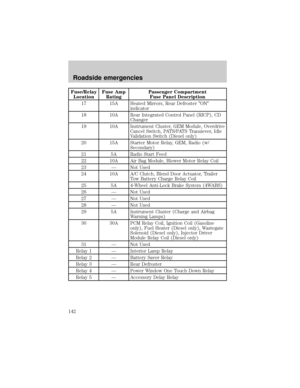
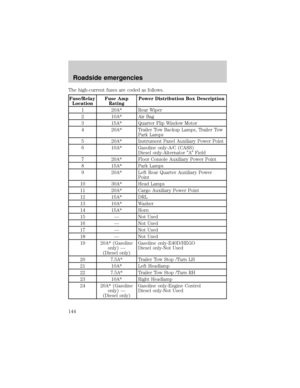
Page 73 of 232

CARGO NET (IF EQUIPPED)
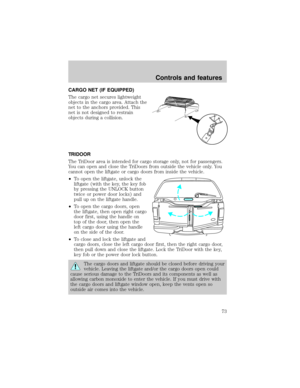
The cargo net secures lightweight
objects in the cargo area. Attach the
net to the anchors provided. This
net is not designed to restrain
objects during a collision.
TRIDOOR
The TriDoor area is intended for cargo storage only, not for passengers.
You can open and close the TriDoors from outside the vehicle only. You
cannot open the liftgate or cargo doors from inside the vehicle.
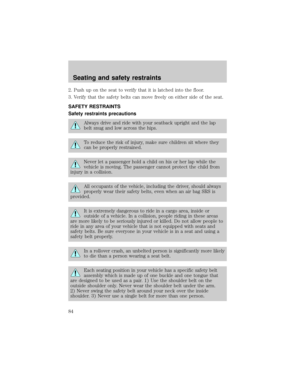
²To open the liftgate, unlock the
liftgate (with the key, the key fob
by pressing the UNLOCK button
twice or power door locks) and
pull up on the liftgate handle.
²To open the cargo doors, open
the liftgate, then open right cargo
door first, using the handle on
top of the door, then open the
left cargo door using the handle
on the side of the door.
²To close and lock the liftgate and
cargo doors, close the left cargo door first, then the right cargo door,
then pull down and close the liftgate. Lock the TriDoor with the key,
key fob or the power door lock button.
The cargo doors and liftgate should be closed before driving your
vehicle. Leaving the liftgate and/or the cargo doors open could
cause serious damage to the TriDoors and its components as well as
allowing carbon monoxide to enter the vehicle. If you must drive with
the cargo doors and liftgate window open, keep the vents open so
outside air comes into the vehicle.
Controls and features
73
Page 74 of 232
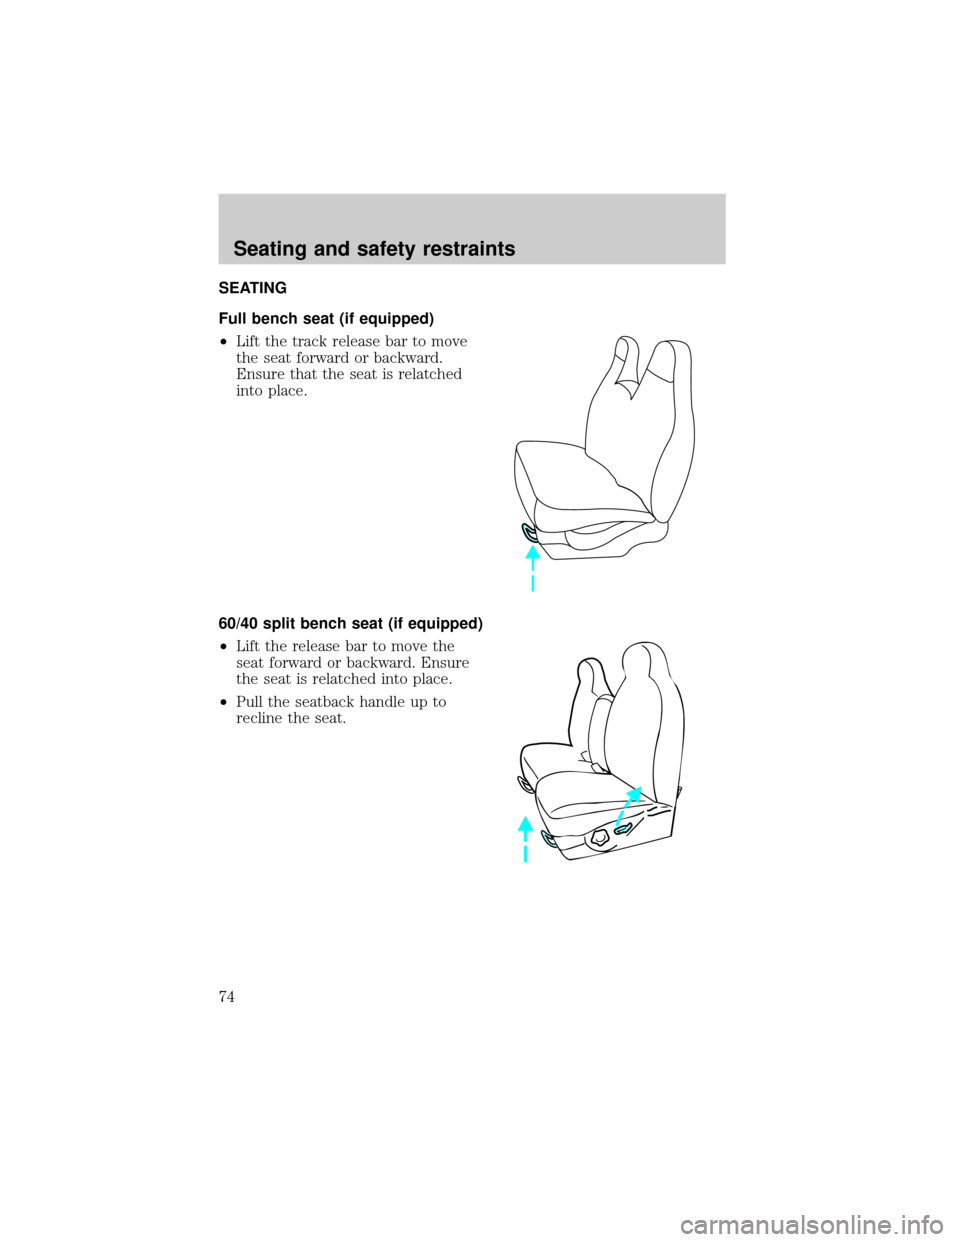
SEATING
Full bench seat (if equipped)
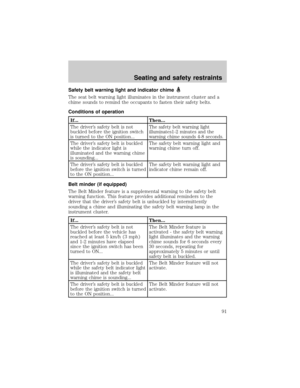
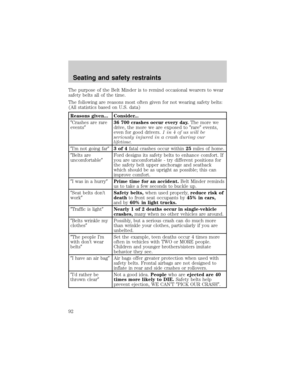
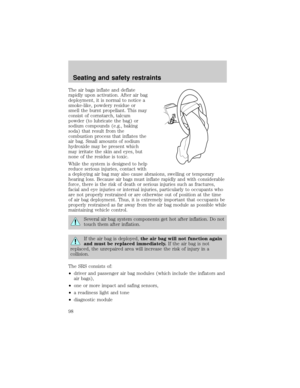
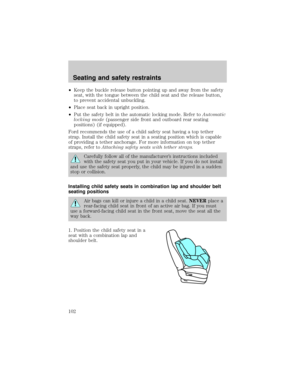
²Lift the track release bar to move
the seat forward or backward.
Ensure that the seat is relatched
into place.
60/40 split bench seat (if equipped)
²Lift the release bar to move the
seat forward or backward. Ensure
the seat is relatched into place.
²Pull the seatback handle up to
recline the seat.
Seating and safety restraints
74
Page 75 of 232
Captain's chair (if equipped)
²Lift the track release bar to move
the seat forward or rearward.
Make sure that the seat is
relatched into place.
²Pull the seatback handle up to
recline the seat.
Adjusting the front power seat (if equipped)
Never adjust the driver's seat or seatback when the vehicle is
moving.
Do not pile cargo higher than the seatbacks to avoid injuring
people in a collision or sudden stop.
Always drive and ride with your seatback upright and the lap
belt snug and low across the hips.
Reclining the seatback can reduce the effectiveness of the seat's
safety belt in the event of a collision.
The control is located on the outboard side of the seat cushion.
Seating and safety restraints
75
Page 76 of 232
Press front to raise or lower the
front portion of the seat cushion.
Press rear to raise or lower the rear
portion of the seat cushion.
Press the control to move the seat
forward, backward, up or down.
Using the manual lumbar support
Turn the lumbar support control
toward the front of vehicle to move
the lumbar support forward for
more direct support.
Turn the lumbar support control
toward the rear of vehicle to move
the lumbar support back for less
direct support.
Seating and safety restraints
76
Page 77 of 232
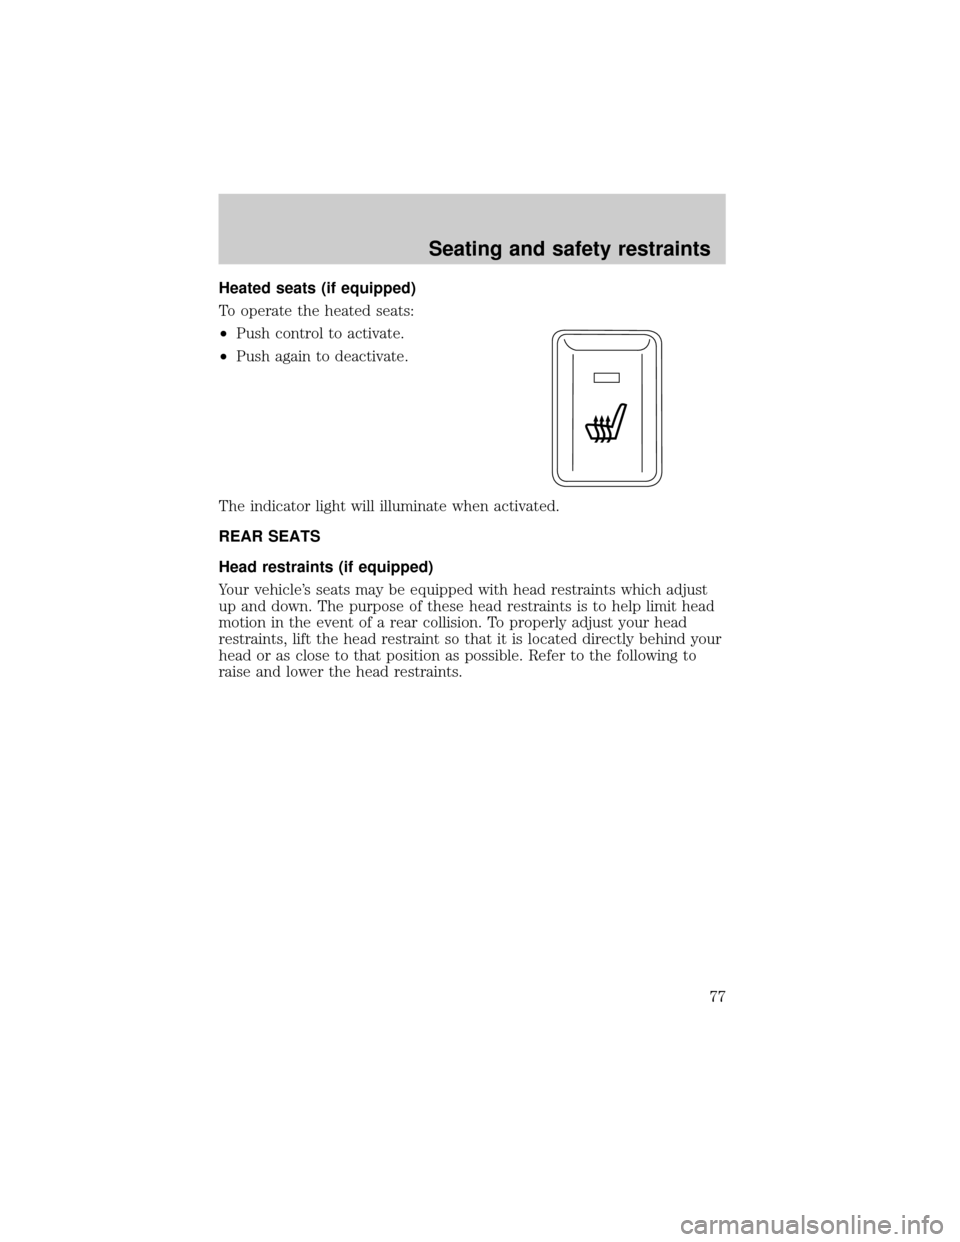
Heated seats (if equipped)
To operate the heated seats:
²Push control to activate.
²Push again to deactivate.
The indicator light will illuminate when activated.
REAR SEATS
Head restraints (if equipped)
Your vehicle's seats may be equipped with head restraints which adjust
up and down. The purpose of these head restraints is to help limit head
motion in the event of a rear collision. To properly adjust your head
restraints, lift the head restraint so that it is located directly behind your
head or as close to that position as possible. Refer to the following to
raise and lower the head restraints.
Seating and safety restraints
77
Page 78 of 232
The head restraints can be moved
up and down.
Rear folding bench seat
(if equipped)
Folding down rear seats into
load floor
Ensure that no objects such as
books, purses or briefcases are on
the floor in front of the second row
seats before folding them down and
insure the seat is fully latched
rearward.
For assistance, refer to the label located on the seat side shield.
1. Lift strap to release seat cushion.
Seating and safety restraints
78
Page 79 of 232
2. Lift seat cushion up and rotate
forward.
3. The headrest must be removed in
order to fold the seatback down.
Remove 2nd row seat headrest by
pushing in both tabs while pulling
up on headrest simultaneously.
4. Stow headrest into the green caps
found on the top of the seat
cushion.
Seating and safety restraints
79
Page 80 of 232
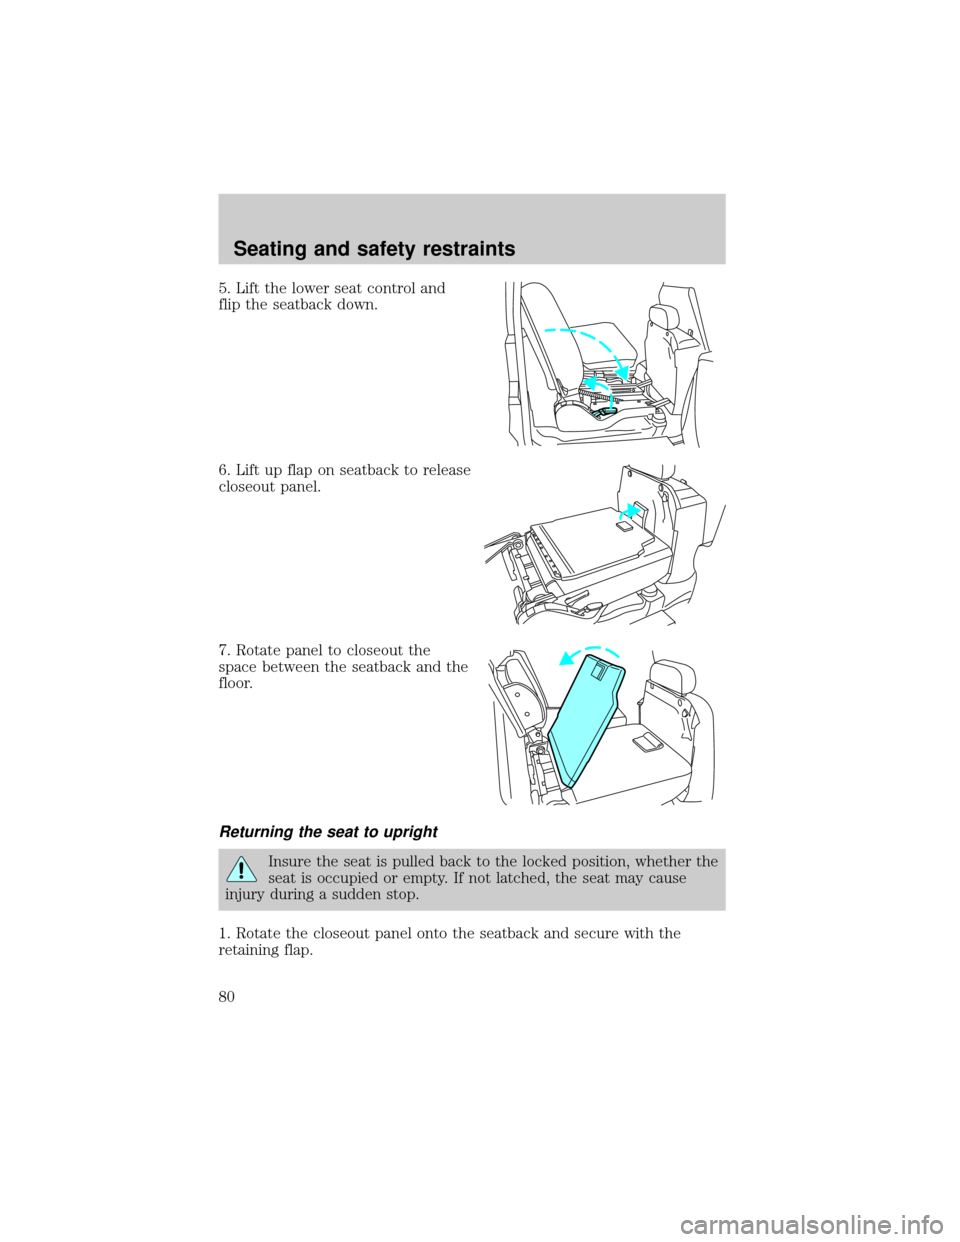
5. Lift the lower seat control and
flip the seatback down.
6. Lift up flap on seatback to release
closeout panel.
7. Rotate panel to closeout the
space between the seatback and the
floor.
Returning the seat to upright
Insure the seat is pulled back to the locked position, whether the
seat is occupied or empty. If not latched, the seat may cause
injury during a sudden stop.
1. Rotate the closeout panel onto the seatback and secure with the
retaining flap.
Seating and safety restraints
80