Page 200 of 429

2-96 Fuel Gage
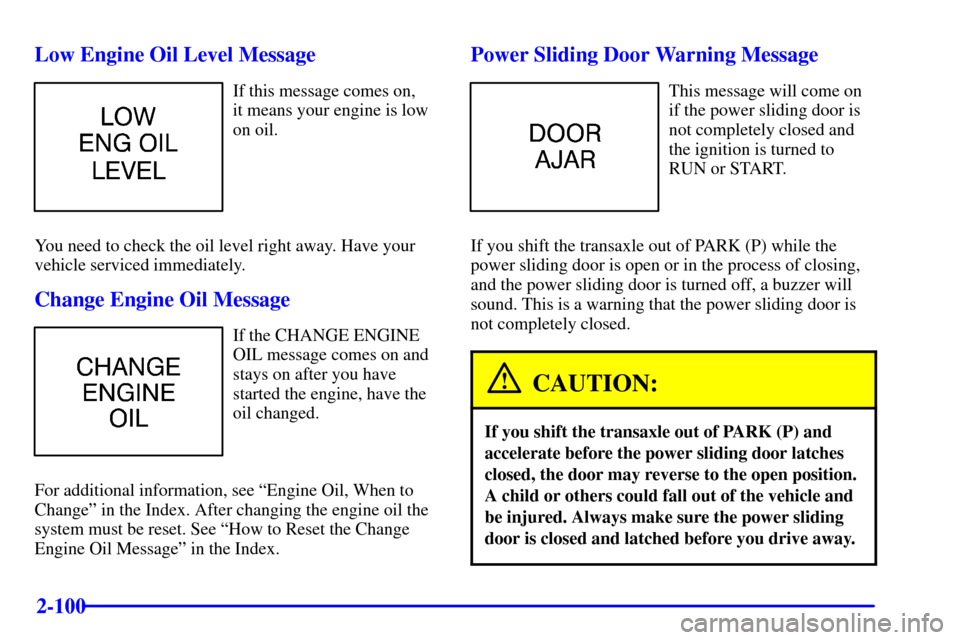
United States Canada
When the indicator nears EMPTY (E), you still have a
little fuel left, but you should get more soon.
If your fuel is low, the warning message in the message
center will go on. See ªLow Fuel Warning Messageº
later in this section.
Your fuel gage tells you about how much fuel you have
left when the ignition is on.Here are four things that some owners ask about. All
these things are normal and do not indicate that anything
is wrong with the fuel gage.
�At the gas station, the gas pump shuts off before the
gage reads FULL (F).
�It takes a little more (or less) fuel to fill up than the
gage reads. For example, the gage reads half full, but
it took more (or less) than half of the tank's capacity
to fill it.
�The gage pointer may move while cornering, braking
or speeding up.
�The gage may not indicate EMPTY (E) when the
ignition is turned off.
Message Center
The message center is located in the instrument
panel cluster. It gives you important safety and
maintenance facts.
Page 201 of 429

2-97
Charging System Indicator Message
The charging system battery
symbol will come on in
the message center when
you turn on the ignition as
a check to show you it
is working.
It will remain on as long as the engine is not running.
It should go out once the engine is running. If it stays
on, or comes on while you are driving, you may have a
problem with the charging system. It could indicate that
you have problems with a generator drive belt, or
another electrical problem. Have it checked right away.
Driving while this indicator appears in the message
center could drain your battery.
If you must drive a short distance with the message on,
be certain to turn off all your accessories, such as the
radio and air conditioner.
Service Traction System Warning
Message (Option)
If your vehicle has the
traction control system and
this message is displayed
when you're driving, there
may be a problem with your
traction control system.
Your vehicle may need service.
When this message is displayed, the traction control
system will not limit wheel spin. Adjust your
driving accordingly.
The message may appear for the following reasons:
�If there's a brake system problem that is specifically
related to traction control, the traction control system
will turn off and the warning message will come on.
If your brakes begin to overheat, the traction control
system will turn off and the warning message will
come on until your brakes cool down.
�If the traction control system is affected by an
engine
-related problem, the system will turn off and
the warning message will come on.
If the traction control system warning message comes on
and stays on for an extended period of time when the
system is turned on, your vehicle needs service.
Page 202 of 429

2-98 Traction Active Message (Option)
If your vehicle has the
traction control system, the
TRACTION ACTIVE
message will appear when
the traction control system
is limiting wheel spin.
You may feel or hear the system working, but this
is normal.
Slippery road conditions may exist if this message
appears, so adjust your driving accordingly. The
message will stay on for a few seconds after the traction
control system stops limiting wheel spin.
The TRACTION ACTIVE message also comes on
briefly when you turn the ignition key to RUN. If the
message doesn't come on then, have it fixed so it will
be there to tell you when the traction control system
is active.
Engine Coolant Temperature
Warning Message
This message will come
on when your engine gets
too hot.
If this message comes on, it means that your engine
coolant has overheated. If you have been operating your
vehicle under normal driving conditions, you should
pull off the road, stop your vehicle and turn off the
engine as soon as possible.
See ªEngine Overheatingº in the Index.
Page 204 of 429

2-100 Low Engine Oil Level Message
If this message comes on,
it means your engine is low
on oil.
You need to check the oil level right away. Have your
vehicle serviced immediately.
Change Engine Oil Message
If the CHANGE ENGINE
OIL message comes on and
stays on after you have
started the engine, have the
oil changed.
For additional information, see ªEngine Oil, When to
Changeº in the Index. After changing the engine oil the
system must be reset. See ªHow to Reset the Change
Engine Oil Messageº in the Index.
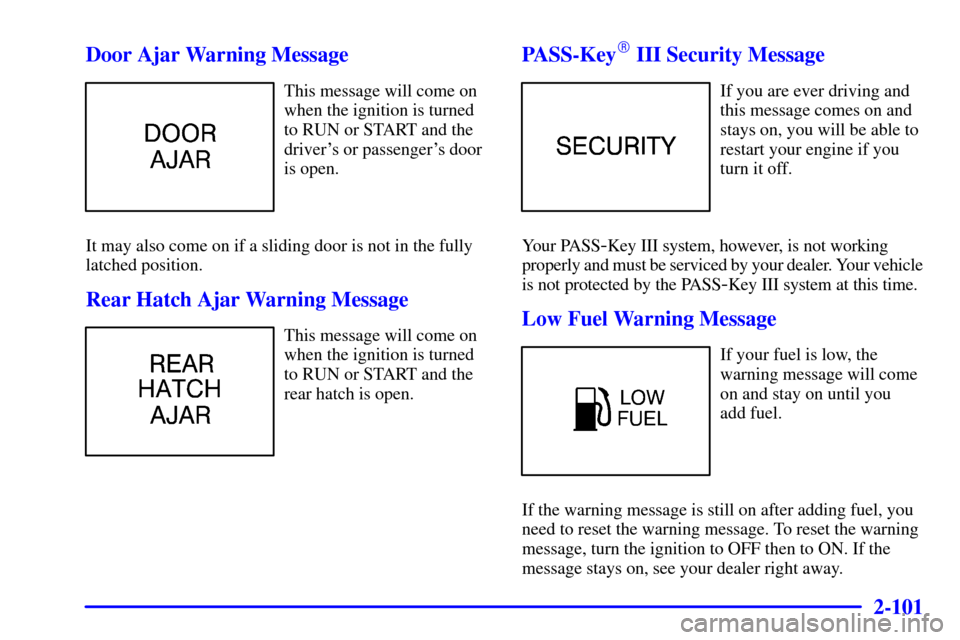
Power Sliding Door Warning Message
This message will come on
if the power sliding door is
not completely closed and
the ignition is turned to
RUN or START.
If you shift the transaxle out of PARK (P) while the
power sliding door is open or in the process of closing,
and the power sliding door is turned off, a buzzer will
sound. This is a warning that the power sliding door is
not completely closed.
CAUTION:
If you shift the transaxle out of PARK (P) and
accelerate before the power sliding door latches
closed, the door may reverse to the open position.
A child or others could fall out of the vehicle and
be injured. Always make sure the power sliding
door is closed and latched before you drive away.
Page 205 of 429

2-101
Door Ajar Warning Message
This message will come on
when the ignition is turned
to RUN or START and the
driver's or passenger's door
is open.
It may also come on if a sliding door is not in the fully
latched position.
Rear Hatch Ajar Warning Message
This message will come on
when the ignition is turned
to RUN or START and the
rear hatch is open.
PASS-Key� III Security Message
If you are ever driving and
this message comes on and
stays on, you will be able to
restart your engine if you
turn it off.
Your PASS
-Key III system, however, is not working
properly and must be serviced by your dealer. Your vehicle
is not protected by the PASS
-Key III system at this time.
Low Fuel Warning Message
If your fuel is low, the
warning message will come
on and stay on until you
add fuel.
If the warning message is still on after adding fuel, you
need to reset the warning message. To reset the warning
message, turn the ignition to OFF then to ON. If the
message stays on, see your dealer right away.
Page 207 of 429

2-103
Setting the Variance
Turn the ignition on and cycle the DIC to the
Compass/Temperature mode. Press both the E/M and
MODE buttons simultaneously for approximately five
seconds. The last entered variance zone number will be
displayed. Press the E/M button until the proper
variance number, as shown on the map, is showing.
Press the MODE button to set the new variance zone
and resume normal operation.The display will show all the display segments briefly to
acknowledge the change in zone number.
Automatic Compass Calibration
The compass is self
-calibrating, which eliminates the
need to manually set the compass. When the vehicle is
new, the calibration process may not be complete. In
these cases the calibration symbol ªCº will be displayed
where the compass reading is normally displayed.
To calibrate the compass, in an area free from large
metal objects, make three 360� turns. The calibration
symbol will turn off and the compass reading will
be displayed.
Manual Compass Calibration
If the compass appears erratic and the calibration
symbol does not appear, you must manually put the
compass into the calibration mode.
Turn the ignition on and cycle the DIC to the
Compass/Temperature mode. Press both the E/M and
MODE buttons simultaneously for at least 10 seconds
until the calibration symbol appears. Release both
buttons and complete three 360� turns in an area free
from large metal objects. The calibration symbol will
turn off and the compass reading will be displayed.
Page 213 of 429

3-5
Operating the HVAC system in the RECIRCULATION
mode may cause fogging of the vehicle's windows when
the weather is cold and damp. To clear the fog, switch
the HVAC system to either the DEFOG or DEFROST
mode and increase the fan speed. To avoid re
-fogging of
the windows, operate the HVAC system in the
OUTSIDE AIR mode.
For additional information, refer to
ªRECIRCULATIONº earlier in this section.
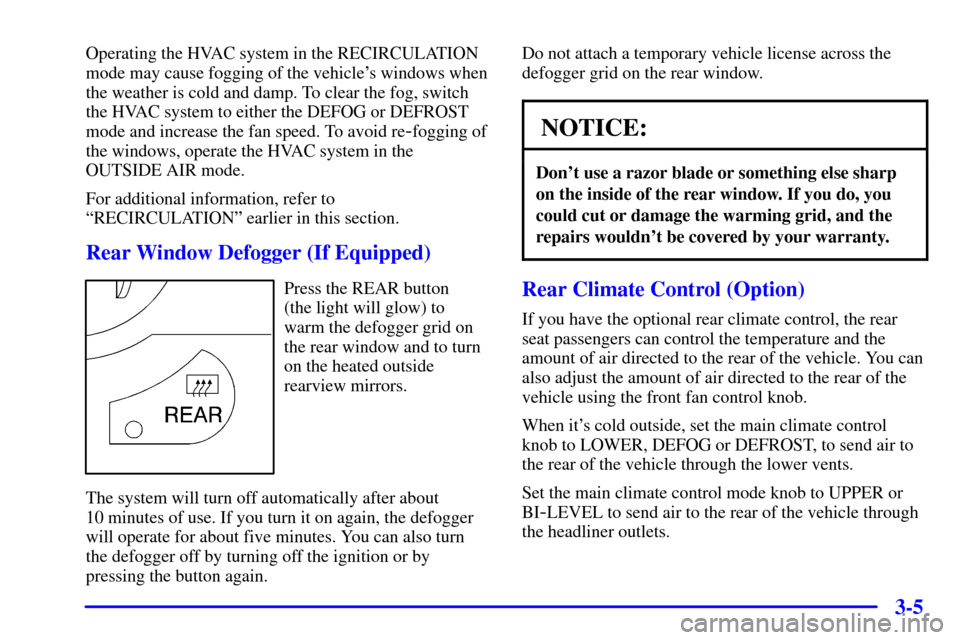
Rear Window Defogger (If Equipped)
Press the REAR button
(the light will glow) to
warm the defogger grid on
the rear window and to turn
on the heated outside
rearview mirrors.
The system will turn off automatically after about
10 minutes of use. If you turn it on again, the defogger
will operate for about five minutes. You can also turn
the defogger off by turning off the ignition or by
pressing the button again.Do not attach a temporary vehicle license across the
defogger grid on the rear window.
NOTICE:
Don't use a razor blade or something else sharp
on the inside of the rear window. If you do, you
could cut or damage the warming grid, and the
repairs wouldn't be covered by your warranty.
Rear Climate Control (Option)
If you have the optional rear climate control, the rear
seat passengers can control the temperature and the
amount of air directed to the rear of the vehicle. You can
also adjust the amount of air directed to the rear of the
vehicle using the front fan control knob.
When it's cold outside, set the main climate control
knob to LOWER, DEFOG or DEFROST, to send air to
the rear of the vehicle through the lower vents.
Set the main climate control mode knob to UPPER or
BI
-LEVEL to send air to the rear of the vehicle through
the headliner outlets.
Page 217 of 429

3-9
Audio Systems
Your audio system has been designed to operate easily
and give years of listening pleasure. You will get the
most enjoyment out of it if you acquaint yourself with it
first. Find out what your audio system can do and how
to operate all its controls, to be sure you're getting the
most out of the advanced engineering that went into it.
If you have power door locks, your vehicle has a feature
called Retained Accessory Power (RAP). With RAP,
you can play your audio system even after the ignition is
off. See ªRetained Accessory Powerº in the Index.
Setting the Clock for Systems without
Automatic Tone Control
Press and hold the HR or MIN arrow for two seconds.
Then press the HR arrow until the correct hour appears.
Press and hold the MIN arrow until the correct minute
appears. The clock may be set with the ignition on
or off.
Setting the Clock for Systems with
Automatic Tone Control
Press and hold HR or MN for two seconds. Then press
and hold HR until the correct hour appears. AM or PM
will appear on the display. Press and hold MN until the
correct minute appears. The clock may be set with the
ignition on or off. The clock symbol will appear on the
display in time
-set mode.
To set the clock to the time of a station broadcasting
Radio Data System (RDS) information, press and hold
HR and MN at the same time for two seconds until
UPDATED and the clock symbol appear on the display.
If the time is not available from the station, NO UPDAT
will appear on the display instead.