2000 CHEVROLET SILVERADO Front light
[x] Cancel search: Front lightPage 18 of 421
yellowblue
1-6 Heated Front Seats (If Equipped)
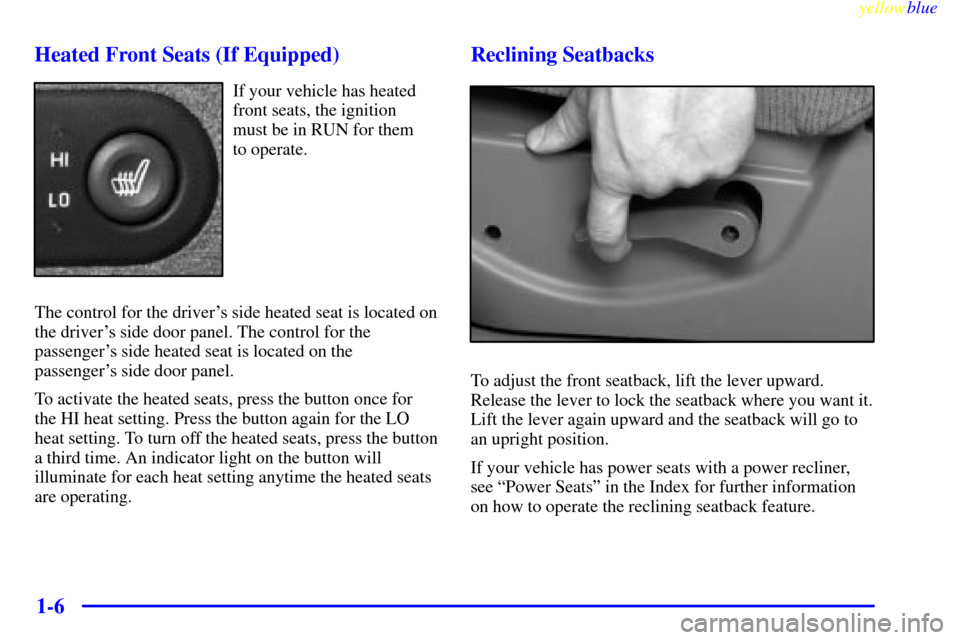
If your vehicle has heated
front seats, the ignition
must be in RUN for them
to operate.
The control for the driver's side heated seat is located on
the driver's side door panel. The control for the
passenger's side heated seat is located on the
passenger's side door panel.
To activate the heated seats, press the button once for
the HI heat setting. Press the button again for the LO
heat setting. To turn off the heated seats, press the button
a third time. An indicator light on the button will
illuminate for each heat setting anytime the heated seats
are operating.
Reclining Seatbacks
To adjust the front seatback, lift the lever upward.
Release the lever to lock the seatback where you want it.
Lift the lever again upward and the seatback will go to
an upright position.
If your vehicle has power seats with a power recliner,
see ªPower Seatsº in the Index for further information
on how to operate the reclining seatback feature.
Page 44 of 421
yellowblue
1-32
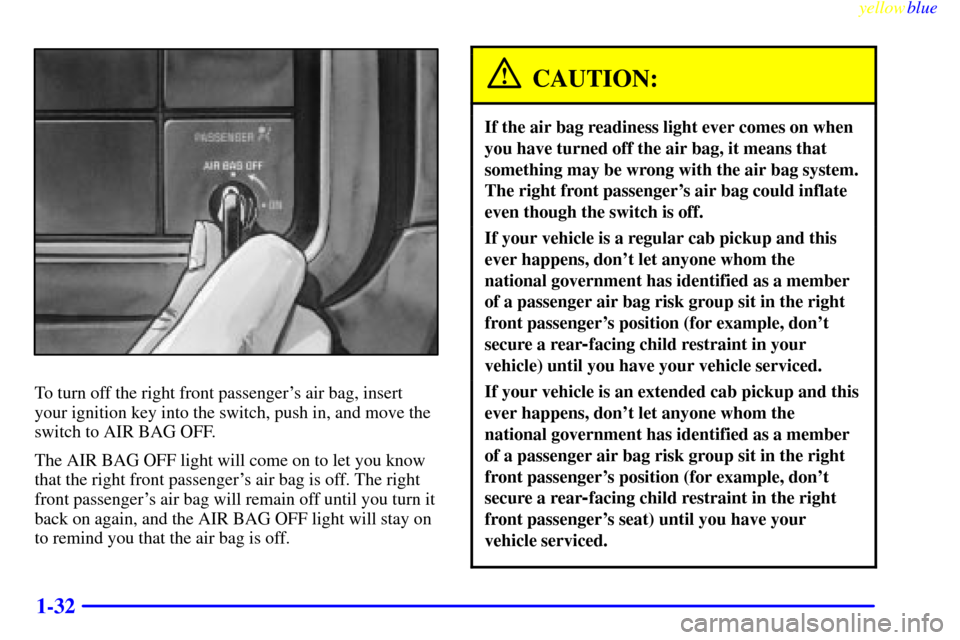
To turn off the right front passenger's air bag, insert
your ignition key into the switch, push in, and move the
switch to AIR BAG OFF.
The AIR BAG OFF light will come on to let you know
that the right front passenger's air bag is off. The right
front passenger's air bag will remain off until you turn it
back on again, and the AIR BAG OFF light will stay on
to remind you that the air bag is off.
CAUTION:
If the air bag readiness light ever comes on when
you have turned off the air bag, it means that
something may be wrong with the air bag system.
The right front passenger's air bag could inflate
even though the switch is off.
If your vehicle is a regular cab pickup and this
ever happens, don't let anyone whom the
national government has identified as a member
of a passenger air bag risk group sit in the right
front passenger's position (for example, don't
secure a rear
-facing child restraint in your
vehicle) until you have your vehicle serviced.
If your vehicle is an extended cab pickup and this
ever happens, don't let anyone whom the
national government has identified as a member
of a passenger air bag risk group sit in the right
front passenger's position (for example, don't
secure a rear
-facing child restraint in the right
front passenger's seat) until you have your
vehicle serviced.
Page 71 of 421
yellowblue
1-59
CAUTION:
If the air bag readiness light ever comes on when
you have turned off the air bag, it means that
something may be wrong with the air bag system.
The right front passenger's air bag could inflate
even though the switch is off.
If your vehicle is a regular cab pickup and this
ever happens, don't let anyone whom the
national government has identified as a member
of a passenger air bag risk group sit in the right
front passenger's position (for example, don't
secure a rear
-facing child restraint in your
vehicle) until you have your vehicle serviced. See
ªAIR BAG OFF Switchº in the Index.
If your vehicle is an extended cab pickup and this
ever happens, don't let anyone whom the national
government has identified as a member of a
passenger air bag risk group sit in the right front
passenger's position (for example, don't secure a
rear
-facing child restraint in the right front
passenger's seat) until you have your vehicle
serviced. See ªAIR BAG OFF Switchº in the Index.
You'll be using the lap-shoulder belt. See the earlier part
about the top strap if the child restraint has one. Be sure
to follow the instructions that came with the child
restraint. Secure the child in the child restraint when and
as the instructions say.
1. Your vehicle has a right front passenger's air bag.
If you are using a rear
-facing child restraint in this
seat, make sure the air bag is turned off. (See ªAIR
BAG OFF Switchº in the Index.) If your child
restraint is forward
-facing, always move the seat as
far back as it will go before securing it in this seat.
(See ªSeatsº in the Index.)
2. Put the restraint on the seat.
3. Pick up the latch plate, and run the lap and shoulder
portions of the vehicle's safety belt through or
around the restraint. The child restraint instructions
will show you how.
If the shoulder belt goes in front of the child's face or
neck, put it behind the child restraint.
Page 88 of 421
yellowblue
2-10
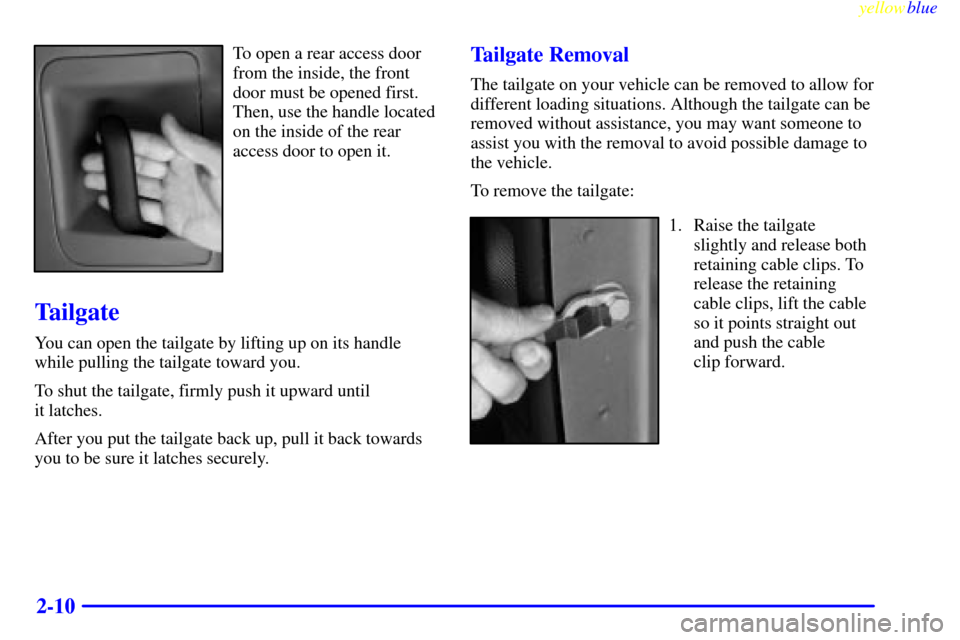
To open a rear access door
from the inside, the front
door must be opened first.
Then, use the handle located
on the inside of the rear
access door to open it.
Tailgate
You can open the tailgate by lifting up on its handle
while pulling the tailgate toward you.
To shut the tailgate, firmly push it upward until
it latches.
After you put the tailgate back up, pull it back towards
you to be sure it latches securely.
Tailgate Removal
The tailgate on your vehicle can be removed to allow for
different loading situations. Although the tailgate can be
removed without assistance, you may want someone to
assist you with the removal to avoid possible damage to
the vehicle.
To remove the tailgate:
1. Raise the tailgate
slightly and release both
retaining cable clips. To
release the retaining
cable clips, lift the cable
so it points straight out
and push the cable
clip forward.
Page 106 of 421
yellowblue
2-28
Four-Wheel Drive (If Equipped)
If your vehicle has four-wheel drive, you can send your
engine's driving power to all four wheels for extra
traction. To get the most satisfaction out of four
-wheel
drive, you must be familiar with its operation. Read the
part that follows before using four
-wheel drive. See the
appropriate text for the transfer case in your vehicle.
NOTICE:
Driving in the 4-WHEEL HIGH (4H) or
4
-WHEEL LOW (4L) positions for a long time
on dry or wet pavement could shorten the life of
your vehicle's drivetrain.
Front Axle Locking Feature
The front axle locks and unlocks automatically when
you shift the transfer case. Some delay for the axle to
lock or unlock is normal.
Manual Transfer Case (If Equipped)
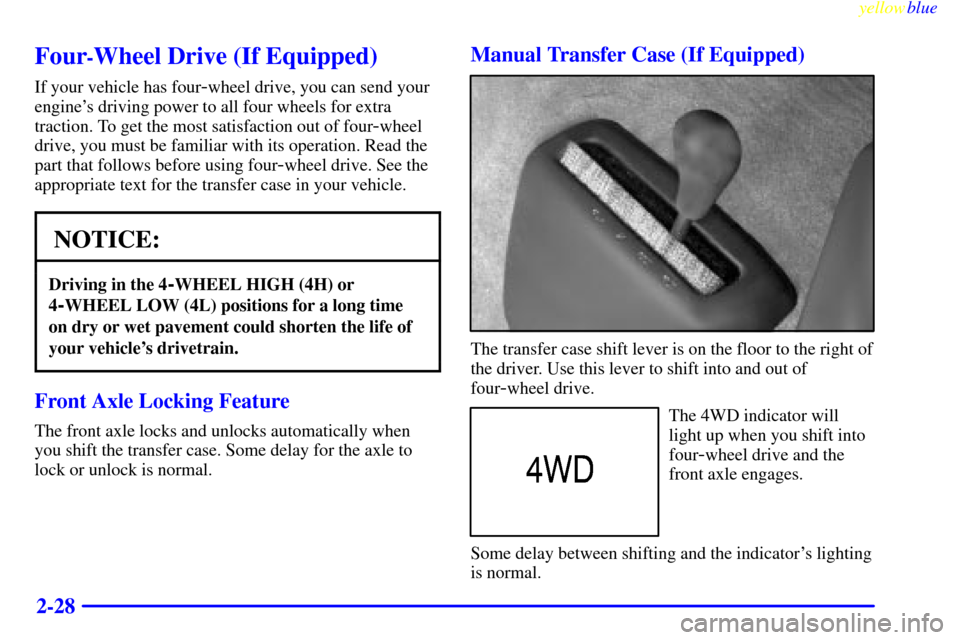
The transfer case shift lever is on the floor to the right of
the driver. Use this lever to shift into and out of
four
-wheel drive.
The 4WD indicator will
light up when you shift into
four
-wheel drive and the
front axle engages.
Some delay between shifting and the indicator's lighting
is normal.
Page 109 of 421
yellowblue
2-31
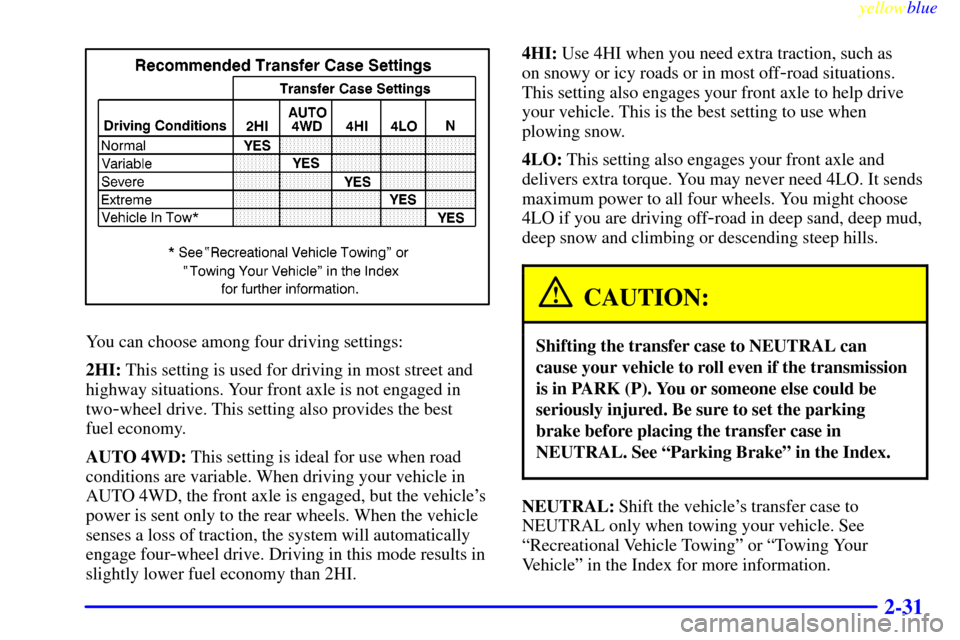
You can choose among four driving settings:
2HI: This setting is used for driving in most street and
highway situations. Your front axle is not engaged in
two
-wheel drive. This setting also provides the best
fuel economy.
AUTO 4WD: This setting is ideal for use when road
conditions are variable. When driving your vehicle in
AUTO 4WD, the front axle is engaged, but the vehicle's
power is sent only to the rear wheels. When the vehicle
senses a loss of traction, the system will automatically
engage four
-wheel drive. Driving in this mode results in
slightly lower fuel economy than 2HI.4HI: Use 4HI when you need extra traction, such as
on snowy or icy roads or in most off
-road situations.
This setting also engages your front axle to help drive
your vehicle. This is the best setting to use when
plowing snow.
4LO: This setting also engages your front axle and
delivers extra torque. You may never need 4LO. It sends
maximum power to all four wheels. You might choose
4LO if you are driving off
-road in deep sand, deep mud,
deep snow and climbing or descending steep hills.
CAUTION:
Shifting the transfer case to NEUTRAL can
cause your vehicle to roll even if the transmission
is in PARK (P). You or someone else could be
seriously injured. Be sure to set the parking
brake before placing the transfer case in
NEUTRAL. See ªParking Brakeº in the Index.
NEUTRAL: Shift the vehicle's transfer case to
NEUTRAL only when towing your vehicle. See
ªRecreational Vehicle Towingº or ªTowing Your
Vehicleº in the Index for more information.
Page 120 of 421
yellowblue
2-42
Windows
Manual Windows
Turn the hand crank on each door to raise or lower
manual windows.
Power Windows (If Equipped)
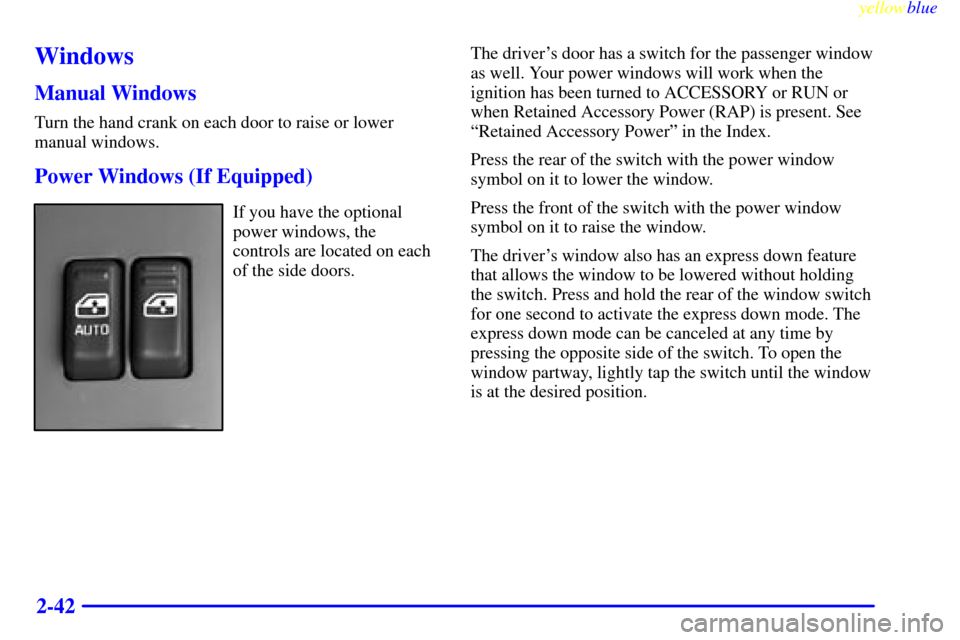
If you have the optional
power windows, the
controls are located on each
of the side doors.The driver's door has a switch for the passenger window
as well. Your power windows will work when the
ignition has been turned to ACCESSORY or RUN or
when Retained Accessory Power (RAP) is present. See
ªRetained Accessory Powerº in the Index.
Press the rear of the switch with the power window
symbol on it to lower the window.
Press the front of the switch with the power window
symbol on it to raise the window.
The driver's window also has an express down feature
that allows the window to be lowered without holding
the switch. Press and hold the rear of the window switch
for one second to activate the express down mode. The
express down mode can be canceled at any time by
pressing the opposite side of the switch. To open the
window partway, lightly tap the switch until the window
is at the desired position.
Page 123 of 421
yellowblue
2-45
Turn Signal On Chime
If your turn signal is left on for more than 3/4 of a mile
(1.2 km), a chime will sound at each flash of the turn
signal. To turn off the chime, move the turn signal lever
to the off position.
Headlamp High/Low Beam Changer
To change the headlamps from low to high beam or high
to low beam, pull the multifunction lever all the way
toward you. Then release it.
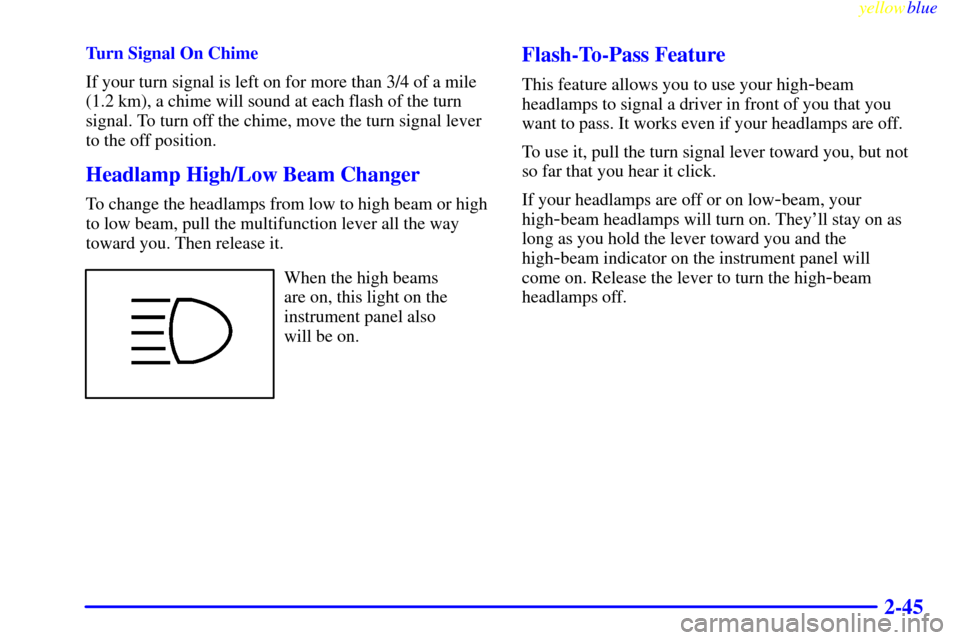
When the high beams
are on, this light on the
instrument panel also
will be on.
Flash-To-Pass Feature
This feature allows you to use your high-beam
headlamps to signal a driver in front of you that you
want to pass. It works even if your headlamps are off.
To use it, pull the turn signal lever toward you, but not
so far that you hear it click.
If your headlamps are off or on low
-beam, your
high
-beam headlamps will turn on. They'll stay on as
long as you hold the lever toward you and the
high
-beam indicator on the instrument panel will
come on. Release the lever to turn the high
-beam
headlamps off.