Page 109 of 326
2-46
Instrument Panel Cluster
Your vehicle is equipped with this cluster or one very similar. It includes indicator warning lights and gages that are
explained on the following pages. Be sure to read them.
Page 112 of 326
2-49
When one of the warning lights comes on and stays on
when you are driving, or when one of the gages shows
there may be a problem, check the section that tells you
what to do about it. Please follow this manual's advice.
Waiting to do repairs can be costly
-- and even
dangerous. So please get to know your warning lights
and gages. They're a big help.
Safety Belt Reminder Light
When the key is turned to ON or START a chime will
come on for about eight seconds to remind people to
fasten their safety belts, unless the driver's safety belt is
already buckled.
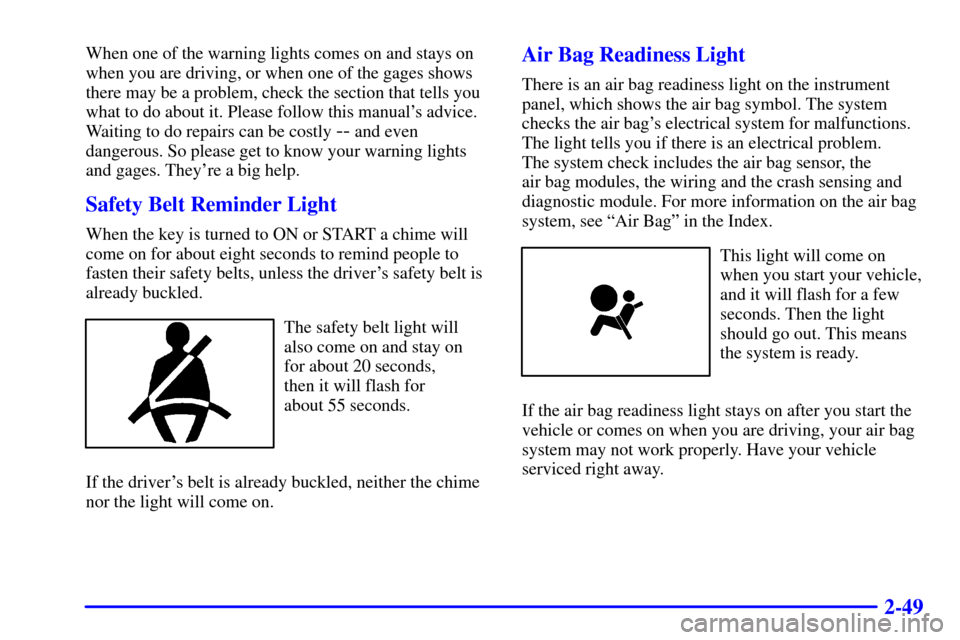
The safety belt light will
also come on and stay on
for about 20 seconds,
then it will flash for
about 55 seconds.
If the driver's belt is already buckled, neither the chime
nor the light will come on.
Air Bag Readiness Light
There is an air bag readiness light on the instrument
panel, which shows the air bag symbol. The system
checks the air bag's electrical system for malfunctions.
The light tells you if there is an electrical problem.
The system check includes the air bag sensor, the
air bag modules, the wiring and the crash sensing and
diagnostic module. For more information on the air bag
system, see ªAir Bagº in the Index.
This light will come on
when you start your vehicle,
and it will flash for a few
seconds. Then the light
should go out. This means
the system is ready.
If the air bag readiness light stays on after you start the
vehicle or comes on when you are driving, your air bag
system may not work properly. Have your vehicle
serviced right away.
Page 120 of 326
2-57
NOTICE:
Damage to your engine from neglected oil
problems can be costly and is not covered by
your warranty.
Check Oil Light
You will have a CHECK
OIL light in your instrument
panel cluster.
This light will come on briefly when you start your vehicle.
If the light stays on after starting your vehicle, or comes
on and chimes while you are driving, your engine oil
level should be checked.
Prior to checking the oil level, be sure your vehicle
has been shut off for several minutes and is on a level
surface. Check the oil level on your dipstick and bring
it to the proper level. See ªEngine Oilº in the Index.A false CHECK OIL light may be generated when
parking on steep grades.
The oil level monitoring system only checks oil level
during the brief period between key on and engine
crank. It does not monitor engine oil level when the
engine is running. Additionally, an oil level check is
only performed if the engine has been turned off for a
considerable period of time allowing the oil normally in
circulation to drain back into the oil pan.Passlock� Warning Light
This light will come on
when you turn the ignition
to ON. The light will stay
on until the engine starts.
If the light flashes, the Passlock system has entered a
tamper mode. If the vehicle fails to start, see ªPasslockº
in the Index.
If the light comes on continuously while driving and
stays on, there may be a problem with the Passlock
system. Your vehicle will not be protected by Passlock,
and you should see your dealer.
Page 124 of 326
3-2
Comfort Controls
This section tells you how to make your air system work
for you.
With this system, you can control the ventilation and
heating in your vehicle. Your vehicle also has the
flow
-through ventilation system described later in
this section.
Climate Control System with
Air Conditioning
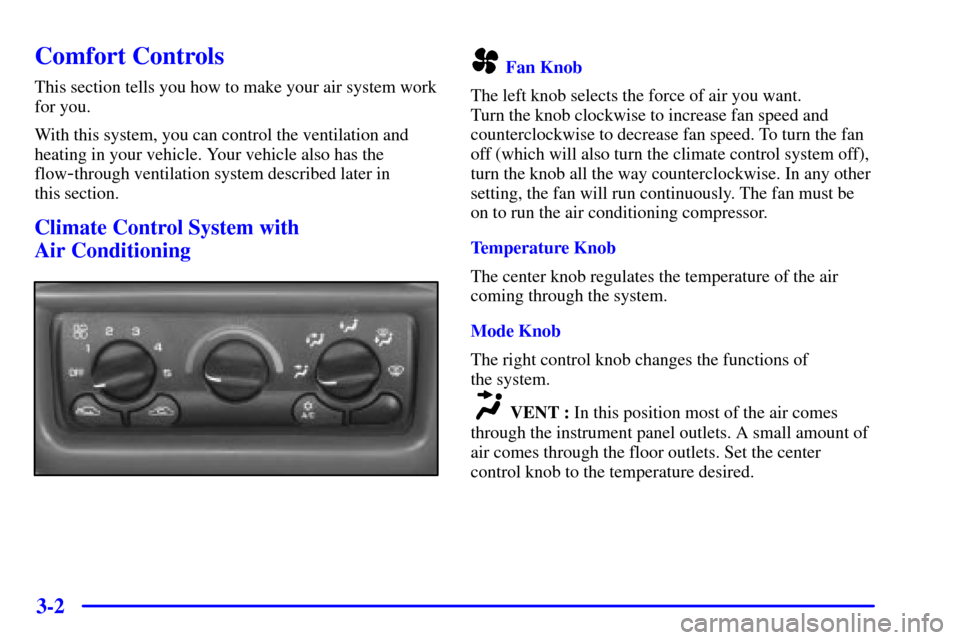
Fan Knob
The left knob selects the force of air you want.
Turn the knob clockwise to increase fan speed and
counterclockwise to decrease fan speed. To turn the fan
off (which will also turn the climate control system off),
turn the knob all the way counterclockwise. In any other
setting, the fan will run continuously. The fan must be
on to run the air conditioning compressor.
Temperature Knob
The center knob regulates the temperature of the air
coming through the system.
Mode Knob
The right control knob changes the functions of
the system.
VENT : In this position most of the air comes
through the instrument panel outlets. A small amount of
air comes through the floor outlets. Set the center
control knob to the temperature desired.
Page 125 of 326
3-3
BI-LEVEL : In this position the air comes
through the instrument panel outlets and through the
floor outlets. Set the center control knob to the
temperature desired.
FLOOR : In this position most of the air comes
through the floor outlet. The rest of the air comes
through the windshield and side window outlets. Set the
center control knob to the temperature desired.
DEFOG : This position divides the air between
the floor outlets and the windshield defroster outlet.
The air conditioning compressor will run automatically
in this position when it is needed to help dry the air in
the vehicle.
DEFROST : This position directs most of the
air through the windshield defroster outlet. Some of the
air goes to the floor outlets. The air conditioning
compressor will run automatically in this position when
it is needed to help dry the air in the vehicle.
Air Conditioning Compressor Button
Press A/C to operate the air conditioner compressor.
The indicator light will glow when the button is pressed
to indicate that the air conditioning system has
been requested.
Recirculation Button
Press this button to limit the amount of fresh air entering
your vehicle. This is helpful when you are trying to limit
odors entering your vehicle. The indicator light on the
button will glow when it is pressed. RECIRCULATION
is available in all modes, except defog and defrost.
Pressing this button will cancel the OUTSIDE AIR button.
It is not recommended to use this button in the FLOOR
mode with heat. It is useful to quickly cool the vehicle
on hot days.
Outside Air
Press this button to allow the circulation of outside air in
the vehicle. The indicator light on the button will glow
when pressed. OUTSIDE AIR is available in all modes
including OFF and is automatically activated in DEFOG
and DEFROST.
Pressing this button will cancel the
RECIRCULATION button.
Page 127 of 326

3-5 Defogging and Defrosting Windows
Your system has two settings for clearing the front and
side windows. For each setting, adjust the temperature
control as desired.
To defrost the front window quickly, turn the
temperature control knob all the way in the red area. Use
DEFROST and adjust the fan to the highest speed. To
warm passengers while keeping the front window clean,
use DEFOG.
If you select RECIRCULATION while in VENT,
BI
-LEVEL or FLOOR modes, humid air can recirculate
inside the vehicle and allow moisture to form on the
windows. If this happens, either press the A/C button to
on or select DEFROST or the DEFOG modes.Your vehicle is equipped with side window defogger
vents. The side window defogger outlets are located on the
outside of the side instrument panel vents. To defrost the
side windows, turn the temperature control knob all the
way in the red area. Use FLOOR and adjust the fan to the
highest speed. To control fogging of the windows, turn the
temperature control knob all the way in the red area. Use
DEFOG and adjust the fan to the highest speed.
To defog the side windows while using air conditioning,
use BI
-LEVEL and adjust the fan to the highest speed
and press the A/C button. For additional airflow to the
side windows, aim the side outlets toward the windows
and close the center outlets.
Recirculation will not work in defrost and defog. This is
done to prevent recirculation of humid inside air and
allow the system to work properly.
Page 141 of 326
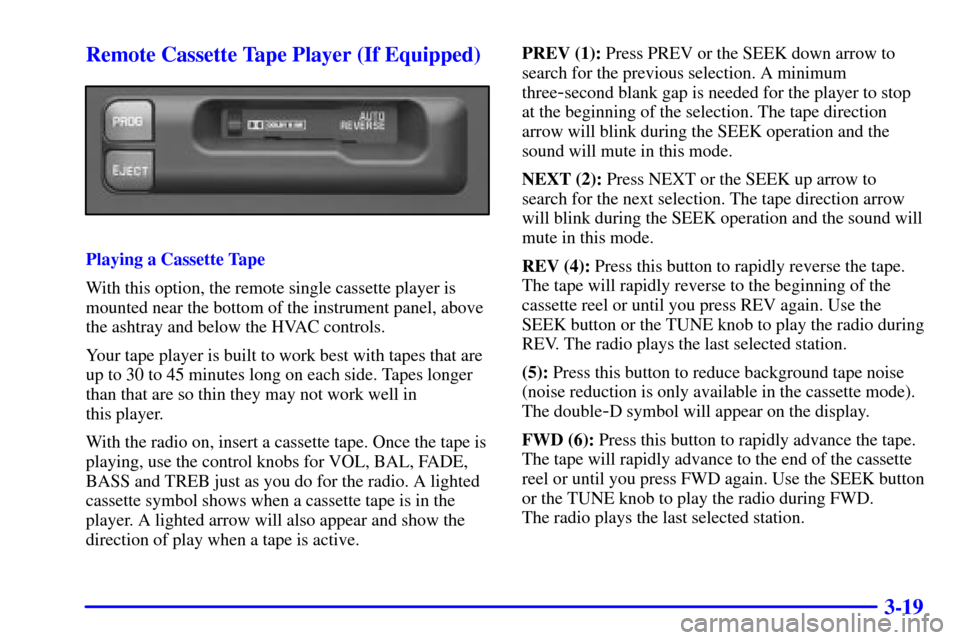
3-19 Remote Cassette Tape Player (If Equipped)
Playing a Cassette Tape
With this option, the remote single cassette player is
mounted near the bottom of the instrument panel, above
the ashtray and below the HVAC controls.
Your tape player is built to work best with tapes that are
up to 30 to 45 minutes long on each side. Tapes longer
than that are so thin they may not work well in
this player.
With the radio on, insert a cassette tape. Once the tape is
playing, use the control knobs for VOL, BAL, FADE,
BASS and TREB just as you do for the radio. A lighted
cassette symbol shows when a cassette tape is in the
player. A lighted arrow will also appear and show the
direction of play when a tape is active.PREV (1): Press PREV or the SEEK down arrow to
search for the previous selection. A minimum
three
-second blank gap is needed for the player to stop
at the beginning of the selection. The tape direction
arrow will blink during the SEEK operation and the
sound will mute in this mode.
NEXT (2): Press NEXT or the SEEK up arrow to
search for the next selection. The tape direction arrow
will blink during the SEEK operation and the sound will
mute in this mode.
REV (4): Press this button to rapidly reverse the tape.
The tape will rapidly reverse to the beginning of the
cassette reel or until you press REV again. Use the
SEEK button or the TUNE knob to play the radio during
REV. The radio plays the last selected station.
(5): Press this button to reduce background tape noise
(noise reduction is only available in the cassette mode).
The double
-D symbol will appear on the display.
FWD (6): Press this button to rapidly advance the tape.
The tape will rapidly advance to the end of the cassette
reel or until you press FWD again. Use the SEEK button
or the TUNE knob to play the radio during FWD.
The radio plays the last selected station.
Page 175 of 326
4-28 Towing Your Vehicle from the Front
There are two ways to tow your vehicle from the front.
To tow your vehicle with a dolly, follow these steps:
1. Put the front wheels on a dolly.
2. Put the vehicle in PARK (P).
3. Set the parking brake and then remove the key.
4. Clamp the steering wheel in a straight
-ahead position
with a clamping device designed for towing.
5. Release the parking brake.To tow your vehicle with all four wheels on the ground,
follow these steps:
1. Position the vehicle to tow and then secure it.
2. Turn the ignition switch to OFF.
3. Set the parking brake.
4. To prevent your battery from draining while towing,
remove the following fuses from the instrument
panel fuse block: A) Radio, B) Wiper, H) Powertrain
Control Module and K) Body Function Control
Module, Cluster. See ªInstrument Panel Fuse Blockº
in the Index for location of the fuses.