Page 116 of 398

yellowblue
2-40
A circuit breaker protects your headlamps. If you have
an electrical overload, your headlamps will flicker on
and off. Have your headlamp wiring checked right away
if this happens.
Headlamps On Reminder
A tone will sound when your headlamps are turned on
and your ignition is in OFF, LOCK or ACCESSORY.
If you need to use your headlamps when the ignition
switch is in OFF, LOCK or ACCESSORY, the tone can
be turned off by moving the thumbwheel next to the
parking lamp/headlamp switch all the way down.
Daytime Running Lamps
Daytime Running Lamps (DRL) can make it easier for
others to see the front of your vehicle during the day.
DRL can be helpful in many different driving
conditions, but they can be especially helpful in the
short periods after dawn and before sunset.The DRL system will make your headlamps come on at
a reduced brightness when:
�The ignition is on,
�The headlamp switch is off, and
�The parking brake is released.
When the DRL are on, only your headlamps will be on.
The taillamps, sidemarker and other lamps won't be on.
Your instrument panel won't be lit up either.
When it begins to get dark, your DRL indicator light is a
reminder to turn your headlamp switch on. The other
lamps that come on with your headlamps will also
come on.
When you turn off the headlamp switch, the regular
lamps will go off, and your headlamps will change to
the reduced brightness of DRL.
To idle your vehicle with the engine on and the DRL off,
set the parking brake. The DRL will stay off until you
release the parking brake.
As with any vehicle, you should turn on the regular
headlamp system when you need it.
Page 117 of 398
yellowblue
2-41 Center High-Mounted Stoplamp
Your vehicle's center high-mounted stoplamp is located
above the rear doors at the center of the vehicle.
If items are loaded on the roof of the vehicle, as in a
luggage carrier, care should be taken not to block or
damage the center high
-mounted stoplamp unit.
Interior Lamps
Dome Lamps
The dome lamps will come on when you open the doors.
You can also turn the dome lamps on by moving the
thumbwheel, located next to the headlamp knob, all the
way up to the second notch. In this position, the dome
lamps will remain on whether the doors are open
or closed.
Page 119 of 398
yellowblue
2-43
Mirrors
Inside Day/Night Rearview Mirror
Pull the tab under the mirror toward you to reduce
glare from headlamps behind you after dark. Push
the tab away from you to restore the mirror to the
original position.
Outside Mirrors
Adjust your outside mirrors so you can just see the
side of your vehicle, and have a clear view of objects
behind you. Some mirrors can be folded in to enter
narrow doorways.
Electric Outside Rearview Mirrors (Option)
If you have electric mirrors, they can be adjusted from
inside the vehicle.
Select the mirror you want
to move by rotating the
switch clockwise to adjust
the passenger's side mirror
and counterclockwise to
adjust the driver's side
mirror. The center position
is neutral.
Then, adjust the mirror angle by pressing the outer
arrows on the switch until the mirror is adjusted where
you want it.
Page 123 of 398

yellowblue
2-47
NOTICE:
Holding a cigarette lighter in with your hand
while it is heating can make it overload,
damaging the lighter and the heating element.
Just push the lighter all the way in and let go.
When it's done, it will pop back by itself.
To remove the front ashtray, pull up on the tab with a
key or screwdriver inserted in the tab, and lift the
ashtray out.
Sun Visors
To block out glare, you can swing down the visors. You
can also swing them from side to side.
Visor Vanity Mirror (Option)
Some visors have mirrors built in, with or without
lamps. Just lift the mirror cover on each visor to turn the
lamps on, if you have them.
Accessory Power Outlets
You can plug auxiliary electrical equipment into
accessory power outlets. Just pull on the outlet cover
and follow the proper installation instructions that are
included with any electrical equipment that you install.
One accessory power outlet is located on the passenger's
side of the front storage compartment.
These circuits are protected by a fuse and have
maximum current levels.
NOTICE:
When using the accessory power outlets, maximum
electrical load must not exceed 25 amps. Always
turn off any electrical equipment when not in use.
Leaving electrical equipment on for extended
periods will drain your battery.
Page 132 of 398

yellowblue
2-56 Anti-Lock Brake System Warning Light
United States Canada
With the anti
-lock brake system, this light will come on
when you start your engine and may stay on for several
seconds. That's normal.
If the light stays on, or comes on when you're driving,
your vehicle needs service. If the regular brake system
warning light isn't on, you still have brakes, but you
don't have anti
-lock brakes. If the regular brake system
warning light is also on, you don't have anti
-lock brakes
and there's a problem with your regular brakes. See
ªBrake System Warning Lightº earlier in this section.
The anti
-lock brake system warning light should come
on briefly when you turn the ignition key to RUN. If the
light doesn't come on then, have it fixed so it will be
ready to warn you if there is a problem.
Engine Coolant Temperature Gage
This gage shows the engine
coolant temperature. If the
gage pointer moves into the
red area your engine is
too hot!
It means that your engine coolant has overheated. If you
have been operating your vehicle under normal
operating conditions, you should pull off the road, stop
your vehicle, and turn off the engine as soon as possible.
The ªProblems on the Roadº section of this manual
shows what to do. See ªEngine Overheatingº in
the Index.
Page 138 of 398
yellowblue
2-62 Security Light
This light will come on
briefly when you turn the
ignition key to START.
The light will stay on until the engine starts. If the light
flashes, the Passlock
� System has entered a tamper
mode. If the vehicle fails to start, see ªPasslockº in
the Index.
If the light comes on continuously while driving and
stays on, there may be a problem with the Passlock
System. Your vehicle will not be protected by Passlock,
and you should see your GM dealer.
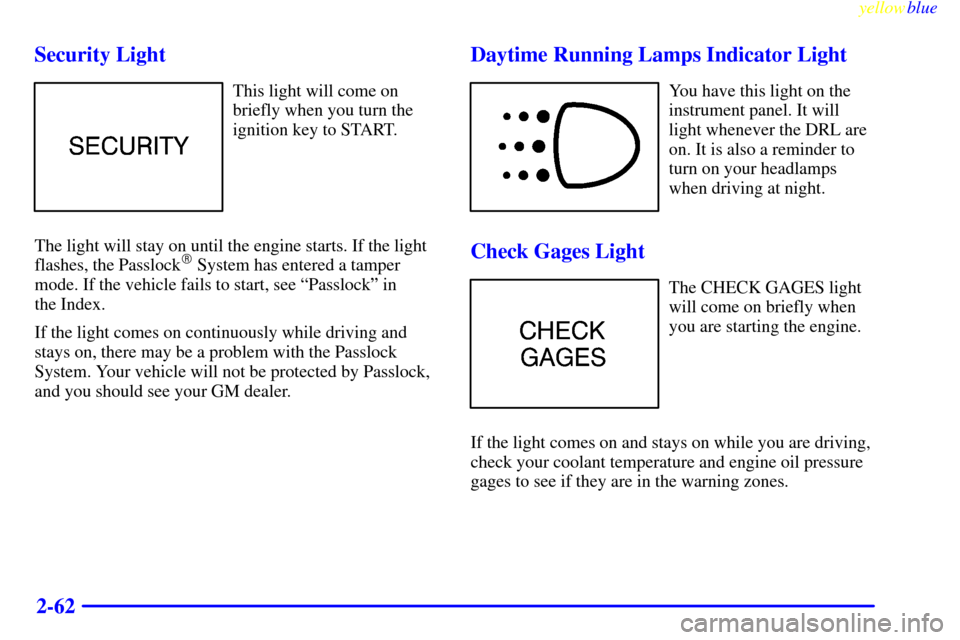
Daytime Running Lamps Indicator Light
You have this light on the
instrument panel. It will
light whenever the DRL are
on. It is also a reminder to
turn on your headlamps
when driving at night.
Check Gages Light
The CHECK GAGES light
will come on briefly when
you are starting the engine.
If the light comes on and stays on while you are driving,
check your coolant temperature and engine oil pressure
gages to see if they are in the warning zones.
Page 141 of 398

3-
yellowblue
3-1
Section 3 Comfort Controls and Audio Systems
In this section, you'll find out how to operate the comfort control and audio systems offered with your vehicle. Be
sure to read about the particular systems supplied with your vehicle.
3
-2 Comfort Controls
3
-2 Heater Controls
3
-3 Heater/Air Conditioning Controls
3
-4 Rear Heater (Without Air Conditioning)
3
-5 Rear Air Conditioning and Rear Heater
3
-6 Air Conditioning
3
-7 Heating
3
-8 Ventilation Tips
3
-9 Audio Systems
3
-9 Setting the Clock for Systems with
SET Button
3
-9 Setting the Clock for Systems with HR and
MN Buttons
3
-9AM-FM Stereo3
-11 AM-FM Stereo with Cassette Tape Player
(If Equipped)
3
-14 AM-FM Stereo with Cassette Tape Player and
Automatic Tone Control (If Equipped)
3
-19 AM-FM Stereo with Compact Disc Player and
Automatic Tone Control (If Equipped)
3
-24 Remote Compact Disc Player (If Equipped)
3
-26 Theft-Deterrent Feature (If Equipped)
3
-28 Understanding Radio Reception
3
-28 Tips About Your Audio System
3
-29 Care of Your Cassette Tape Player
3
-31 Care of Your Compact Discs
3
-31 Care of Your Compact Disc Player
3
-31 Power Antenna Mast Care
Page 143 of 398

yellowblue
3-3
HEAT/DEFROST: Use this setting to divide
airflow between the heater floor vents and windshield.
DEFROST: This setting directs air through the
windshield defroster vents. This setting is useful when
you have fog or ice on the windshield.
Heater/Air Conditioning Controls
If your vehicle has air conditioning, your heater/air
conditioning controls will look like this.
Before using your vehicle's air conditioning, open the
windows to clear the vehicle of hot air.Fan Knob
The knob on the left side of the heating system control
panel controls the fan speed. The knob has four speed
positions. To increase airflow, turn the knob toward HI.
To decrease airflow, turn it toward LO. To turn the fan
off, turn the mode knob on the far right to OFF.
Temperature Knob
The middle knob on the control panel lets you select the
temperature of the air flowing into the passenger area of
your vehicle. This knob will allow you to adjust the air
temperature independently of the function knob setting.
Turn the knob toward the red area for warmer air.
Turn the knob toward the blue area for cooler air.
Mode Knob
The right knob on the control panel changes the
heater/air conditioning setting.
MAX A/C: Turn the right knob to MAX A/C for
maximum cooling. This setting puts the system in the
recirculation mode and helps to maximize your air
conditioner's performance and your vehicle's fuel
economy. This setting also cools the air the fastest.
After the vehicle's interior reaches a comfortable
temperature, turn the knob clockwise to place the
air conditioning system in the A/C mode.