Page 278 of 361
6-29
Brakes
Brake Fluid
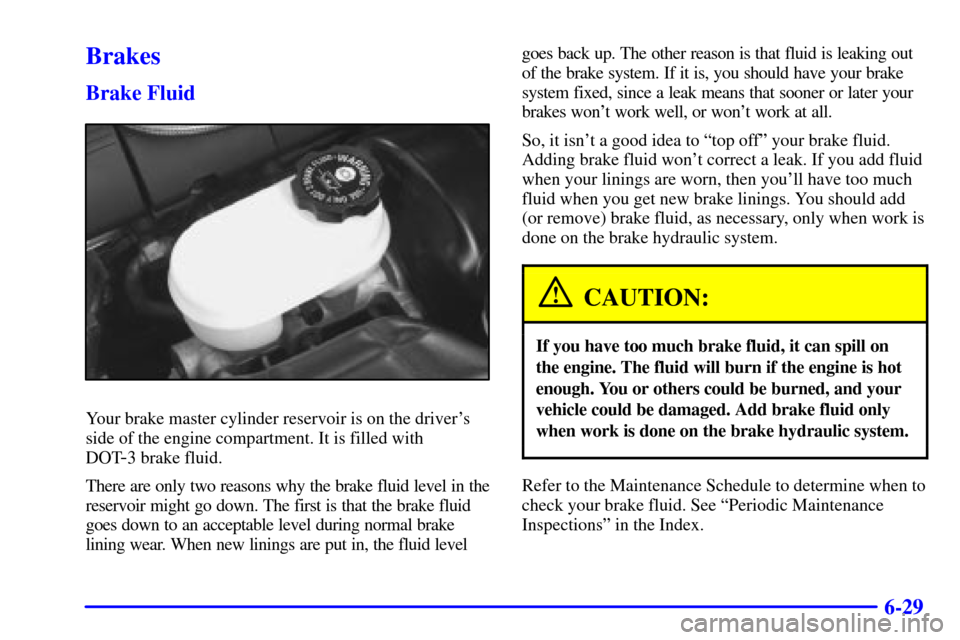
Your brake master cylinder reservoir is on the driver's
side of the engine compartment. It is filled with
DOT
-3 brake fluid.
There are only two reasons why the brake fluid level in the
reservoir might go down. The first is that the brake fluid
goes down to an acceptable level during normal brake
lining wear. When new linings are put in, the fluid level goes back up. The other reason is that fluid is leaking out
of the brake system. If it is, you should have your brake
system fixed, since a leak means that sooner or later your
brakes won't work well, or won't work at all.
So, it isn't a good idea to ªtop offº your brake fluid.
Adding brake fluid won't correct a leak. If you add fluid
when your linings are worn, then you'll have too much
fluid when you get new brake linings. You should add
(or remove) brake fluid, as necessary, only when work is
done on the brake hydraulic system.
CAUTION:
If you have too much brake fluid, it can spill on
the engine. The fluid will burn if the engine is hot
enough. You or others could be burned, and your
vehicle could be damaged. Add brake fluid only
when work is done on the brake hydraulic system.
Refer to the Maintenance Schedule to determine when to
check your brake fluid. See ªPeriodic Maintenance
Inspectionsº in the Index.
Page 279 of 361
6-30
Checking Brake Fluid
You can check the brake fluid without taking off the cap.
Just look at the brake fluid reservoir. The fluid level
should be above the MIN mark on the reservoir. If it isn't,
have your brake system checked to see if there is a leak.
After work is done on the brake hydraulic system, make
sure the level is between the MIN and MAX marks.
What to Add
When you do need brake fluid, use only DOT
-3 brake
fluid. Use new brake fluid from a sealed container only.
Refer to ªRecommended Fluids and Lubricantsº in the
Maintenance Schedule.
Always clean the brake fluid reservoir cap and the area
around the cap before removing it. This will help keep
dirt from entering the reservoir.
CAUTION:
With the wrong kind of fluid in your brake
system, your brakes may not work well, or they
may not even work at all. This could cause a
crash. Always use the proper brake fluid.
NOTICE:
�Using the wrong fluid can badly damage
brake system parts. For example, just a few
drops of mineral
-based oil, such as engine
oil, in your brake system can damage brake
system parts so badly that they'll have to be
replaced. Don't let someone put in the wrong
kind of fluid.
�If you spill brake fluid on your vehicle's
painted surfaces, the paint finish can be
damaged. Be careful not to spill brake fluid on
your vehicle. If you do, wash it off immediately.
See ªAppearance Careº in the Index.
Page 286 of 361
6-37 Back-Up Lamps
You can access the back-up lamps through the inboard
taillamp opening. See ªRear Turn Signal and Taillampsº
in the Index.
1. Squeeze the tab on the socket while turning it
counterclockwise to remove it from the assembly.
2. Remove the bulb from the socket.
3. Reverse the steps listed previously with a new bulb.
Windshield Wiper Blade Replacement
Windshield wiper blades should be inspected at least
twice a year for wear or cracking. See ªWiper Blade
Checkº in Section 7 of this manual under Part B ªOwner
Checks and Servicesº for more information.Replacement blades come in different types and are
removed in different ways. For the proper type and
length, see ªNormal Maintenance Replacement Partsº
in the Index.
It's a good idea to clean or replace the wiper blade
assembly every six months.
NOTICE:
Use care when removing or installing a blade
assembly. Accidental bumping can cause the arm
to fall back and strike the windshield.
To remove the wiper blade assembly:
1. Open the hood to gain access to the
windshield wipers.
Page 289 of 361
6-40
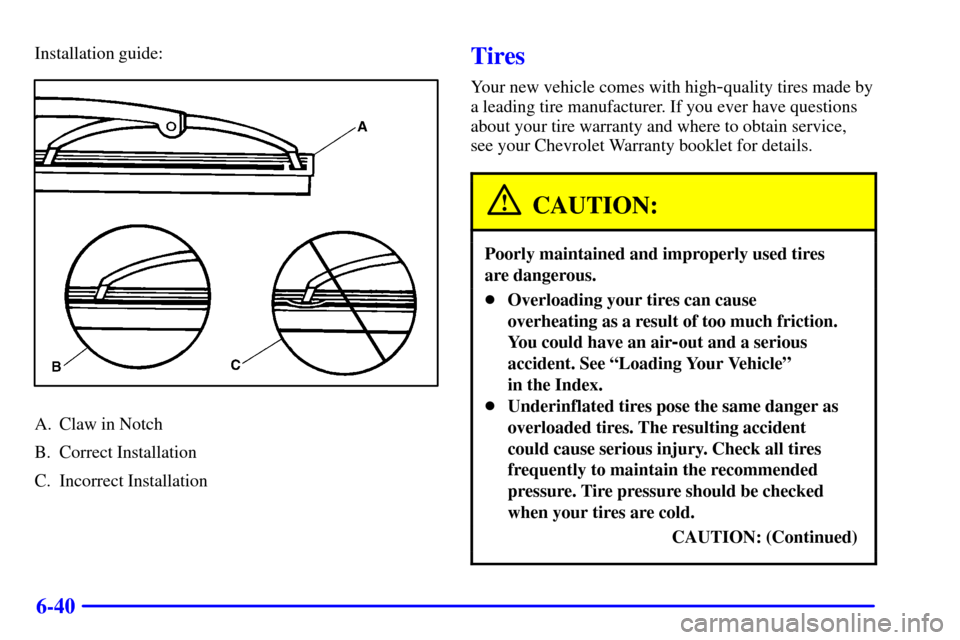
Installation guide:
A. Claw in Notch
B. Correct Installation
C. Incorrect Installation
Tires
Your new vehicle comes with high-quality tires made by
a leading tire manufacturer. If you ever have questions
about your tire warranty and where to obtain service,
see your Chevrolet Warranty booklet for details.
CAUTION:
Poorly maintained and improperly used tires
are dangerous.
�Overloading your tires can cause
overheating as a result of too much friction.
You could have an air
-out and a serious
accident. See ªLoading Your Vehicleº
in the Index.
�Underinflated tires pose the same danger as
overloaded tires. The resulting accident
could cause serious injury. Check all tires
frequently to maintain the recommended
pressure. Tire pressure should be checked
when your tires are cold.
CAUTION: (Continued)
Page 291 of 361
6-42
If a tire's inflation pressure is between 5 psi (35 kPa)
and 25 psi (170 kPa), you will see a message on the
Driver Information Center. This message will show
which tire is underinflated and two chimes will sound.
An example would be LOW TIRE PRESSURE
-LR.
This would mean that the inflation pressure in your left
rear tire is between 5 psi (35 kPa) and 25 psi (170 kPa).
If the inflation pressure in the tire drops below 5 psi
(35 kPa), the message would read FLAT TIRE
-LR and
four chimes will sound. See ªDriver Information
Centerº in the Index.
The TPM will also alert you if a tire's pressure is higher
than 42 psi (290 kPa). The message will show which tire
is overinflated and two chimes will sound. An example
would be HIGH PRESSURE
-LR. This would mean that
the inflation pressure in your left rear tire is higher than
42 psi (290 kPa). See ªDriver Information Centerº
in the Index.
If a tire pressure message appears on the Driver
Information Center, stop as soon as you can. Have the
tire pressures checked and set to those shown on your
Tire Loading Information label. See ªInflation
-- Tire
Pressureº in the Index.
CAUTION:
When the LOW TIRE PRESSURE or FLAT
TIRE message is displayed on the Driver
Information Center, your vehicle's handling
capabilities will be reduced during severe
maneuvers. If you drive too fast, you could lose
control of your vehicle. You or others could be
injured. Don't drive over 55 mph (90 km/h) when
the LOW TIRE PRESSURE or FLAT TIRE
message is displayed. Drive cautiously, and check
your tire pressures as soon as you can.
Page 292 of 361
6-43
If a tire goes flat, you won't need to stop on the side of
the road to change the tire. You can just keep on driving.
The shorter the distance you drive and the slower the
speed, the greater the chance that the tire will not have
to be replaced. If you drive on a deflated EMT for
50 miles (80 km) or less and at speeds of 55 mph
(90 km/h) or less, there is a good chance that the tire can
be repaired. The tire can operate effectively with no air
pressure for up to 200 miles (320 km) at speeds up to
55 mph (90 km/h), but the tire would then have to be
replaced. When a tire is filled with air, it provides a
cushion between the road and the wheel. Because you
won't have this cushion when driving on a deflated tire,
try to avoid potholes that could damage your wheel and
require replacement of it.
Some road hazards can damage a tire beyond repair.
This damage could occur even before you've driven on
the tire in a deflated condition. When a tire has been
damaged, or if you've driven any distance on a deflated
EMT, check with an authorized Goodyear EMT Service
Center to determine whether the tire can be repaired or
should be replaced. To maintain your vehicle's extended
mobility feature, all replacement tires must be Extended
Mobility Tires. As soon as possible, contact the nearest
authorized Chevrolet or Goodyear EMT servicing
facility for inspection and repair or replacement. Call Chevrolet at 1-800-CHEV-USA (1-800-243-8872)
or Goodyear at 1
-800-789-9878 24-hours a day for
information on the location of the nearest EMT
servicing facility. In Canada, contact the Customer
Communication Center at 1
-800-263-3777,
or Canadian Roadside Assistance at 1
-800-268-6800.
You can also use the Goodyear number listed above to
locate an authorized EMT servicing facility.
CAUTION:
Extended mobility tires are constructed
differently than other tires and could explode
during improper service. You or others could be
injured or killed if you attempt to repair, replace,
dismount, or mount an extended mobility tire.
Let only an authorized Goodyear EMT Service
Center repair, replace, dismount and mount
extended mobility tires.
Page 294 of 361
6-45
NOTICE: (Continued)
If your tires have too much air (overinflation),
you can get the following:
�Unusual wear
�Bad handling
�Rough ride
�Needless damage from road hazards.
When to Check
Check your tires once a month or more.
How to Check
With the Tire Pressure Monitor, you can check tire
inflation pressures while driving. After you've reached a
speed of 15 mph (24 km/h) or more, press and release
the GAGES button on the Driver Information Center
(DIC) until the front tire pressures are displayed.
Then, press and release the GAGES button for the rear
tire pressures. If the display doesn't show tire pressure,
or if the SERVICE TIRE MON SYS message appears,
see your dealer for service.
Tire Rotation
The tires on your vehicle are different sizes front to rear.
Due to this, your tires should not be rotated. Each tire
and wheel should be used only in the position it is in.
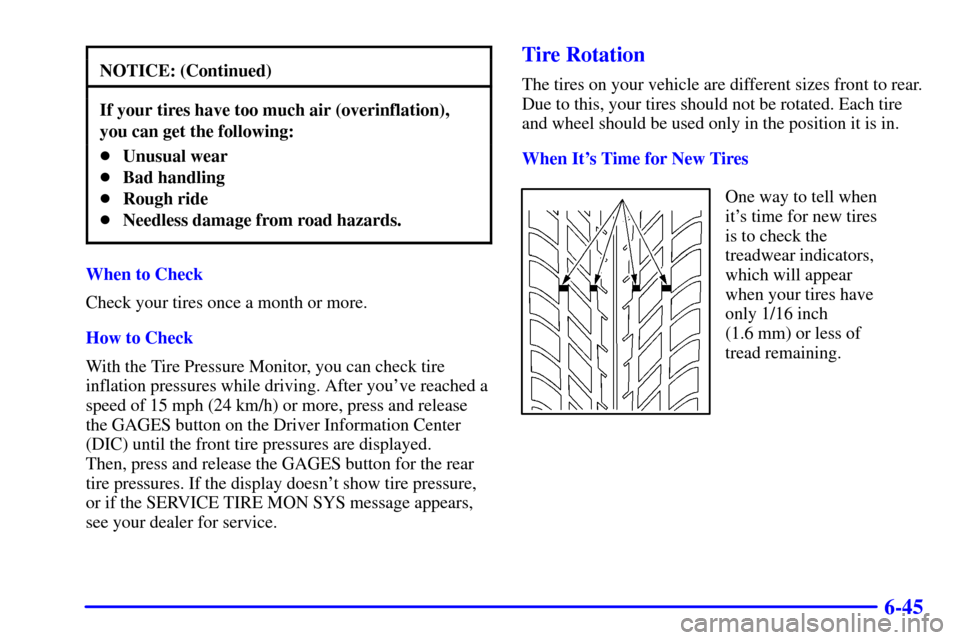
When It's Time for New Tires
One way to tell when
it's time for new tires
is to check the
treadwear indicators,
which will appear
when your tires have
only 1/16 inch
(1.6 mm) or less of
tread remaining.
Page 308 of 361
6-59
If you use a glass treatment or conditioner containing
ethyl alcohol or ethyl sulfate on your glass, be sure to
remove the acrylic roof panel, if so equipped. These
products may damage the panel.
Grime from the windshield will stick to the wiper blades
and affect their performance. Clean the blade by wiping
vigorously with a cloth soaked in full
-strength
windshield washer solvent. Then rinse the blade
with water.
Check the wiper blades and clean them as necessary;
replace blades that look worn.
Weatherstrips
Silicone grease on weatherstrips will make them last
longer, seal better, and not stick or squeak.
Apply silicone grease with a clean cloth at least every
six months. During very cold, damp weather more
frequent application may be required. (See
ªRecommended Fluids and Lubricantsº
in the Index.)
Cleaning a Removable Roof Panel
Special care is necessary when cleaning, removing
and/or storing the roof panel.
�Flush with water to remove dust and dirt, then dry
the panel.
�Clean the panel with GM Glass Cleaner. Leave the
cleaner on the panel for one minute, then wipe the
panel with a soft, lint
-free cloth.
�Don't use abrasive cleaning materials.
If water drops are frequently allowed to dry on the roof
panel, impurities in the water will adhere to the top.
These impurities may etch or mar the finish. When the
panel gets wet, you should dry it off.
NOTICE:
Do not use a glass treatment or conditioner
containing ethyl alcohol or ethyl sulfate on the
roof panel. These products may damage
the panel.