Page 276 of 361

6-27 How to Check Power Steering Fluid
Turn the key off, let the engine compartment cool down,
wipe the cap and the top of the reservoir clean, then
unscrew the cap and wipe the dipstick with a clean rag.
Replace the cap and completely tighten it. Then remove
the cap again and look at the fluid level on the dipstick.
The level should be at the FULL COLD mark. If
necessary, add only enough fluid to bring the level up to
the mark.
�When the engine
compartment is hot, the
level should be at the
HOT mark.
�When the engine
compartment is cool, the
level should be at the
FULL COLD mark.
What to Use
To determine what kind of fluid to use, see
ªRecommended Fluids and Lubricantsº in the Index.
Always use the proper fluid. Failure to use the proper
fluid can cause leaks and damage hoses and seals.
Windshield Washer Fluid
What to Use
When you need windshield washer fluid, be sure to read
the manufacturer's instructions before use. If you will be
operating your vehicle in an area where the temperature
may fall below freezing, use a fluid that has sufficient
protection against freezing.
Page 277 of 361
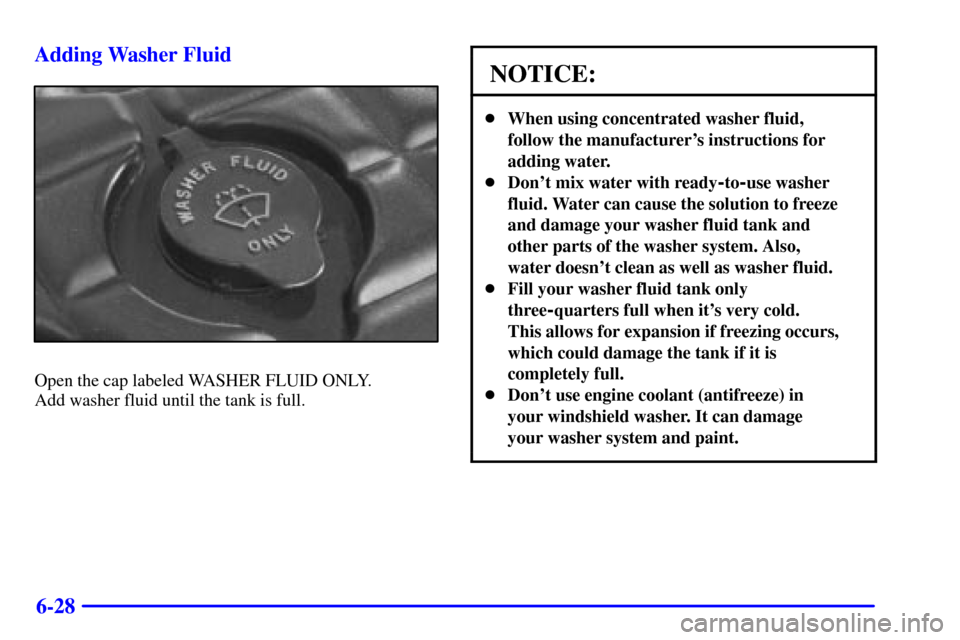
6-28 Adding Washer Fluid
Open the cap labeled WASHER FLUID ONLY.
Add washer fluid until the tank is full.
NOTICE:
�When using concentrated washer fluid,
follow the manufacturer's instructions for
adding water.
�Don't mix water with ready
-to-use washer
fluid. Water can cause the solution to freeze
and damage your washer fluid tank and
other parts of the washer system. Also,
water doesn't clean as well as washer fluid.
�Fill your washer fluid tank only
three
-quarters full when it's very cold.
This allows for expansion if freezing occurs,
which could damage the tank if it is
completely full.
�Don't use engine coolant (antifreeze) in
your windshield washer. It can damage
your washer system and paint.
Page 278 of 361

6-29
Brakes
Brake Fluid
Your brake master cylinder reservoir is on the driver's
side of the engine compartment. It is filled with
DOT
-3 brake fluid.
There are only two reasons why the brake fluid level in the
reservoir might go down. The first is that the brake fluid
goes down to an acceptable level during normal brake
lining wear. When new linings are put in, the fluid level goes back up. The other reason is that fluid is leaking out
of the brake system. If it is, you should have your brake
system fixed, since a leak means that sooner or later your
brakes won't work well, or won't work at all.
So, it isn't a good idea to ªtop offº your brake fluid.
Adding brake fluid won't correct a leak. If you add fluid
when your linings are worn, then you'll have too much
fluid when you get new brake linings. You should add
(or remove) brake fluid, as necessary, only when work is
done on the brake hydraulic system.
CAUTION:
If you have too much brake fluid, it can spill on
the engine. The fluid will burn if the engine is hot
enough. You or others could be burned, and your
vehicle could be damaged. Add brake fluid only
when work is done on the brake hydraulic system.
Refer to the Maintenance Schedule to determine when to
check your brake fluid. See ªPeriodic Maintenance
Inspectionsº in the Index.
Page 279 of 361

6-30
Checking Brake Fluid
You can check the brake fluid without taking off the cap.
Just look at the brake fluid reservoir. The fluid level
should be above the MIN mark on the reservoir. If it isn't,
have your brake system checked to see if there is a leak.
After work is done on the brake hydraulic system, make
sure the level is between the MIN and MAX marks.
What to Add
When you do need brake fluid, use only DOT
-3 brake
fluid. Use new brake fluid from a sealed container only.
Refer to ªRecommended Fluids and Lubricantsº in the
Maintenance Schedule.
Always clean the brake fluid reservoir cap and the area
around the cap before removing it. This will help keep
dirt from entering the reservoir.
CAUTION:
With the wrong kind of fluid in your brake
system, your brakes may not work well, or they
may not even work at all. This could cause a
crash. Always use the proper brake fluid.
NOTICE:
�Using the wrong fluid can badly damage
brake system parts. For example, just a few
drops of mineral
-based oil, such as engine
oil, in your brake system can damage brake
system parts so badly that they'll have to be
replaced. Don't let someone put in the wrong
kind of fluid.
�If you spill brake fluid on your vehicle's
painted surfaces, the paint finish can be
damaged. Be careful not to spill brake fluid on
your vehicle. If you do, wash it off immediately.
See ªAppearance Careº in the Index.
Page 301 of 361

6-52 Tire Chains
NOTICE:
Don't use tire chains. They can damage your
vehicle because there's not enough clearance.
Use another type of traction device only if its
manufacturer recommends it for use on your
vehicle and tire size combination and road
conditions. Follow that manufacturer's
instructions. To help avoid damage to your
vehicle, drive slowly, readjust or remove the
device if it's contacting your vehicle, and don't
spin your wheels.
If you do find traction devices that will fit,
install them on the rear tires.
Lifting Your Corvette
CAUTION:
Lifting a vehicle can cause an injury. The vehicle
can slip off the jack and roll over you or other
people. You and they could be badly injured.
Find a level place to lift your vehicle. To help
prevent the vehicle from moving:
1. Set the parking brake firmly.
2. Put an automatic transmission shift
lever in PARK (P), or shift a manual
transmission to FIRST (1) or
REVERSE (R).
3. Turn off the engine.
To be even more certain the vehicle won't move,
you can put blocks in front of and behind
the wheels.
Page 312 of 361

6-63
Magnesium Wheel Finish
NOTICE:
Improper paint repair or refinishing can cause
corrosion damage to a magnesium wheel. See
your dealer if a magnesium wheel needs paint
repair or refinishing.
Underbody Maintenance
Chemicals used for ice and snow removal and dust
control can collect on the underbody. If these are not
removed, accelerated corrosion (rust) can occur on the
underbody parts such as fuel lines, frame, floor pan
and exhaust system even though they have
corrosion protection.
At least every spring, flush these materials from the
underbody with plain water. Clean any areas where mud
and other debris can collect. Dirt packed in closed areas
of the frame should be loosened before being flushed.
Your dealer or an underbody car washing system can do
this for you.
Fiberglass Springs
NOTICE:
Don't use corrosive or acidic cleaning agents,
engine degreasers, aluminum cleaning agents or
other harsh solvents to clean fiberglass springs;
they'll damage the springs.
Chemical Paint Spotting
Some weather and atmospheric conditions can create
a chemical fallout. Airborne pollutants can fall upon
and attack painted surfaces on your vehicle. This
damage can take two forms: blotchy, ringlet
-shaped
discolorations, and small irregular dark spots etched
into the paint surface.
Although no defect in the paint job causes this,
Chevrolet will repair, at no charge to the owner, the
surfaces of new vehicles damaged by this fallout
condition within 12 months or 12,000 miles (20 000 km)
of purchase, whichever occurs first.
Page 314 of 361
6-65
Vehicle Identification Number (VIN)
This is the legal identifier for your vehicle. It appears
on a plate in the front corner of the instrument panel,
on the driver's side. You can see it if you look through
the windshield from outside your vehicle. The VIN also
appears on the Vehicle Certification and Service Parts
labels and the certificates of title and registration.
Engine Identification
The 8th character in your VIN is the engine code.
This code will help you identify your engine,
specifications and replacement parts.
Service Parts Identification Label
You'll find this label located inside the glovebox.
It's very helpful if you ever need to order parts.
On this label is:
�your VIN,
�the model designation,
�paint information and
�a list of all production options and
special equipment.
Be sure that this label is not removed from the vehicle.
Page 320 of 361
6-71
Engine Compartment Fuse Block
There is one fuse block in the engine compartment
located on the passenger's side of the vehicle in front of
the battery.
To remove the fuse block cover, turn the
knob counterclockwise.Minifuse Usage
1 Rear Fog Lamp
2 Approach
3 Right Headlamp Motor
4 Left Headlamp Motor
5 Anti
-Lock Brakes, Selective Real
Time Damping (SRTD)
6 Fog Lamp

This is the legal identifier for your vehicle. It appears
on a plate in the front corner of the instrument panel,
on the drivers side. You can see it if you")
