Page 6 of 321
Fuel
Checking Fluids and Lubricants
Engine Air Cleaner/Filter
Passenger Compartment Air Filter
Brakes
Bulb ReplacementWindshield Wiper Blade Replacement
Tires and Wheels
Appearance Care
Electrical System/Fuses and Circuit Breakers
Capacities and Specifications
Normal Maintenance Replacement Parts
Table of Contents (cont'd)
Maintenance Schedule Service and Appearance Care
Section
6
Scheduled Maintenance
Owner Checks and Services
Periodic Maintenance InspectionsRecommended Fluids and Lubricants
Maintenance Records
See separate Maintenance Schedule Booklet
Page 264 of 321

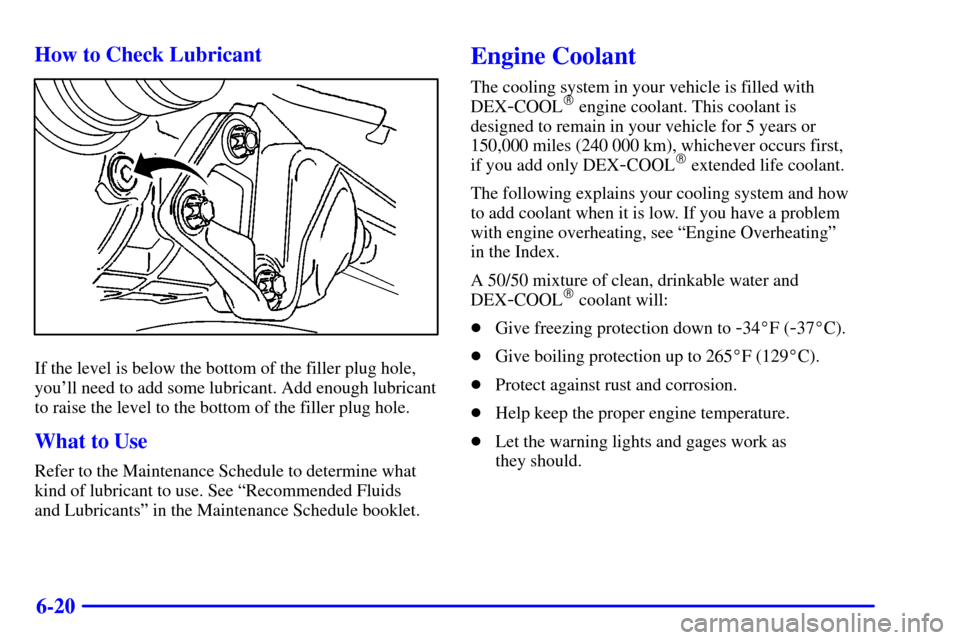
6-20 How to Check Lubricant
If the level is below the bottom of the filler plug hole,
you'll need to add some lubricant. Add enough lubricant
to raise the level to the bottom of the filler plug hole.
What to Use
Refer to the Maintenance Schedule to determine what
kind of lubricant to use. See ªRecommended Fluids
and Lubricantsº in the Maintenance Schedule booklet.
Engine Coolant
The cooling system in your vehicle is filled with
DEX
-COOL� engine coolant. This coolant is
designed to remain in your vehicle for 5 years or
150,000 miles (240 000 km), whichever occurs first,
if you add only DEX
-COOL� extended life coolant.
The following explains your cooling system and how
to add coolant when it is low. If you have a problem
with engine overheating, see ªEngine Overheatingº
in the Index.
A 50/50 mixture of clean, drinkable water and
DEX
-COOL� coolant will:
�Give freezing protection down to
-34�F (-37�C).
�Give boiling protection up to 265�F (129�C).
�Protect against rust and corrosion.
�Help keep the proper engine temperature.
�Let the warning lights and gages work as
they should.
Page 269 of 321

6-25 When to Check Power Steering Fluid
It is not necessary to regularly check power steering
fluid unless you suspect there is a leak in the system or
you hear an unusual noise. A fluid loss in this system
could indicate a problem. Have the system inspected
and repaired.
How to Check Power Steering Fluid
Turn the key off, let the engine compartment cool down,
wipe the cap and the top of the reservoir clean, then
unscrew the cap and wipe the dipstick with a clean rag.
Replace the cap and completely tighten it. Then remove
the cap again and look at the fluid level on the dipstick.
The level should be at the full mark. There are two lines
on the dipstick. The top line is the ªfullº mark and the
bottom line is the ªaddº line (which means that fluid
should be added). If necessary, add only enough fluid to
bring the level up to the full mark.
What to Use
To determine what kind of fluid to use, see
ªRecommended Fluids and Lubricantsº in the
Maintenance Schedule booklet. Always use the proper
fluid. Failure to use the proper fluid can cause leaks and
damage hoses and seals.
Windshield Washer Fluid
What to Use
When you need windshield washer fluid, be sure to read
the manufacturer's instructions before use. If you will be
operating your vehicle in an area where the temperature
may fall below freezing, use a fluid that has sufficient
protection against freezing.
Adding Washer Fluid
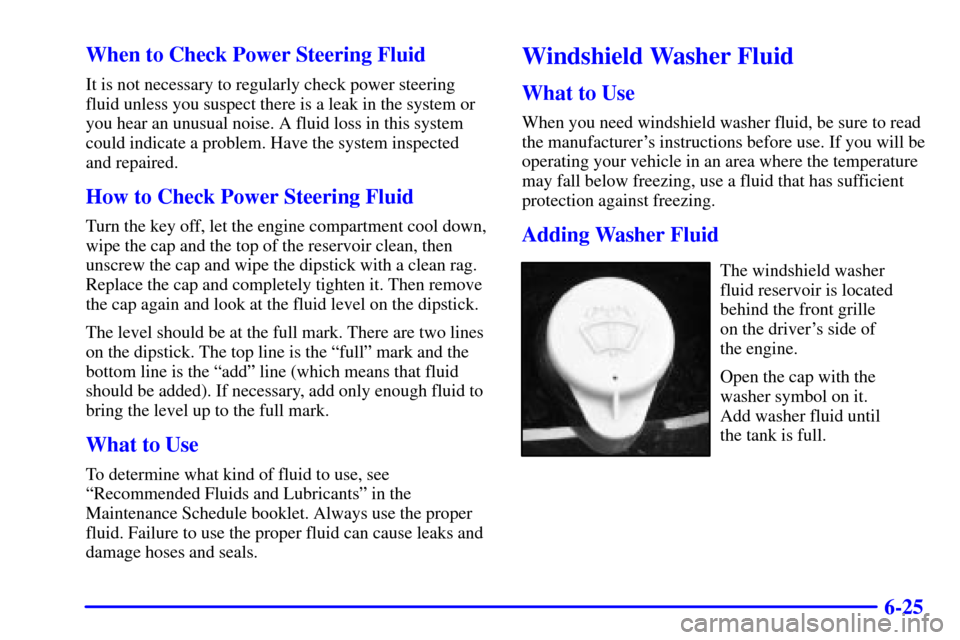
The windshield washer
fluid reservoir is located
behind the front grille
on the driver's side of
the engine.
Open the cap with the
washer symbol on it.
Add washer fluid until
the tank is full.
Page 294 of 321

6-50
Cleaning Glass Surfaces
Glass should be cleaned often. GM Glass Cleaner or
a liquid household glass cleaner will remove normal
tobacco smoke and dust films on interior glass.
(See ªAppearance Care and Materialsº in the Index.)
Don't use abrasive cleaners on glass, because they may
cause scratches. Avoid placing decals on the inside rear
window, since they may have to be scraped off later.
If abrasive cleaners are used on the inside of the rear
window, an electric defogger element may be damaged.
Any temporary license should not be attached across the
defogger grid.
Cleaning the Outside of the
Windshield and Wiper Blades
If the windshield is not clear after using the windshield
washer, or if the wiper blade chatters when running, wax,
sap or other material may be on the blade or windshield.Clean the outside of the windshield with GM Windshield
Cleaner, Bon Ami
� Powder (non-scratching glass
cleaning powder), GM Part No. 1050011. The windshield
is clean if beads do not form when you rinse it with water.
Grime from the windshield will stick to the wiper blades
and affect their performance. Clean the blade by
wiping vigorously with a cloth soaked in full
-strength
windshield washer solvent. Then rinse the blade
with water.
Check the wiper blades and clean them as necessary;
replace blades that look worn.
Weatherstrips
Silicone grease on weatherstrips will make them last
longer, seal better, and not stick or squeak. Apply
silicone grease with a clean cloth at least every six
months. During very cold, damp weather more frequent
application may be required. (See ªRecommended Fluids
and Lubricantsº in the Maintenance Schedule booklet.)
Page 307 of 321

6-63
Fuse/Relay Usage
5 A/C Compressor Relay (K60)
6 Fan Control Relay (K87)
7 Fan Control Relay (K26)
8 Fuse 50
9 Fan Control Relay (K28)
10 Engine Controls Power Relay (K43)
15 Fuse 40 (A) Fuse 52 (B)
16 Connector C110
17 Coolant Fan Test Connector
Fan Control
18 Fuse 42 (A), Fuse 49 (B)
19 Fan Control Relay (K52)
20 Fuel Pump Relay (K44)
29 Fuse 43Replacement Bulbs*
Application Bulb Number
Composite Headlamps
Inner High Beam 90512338. . . . . . . . . . . . . . . . . . .
Outer Low Beam 90512338. . . . . . . . . . . . . . . . . . .
Front Turn Signal Lamp 90487485. . . . . . . . . . . . . . .
Taillamp 90002521. . . . . . . . . . . . . . . . . . . . . . . . . . .
*For replacement bulbs not listed here, please consult
your dealer.
Capacities and Specifications
The following approximate capacities are given in
English and metric conversions. Please refer to
ªRecommended Fluids and Lubricantsº in the
Maintenance Schedule booklet for more information.
Transmission 7.0 quarts (6.6 L). . . . . . . . . . . . . . . . .
Engine Crankcase
Oil Change With Filter 6.0 quarts (5.75 L). . . . . . .
Engine Cooling System 10.57 quarts (10.0 L). . . . . .
Fuel Tank 16.0 U.S. gallons (60.56 L). . . . . . . . . . . .
Refrigerant See refrigerant charge label. . . . . . . . . . .
under the hood.
All capacities are approximate. When adding, be sure
to fill to the approximate level, as recommended in this
manual. Recheck fluid level after filling.