Page 4 of 96

i
2
Introduction
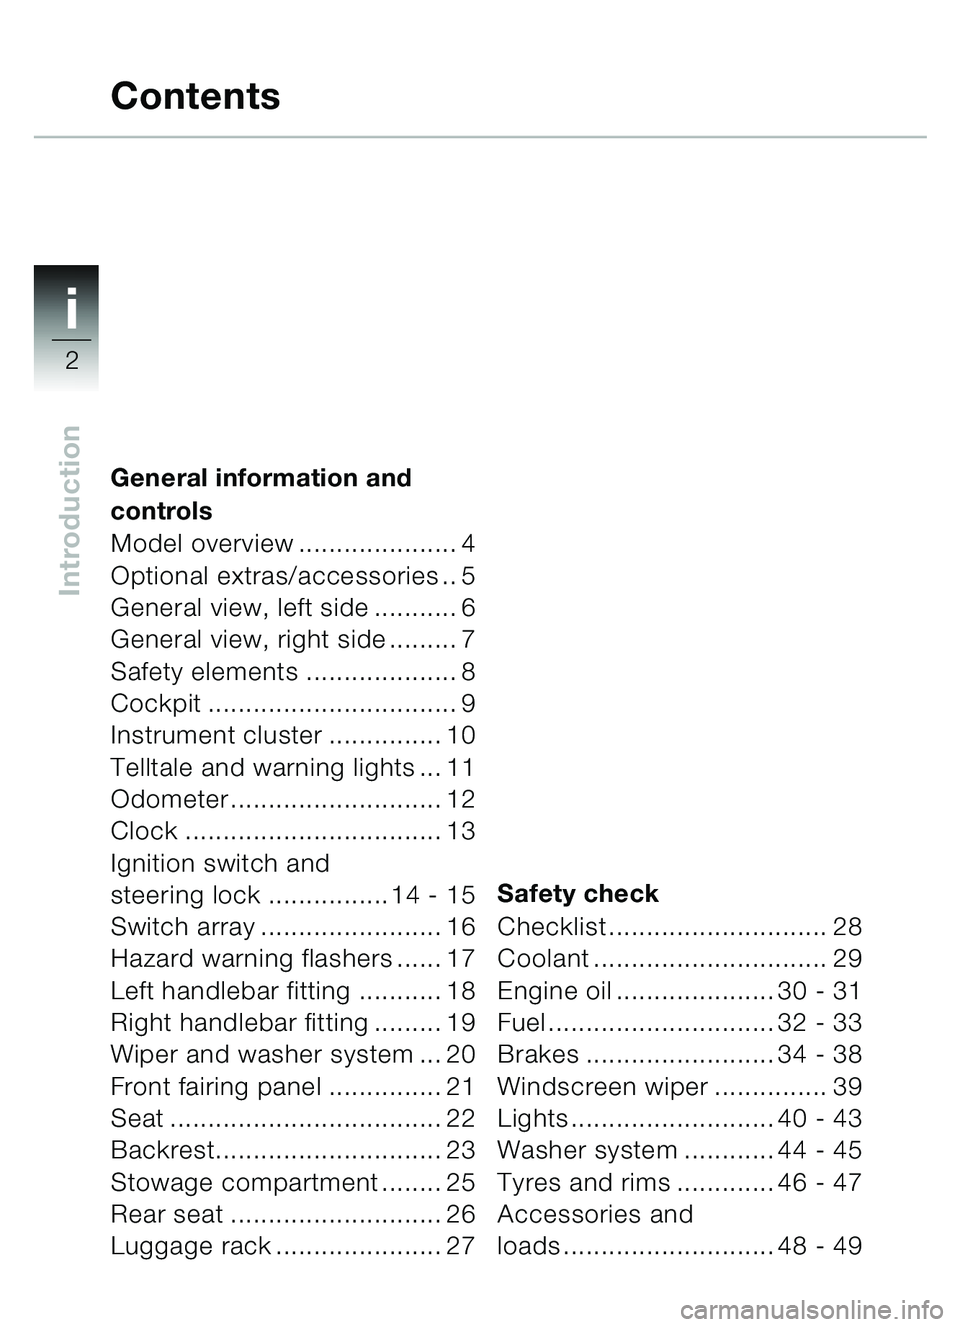
General information and
controls
Model overview ..................... 4
Optional extras/accessories .. 5
General view, left side ........... 6
General view, right side ......... 7
Safety elements .................... 8
Cockpit ................................. 9
Instrument cluster ............... 10
Telltale and warning lights ... 11
Odometer ............................ 12
Clock .................................. 13
Ignition switch and
steering lock ................ 14 - 15
Switch array ........................ 16
Hazard warning flashers ...... 17
Left handlebar fitting ........... 18
Right handlebar fitting ......... 19
Wiper and washer system ... 20
Front fairing panel ............... 21
Seat .................................... 22
Backrest.............................. 23
Stowage compartment ........ 25
Rear seat ............................ 26
Luggage rack ...................... 27 Safety check
Checklist ............................. 28
Coolant ............................... 29
Engine oil ..................... 30 - 31
Fuel .............................. 32 - 33
Brakes ......................... 34 - 38
Windscreen wiper ............... 39
Lights ........................... 40 - 43
Washer system ............ 44 - 45
Tyres and rims ............. 46 - 47
Accessories and
loads ............................ 48 - 49
Contents
��
�
Page 5 of 96
1i
3
Introduction
Starting – Riding – Parking
Your first trip ................ 50 - 51
Important notes ........... 52 - 54
Easy lift mechanism ..... 55 - 61
Running in ................... 62 - 63
Seat belt ...................... 64 - 69
Before you start ................... 70
Starting ............................... 71
Telltale and warning
lights ........................... 72 - 73
Riding .......................... 74 - 75
Passenger .......................... 76
Brakes ................................. 77
Anti-lock brake
system (ABS) ............... 78 - 82Arrive safely
Reliability ......................83 - 84
BMW Service ..................... 85
Environmental protection ... 86
BMW accessories .............. 87
Training means extra
safety ................................. 88
Concluding thoughts .......... 89
Contents
��
�
Page 36 of 96
2
34
Safety check
Brakes
Checking brake pressure
d Warning:
Sudden changes in play or
spongy action of the hand-
brake lever indicate a fault in
the brake system.
Before riding off, therefore,
always check the resistance
of the front and rear brake
levers and test operation of
the brakes.
Do not ride your BMW C1 if
you have any doubts about
the safety of the brake sys-
tem.
Immediately seek the advice
of a specialist workshop,
preferably an authorised
BMW dealer.
Work on the
brake system
d Warning:
To ensure reliability have all
work on the brake systems
carried out by a specialist
workshop, preferably an au-
thorised BMW dealer.
�� �
Page 37 of 96
2
35
Safety check
Brakes
Changing the brake fluid
d Warning:
Brake fluid is subject to
severe thermal loads, and
absorbs moisture from the
atmosphere.
Consequently, the brake fluid
must be changed regularly
(
bsee the Service and Tech-
nical Booklet Chapter 2) by a
specialist workshop, prefera-
bly an authorised
BMW dealer.
( ) Figure in bracketsbpage number for
description
Checking the brake fluid
level
Gradual wear of the brake pads
causes the brake fluid level in
the reservoir to sink.
d Warning:
If brake fluid level in the fluid
reservoirs for the front or rear
brakes has dropped below
the MIN mark (
b 36-37), have
the brake system checked
without delay by a specialist
workshop, preferably an au-
thorised BMW dealer.
�� �
Page 38 of 96
2
36
Safety check
Checking the brake fluid
level, rear brake
d Warning:
The brakes can fail if the
brake fluid level drops below
the “MIN ” mark on the brake
fluid reservoir.
Place the BMW C1 upright
Turn the handlebar fully to the
left
Check the brake fluid level in
the sight glass:
do not permit the level to drop
below the MIN mark.d Warning:
See the notes on safety on
page 34-35!
\f Note:
Gradual wear of the brake pads
causes the brake fluid level in
the reservoir to sink.
Brakes
MIN
�� �
Page 39 of 96
2
37
Safety check
Checking the brake fluid
level, front brake
d Warning:
The brakes can fail if the
brake fluid level drops below
the “MIN” mark on the brake
fluid reservoir.
•Place the BMW C1 upright
Turn the handlebar fully to the right
Check the brake fluid level in the sight glass:
do not permit the level to drop
below the MIN mark.d Warning:
See the notes on safety on
page 34-35!
L Note:
Gradual wear of the brake pads
causes the brake fluid level in
the reservoir to sink.
Brakes
MIN
gg ,
Page 40 of 96
2
38
Safety check
Checking brake padsBrake pad wear depends on
your personal style of riding.
To ensure reliable operation of
the brakes: do not allow the
pads to wear past the minimum
specified thickness (
b Service
and Technical Booklet,
Chapter 2)
d Warning:
Have the brake pads replaced
before they wear to the mini-
mum permissible thickness:
have the work performed by a
specialist workshop, prefera-
bly an authorised
BMW dealer.
( ) Figure in bracketsbpage number for
description
Brakes
d
d
gg ,
Page 64 of 96
33
62
Starting – Riding – Parking
Running in
Running in
e Important:
Avoid using full throttle during
the running-in period. Using full
throttle during the running-in
period results in premature en-
gine wear!
\f Note:
If you run it in correctly, your
BMW C1 will reward you with
optimum performance and a
long service life. Try to do most
of your riding during the initial
period on twisting, fairly hilly
roads to run in the engine,
brakes and running gear as
effectively as possible.
\f Note:
A new engine is “tight ” and
needs about 500 km (approx.
300 miles) before it develops
full power.
After 1,000 km (about 600 miles)
The first Inspection should
always be performed after
1,000 km (approx. 600 miles).
Make an appointment with
your authorised BMW dealer
in good time, so that the work
can be performed punctually.
�� �