2000 BMW 540I SEDAN steering
[x] Cancel search: steeringPage 57 of 217
57n
RepairsIndexOverview Controls Car care Technology Data
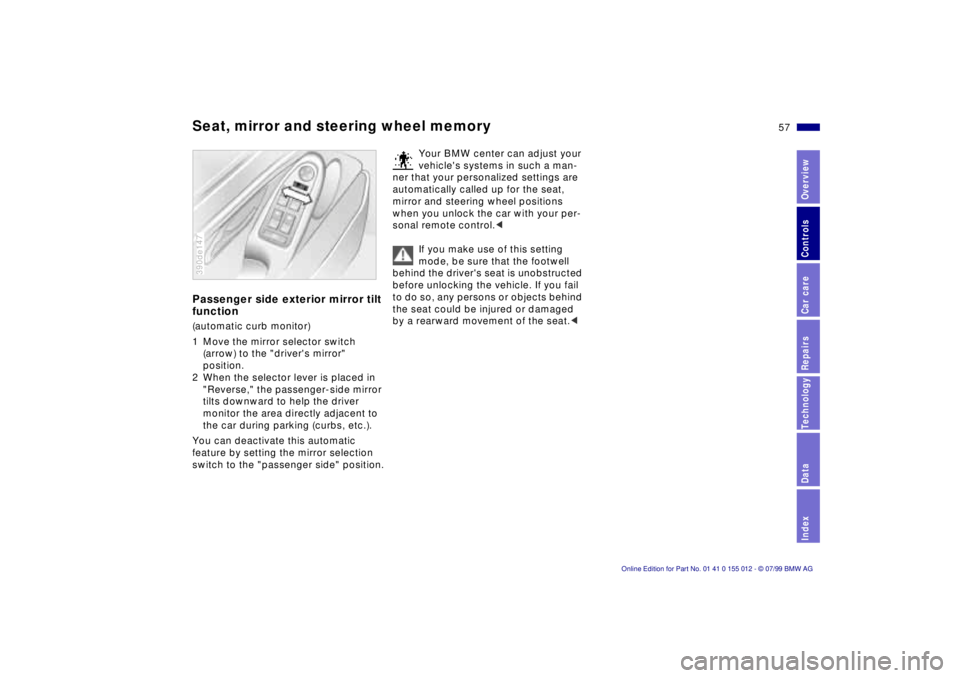
Seat, mirror and steering wheel memoryPassenger side exterior mirror tilt
function(automatic curb monitor)
1 Move the mirror selector switch
(arrow) to the "driver's mirror"
position.
2 When the selector lever is placed in
"Reverse," the passenger-side mirror
tilts downward to help the driver
monitor the area directly adjacent to
the car during parking (curbs, etc.).
You can deactivate this automatic
feature by setting the mirror selection
switch to the "passenger side" position.390de147
Your BMW center can adjust your
vehicle's systems in such a man-
ner that your personalized settings are
automatically called up for the seat,
mirror and steering wheel positions
when you unlock the car with your per-
sonal remote control.<
If you make use of this setting
mode, be sure that the footwell
behind the driver's seat is unobstructed
before unlocking the vehicle. If you fail
to do so, any persons or objects behind
the seat could be injured or damaged
by a rearward movement of the seat.<
Page 61 of 217
61n
RepairsIndexOverview Controls Car care Technology Data
AirbagsIndicator lamp
The indicator lamp displays the
operational status of the airbag
system in ignition key posi-
tions 1 and 2.
System operational:
>The indicator lamp comes on briefly
then goes out.
System malfunction:
>The indicator lamp fails to come on
>The indicator lamp comes on briefly
before going out and then lighting up
again.
A system malfunction could prevent the
system from responding to an impact
occurring within its normal response
range.
Please have your authorized BMW cen-
ter inspect and repair the system as
soon as possible.
Sitting correctly with airbags
For your safety, comply with the
following instructions for the air-
bags. If you do not, the airbags may not
be able to provide their maximum pro-
tection. All passengers in the vehicle
should be aware of and comply with
this information:
The airbags are supplemental restraint
devices designed to provide extra pro-
tection; they are not a substitute for
safety belts. Wear your safety belt at all
times. The airbags will not be triggered
in the event of a minor accident, a vehi-
cle roll-over, or collisions from the rear.
In these instances, the safety belt pro-
vides optimal protection.
Airbags are located under cover panels
in the steering wheel, in the dashboard,
in the side trim panels in the front and
rear*, and in the windshield pillars and
the sides of the headliner.
Adjust your seat to a position that pro-
vides maximum distance between you
and the steering wheel, the instrument
panel and the door while still allowing
comfortable and safe access to all
vehicle controls.
To avoid sustaining hand and arm inju-
ries: Always grasp the steering wheel
on the rim with the hands at the 9 and
3 o'clock positions: Do not place your
hands on the center pad.
Never allow any objects to obstruct the
area between the airbag and an occu-
pant.
Do not use the cover panel above the
passenger-side airbag as a storage
area.
Do not apply adhesive materials to the
cover panels of the airbags, cover them
or modify them in any other way.
Do not install a rear-facing child re-
straint system in the front passenger
seat of this car.
Children under 13 years of age and
children less than 5 feet (150 cm) tall
should ride only in the rear seat.
Infants or small children should never
be held on the lap of a passenger.
If your car is equipped with side airbags
in the rear passenger area, be sure that
child restraints are mounted correctly
and provided with the greatest-possible
distance between the airbags in the
side trim panels. Do not allow children
to lean out of the child's seat in the di-
rection of the side trim panels. If they
do so, serious injuries can occur if the
airbag is triggered.<
Page 67 of 217
67n
RepairsIndexOverview Controls Car care Technology Data
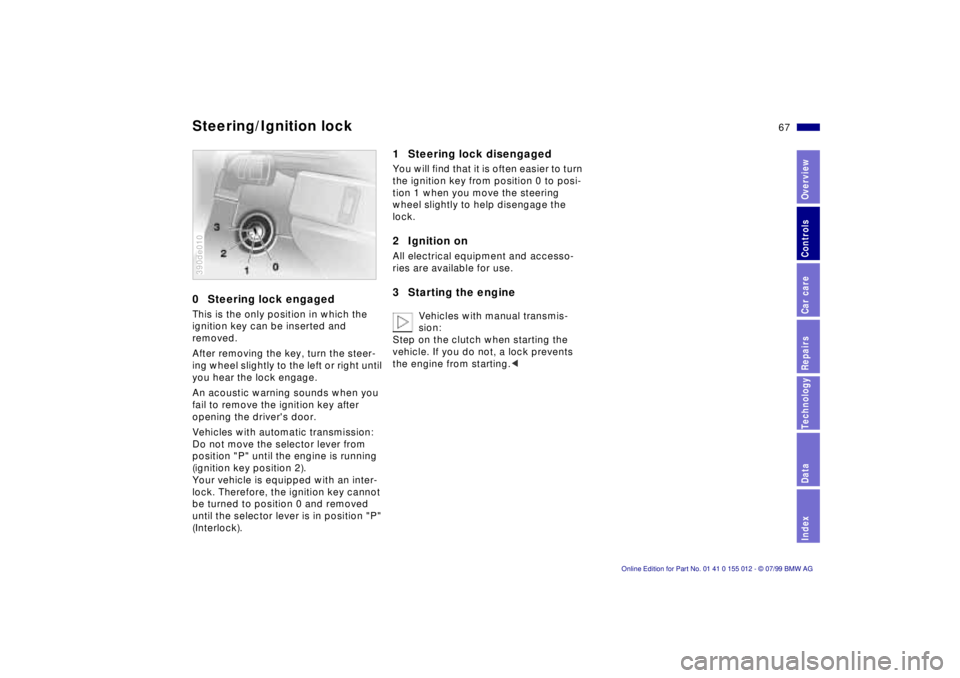
0 Steering lock engagedThis is the only position in which the
ignition key can be inserted and
removed.
After removing the key, turn the steer-
ing wheel slightly to the left or right until
you hear the lock engage.
An acoustic warning sounds when you
fail to remove the ignition key after
opening the driver's door.
Vehicles with automatic transmission:
Do not move the selector lever from
position "P" until the engine is running
(ignition key position 2).
Your vehicle is equipped with an inter-
lock. Therefore, the ignition key cannot
be turned to position 0 and removed
until the selector lever is in position "P"
(Interlock).390de010
1 Steering lock disengagedYou will find that it is often easier to turn
the ignition key from position 0 to posi-
tion 1 when you move the steering
wheel slightly to help disengage the
lock.2 Ignition onAll electrical equipment and accesso-
ries are available for use.3 Starting the engine
Vehicles with manual transmis-
sion:
Step on the clutch when starting the
vehicle. If you do not, a lock prevents
the engine from starting.<
Steering/Ignition lock
Page 69 of 217
69n
RepairsIndexOverview Controls Car care Technology Data
Switching off the engine Parking brakeTurn the ignition key to position 1 or 0.
Never remove the ignition key
while the vehicle is rolling. The
steering locks, making it impossible to
steer the vehicle.
Always remove the ignition key and en-
gage the steering lock before leaving
the vehicle.
Vehicles with manual transmission:
Always engage the parking brake when
parking on slopes and inclined sur-
faces, since placing the lever in 1st gear
or reverse may not provide adequate
resistance to rolling.
Vehicles with automatic transmission:
Place the selector lever in "Park."<
Vehicles with automatic transmission
*:
The vehicle must be stationary and the
selector lever in "Park" before you can
remove the ignition key.
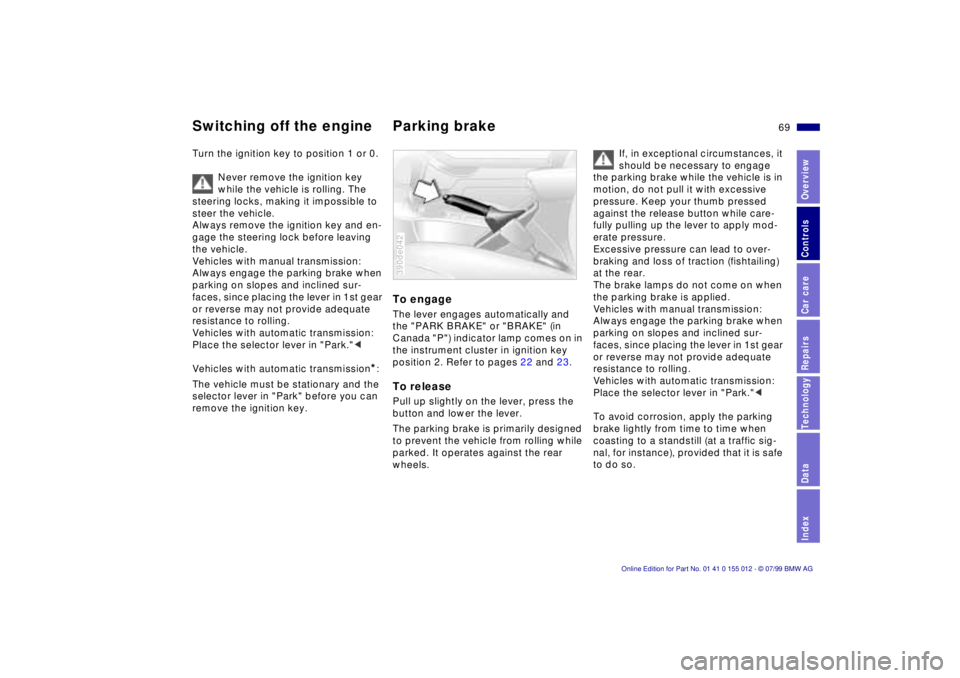
To engageThe lever engages automatically and
the "PARK BRAKE" or "BRAKE" (in
Canada "P") indicator lamp comes on in
the instrument cluster in ignition key
position 2. Refer to pages 22 and 23.To releasePull up slightly on the lever, press the
button and lower the lever.
The parking brake is primarily designed
to prevent the vehicle from rolling while
parked. It operates against the rear
wheels.390de042
If, in exceptional circumstances, it
should be necessary to engage
the parking brake while the vehicle is in
motion, do not pull it with excessive
pressure. Keep your thumb pressed
against the release button while care-
fully pulling up the lever to apply mod-
erate pressure.
Excessive pressure can lead to over-
braking and loss of traction (fishtailing)
at the rear.
The brake lamps do not come on when
the parking brake is applied.
Vehicles with manual transmission:
Always engage the parking brake when
parking on slopes and inclined sur-
faces, since placing the lever in 1st gear
or reverse may not provide adequate
resistance to rolling.
Vehicles with automatic transmission:
Place the selector lever in "Park."<
To avoid corrosion, apply the parking
brake lightly from time to time when
coasting to a standstill (at a traffic sig-
nal, for instance), provided that it is safe
to do so.
Page 88 of 217
88n
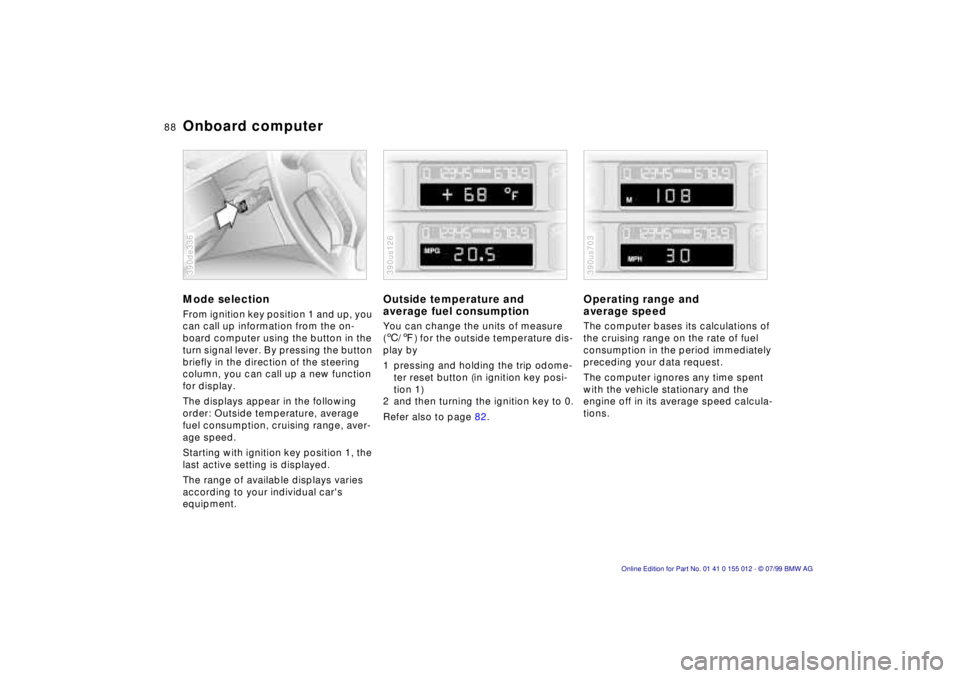
Onboard computerMode selectionFrom ignition key position 1 and up, you
can call up information from the on-
board computer using the button in the
turn signal lever. By pressing the button
briefly in the direction of the steering
column, you can call up a new function
for display.
The displays appear in the following
order: Outside temperature, average
fuel consumption, cruising range, aver-
age speed.
Starting with ignition key position 1, the
last active setting is displayed.
The range of available displays varies
according to your individual car's
equipment.390de336
Outside temperature and
average fuel consumptionYou can change the units of measure
(6/7) for the outside temperature dis-
play by
1 pressing and holding the trip odome-
ter reset button (in ignition key posi-
tion 1)
2 and then turning the ignition key to 0.
Refer also to page 82.390us126
Operating range and
average speed The computer bases its calculations of
the cruising range on the rate of fuel
consumption in the period immediately
preceding your data request.
The computer ignores any time spent
with the vehicle stationary and the
engine off in its average speed calcula-
tions.390us703
Page 101 of 217
101n
RepairsIndexOverview Controls Car care Technology Data
Automatic climate controlAir supply
In the "AUTO" program, the air
flow is controlled automati-
cally. AUTO will appear in the display
(refer to the overview on page 98). Use
"+" and "-" to vary the air flow. When
your setting is displayed by bars, the
automatic air flow is switched off. Auto-
matic air distribution maintains its set-
ting. You can reactivate the automatic
air flow by pressing the "AUTO" button.
When you press "Ð " during operation at
minimum blower speed all displays are
canceled: The fan, heating and air con-
ditioner are switched off. The outside
air supply is closed. By pressing any
button of the automatic climate control
(except the "REST" button 16), you can
switch the system back on.
To defrost windshield and door
windows
This program quickly removes
ice and condensation from the
windshield and the side windows.
Air conditioner
The air is cooled and dehu-
midified and Ð depending on
the temperature setting Ð warmed again
when the air conditioner system is
switched on. Depending on the
weather, the windshield may fog over
briefly when the engine is started.
Use the button to switch off the air con-
ditioner at outside temperatures below
approx. +417 (+56). This will help to
prevent the windows from fogging up.
If the windows fog over after switching
the air conditioner off, switch it back on.
Condensation forms in the air con-
ditioner system during operation,
which then exits under the vehicle.
Traces of condensed water of this kind
are thus normal.<
Automatic recirculated-air
control (AUC)
You can respond to unpleas-
ant external odors by tempo-
rarily stopping the flow of outside air.
The system then recirculates the air
currently within the vehicle. Press the
button repeatedly to run through the
following control sequence:
>Indicator lamps off: Outside air flow
operational.
>Left-hand indicator lamp on Ð AUC
mode: The system recognizes pollut-
ants in the outside air and blocks the
flow of air when necessary. The sys-
tem then recirculates the air currently
within the vehicle.
Depending on the air quality, the au-
tomatic system then switches back
and forth between outside air supply
and recirculation of the air within the
vehicle.
>Right-hand indicator lamp on: The
flow of external air into the vehicle is
permanently blocked. The system
then recirculates the air currently
within the vehicle.
If you have a multifunction steering
wheel with the recirculated-air button
(refer to page 25), you can also use it to
switch between "Off" and the recircu-
lated-air mode or AUC and the recircu-
lated-air mode.
Page 103 of 217
103n
RepairsIndexOverview Controls Car care Technology Data
Automatic climate control Seat heating
*
Steering wheel heating
*
Microfilter, activated-charcoal
filterThe microfilter removes dust and pollen
from the incoming air. The activated-
charcoal filter provides additional
protection by filtering gaseous pollut-
ants from the outside air. Your BMW
center replaces this combined filter as a
standard part of your scheduled main-
tenance. A substantial reduction in air
flow indicates that the filter must be
replaced before scheduled mainte-
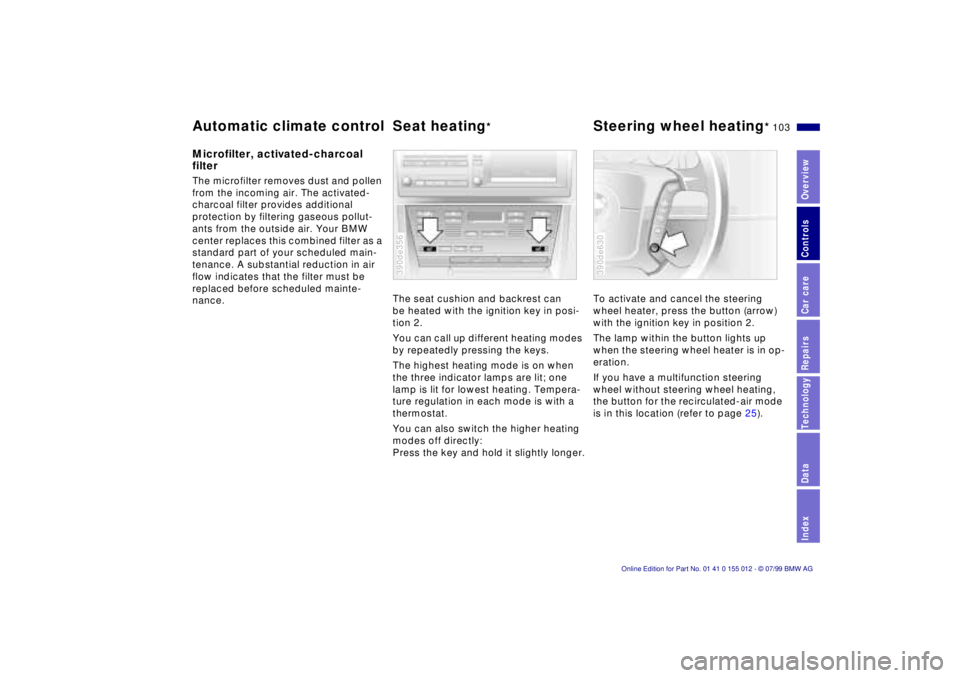
nance.The seat cushion and backrest can
be heated with the ignition key in posi-
tion 2.
You can call up different heating modes
by repeatedly pressing the keys.
The highest heating mode is on when
the three indicator lamps are lit; one
lamp is lit for lowest heating. Tempera-
ture regulation in each mode is with a
thermostat.
You can also switch the higher heating
modes off directly:
Press the key and hold it slightly longer.
390de356
To activate and cancel the steering
wheel heater, press the button (arrow)
with the ignition key in position 2.
The lamp within the button lights up
when the steering wheel heater is in op-
eration.
If you have a multifunction steering
wheel without steering wheel heating,
the button for the recirculated-air mode
is in this location (refer to page 25).390de630
Page 121 of 217
121n
RepairsIndexOverview Controls Car care Technology Data
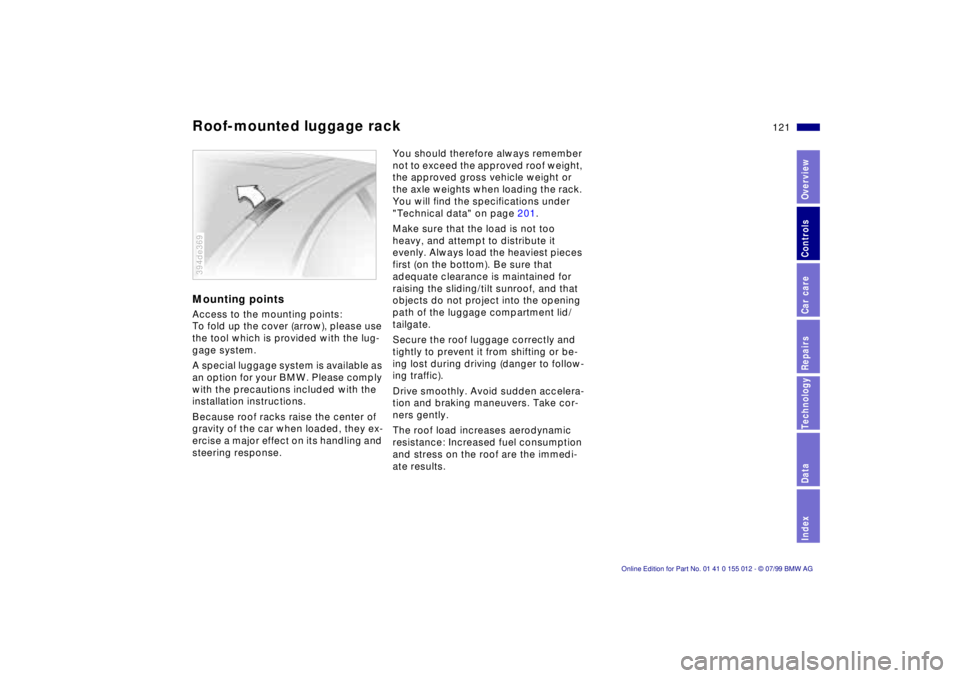
Roof-mounted luggage rackMounting pointsAccess to the mounting points:
To fold up the cover (arrow), please use
the tool which is provided with the lug-
gage system.
A special luggage system is available as
an option for your BMW. Please comply
with the precautions included with the
installation instructions.
Because roof racks raise the center of
gravity of the car when loaded, they ex-
ercise a major effect on its handling and
steering response.394de369
You should therefore always remember
not to exceed the approved roof weight,
the approved gross vehicle weight or
the axle weights when loading the rack.
You will find the specifications under
"Technical data" on page 201.
Make sure that the load is not too
heavy, and attempt to distribute it
evenly. Always load the heaviest pieces
first (on the bottom). Be sure that
adequate clearance is maintained for
raising the sliding/tilt sunroof, and that
objects do not project into the opening
path of the luggage compartment lid/
tailgate.
Secure the roof luggage correctly and
tightly to prevent it from shifting or be-
ing lost during driving (danger to follow-
ing traffic).
Drive smoothly. Avoid sudden accelera-
tion and braking maneuvers. Take cor-
ners gently.
The roof load increases aerodynamic
resistance: Increased fuel consumption
and stress on the roof are the immedi-
ate results.