2000 BMW 328Ci CONVERTIBLE key
[x] Cancel search: keyPage 47 of 199
47n
IndexDataTechnologyRepairsCar careControlsOverview
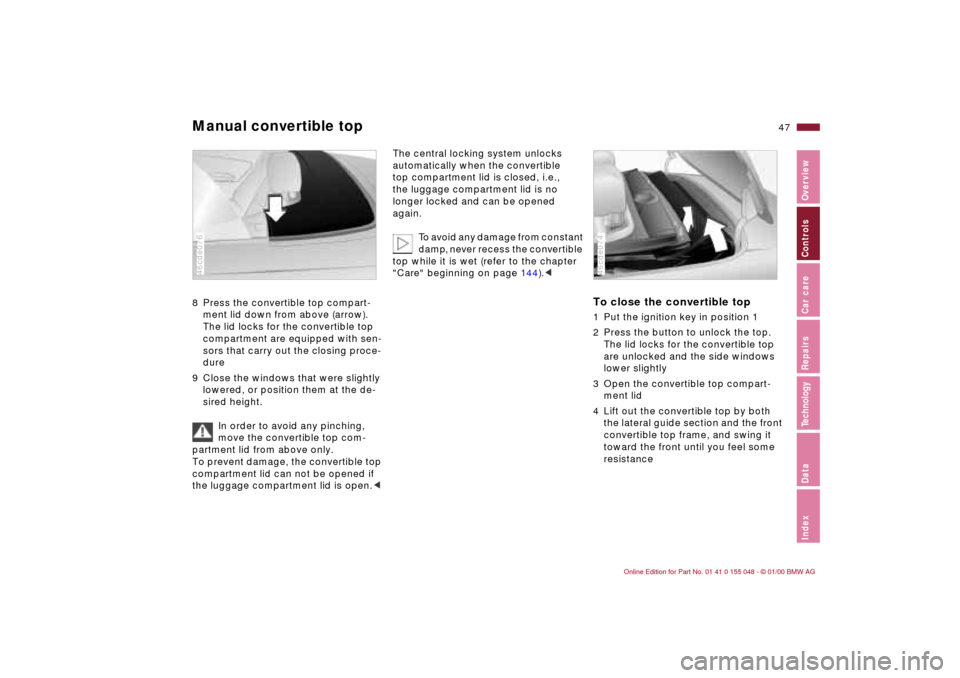
Manual convertible top8 Press the convertible top compart-
ment lid down from above (arrow).
The lid locks for the convertible top
compartment are equipped with sen-
sors that carry out the closing proce-
dure
9 Close the windows that were slightly
lowered, or position them at the de-
sired height.
In order to avoid any pinching,
move the convertible top com-
partment lid from above only.
To prevent damage, the convertible top
compartment lid can not be opened if
the luggage compartment lid is open.c46cde076
The central locking system unlocks
automatically when the convertible
top compartment lid is closed, i.e.,
the luggage compartment lid is no
longer locked and can be opened
again.
T
o avoid any damage from constant
damp, never recess the convertible
top while it is wet (refer to the chapter
"Care" beginning on page 14 4)
.c
To close the convertible top 1 Put the ignition key in position 1
2 Press the button to unlock the top.
The lid locks for the convertible top
are unlocked and the side windows
lower slightly
3 Open the convertible top compart-
ment lid
4 Lift out the convertible top by both
the lateral guide section and the front
convertible top frame, and swing it
toward the front until you feel some
resistance46cde074
Page 48 of 199

48n
Manual convertible top
Starting from either ignition key
position 1 or with a door open:
If the side windows are closed, lower
them slightly by depressing the respec-
tive button. After closing the convertible
top, either close the side windows or
put them at the height desired.c
5 Do not position the rear convertible
top bar vertically until the convertible
top has been swung forward as far as
possible
6 Press the convertible top compart-
ment lid down from above. The lid
locks for the convertible top are
equipped with sensors that carry out
the closing procedure
In order to avoid any pinching,
move the convertible top com-
partment lid from above only.c
The central locking system auto-
matically unlocks when the con-
vertible top compartment lid is closed,
i. e., the luggage compartment lid is no
longer locked and can be opened
again.c
7 Using the locking handle, pull the
front convertible top frame onto the
windshield frame, and lock the con-
vertible top by turning the handle
until you hear it engage
8 Close the windows that were slightly
lowered, or position them at the de-
sired height.
The rear convertible top bar will be
automatically pressed onto the convert-
ible top compartment lid, and because
of the pressure, will be sealed off when
closed.Should the convertible top start to
flutter at higher speeds, increase
the airflow into the passenger area via
the ventilation controls to avoid creat-
ing a vacuum.c
Page 50 of 199
50n
The fully automatic convertible top
*
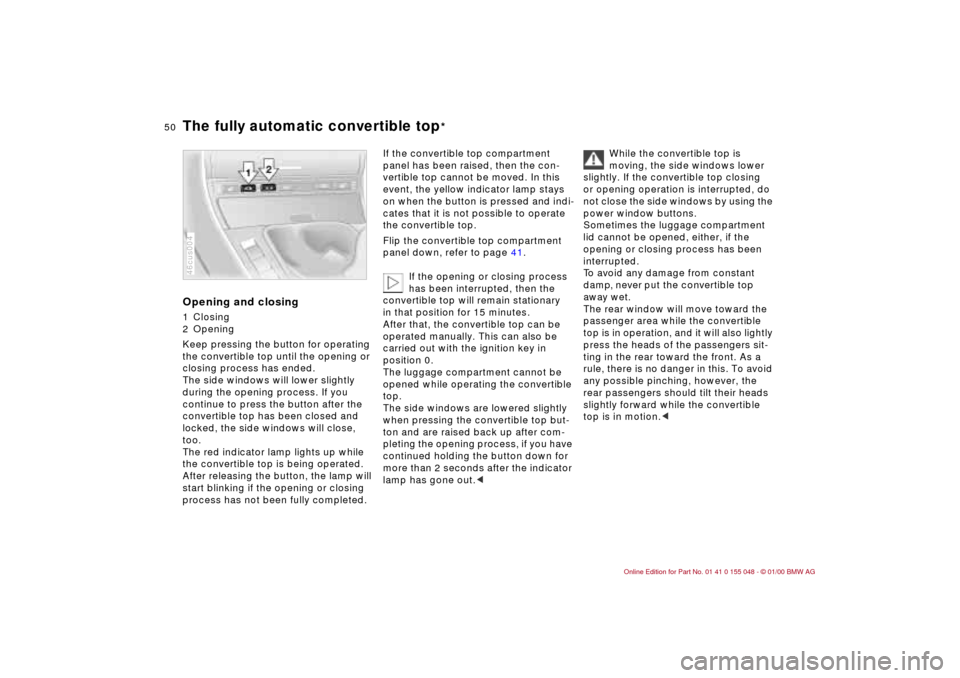
Opening and closing1 Closing
2 Opening
Keep pressing the button for operating
the convertible top until the opening or
closing process has ended.
The side windows will lower slightly
during the opening process. If you
continue to press the button after the
convertible top has been closed and
locked, the side windows will close,
too.
The red indicator lamp lights up while
the convertible top is being operated.
After releasing the button, the lamp will
start blinking if the opening or closing
process has not been fully completed.46cus004
If the convertible top compartment
panel has been raised, then the con-
vertible top cannot be moved. In this
event, the yellow indicator lamp stays
on when the button is pressed and indi-
cates that it is not possible to operate
the convertible top.
Flip the convertible top compartment
panel down, refer to page 41.
If the opening or closing process
has been interrupted, then the
convertible top will remain stationary
in that position for 15 minutes.
After that, the convertible top can be
operated manually. This can also be
carried out with the ignition key in
position 0.
The luggage compartment cannot be
opened while operating the convertible
top.
The side windows are lowered slightly
when pressing the convertible top but-
ton and are raised back up after com-
pleting the opening process, if you have
continued holding the button down for
more than 2 seconds after the indicator
lamp has gone out.c
While the convertible top is
moving, the side windows lower
slightly. If the convertible top closing
or opening operation is interrupted, do
not close the side windows by using the
power window buttons.
Sometimes the luggage compartment
lid cannot be opened, either, if the
opening or closing process has been
interrupted.
To avoid any damage from constant
damp, never put the convertible top
away wet.
The rear window will move toward the
passenger area while the convertible
top is in operation, and it will also lightly
press the heads of the passengers sit-
ting in the rear toward the front. As a
rule, there is no danger in this. To avoid
any possible pinching, however, the
rear passengers should tilt their heads
slightly forward while the convertible
top is in motion.c
Page 51 of 199

51n
IndexDataTechnologyRepairsCar careControlsOverview
The fully automatic convertible top
*
Wind deflector
*
Convenience operation from the
driver's door lock>To open: with the door closed, turn
the key to the "Unlock" position and
hold it
>To close: with the door closed, turn
the key to the "Lock" position and
hold it.
Releasing the key stops the movement.
For safety reasons, to keep the closing
process in view, you cannot use the re-
mote control for convenience operation.
At higher speeds, the lower air
pressure in the passenger com-
partment may create a vacuum and
cause the convertible top to start flut-
tering. Increase the air supply via the
ventilation controls so that a vacuum
does not occur in the vehicle.c
The wind deflector cuts down air turbu-
lence within the passenger area, thus
affording a pleasant ride, even at higher
speeds. It is delivered in a protective
casing, and because of its minimal size,
can easily be stowed in the luggage
compartment.Installation1 Take the wind deflector out of its
protective casing
Page 57 of 199
57n
IndexDataTechnologyRepairsCar careControlsOverview
Seat and mirror memory
*
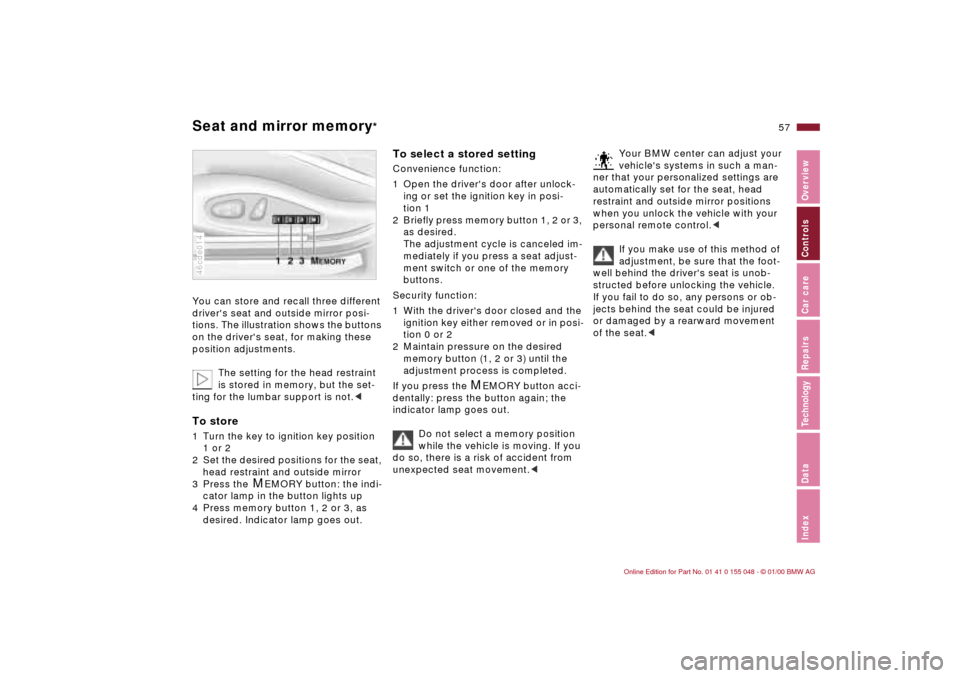
You can store and recall three different
driver's seat and outside mirror posi-
tions. The illustration shows the buttons
on the driver's seat, for making these
position adjustments.
The setting for the head restraint
is stored in memory, but the set-
ting for the lumbar support is not.
2 Set the desired positions for the seat,
head restraint and outside mirror
3 Press the
M
EMORY button: the indi-
cator lamp in the button lights up
4 Press memory button 1, 2 or 3, as
desired. Indicator lamp goes out.
46cde014
To select a stored setting Convenience function:
1 Open the driver's door after unlock-
ing or set the ignition key in posi-
tion 1
2 Briefly press memory button 1, 2 or 3,
as desired.
The adjustment cycle is canceled im-
mediately if you press a seat adjust-
ment switch or one of the memory
buttons.
Security function:
1 With the driver's door closed and the
ignition key either removed or in posi-
tion 0 or 2
2 Maintain pressure on the desired
memory button (1, 2 or 3) until the
adjustment process is completed.
If you press the
M
EMORY button acci-
dentally: press the button again; the
indicator lamp goes out.
Do not select a memory position
while the vehicle is moving. If you
do so, there is a risk of accident from
unexpected seat movement.<
Your BMW center can adjust your
vehicle's systems in such a man-
ner that your personalized settings are
automatically set for the seat, head
restraint and outside mirror positions
when you unlock the vehicle with your
personal remote control.<
If you make use of this method of
adjustment, be sure that the foot-
well behind the driver's seat is unob-
structed before unlocking the vehicle.
If you fail to do so, any persons or ob-
jects behind the seat could be injured
or damaged by a rearward movement
of the seat.<
Page 59 of 199
59n
IndexDataTechnologyRepairsCar careControlsOverview
MirrorsYou can also adjust the mirrors manu-
ally by pressing against the outer edges
of their lenses.
The mirror on the passenger's
side features a lens with a more
convex surface than the mirror installed
on the driver's side. When estimating
the distance between yourself and
other traffic, bear in mind that the ob-
jects reflected in the mirror are closer
than they appear. Estimating the dis-
tance between you and the traffic be-
hind you is therefore imprecise.
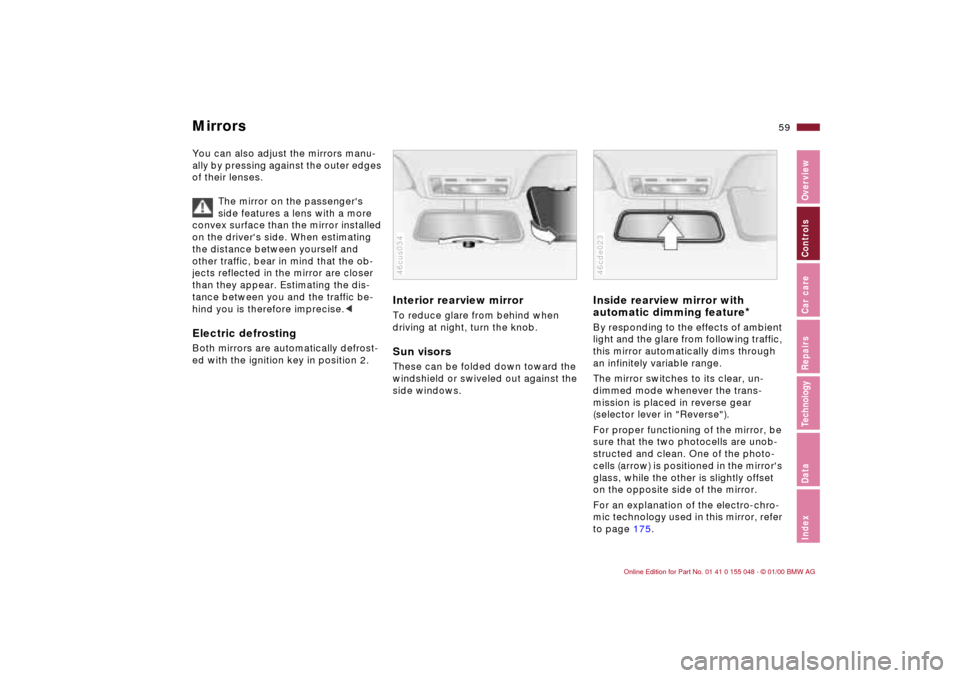
Interior rearview mirror To reduce glare from behind when
driving at night, turn the knob.Sun visorsThese can be folded down toward the
windshield or swiveled out against the
side windows.46cus034
Inside rearview mirror with
automatic dimming feature
*
By responding to the effects of ambient
light and the glare from following traffic,
this mirror automatically dims through
an infinitely variable range.
The mirror switches to its clear, un-
dimmed mode whenever the trans-
mission is placed in reverse gear
(selector lever in "Reverse").
For proper functioning of the mirror, be
sure that the two photocells are unob-
structed and clean. One of the photo-
cells (arrow) is positioned in the mirror's
glass, while the other is slightly offset
on the opposite side of the mirror.
For an explanation of the electro-chro-
mic technology used in this mirror, refer
to page 175.46cde023
Page 60 of 199
60n
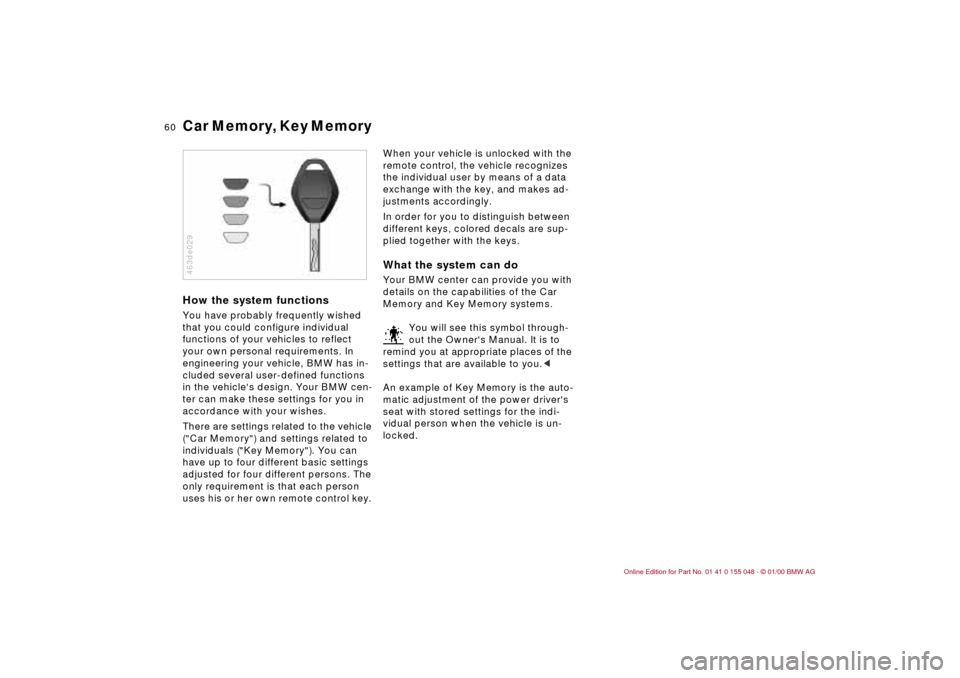
Car Memory, Key Memory How the system functionsYou have probably frequently wished
that you could configure individual
functions of your vehicles to reflect
your own personal requirements. In
engineering your vehicle, BMW has in-
cluded several user-defined functions
in the vehicle's design. Your BMW cen-
ter can make these settings for you in
accordance with your wishes.
There are settings related to the vehicle
("Car Memory") and settings related to
individuals ("Key Memory"). You can
have up to four different basic settings
adjusted for four different persons. The
only requirement is that each person
uses his or her own remote control key. 463de029
When your vehicle is unlocked with the
remote control, the vehicle recognizes
the individual user by means of a data
exchange with the key, and makes ad-
justments accordingly.
In order for you to distinguish between
different keys, colored decals are sup-
plied together with the keys.What the system can doYour BMW center can provide you with
details on the capabilities of the Car
Memory and Key Memory systems.
You will see this symbol through-
out the Owner's Manual. It is to
remind you at appropriate places of the
settings that are available to you.<
An example of Key Memory is the auto-
matic adjustment of the power driver's
seat with stored settings for the indi-
vidual person when the vehicle is un-
locked.
Page 63 of 199

63n
IndexDataTechnologyRepairsCar careControlsOverview
Airbags 1 Front airbags for driver and passenger
2 Side airbags (front)Protective effectThe front airbags supplement the three-
point safety belts by providing addi-
tional protection for the front-seat oc-
cupants in the event of a severe frontal
collision in which the protection af-
forded by the belts alone may no longer
be sufficient. The side airbags help pro-
vide protection in the event of a colli-
sion from the side. Each of the side air-
bags is designed to help support the
upper body.46cus032
The illustration depicts schematically
the primary directions of vehicle impact
that initiate airbag deployment.46cde027
Indicator lamp
The indicator lamp displays the
operational status of the airbag
system when the ignition key is
in position 1 and up.
System operational:
>The indicator lamp comes on briefly
then goes out.
System malfunction:
>The indicator lamp fails to come on
>The indicator lamp comes on briefly
before going out and then lighting up
again.
A system malfunction could prevent the
system from responding to an impact
occurring within its normal response
range.
Please have your BMW center inspect
and repair the system as soon as
possible.