Page 27 of 189
27n
IndexDataTechnologyRepairsCar careControlsOverview
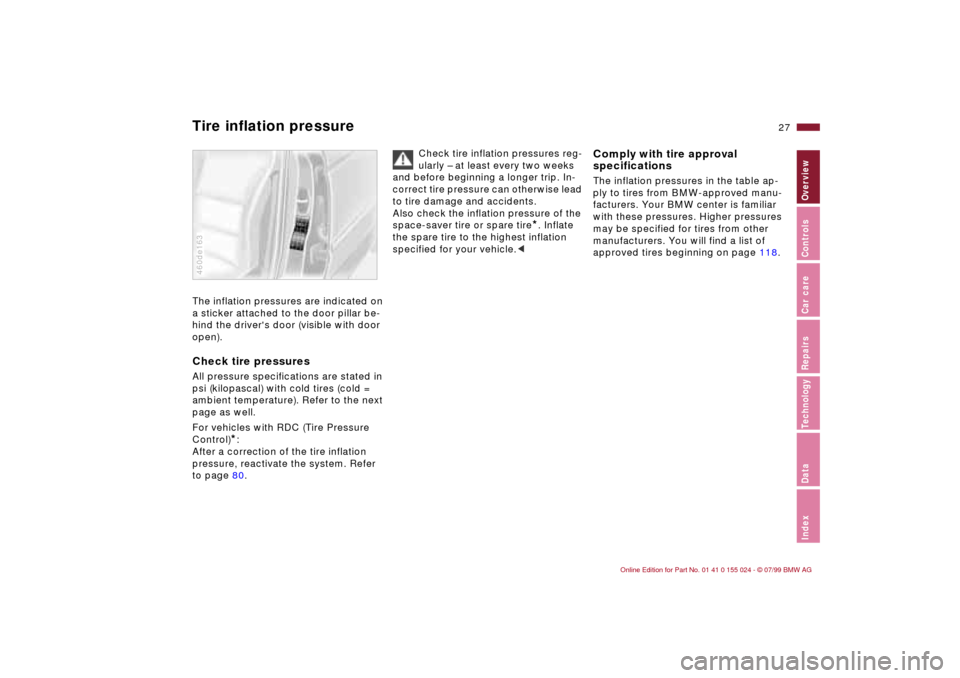
Tire inflation pressure The inflation pressures are indicated on
a sticker attached to the door pillar be-
hind the driver's door (visible with door
open).Check tire pressuresAll pressure specifications are stated in
psi (kilopascal) with cold tires (cold =
ambient temperature). Refer to the next
page as well.
For vehicles with RDC (Tire Pressure
Control)
*:
After a correction of the tire inflation
pressure, reactivate the system. Refer
to page 80.
460de163
Check tire inflation pressures reg-
ularly Ð at least every two weeks
and before beginning a longer trip. In-
correct tire pressure can otherwise lead
to tire damage and accidents.
Also check the inflation pressure of the
space-saver tire or spare tire
*. Inflate
the spare tire to the highest inflation
specified for your vehicle.<
Comply with tire approval
specificationsThe inflation pressures in the table ap-
ply to tires from BMW-approved manu-
facturers. Your BMW center is familiar
with these pressures. Higher pressures
may be specified for tires from other
manufacturers. You will find a list of
approved tires beginning on page 118.
Page 28 of 189
28n
Tire inflation pressureBMW Tires
Inflation pressures in psi (kilopascal)
323iSummer tires 29 (2.0) 33 (2.3) 33 (2.3) 41 (2.8)
Winter tires 32 (2.2) 36 (2.5) 36 (2.5) 44 (3.0)
328iSummer tires 29 (2.0) 33 (2.3) 33 (2.3) 41 (2.8)
Winter tires 32 (2.2) 36 (2.5) 36 (2.5) 44 (3.0)
All Space-saver spare tire 61 (4.2) 61 (4.2) 61 (4.2) 61 (4.2)
For all-season tires, use the same tire inflation pressure as for summer tires.
Page 31 of 189

Overview
Controls and features
Operation, care
and maintenance
Owner service procedures
Technical data
Index Advanced technology
31n
IndexDataTechnologyRepairsCar careControlsOverview
Driving:
Steering/Ignition lock61
Starting the engine61
Switching off the engine62
Parking brake63
Manual transmission64
Automatic transmission with
Steptronic65
Turn signal indicator/Headlamp
flasher68
Wiper/Washer system/Rain
sensor68
Rear window defroster70
Cruise control71
Everything under control:
Odometer73
Tachometer73
Energy Control73
Fuel gauge74
Temperature gauge74
Service Interval Display74
Check Control75
Clock75
Onboard computer76
Technology for safety and
convenience:
Park Distance Control (PDC)78
Dynamic Stability Control
(DSC)79
Tire Pressure Control (RDC)80Lamps:
Parking lamps/Headlamps82
Dash lighting82
High beams/Parking lamps83
Fog lamps83
Interior lamps83
Reading lamps84
Controlling the climate for
pleasant driving:
Automatic climate control86
Seat heating91
Roller sun blind91
Interior conveniences:
HiFi system92
Glove compartment92
Storage compartments93
Cellular phones95
Ashtray, front95
Cigarette lighter96
Ashtray, rear96
Loading and transporting:
Through-loading system97
Ski bag98
Cargo loading99
Roof-mounted luggage rack100
Page 44 of 189
44n
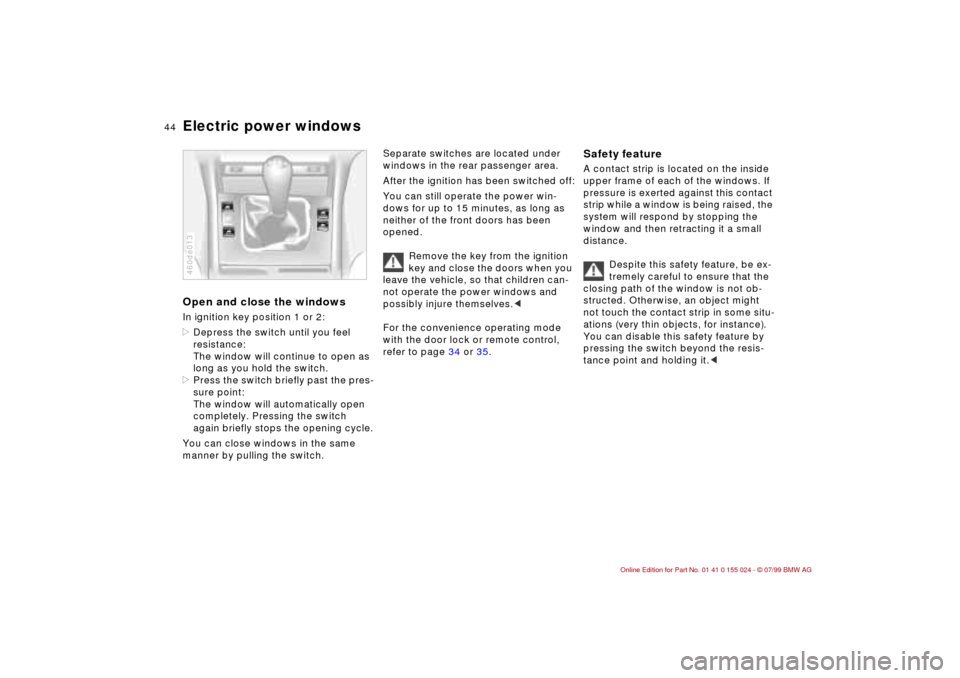
Electric power windowsOpen and close the windowsIn ignition key position 1 or 2:
>Depress the switch until you feel
resistance:
The window will continue to open as
long as you hold the switch.
>Press the switch briefly past the pres-
sure point:
The window will automatically open
completely. Pressing the switch
again briefly stops the opening cycle.
You can close windows in the same
manner by pulling the switch.460de013
Separate switches are located under
windows in the rear passenger area.
After the ignition has been switched off:
You can still operate the power win-
dows for up to 15 minutes, as long as
neither of the front doors has been
opened.
Remove the key from the ignition
key and close the doors when you
leave the vehicle, so that children can-
not operate the power windows and
possibly injure themselves.<
For the convenience operating mode
with the door lock or remote control,
refer to page 34 or 35.
Safety feature A contact strip is located on the inside
upper frame of each of the windows. If
pressure is exerted against this contact
strip while a window is being raised, the
system will respond by stopping the
window and then retracting it a small
distance.
Despite this safety feature, be ex-
tremely careful to ensure that the
closing path of the window is not ob-
structed. Otherwise, an object might
not touch the contact strip in some situ-
ations (very thin objects, for instance).
You can disable this safety feature by
pressing the switch beyond the resis-
tance point and holding it.<
Page 45 of 189
45n
IndexDataTechnologyRepairsCar careControlsOverview
Electric power windows Sliding/Tilt sunroof
*
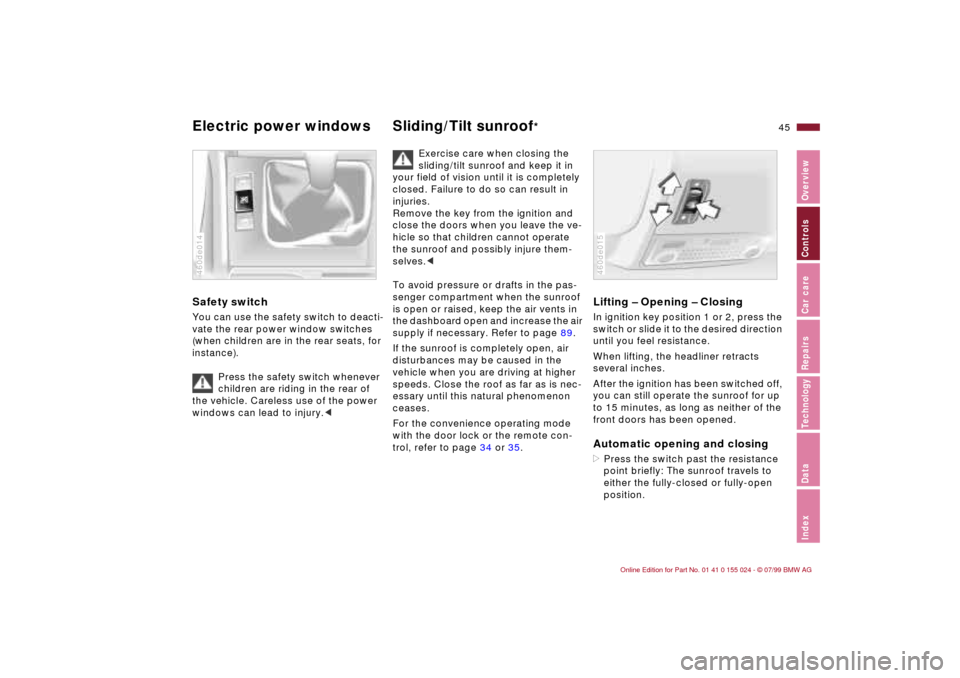
Safety switch You can use the safety switch to deacti-
vate the rear power window switches
(when children are in the rear seats, for
instance).
Press the safety switch whenever
children are riding in the rear of
the vehicle. Careless use of the power
windows can lead to injury.<460de014
Exercise care when closing the
sliding/tilt sunroof and keep it in
your field of vision until it is completely
closed. Failure to do so can result in
injuries.
Remove the key from the ignition and
close the doors when you leave the ve-
hicle so that children cannot operate
the sunroof and possibly injure them-
selves.<
To avoid pressure or drafts in the pas-
senger compartment when the sunroof
is open or raised, keep the air vents in
the dashboard open and increase the air
supply if necessary. Refer to page 89.
If the sunroof is completely open, air
disturbances may be caused in the
vehicle when you are driving at higher
speeds. Close the roof as far as is nec-
essary until this natural phenomenon
ceases.
For the convenience operating mode
with the door lock or the remote con-
trol, refer to page 34 or 35.
Lifting Ð Opening Ð ClosingIn ignition key position 1 or 2, press the
switch or slide it to the desired direction
until you feel resistance.
When lifting, the headliner retracts
several inches.
After the ignition has been switched off,
you can still operate the sunroof for up
to 15 minutes, as long as neither of the
front doors has been opened.Automatic opening and closing>Press the switch past the resistance
point briefly: The sunroof travels to
either the fully-closed or fully-open
position.460de015
Page 50 of 189
50n
Power seat
*
Seat and mirror memory
*
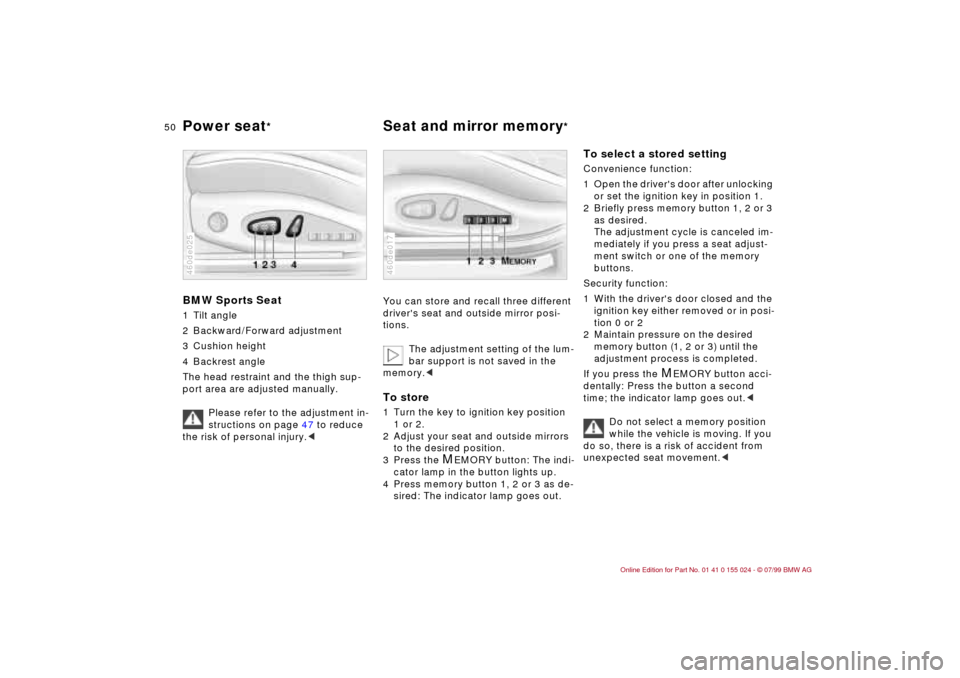
BMW Sports Seat1 Tilt angle
2 Backward/Forward adjustment
3 Cushion height
4 Backrest angle
The head restraint and the thigh sup-
port area are adjusted manually.
Please refer to the adjustment in-
structions on page 47 to reduce
the risk of personal injury.<460de025
You can store and recall three different
driver's seat and outside mirror posi-
tions.
The adjustment setting of the lum-
bar support is not saved in the
memory.
1 or 2.
2 Adjust your seat and outside mirrors
to the desired position.
3 Press the
M
EMORY button: The indi-
cator lamp in the button lights up.
4 Press memory button 1, 2 or 3 as de-
sired: The indicator lamp goes out.
460de017
To select a stored setting Convenience function:
1 Open the driver's door after unlocking
or set the ignition key in position 1.
2 Briefly press memory button 1, 2 or 3
as desired.
The adjustment cycle is canceled im-
mediately if you press a seat adjust-
ment switch or one of the memory
buttons.
Security function:
1 With the driver's door closed and the
ignition key either removed or in posi-
tion 0 or 2
2 Maintain pressure on the desired
memory button (1, 2 or 3) until the
adjustment process is completed.
If you press the
M
EMORY button acci-
dentally: Press the button a second
time; the indicator lamp goes out.<
Do not select a memory position
while the vehicle is moving. If you
do so, there is a risk of accident from
unexpected seat movement.<
Page 55 of 189
55n
IndexDataTechnologyRepairsCar careControlsOverview
Safety belts Child restraint systems
*
nal injury. In addition, the safety belt's
restraint effectiveness is reduced if the
belt is worn loosely.
Expectant mothers should also wear
the safety belt, taking special care to
place the lap belt over the lower hips,
where it does not exert pressure on the
abdominal area.<
For care instructions, refer to "Car care"
page 135.
If the safety belt system has been
subjected to the stresses in-
volved in an accident or otherwise
damaged: Have the entire safety belt
mechanism replaced by your BMW
center, including the safety belt ten-
sioner. In addition, have your BMW
center inspect the safety belt anchors.
If a child restraint system was in the ve-
hicle during an accident, consult the
manufacturer's instructions regarding
replacement.<
Never install a rear-facing child re-
straint device on the front passen-
ger seat. Injuries could occur if the air-
bag is triggered in the event of an
accident.
Children should always ride in the rear.
Do not modify the child restraint system
in any way. If you do so, it will not pro-
vide your child with maximum protec-
tion.<
Page 63 of 189
63n
IndexDataTechnologyRepairsCar careControlsOverview
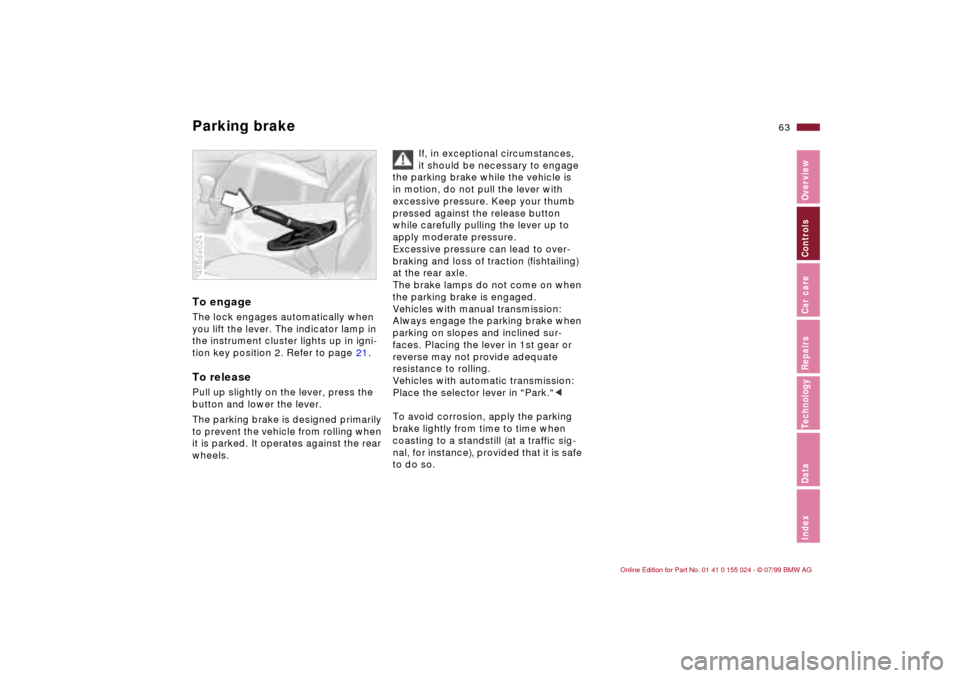
Parking brake To engageThe lock engages automatically when
you lift the lever. The indicator lamp in
the instrument cluster lights up in igni-
tion key position 2. Refer to page 21.To releasePull up slightly on the lever, press the
button and lower the lever.
The parking brake is designed primarily
to prevent the vehicle from rolling when
it is parked. It operates against the rear
wheels.460de024
If, in exceptional circumstances,
it should be necessary to engage
the parking brake while the vehicle is
in motion, do not pull the lever with
excessive pressure. Keep your thumb
pressed against the release button
while carefully pulling the lever up to
apply moderate pressure.
Excessive pressure can lead to over-
braking and loss of traction (fishtailing)
at the rear axle.
The brake lamps do not come on when
the parking brake is engaged.
Vehicles with manual transmission:
Always engage the parking brake when
parking on slopes and inclined sur-
faces. Placing the lever in 1st gear or
reverse may not provide adequate
resistance to rolling.
Vehicles with automatic transmission:
Place the selector lever in "Park."<
To avoid corrosion, apply the parking
brake lightly from time to time when
coasting to a standstill (at a traffic sig-
nal, for instance), provided that it is safe
to do so.