Page 91 of 199

91n
IndexDataTechnologyRepairsCar careControlsOverview
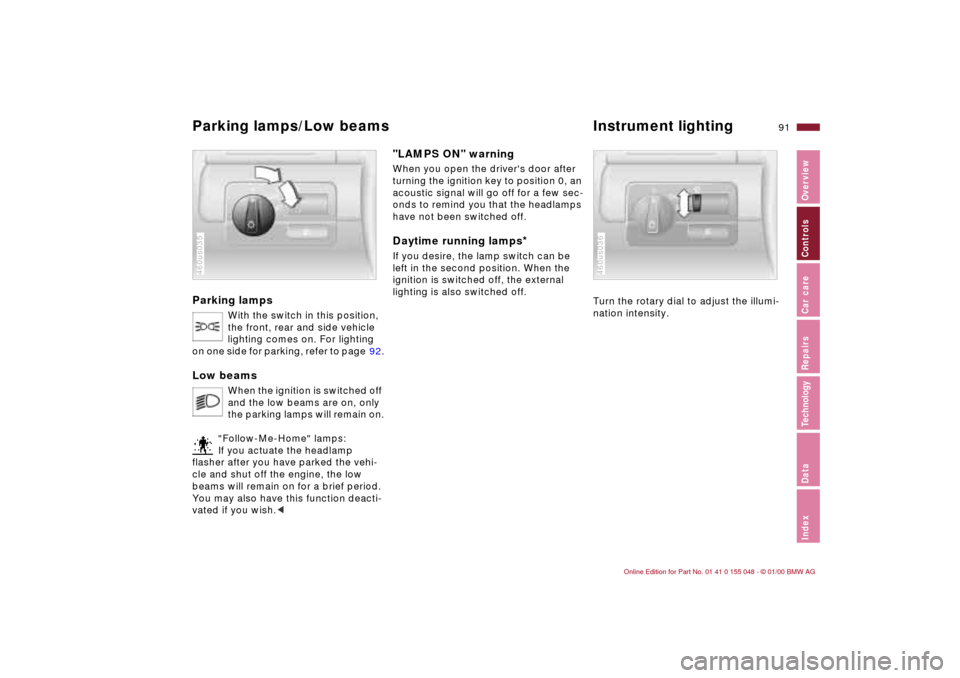
Parking lamps
With the switch in this position,
the front, rear and side vehicle
lighting comes on. For lighting
on one side for parking, refer to page 92.
Low beams
When the ignition is switched off
and the low beams are on, only
the parking lamps will remain on.
"Follow-Me-Home" lamps:
If you actuate the headlamp
flasher after you have parked the vehi-
cle and shut off the engine, the low
beams will remain on for a brief period.
You may also have this function deacti-
vated if you wish.<
460us035
"LAMPS ON" warningWhen you open the driver's door after
turning the ignition key to position 0, an
acoustic signal will go off for a few sec-
onds to remind you that the headlamps
have not been switched off
.
Daytime running lamps
*
If you desire, the lamp switch can be
left in the second position. When the
ignition is switched off, the external
lighting is also switched off.
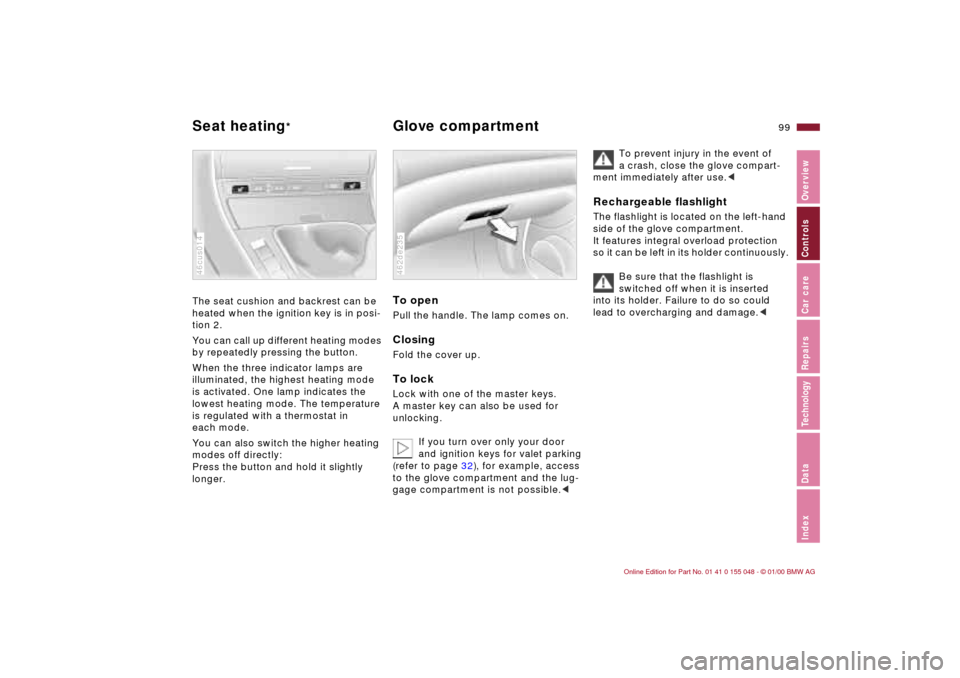
Turn the rotary dial to adjust the illumi-
nation intensity.
460us036
Parking lamps/Low beams Instrument lighting
Page 92 of 199
92n
High beams/Parking lamps
Fog lamps Interior lamps
1 High beam
(blue indicator lamp)
2 Headlamp flasher
(blue indicator lamp)
3 Parking lampsParking lamp, left or rightWith the ignition key in position 0,
engage the lever in the appropriate
turnsignal position.46cde094
Front fog lamps
A green indicator lamp appears
in the instrument cluster to indi-
cate that the front fog lamps
are on.
460us038
The interior lamps are controlled
automatically.To switch the interior lamps on
and off manuallyPress the button briefly.
If you want the interior lamps to remain
off all the time, press and hold the
button for approximately 3 seconds.
To revert to normal operation, press the
button briefly.Footwell lampsThe footwell lamps operate in the same
way as the interior lamps.46cde026
Page 93 of 199
93n
IndexDataTechnologyRepairsCar careControlsOverview
Reading lamps
Reading lamps are in the front
next to
the interior lamp. They can be switched
on and off with the switch adjacent to
each lamp.
In order to prevent draining the
battery, all of the lamps in the
vehicle are switched off automatically
approx. 15 minutes after the ignition
key has been turned to 0.<
Page 99 of 199

99n
IndexDataTechnologyRepairsCar careControlsOverview
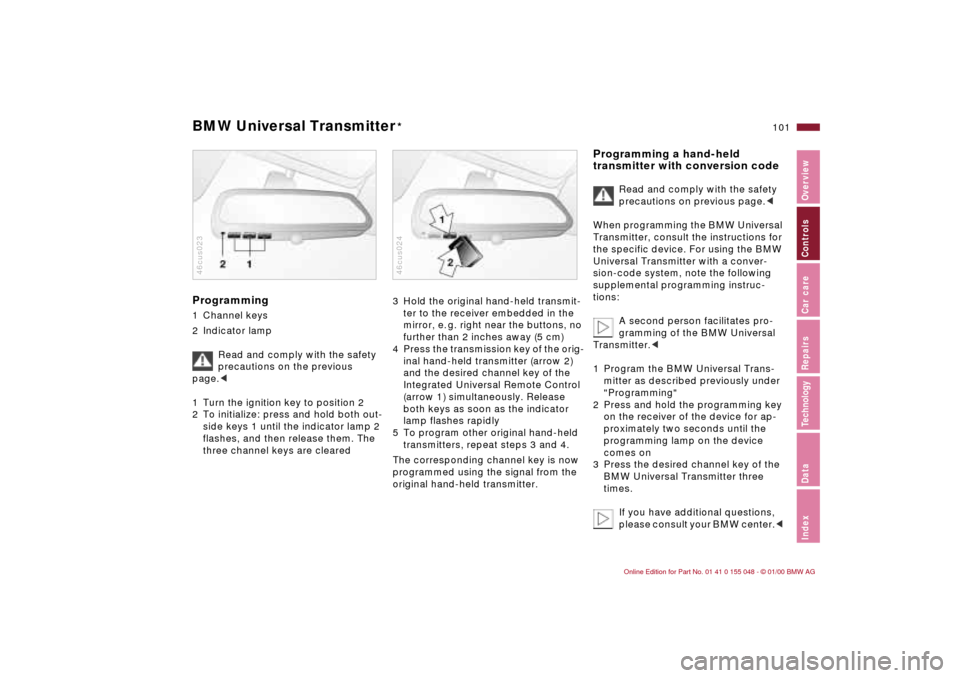
The seat cushion and backrest can be
heated when the ignition key is in posi-
tion 2.
You can call up different heating modes
by repeatedly pressing the button.
When the three indicator lamps are
illuminated, the highest heating mode
is activated. One lamp indicates the
lowest heating mode. The temperature
is regulated with a thermostat in
each mode.
You can also switch the higher heating
modes off directly:
Press the button and hold it slightly
longer.46cus014
To open Pull the handle. The lamp comes on.ClosingFold the cover up.To lockLock with one of the master keys.
A master key can also be used for
unlocking.
If you turn over only your door
and ignition keys for valet parking
(refer to page 32), for example, access
to the glove compartment and the lug-
gage compartment is not possible.<462de235
To prevent injury in the event of
a crash, close the glove compart-
ment immediately after use.<
Rechargeable flashlight The flashlight is located on the left-hand
side of the glove compartment.
It features integral overload protection
so it can be left in its holder continuously.
Be sure that the flashlight is
switched off when it is inserted
into its holder. Failure to do so could
lead to overcharging and damage.<
Seat heating
*
Glove compartment
Page 101 of 199

101n
IndexDataTechnologyRepairsCar careControlsOverview
BMW Universal Transmitter
*
Programming 1 Channel keys
2 Indicator lamp
Read and comply with the safety
precautions on the previous
page.<
1 Turn the ignition key to position 2
2 To initialize: press and hold both out-
side keys 1 until the indicator lamp 2
flashes, and then release them. The
three channel keys are cleared46cus023
3 Hold the original hand-held transmit-
ter to the receiver embedded in the
mirror, e. g. right near the buttons, no
further than 2 inches away (5 cm)
4 Press the transmission key of the orig-
inal hand-held transmitter (arrow 2)
and the desired channel key of the
Integrated Universal Remote Control
(arrow 1) simultaneously. Release
both keys as soon as the indicator
lamp flashes rapidly
5 To program other original hand-held
transmitters, repeat steps 3 and 4.
The corresponding channel key is now
programmed using the signal from the
original hand-held transmitter. 46cus024
Programming a hand-held
transmitter with conversion code
Read and comply with the safety
precautions on previous page.<
When programming the BMW Universal
Transmitter, consult the instructions for
the specific device. For using the BMW
Universal Transmitter with a conver-
sion-code system, note the following
supplemental programming instruc-
tions:
A second person facilitates pro-
gramming of the BMW Universal
Transmitter.<
1 Program the BMW Universal Trans-
mitter as described previously under
"Programming"
2 Press and hold the programming key
on the receiver of the device for ap-
proximately two seconds until the
programming lamp on the device
comes on
3 Press the desired channel key of the
BMW Universal Transmitter three
times.
If you have additional questions,
please consult your BMW center.<
Page 104 of 199
104n
Ashtray front Cigarette lighter Ashtray rear To emptyPress the edge of the lid (arrow): you
can now pull the ashtray upward for
removal.46cus016
Press the lighter in. Remove the lighter
as soon as it retracts.
Hold or touch the hot cigarette
lighter by the knob only. Holding
or touching it in other areas could
result in burns.
The cigarette lighter remains opera-
tional when the ignition key has been
removed. For this reason, children
should never be left in the vehicle
unattended.
a flashlight, car vacuum cleaner, or other
appliances up to approx. 200 watts at
12 volts. Avoid damaging the socket due
to inserting plugs of different shapes or
sizes.46cus017
To open Push the cover open.To emptyPress on the edge of the raised cover
in the opening direction (arrow). You
can now pull the ashtray upward for
removal.460de104
Page 173 of 199

173n
IndexDataTechnologyRepairsCar careControlsOverview
Deceleration sensors continuously
monitor the acceleration forces acting
upon the vehicle. If, as the result of a
frontal collision, a deceleration is
reached at which the protection of the
safety belts alone is no longer ade-
quate, the gas generators of the driver
and passenger-front airbags are ignited.
However, the passenger-side airbag is
only triggered if an additional sensor
has recognized that the passenger seat
is occupied.
In the event of a side collision, the
side airbags in the front are triggered
if necessary. 390de012
The airbags located under the marked
covers inflate and unfold in a matter of
a few milliseconds. In this process, they
tear through the designed separation
points of the upholstered covers or
press them out.
Because the inflation process must be
virtually instantaneous, it is necessarily
accompanied by a certain amount of
ignition and inflation noise. The gas
required to inflate the airbags is not
dangerous, and the smoke associated
with it dissipates.
The entire process is completed within
fractions of a second.Highly sensitive sensors monitor the
wheel speeds, steering angle, lateral
acceleration, brake pressure and the
movement of the vehicle around its
vertical axis.
If differences in the wheel speeds occur,
the system counteracts the danger of
wheelspin by reducing torque. If neces-
sary, the system also responds with
additional brake applications at the
rear wheels.
In addition, DSC permanently monitors
the vehicle's current operating condition
and compares it with an ideal condition
that is calculated from the sensor sig-
nals. If deviations from this occur (un-
dersteering or oversteering, for in-
stance), DSC can stabilize the vehicle in
fractions of a second by reducing engine
output and with the assistance of brak-
ing intervention at individual wheels.
As a result, most skids can be preven-
ted from their very onset.
You may need some time to become
accustomed to this system intervention.
However, it provides optimum drive
force and vehicle stability.
The braking intervention may be
accompanied by sounds specific to
the system.
Airbags DSC
Page 178 of 199

178n
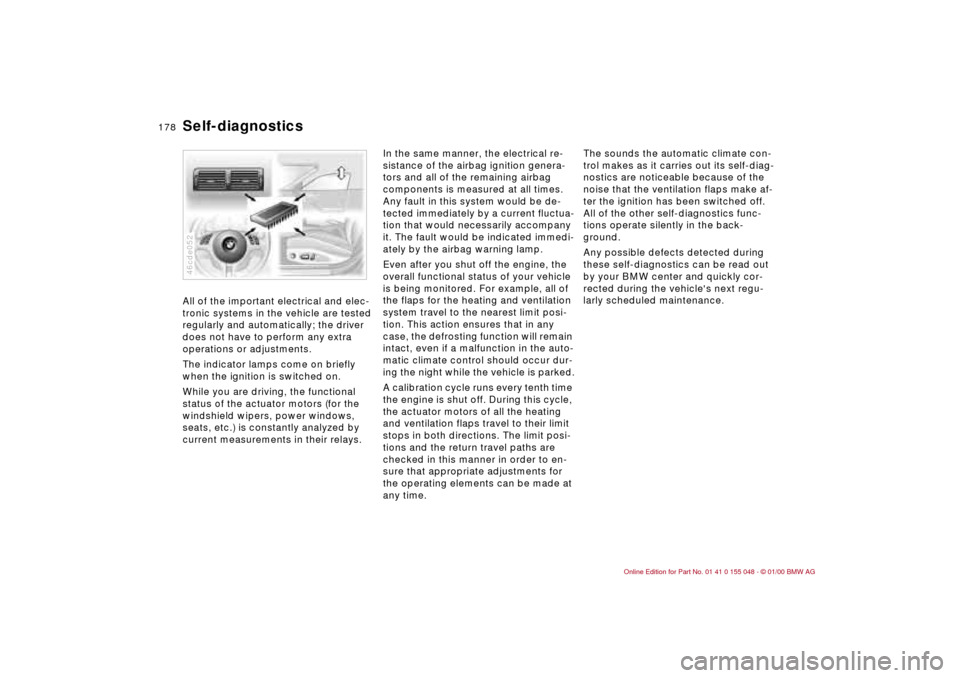
Self-diagnostics All of the important electrical and elec-
tronic systems in the vehicle are tested
regularly and automatically; the driver
does not have to perform any extra
operations or adjustments.
The indicator lamps come on briefly
when the ignition is switched on.
While you are driving, the functional
status of the actuator motors (for the
windshield wipers, power windows,
seats, etc.) is constantly analyzed by
current measurements in their relays. 46cde052
In the same manner, the electrical re-
sistance of the airbag ignition genera-
tors and all of the remaining airbag
components is measured at all times.
Any fault in this system would be de-
tected immediately by a current fluctua-
tion that would necessarily accompany
it. The fault would be indicated immedi-
ately by the airbag warning lamp.
Even after you shut off the engine, the
overall functional status of your vehicle
is being monitored. For example, all of
the flaps for the heating and ventilation
system travel to the nearest limit posi-
tion. This action ensures that in any
case, the defrosting function will remain
intact, even if a malfunction in the auto-
matic climate control should occur dur-
ing the night while the vehicle is parked.
A calibration cycle runs every tenth time
the engine is shut off. During this cycle,
the actuator motors of all the heating
and ventilation flaps travel to their limit
stops in both directions. The limit posi-
tions and the return travel paths are
checked in this manner in order to en-
sure that appropriate adjustments for
the operating elements can be made at
any time.The sounds the automatic climate con-
trol makes as it carries out its self-diag-
nostics are noticeable because of the
noise that the ventilation flaps make af-
ter the ignition has been switched off.
All of the other self-diagnostics func-
tions operate silently in the back-
ground.
Any possible defects detected during
these self-diagnostics can be read out
by your BMW center and quickly cor-
rected during the vehicle's next regu-
larly scheduled maintenance.