2000 AUDI ALLROAD engine
[x] Cancel search: enginePage 251 of 306

VEHI
CLE CA
RE---------------------------------------------------
Windshield I headlight washer container
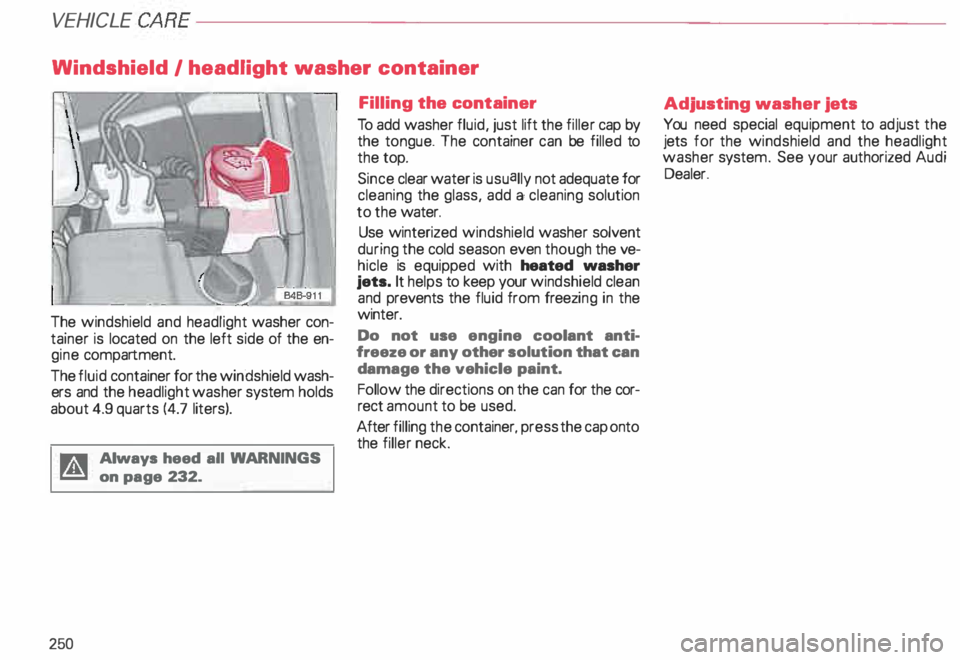
The windshield and headlight washer con
tainer is located on the left side of the en
gine compartment.
The fluid container for the windshield wash
ers and the headlight washer system holds
about 4.9 quarts (4.7 liters).
A Always heed all WAR NINGS
� on page 232.
250 Filling
the container
To add washer fluid, just lift the filler cap by
the tongue. The container can be filled to
the top.
Since clear water is usually not adequate for
cleaning the glass, add a cleaning solution
to the water.
Use winterized windshield washer solvent
during the cold season even though the ve
hicle is equipped with heated washer
jets. It helps to keep your windshield clean
and prevents the fluid from freezing in the
winter.
Do not use engine coolant anti·
freeze or any other solution that can
damage the vehicle paint.
Follow the directions on the can for the cor
rect amount to be used.
After filling the container, press the cap onto
the filler neck. Adjusting
washer jets
You need special equipment to adjust the
jets for the windshield and the headlight
washer system. See your authorized Audi
Dealer.
Page 262 of 306

• Winter tires with studs should be run
only at moderate speeds when new in order
to give the studs time to settle.
Do not drive a vehicle equipped with
winter tires at prolonged high
speed.
Winter tires use a softer rubber compound
and a deeper tread pattern and therefore
have a lower speed rating and reduced trac
tion and durability when used on dry roads.
• When winter tires or all season tires are
mounted, make sure you observe the
speed limitations for which the tire is rated.
The following speed rating code letters are
applicable:
0- up to 1 00 mph (160 km/h)
T- up to 118 mph (190km/h)
H- up to 130 mph (210 lcm/h). �W
ARNING
• Winter tires available for your
vehicle may have a maximum
speed rating which is less than the
maximum speed of your vehicle.
• Driving faster than the maxi
mum speed for which tires are
rated and approved will lead to
sudden tire failure. This can cause
loss of vehicle control and lead to
an accident and personal injury.
• Never operate a vehicle at
speeds greater than the maximum
speed rating of its tires.
• Always observe speed limits
and adjust your vehicle to prevail
ing road and traffic conditions.
Snow chains
• For engineering reasons, snow chains
must only be installed on special winter ti
res• 1).
11 Not available at the time of printing. VEHI
CLE CARE
• If you want to mount snow chains
on your vehicle, consult your Audi
Dealer for proper rim I tire combina
tion.
• Snow chains should only be
installed on the rear wheels, never
on the front wheels.
Where snow chains are mandatory
on certain roads, this normally also
applies to vehicles with All Wheel
Drive.
When you install snow chains,
check the tire air pressure first to
make sure it's correct, otherwise the
chains will not fit the wheel prop
erly.
Only use chains with fine pitch links protrud
ing no more than 1h inch (15 mm), including
tensioner, from tire tread and side walls.
Wheels must rotate freely in all steering
positions with chains mounted to prevent
damage to body, axle or brake components.
Drive slowly and follow the chain
manuf acturer's instructions.
Remove chains when roads are free of
snow. Otherwise, the chains can damage
the tires and impair vehicle handling.
261
Page 265 of 306

DO-IT-Y
OURSELF SERVICE----------------------
Jack and
tools
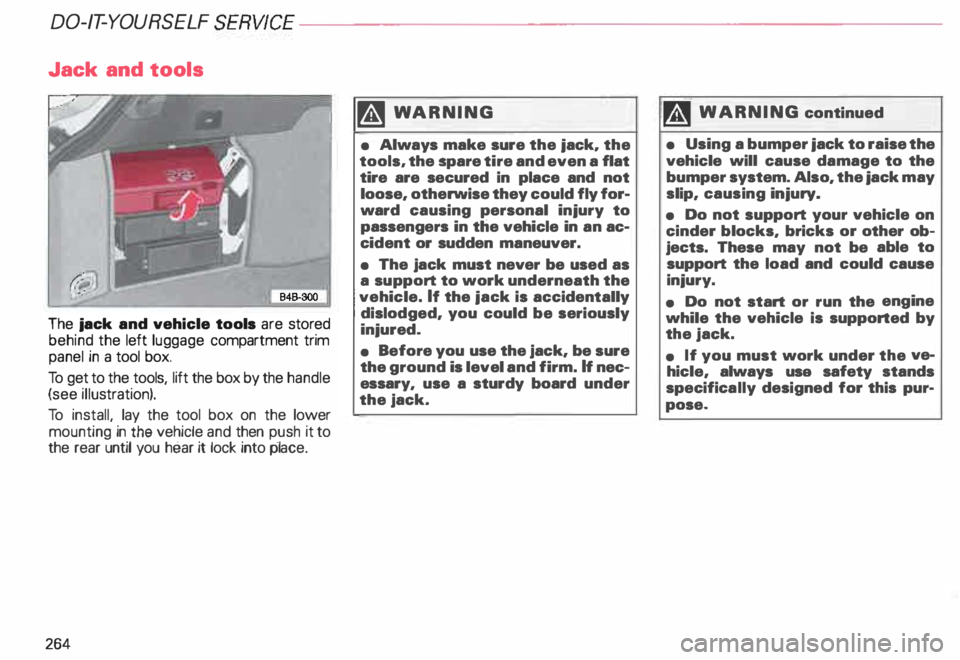
The jack and vehicle tools are stored
behind the left luggage compartment trim
panel in a tool box.
To get to the tools, lift the box by the handle
(see illustration).
To install, lay the tool box on the lower
mounting in the vehicle and then push it to
the rear until you hear it lock into place.
264 �W
ARNING
• Always make sure the jack. the
tools, the spare tire and even a flat
tire are secured in place and not
loose, otherwise they could fly for
ward causing personal injury to
passengers in the vehicle in an ac
cident or sudden maneuver.
• The jack must never be used as
a support to work underneath the
vehicle. If the jack is accidentally
dislodged, you could be seriously
injured.
• Before you use the jack, be sure
the ground is level and firm. If nec
essary, use a sturdy board under
the jack.
, ... WARNING continued
• Using a bumper jack to raise the
vehicle will cause damage to the
bumper system. Also, the jack may
slip, causing injury.
• Do not support your vehicle on
cinder blocks, bricks or other ob
jects. These may not be able to
support the load and could cause
injury.
• Do not start or run the engine
while the vehicle is supported by
the jack.
• If you must work under the ve
hicle, always usa safety stands
specifica lly designed for this pur
pose.
Page 267 of 306

DO-IT-YOURSELF
SERVICE----------------------
Spare wheel
Yo ur vehicle is equip ped with a spare wheel
(deflated full size spare tire) and an accom
panying compressor.
The deflated full size spare tire and com
pressor are located beneath the floor of the
luggage compartment. The spare wheel is
held down by a knurled bolt.
On vehicle' s equipped with a childr en's
bench seat, the seat must be folded back to
allow the spare wheel to be removed -see
page 94.
"Changine a wheel" and "Inflating the de
flated full size spare tire" -see page 267.
266 The
following points must be ob
served when the deflated full size
spare tire is used:
• The deflated full size spare tire is
only designed for brief, temporary
use. Therefore, replace it with a nor
mal wheel as soon as poss ible.
• Never drive at speeds over 50 mph
(80 km/h). Avoid jackrabbit starts, hard bra
king and aggressive turns!
• Do not take the vehicle to automatic car
washes when the deflated full size spare
tire is installed.
• The deflated full size spare tire was de
veloped especially for your vehicle model. It
must not be used on other models. Simi
larly, do not use spare wheels from other ve
hicle models on your car. •
For engineering reasons, snow chains
must not be used on the deflated full size
spare tire.
If the vehicle must be driven with snow
chains, and one of its rear tires is flat, you
will first need to install the collapsible rear ti
re on the front axle. This is because for engi
neering reaons snow chains can only be in
stalled on special winter tires*1) and only
on rear wheels.
After you've installed the spare tire on the
front axle, install the snow chain on the
wheel you've removed from the front axle.
and then install this wheel on the rear axle
in place of the wheel whose tire is flat. As
soon as possible, correct the tire pressure
to the proper setting.
• Never install normal or winter tires on the
deflated full size spare tire rim.
• Never drive the vehicle with more than
one deflated full size spare tire installed.
11 Not available at the time of printing.
Page 268 of 306

•
The deflated full size spare tire cannot be
repaired or mounted using conventional
shop equipment. This work always has to
be performed by the man ufacturer of the
collapsible tire.
• All the air must be let out of the tire after
use before stowing it in the storage area
prov ided for it in the vehicle. Once all the air
is out, the tire will return to its original form.
To let the air out of the tire, either use a
sharp object to press down on the metal pin
in the valve, or use the valve-remo ving tool
on the back side of the dust cap to unscrew
the valve stem. Changing
a wheel
�W ARNING
You or your passengers could be
injured while changing a wheel if
you do not follow safety precau
tions:
• If you have a flat tire, move a
safe distance off the road. Turn off
the engine, turn the emergency
flasher on and use other warning
devices to alert other motorists.
• Passengers must not rema in in
the vehicle when it is jacked up.
This includes children as well as
adults.
• Make sure that passengers wait
in a safe place away from the ve
hicle and well away from the road
way and traffic.
• Before you change a wheel, be
sure the ground is level and firm.
If necessary, use a sturdy board
under the jack. DO-IT-YOURSELF
SERVICE
�� WARN ING continued
• After installing the spare wheel,
make sure that you remount the
flat tire/Wheel in its storage area
properly and tighten the plastic
knurled screw securely.
• To help prevent the vehicle from
moving suddenly and possibly
slipping off the jack, always fully
set the parking brake and block
the wheel diagonally opposite the
wheel being changed. When one
front wheel is lifted off the
ground, placing the automatic
transmission in P (Park) will not
prevent vehicle movement.
267
Page 277 of 306

DO-IT-YOURSELF
SERVICE----------------------
No.
A11 No.
A 11 Automatic
circuit breakers
26 -Rear window defogger,
air recirculation . . . . . . . .
30
27 -Heated steering wheel,
rear window wiper , . . . . . 15
28 -Fuel pump . . . . . . . , . . . . 20
29 - Engine timing . . . . . . . . . .
30
30 -Power roof . . . . . .
. ... 20
31 -Back-up lights, cruise control,
Automatic Transmission,
data link connector for
On Board Diagnostic,
automatic dimmng inside mirror
15
32 -Engine timing . . . . . . . . . . . . . . . . . 20
33 -Ciga rette lighter 15
34 - Engine timing
1l Amps
276 15 35
-Va cant
36 -Front fog lights,
rear fog light ...... .
37 -Radio ........... .
38 - Luggage compartment light, . . .
15
. . ... 20
power locking system . . . . . . . . . . 20
39 -Emergency flasher system ....... 15
40 -Horn . . . . . . . . . . . . . . . . . . . . . . . 25
41 -Anti-lock brake system (ABS) .. .. 25
42 -Electronic Stability Programm .... 25
43 -$-contact (radio) . . . . . . . . . . . . . . 5
44 -Seat heating . ... ... . ... ... ..... 30 The
electric power windows and the elec
tric seat adjusters are protected with circuit
breakers which reset automatically after
the circuit overload has been correcte d.
Page 278 of 306

----------------------DO-IT-YOURSELF SERVICE
Replacing bulbs
It is becoming increasingly more and more
difficult to replace vehicle light bulbs since
in many cases, other parts of the car must
first be removed before you are able to get
to the bulb. This applies especially to the
light bulbs in the front of your car which you
can only reach through the engine compart
ment.
For your safety, we recommend that you
have your authorized Audi Dealer replace
any bulbs for you, since your dealer has nec
essary tools, the correct bulbs and the ex
pertise.
g Always heed all WARNINGS
� on page 232. Gas
discharge lamps
(Xenon lights)•
Yo ur vehicle may be equipped with gas dis
charge lamps. Due to the high elec trical
voltage, have the bulbs exchanged by a
qualified technician.
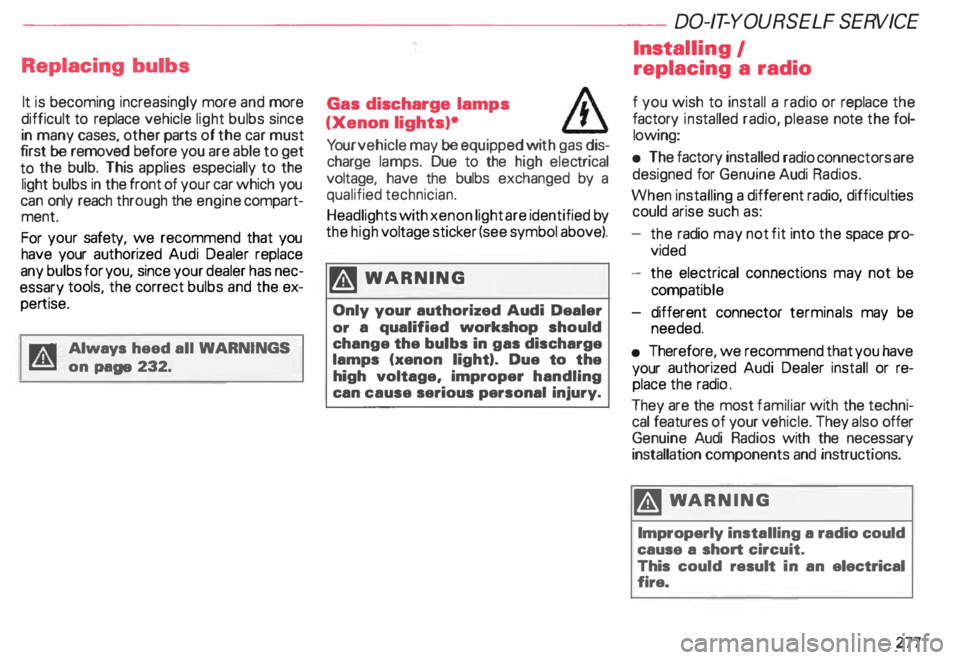
Headlights with xenon light are identified by
the high voltage sticker(see symbol above).
� WARNING
Only your authorized Audi Dealer
or a qualified workshop should
change the bulbs in gas discharge
lamps (xenon light). Due to the
high voltage, improper handling
can cause serious personal injury. Insta
lling I
replacing a radio
f you wish to install a radio or replace the
factory installed radio, please note the fol
lowing:
• The factory installed radio connectors are
designed for Genuine Audi Radios.
When installing a different radio, difficulties
could arise such as:
- the radio may not fit into the space pro
vided
- the electrical connections may not be
compat ible
- different connector terminals may be
needed.
• Therefore, we recommend that you have
your authorized Audi Dealer install or re
place the radiO.
They are the most familiar with the techni
cal features of your vehicle. They also offer
Genuine Audi Radios with the necessary
installation components and instructions.
� WARNING
Improperly installing a radio could
cause a short circuit.
This could result in an electrical
fire.
277
Page 280 of 306

----------------------DO-IT-YOURSELF SERVICE
Note
• Applying a higher voltage booster
battery will cause expensive dam
age to sensitive electronic compo
nents, such as control units, relays,
radio, etc.
• Ve hicle with discharged battery:
Turn off lights and accessories, move lever
of automatic transmission to N (Neutral)
or P (Park) and set parking brake. Use
of jumper cables
�W ARNING
• To avoid serious personal Injury
and damage to the vehicle, heed
all warnings and instructions of
the jumper cable manufacturer.
If in doubt, call for road service.
• The jumper cables must be long
enough so that the vehicles do not
touch.
• When
connecting jumper
cables, make sure that they cannot
get caught in any moving parts in
the engine compartment. Removing
the battery cover -see
page 245.
Improper hook-up of jumper cables
can ruin the generator.
Always connect POSITIVE (+ ) to
POSITIVE (+ ). and NEGATIVE (-)to
NEGATIVE (-).
279