1999 SUZUKI BALENO steering
[x] Cancel search: steeringPage 1 of 65

60G-74E
TABLE OF CONTENTS
MAINTENANCE SERVICE RECORD
WARRANTY POLICY
BEFORE DRIVING
STEERING COLUMN CONTROLS
INSTRUMENT PANEL
OTHER CONTROLS AND EQUIPMENT
OPERATING YOUR VEHICLE
DRIVING TIPS AND SAFE DRIVING
INSPECTION AND MAINTENANCE
EMERGENCY SERVICE
BODY WORK CARE
GENERAL INFORMATION
SPECIFICATIONS
SERVICE NETWORK
60G-74E
FOREWORD
This manual is an essential part of your
vehicle and should be kept with the vehicle
at all times. Please read this manual carefully
and review it from time to time. It contains
important information on safety, operation,
and maintenance. It is especially important
that this manual remain with the vehicle at
the time of resale. The next owner will need
this information also.
You are invited to avail the three free
inspection services as described in this
manual.Three free inspection coupons are
attached to this manual. Please show this
manual to your dealer when you take your
vehicle for any service.
To prolong the life of your vehicle and reduce
maintenance cost, the periodic maintenance
must be carried out according to the
"PERIODIC MAINTENANCE SCHEDULE"
described in "INSPECTION AND
MAINTENANCE" section of this manual.
Periodic maintenance is essential for
preventing trouble and accidents to ensure
your satisfaction and sefety.
Daily Inspection and Care as per "DAILY
INSPECTION CHECKLIST described in the
"INSPECTION AND MAINTENANCE" section
of this Manual is essential for prolonging the
operating lite of the vehicle and for safe driving.
MARUTI UDYOG LIMITED believes in
conservation and protection of Earth's
natural resources.
To that end, we encourage every vehicle
owner to recycle, trade in, or properly
dispose of, as appropriate, used motor oil,
coolant, and' other fluids; batteries; and
tyres.
MARUTI UDYOG LIMITED
All information in this manual is
based on the latest product
information available at the time of
publication. Due to improvements
or other changes, there may be
discrepancies between information
in this manual and your vehicle.
Maruti reserves the right to make
changes at any time without notice.
This vehicle may not comply with
standards or regulations of other
countries. Before attempting to
register this vehicle in any other
country, check all applicable
regulations and make any necessary
modifications.
IMPORTANT
WARNING/CAUTION/NOTE
Please read this manual and follow its
instructions carefully. To emphasise special
information, the words WARNING,
CAUTION, and NOTE have special
meanings. Information following these signal
words should be carefully reviewed.
WARNING
The personal safety of the driver,
passengers, or by standers may be
involved. Disregarding this information
could result in their injury or death.
CAUTION
These instructions point out special
service procedures or precautions that
must be followed to avoid damaging
the vehicle.
NOTE:
This provides special information to make
maintenance easier or important instructions
clearer.
0-1
3
Page 15 of 65
60G-74E
STEERING COLUMN CONTROLS
STEERING COLUMN CONTROLS
ignition Switch 4.1
Lighting/Tum Signal Control Lever 4-2
Windscreen Wiper and Washer Lever 4-4
Horn 4.5
Rear Wiper and Washer(lf equipped) 4-5
31
STEERING COLUMN CONTROLS
60G-74E
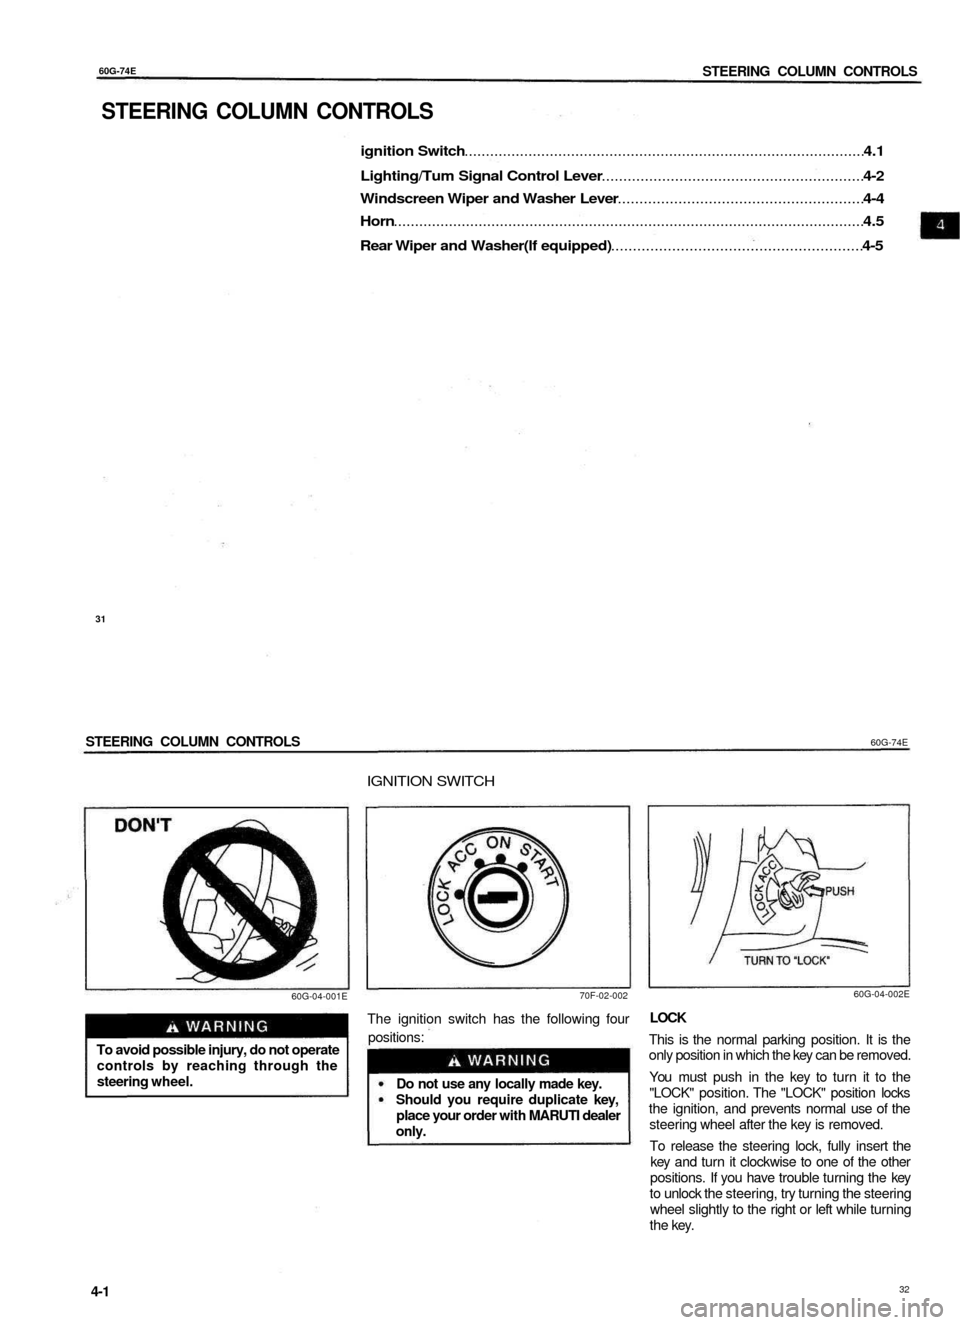
IGNITION SWITCH
60G-04-001E
70F-02-002
To avoid possible injury, do not operate
controls by reaching through the
steering wheel.
The ignition switch has the following four
positions:
Do not use any locally made key.
Should you require duplicate key,
place your order with MARUTI dealer
only.
60G-04-002E
LOCK
This is the normal parking position. It is the
only position in which the key can be removed.
You must push in the key to turn it to the
"LOCK" position. The "LOCK" position locks
the ignition, and prevents normal use of the
steering wheel after the key is removed.
To release the steering lock, fully insert the
key and turn it clockwise to one of the other
positions. If you have trouble turning the key
to unlock the steering, try turning the steering
wheel slightly to the right or left while turning
the key.
4-1
32
Page 16 of 65

6OG-74E
STEERING COLUMN CONTROLS
ACC
Accessories such as the radio can operate,
but the engine is off.
ON
This is the normal operating position. All
electrical systems are on.
START
This is the position for starting the engine using
the starter motor. The key should be released
from this position as soon as the engine starts.
Never remove the ignition key while
the vehicle is moving. The steering
wheel will lock and you will not be
able to steer the vehicle.
Do not leave children alone In a
parked vehicle. Unattended children
could cause accidental movement of
the vehicle, which could result in
severe personal Injury.
Always remove the key when parked
to prevent unintentional operation of
the vehicle and to improve security.
LIGHTING/TURN SIGNAL
CONTROL LEVER
CAUTION
Do not use the starter motor for
more than 15 seconds at a time. If
the engine does not start; wait 15
seconds before trying again. If the
engine does not start after several
attempts, check the fuel and ignition
systems or consult your MARUTI
dealer.
Do not leave the ignition switch in
the "ON" position if the engine is not
running as the battery will
discharge.
60G-04-003
This control lever is located on the outboard
side of the steering column. Operate the lever
as described below.
Lighting Operation
To turn the lights on or off, twist the knob on
the end of the lever. There are three positions:
in the "OFF" position all lights are off; in the
middle position the front parking lights, tail-
lights, registration plate light, and instrument
lights are on, but the headlights are off; in the
third position the headlights come on in
addition to the other lights.
33
4-2
STEERING COLUMN CONTROLS
60G-74E
With the headlights on, push the lever forward
to switch to the high beams (main beams) or
pull the lever toward you to switch to the low
beams. When the high beams (main beams)
are on, a light on the instrument panel will
come on. To flash the high beams (main
beams) pull the lever slightly towards you and
release it.
Lights "On" Reminder (if Equipped)
A buzzer/chime sounds to remind you to turn
off the lights if they are left on when the ignition
key is removed and the driver's door is opened.
Turn Signal Operation
With the ignition switch in the "ON" position,
move the lever up or down to activate the left
or right turn signals.
Normal Turn Signal
Move the lever clockwise until it clicks to signal
a right turn or anticlockwise to signal a left
turn. When the turn is completed, the signal
will cancel and the lever will return to its normal
position.
6OG-04-006
Lane Change Signal
Some times, such as when changing lanes,
the steering wheel is not turned far enough
to cancel the turn signal. For convenience,
you can flash the turn signal by moving the
lever part way and holding it there. The
lever will return to its normal position when
you release it.
4-3
34
60G-04-006
60G-04-005
60G-04-004E
Page 17 of 65
60G-74E
STEERING COLUMN CONTROLS
WINDSCREEN WIPER AND
WASHER LEVER
60G-04-007E
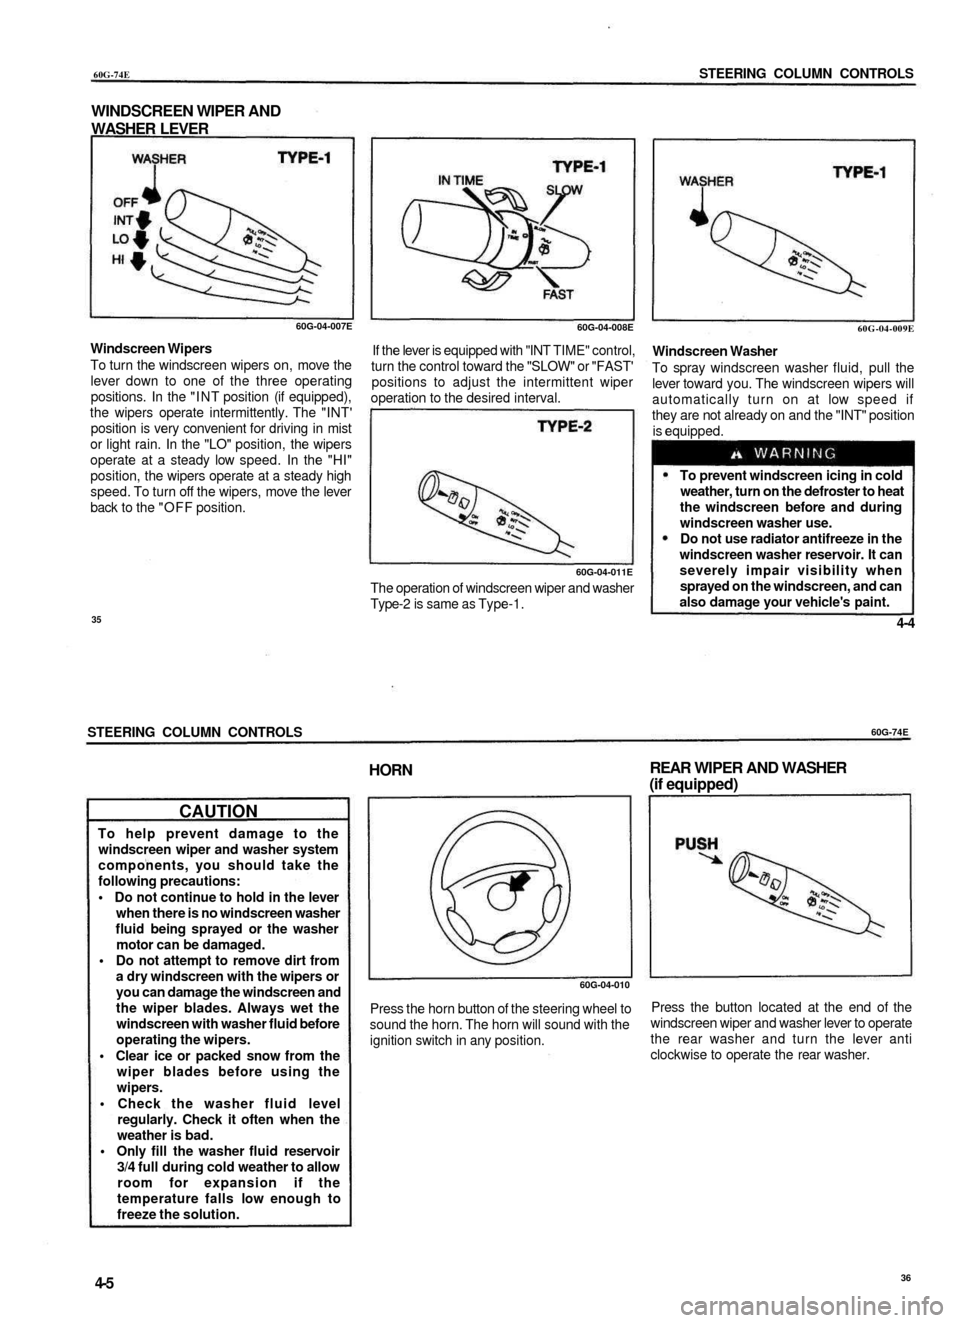
Windscreen Wipers
To turn the windscreen wipers on, move the
lever down to one of the three operating
positions. In the "INT position (if equipped),
the wipers operate intermittently. The "INT'
position is very convenient for driving in mist
or light rain. In the "LO" position, the wipers
operate at a steady low speed. In the "HI"
position, the wipers operate at a steady high
speed. To turn off the wipers, move the lever
back to the "OFF position.
60G-04-008E
If the lever is equipped with "INT TIME" control,
turn the control toward the "SLOW" or "FAST'
positions to adjust the intermittent wiper
operation to the desired interval.
60G-04-011E
The operation of windscreen wiper and washer
Type-2 is same as Type-1.
60G-04-009E
Windscreen Washer
To spray windscreen washer fluid, pull the
lever toward you. The windscreen wipers will
automatically turn on at low speed if
they are not already on and the "INT" position
is equipped.
To prevent windscreen icing in cold
weather, turn on the defroster to heat
the windscreen before and during
windscreen washer use.
Do not use radiator antifreeze in the
windscreen washer reservoir. It can
severely impair visibility when
sprayed on the windscreen, and can
also damage your vehicle's paint.
35
4-4
STEERING COLUMN CONTROLS
60G-74E
CAUTION
To help prevent damage to the
windscreen wiper and washer system
components, you should take the
following precautions:
• Do not continue to hold in the lever
when there is no windscreen washer
fluid being sprayed or the washer
motor can be damaged.
• Do not attempt to remove dirt from
a dry windscreen with the wipers or
you can damage the windscreen and
the wiper blades. Always wet the
windscreen with washer fluid before
operating the wipers.
• Clear ice or packed snow from the
wiper blades before using the
wipers.
• Check the washer fluid level
regularly. Check it often when the
weather is bad.
• Only fill the washer fluid reservoir
3/4 full during cold weather to allow
room for expansion if the
temperature falls low enough to
freeze the solution.
HORN
REAR WIPER AND WASHER
(if equipped)
60G-04-010
Press the horn button of the steering wheel to
sound the horn. The horn will sound with the
ignition switch in any position.
Press the button located at the end of the
windscreen wiper and washer lever to operate
the rear washer and turn the lever anti
clockwise to operate the rear washer.
4-5
36
Page 31 of 65
OTHER CONTROLS AND EQUIPMENTS
60G-74E
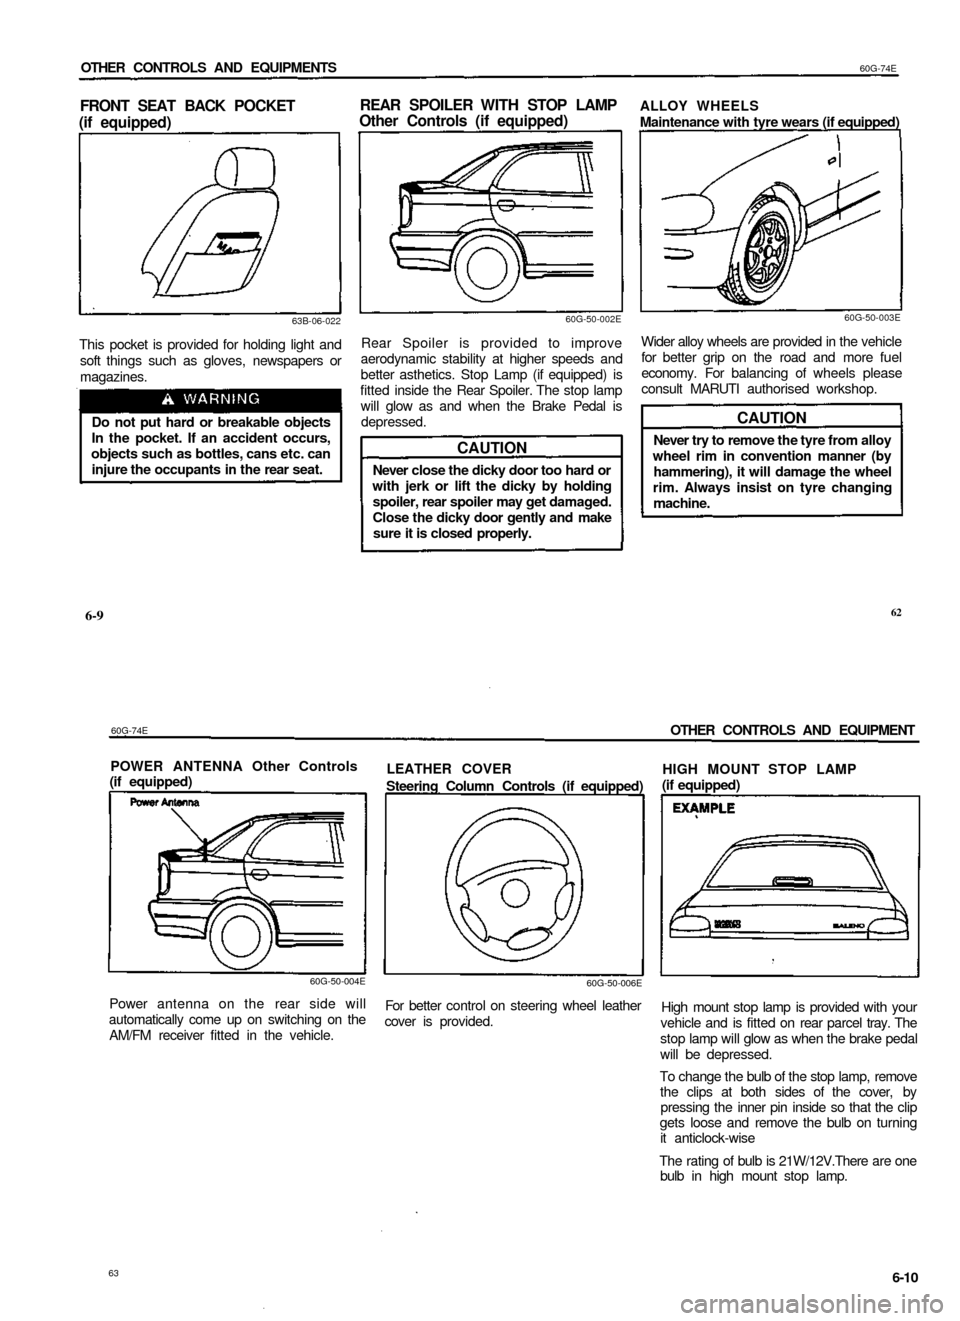
FRONT SEAT BACK POCKET
(if equipped)
REAR SPOILER WITH STOP LAMP
Other Controls (if equipped)
63B-06-022
This pocket is provided for holding light and
soft things such as gloves, newspapers or
magazines.
Do not put hard or breakable objects
In the pocket. If an accident occurs,
objects such as bottles, cans etc. can
injure the occupants in the rear seat.
60G-50-002E
Rear Spoiler is provided to improve
aerodynamic stability at higher speeds and
better asthetics. Stop Lamp (if equipped) is
fitted inside the Rear Spoiler. The stop lamp
will glow as and when the Brake Pedal is
depressed.
CAUTION
Never close the dicky door too hard or
with jerk or lift the dicky by holding
spoiler, rear spoiler may get damaged.
Close the dicky door gently and make
sure it is closed properly.
ALLOY WHEELS
Maintenance with tyre wears (if equipped)
60G-50-003E
Wider alloy wheels are provided in the vehicle
for better grip on the road and more fuel
economy. For balancing of wheels please
consult MARUTI authorised workshop.
CAUTION
Never try to remove the tyre from alloy
wheel rim in convention manner (by
hammering), it will damage the wheel
rim. Always insist on tyre changing
machine.
6-9
62
60G-74E
OTHER CONTROLS AND EQUIPMENT
POWER ANTENNA Other Controls
(if equipped)
LEATHER COVER
Steering Column Controls (if equipped)
60G-50-004E
60G-50-006E
Power antenna on the rear side will
automatically come up on switching on the
AM/FM receiver fitted in the vehicle.
For better control on steering wheel leather
cover is provided.
HIGH MOUNT STOP LAMP
(if equipped)
High mount stop lamp is provided with your
vehicle and is fitted on rear parcel tray. The
stop lamp will glow as when the brake pedal
will be depressed.
To change the bulb of the stop lamp, remove
the clips at both sides of the cover, by
pressing the inner pin inside so that the clip
gets loose and remove the bulb on turning
it anticlock-wise
The rating of bulb is 21W/12V.There are one
bulb in high mount stop lamp.
63
6-10
Page 33 of 65

60G-74E
OPERATING YOUR VEHICLE
Once a week, or each time you fill your fuel
tank, perform the following under-bonnet
checks:
1) Engine oil level.
2) Coolant level.
3) Brake fluid level.
4) Power steering (if equipped) fluid level.
5) Windscreen washer fluid level.
6) Battery solution level.
7) Bonnet latch operation.
Pull the bonnet release handle inside the
vehicle. Make sure that you can not open
the hood all the way without releasing the
secondary latch. Be sure to close the hood
securely after checking for proper
operation. See "All Latches, Hinges &
Locks" of "PERIODIC MAINTENANCE
SCHEDULE" in the "INSPECTION AND
MAINTENANCE" section for lubrication
schedule.
Make sure the bonnet is fully closed
and latched before driving. If it is not,
it can fly up unexpectedly during
driving, obstructing your view and
resulting in an accident.
STARTING THE ENGINE
Before starting the engine:
1) Make sure the parking brake is applied
fully.
2) Manual Transmission - Shift into "N"
(neutral) and depress the clutch pedal all
the way to the floor. Hold it while starting
the engine.
Make sure that the parking brake is
applied fully and the transmission is in
Neutral before attempting to start the
engine.
CAUTION
Stop turning the starter immediately
after the engine has started or the
starter system can be damaged.
Do not crank the engine for more
than 15 seconds at a time. If the
engine doesn't start on the first try,
wait about 15 seconds before trying
again.
Starting a Cold Engine
Engine which is started after 6 hours should
be treated as cold engine.
For Electronic fuel injection models
• With your foot off the accelerator pedal,
crank the engine by turning the ignition
key to "START1. Release the key when the
engine starts.
• If the engine does not start after 15
seconds of cranking, wait about 15
seconds, then press down the accelerator
pedal to 1/3 of its travel and try cranking
the engine again. Release the key and
accelerator pedal when the engine starts.
• If the engine still does not start, try holding
the accelerator pedal all the way to the
floor while cranking. This should clear the
engine if it is flooded.
Starting a Warm Engine
For Electronic fuel injection models:
Use the same procedure as for "Starting a cold
Engine".
67
7-2
OPERATING YOUR VECHILE
60G-74E
USING THE TRANSMISSION
70F-04-005E
Starting off
To start off, depress and maintain pressure
upon the clutch pedal and change into 1st
gear. After releasing the parking brake,
gradually release the clutch. When you hear
a change in the engine's sound (speed), gently
apply pressure to the accelerator to keep the
engine sound (speed) constant whilst
continuing to gradually release the clutch.
Gear changing
All forward gears are synchronized, which
provides for quiet, easy changing. Always
depress the clutch pedal fully before changing
gears.The following table shows the maximum
allowable speed for each gear.
GEAR
First
Second
Third
Fourth
Fifth
MAXIMUM SPEED
50 km/h
95 km/h
140 km/h
Top Speed
Top Speed
7-3
68
Page 36 of 65
60G-74E
DRIVING TIPS AND SAFE DRIVING
DRIVING TIPS AND SAFE DRIVING
High Speed Driving 8-1
Driving on Hills 8-1
Driving on Slippery Roads 8-2
Driving on Wet Roads 8-2
Do's and Don'ts for Safe Driving 8-3
73
DRIVING TIPS AND SAFE DRIVING
60G-74E
70F-06-001
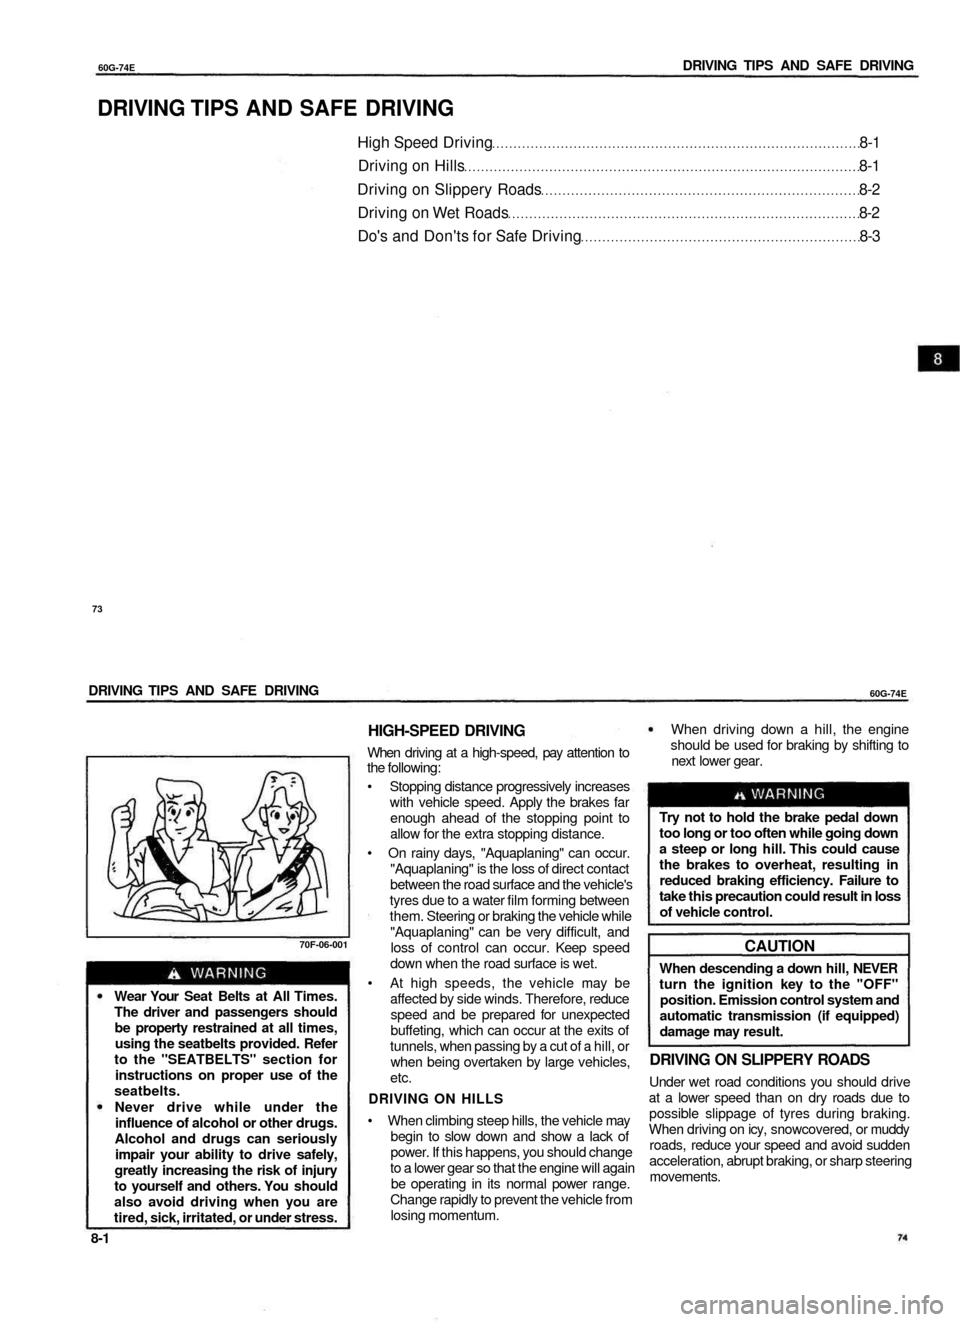
Wear Your Seat Belts at All Times.
The driver and passengers should
be property restrained at all times,
using the seatbelts provided. Refer
to the "SEATBELTS" section for
instructions on proper use of the
seatbelts.
Never drive while under the
influence of alcohol or other drugs.
Alcohol and drugs can seriously
impair your ability to drive safely,
greatly increasing the risk of injury
to yourself and others. You should
also avoid driving when you are
tired, sick, irritated, or under stress.
HIGH-SPEED DRIVING
When driving at a high-speed, pay attention to
the following:
• Stopping distance progressively increases
with vehicle speed. Apply the brakes far
enough ahead of the stopping point to
allow for the extra stopping distance.
• On rainy days, "Aquaplaning" can occur.
"Aquaplaning" is the loss of direct contact
between the road surface and the vehicle's
tyres due to a water film forming between
them. Steering or braking the vehicle while
"Aquaplaning" can be very difficult, and
loss of control can occur. Keep speed
down when the road surface is wet.
• At high speeds, the vehicle may be
affected by side winds. Therefore, reduce
speed and be prepared for unexpected
buffeting, which can occur at the exits of
tunnels, when passing by a cut of a hill, or
when being overtaken by large vehicles,
etc.
DRIVING ON HILLS
• When climbing steep hills, the vehicle may
begin to slow down and show a lack of
power. If this happens, you should change
to a lower gear so that the engine will again
be operating in its normal power range.
Change rapidly to prevent the vehicle from
losing momentum.
When driving down a hill, the engine
should be used for braking by shifting to
next lower gear.
Try not to hold the brake pedal down
too long or too often while going down
a steep or long hill. This could cause
the brakes to overheat, resulting in
reduced braking efficiency. Failure to
take this precaution could result in loss
of vehicle control.
CAUTION
When descending a down hill, NEVER
turn the ignition key to the "OFF"
position. Emission control system and
automatic transmission (if equipped)
damage may result.
DRIVING ON SLIPPERY ROADS
Under wet road conditions you should drive
at a lower speed than on dry roads due to
possible slippage of tyres during braking.
When driving on icy, snowcovered, or muddy
roads, reduce your speed and avoid sudden
acceleration, abrupt braking, or sharp steering
movements.
8-1
Page 40 of 65
60G-74E
DRIVING TIPS AND SAFE DRIVING
72F-08-018
72F-08-019
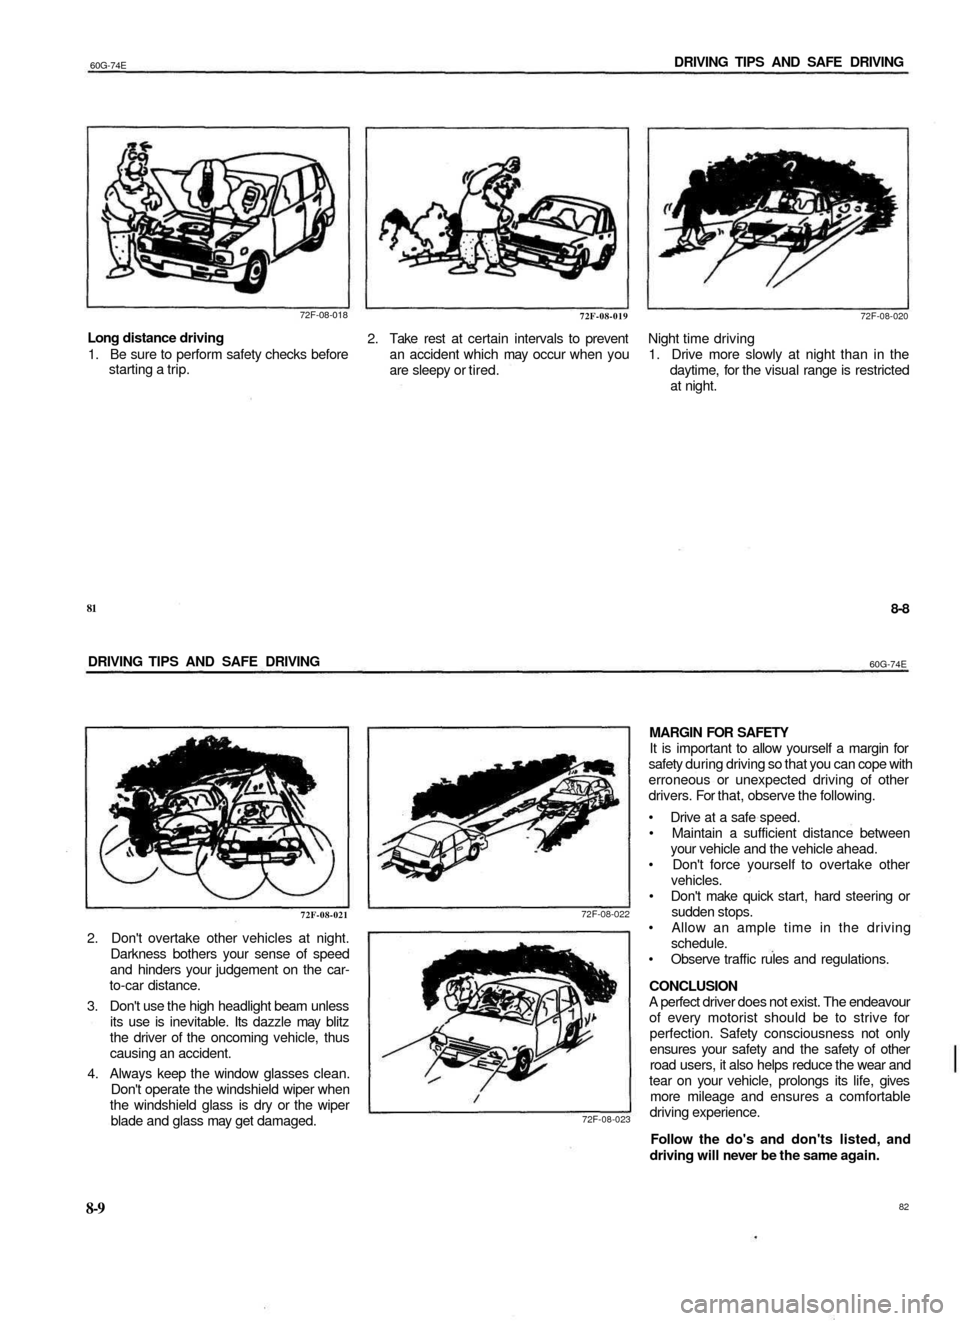
Long distance driving
1. Be sure to perform safety checks before
starting a trip.
2. Take rest at certain intervals to prevent
an accident which may occur when you
are sleepy or tired.
72F-08-020
Night time driving
1. Drive more slowly at night than in the
daytime, for the visual range is restricted
at night.
81
8-8
DRIVING TIPS AND SAFE DRIVING
60G-74E
72F-08-021
2. Don't overtake other vehicles at night.
Darkness bothers your sense of speed
and hinders your judgement on the car-
to-car distance.
3. Don't use the high headlight beam unless
its use is inevitable. Its dazzle may blitz
the driver of the oncoming vehicle, thus
causing an accident.
4. Always keep the window glasses clean.
Don't operate the windshield wiper when
the windshield glass is dry or the wiper
blade and glass may get damaged.
72F-08-022
72F-08-023
MARGIN FOR SAFETY
It is important to allow yourself a margin for
safety during driving so that you can cope with
erroneous or unexpected driving of other
drivers. For that, observe the following.
• Drive at a safe speed.
• Maintain a sufficient distance between
your vehicle and the vehicle ahead.
• Don't force yourself to overtake other
vehicles.
• Don't make quick start, hard steering or
sudden stops.
• Allow an ample time in the driving
schedule.
• Observe traffic rules and regulations.
CONCLUSION
A perfect driver does not exist. The endeavour
of every motorist should be to strive for
perfection. Safety consciousness not only
ensures your safety and the safety of other
road users, it also helps reduce the wear and
tear on your vehicle, prolongs its life, gives
more mileage and ensures a comfortable
driving experience.
Follow the do's and don'ts listed, and
driving will never be the same again.
8-9
82