1999 NISSAN SENTRA stop start
[x] Cancel search: stop startPage 102 of 223
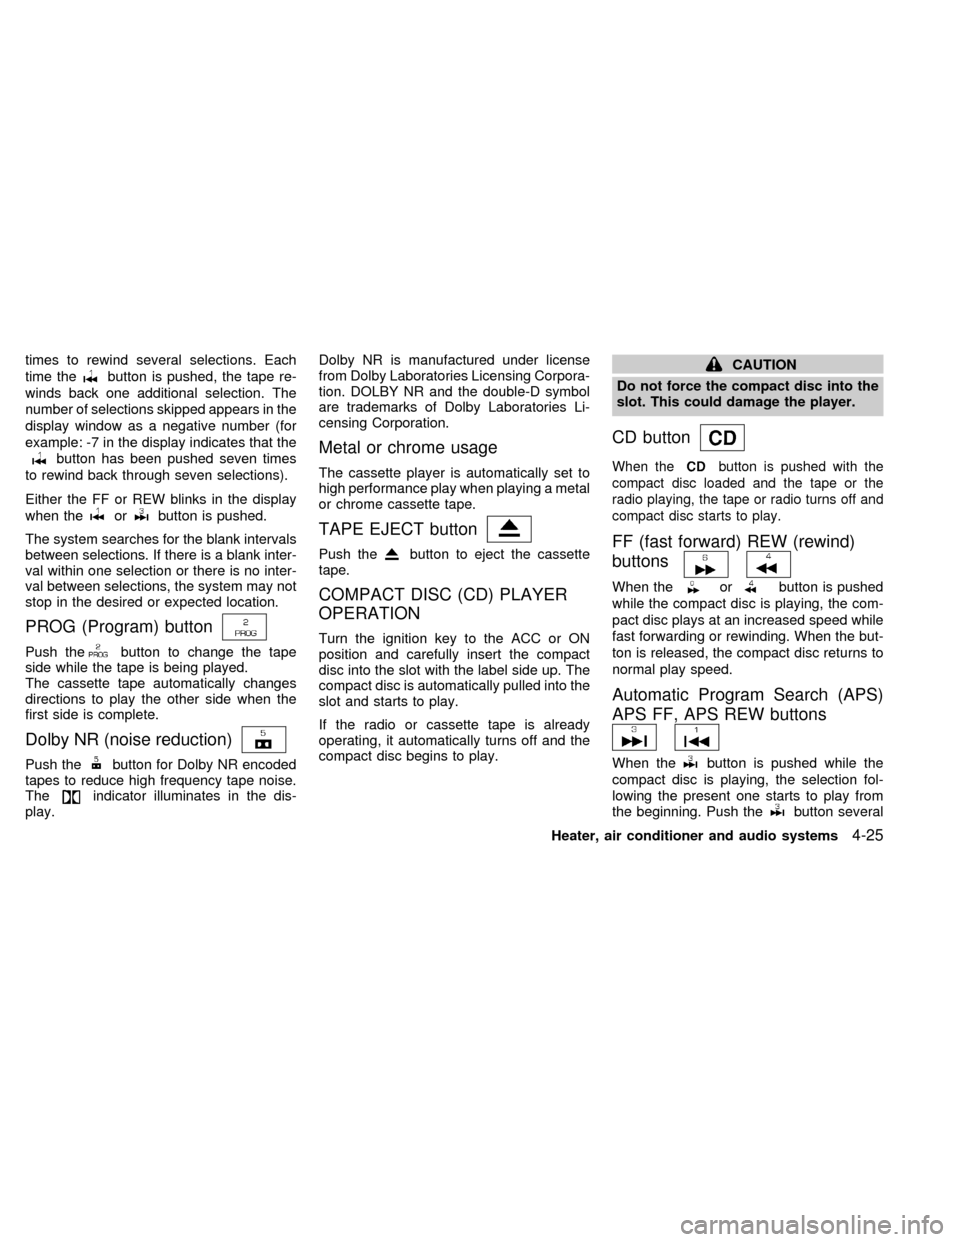
times to rewind several selections. Each
time the
button is pushed, the tape re-
winds back one additional selection. The
number of selections skipped appears in the
display window as a negative number (for
example: -7 in the display indicates that the
button has been pushed seven times
to rewind back through seven selections).
Either the FF or REW blinks in the display
when the
orbutton is pushed.
The system searches for the blank intervals
between selections. If there is a blank inter-
val within one selection or there is no inter-
val between selections, the system may not
stop in the desired or expected location.
PROG (Program) button
Push thebutton to change the tape
side while the tape is being played.
The cassette tape automatically changes
directions to play the other side when the
first side is complete.
Dolby NR (noise reduction)
Push thebutton for Dolby NR encoded
tapes to reduce high frequency tape noise.
The
indicator illuminates in the dis-
play.Dolby NR is manufactured under license
from Dolby Laboratories Licensing Corpora-
tion. DOLBY NR and the double-D symbol
are trademarks of Dolby Laboratories Li-
censing Corporation.
Metal or chrome usage
The cassette player is automatically set to
high performance play when playing a metal
or chrome cassette tape.
TAPE EJECT button
Push thebutton to eject the cassette
tape.
COMPACT DISC (CD) PLAYER
OPERATION
Turn the ignition key to the ACC or ON
position and carefully insert the compact
disc into the slot with the label side up. The
compact disc is automatically pulled into the
slot and starts to play.
If the radio or cassette tape is already
operating, it automatically turns off and the
compact disc begins to play.
CAUTION
Do not force the compact disc into the
slot. This could damage the player.
CD button
When thebutton is pushed with the
compact disc loaded and the tape or the
radio playing, the tape or radio turns off and
compact disc starts to play.
FF (fast forward) REW (rewind)
buttons
When theorbutton is pushed
while the compact disc is playing, the com-
pact disc plays at an increased speed while
fast forwarding or rewinding. When the but-
ton is released, the compact disc returns to
normal play speed.
Automatic Program Search (APS)
APS FF, APS REW buttons
When thebutton is pushed while the
compact disc is playing, the selection fol-
lowing the present one starts to play from
the beginning. Push the
button several
Heater, air conditioner and audio systems
4-25
ZX
Page 107 of 223
WARNING
cDo not leave children, unreliable
adults, or pets alone in your vehicle.
They could accidentally injure them-
selves or others through inadvertent
operation of the vehicle. Also, on hot,
sunny days, temperatures in a closed
vehicle could quickly become high
enough to cause severe or possibly
fatal injuries to people or animals.
cClosely supervise children when they
are around cars to prevent them from
playing and becoming locked in the
trunk where they could be seriously
injured. Keep the car locked, with the
trunk closed, when not in use, and
prevent children's access to car keys.
EXHAUST GAS (carbon monoxide)
WARNING
Do not breathe exhaust gases; they
contain colorless and odorless carbon
monoxide. Carbon monoxide is dan-
gerous.It can cause unconsciousness
or death.
c
If you suspect that exhaust fumes areentering the vehicle, drive with all
windows fully open, and have the
vehicle inspected immediately.
cDo not run the engine in a closed
space such as a garage.
cDo not park the vehicle with the en-
gine running for any extended length
of time.
cKeep the trunk lid closed while driv-
ing, otherwise exhaust gases could
be drawn into the passenger com-
partment. If you must drive in this
manner for some reason, take the
following steps:
1. Open all the windows.
2. Set the air recirculation button (if
so equipped) off and the fan con-
trol dial to four (high) to circulate
the air.
3.
Be sure the rear seats are secured
and latched in the upright position.
cIf electrical wiring or other cable con-
nections must pass to a trailer
through the seal on the trunk lid or
the body, follow the manufacturer's
recommendation to prevent carbon
monoxide entry into the vehicle.cThe exhaust system and body should
be inspected by a qualified mechanic
whenever:
a. The vehicle is raised for service.
b. You suspect that exhaust fumes
are entering into the passenger
compartment.
c. You notice a change in the sound
of the exhaust system.
d.You have had an accident involv-
ing damage to the exhaust system,
underbody, or rear of the vehicle.
THREE WAY CATALYST
The three way catalyst is an emission con-
trol device installed in the exhaust system.
Exhaust gases in the three way catalyst are
burned at high temperatures to help reduce
pollutants.
WARNING
c
The exhaust gas and the exhaust sys-
tem are very hot. Keep people or flam-
mable materials away from the ex-
haust pipe.
cDo not stop or park the vehicle over
flammable materials such as dry
PRECAUTIONS WHEN
STARTING AND DRIVING
5-2Starting and driving
ZX
Page 111 of 223
WARNING
cDo not depress the accelerator pedal
while shifting from P (Park) or N
(Neutral) to R (Reverse), D (Drive), 2
or 1. Always depress the brake pedal
until shifting is completed. Failure to
do so could cause you to lose con-
trol and have an accident.
cCold engine idle speed is high, so
use caution when shifting into a for-
ward or reverse gear before the en-
gine has warmed up.
cNever shift to P (Park) or R (Reverse)
while the vehicle is moving. This
could cause an accident.
CAUTION
cWhen stopping the vehicle on an
uphill grade, do not hold the vehicle
by depressing the accelerator pedal.
The foot brake should be used for
this purpose.
cOn slippery roads, do not downshift.
This may cause a loss of control.The automatic transmission in your vehicle
is electronically controlled by a transmission
control module to produce maximum power
and smooth operation.
The recommended operating procedures for
this transmission are shown on the following
pages. Follow these procedures for maximum
vehicle performance and driving enjoyment.
Starting the vehicle
cAfter starting the engine, fully depress
the foot brake pedal before shifting the
shift selector lever to the D (Drive), R
(Reverse), 2 or 1 position. Be sure the
vehicle is at a complete stop before
attempting to shift the shift selector lever.
cKeep the foot brake pedal depressed
and shift into a driving gear.
c
Release the foot brake, then gradually
start the vehicle in motion.
The automatic transmission is designed so
the foot brake pedal MUST be depressed
before shifting from P (Park) to any drive
position while the ignition switch is ON.
The selector lever cannot be moved out
of P (Park) and into any of the other gear
positions if the ignition key is turned to
LOCK or if the key is removed.The shift selector lever can be moved if
the ignition switch is in the ACC posi-
tion. This allows the vehicle to be moved
if the battery is discharged.
DRIVING WITH AUTOMATIC
TRANSMISSION
(if so equipped)
5-6Starting and driving
ZX
Page 112 of 223

Shifting with automatic transmission
Push the button to shift into P (Park), R (Re-
verse) or from D (Drive) to 2. All other positions
can be selected without pushing the button.
P (Park):
Use this selector position when the vehicle is
parked or when starting the engine. Always
be sure the vehicle is at a complete stop. For
maximum safety, depress the brake pedal,
then push in the shift lever button and move
the lever to the P (Park) position. Apply the
parking brake. When parking on a hill, apply
the parking brake first, then shift the lever
into the P (Park) position.
Shifting from P (Park)
If the ignition switch is in the ON position
and the foot brake pedal is depressed, but
the shift selector lever still cannot be moved
out of P (Park), follow these instructions.
1. Turn the ignition key to the LOCK posi-
tion.
2. Apply the parking brake.
3. Reinsert the key and turn it to the ACC
position.
4.
Depress the foot brake pedal and move
the shift selector lever to N (Neutral).
5. Start the engine.These instructions for starting the vehicle in
N (Neutral) should only be used until service
can be obtained at an authorized NISSAN
dealership.
R (Reverse):
Use this position to back up. Always be sure
the vehicle is at a complete stop before
shifting into the R (Reverse) position. For
maximum safety, check to ensure the area
behind the vehicle is clear. With the brake
pedal depressed, push in the shift selector
lever button and move the shift selector
lever to the R (Reverse) position.
N (Neutral):
Neither forward nor reverse gear is engaged.
The engine can be started in this position.
You may shift to N (Neutral) and restart a
stalled engine while the vehicle is moving.
D (Drive):
Use this position for all normal forward
driving.
2 (Second gear):
Use this position for hill climbing or engine
braking on downhill grades.
ASD0612
Starting and driving5-7
ZX
Page 115 of 223
CAUTION
cDo not rest your foot on the clutch
pedal while driving. This may cause
clutch damage.
cStop your vehicle completely before
shifting into R (Reverse).
cWhen the vehicle is stopped for a
duration, for example at a stop light,
shift to N (Neutral) and release the
clutch pedal with the foot brake ap-
plied.
Shifting with manual transmission
To change gears, or when upshifting or
downshifting, depress the clutch pedal fully,
shift into the appropriate gear, then release
the clutch slowly and smoothly.
You cannot shift directly from fifth gear into
R (Reverse). First shift into N (Neutral), then
into R (Reverse).
If it is difficult to move the shift lever into R
(Reverse) or 1st, shift into N (Neutral), then
release and depress the clutch pedal again
and shift into R (Reverse) or 1st.
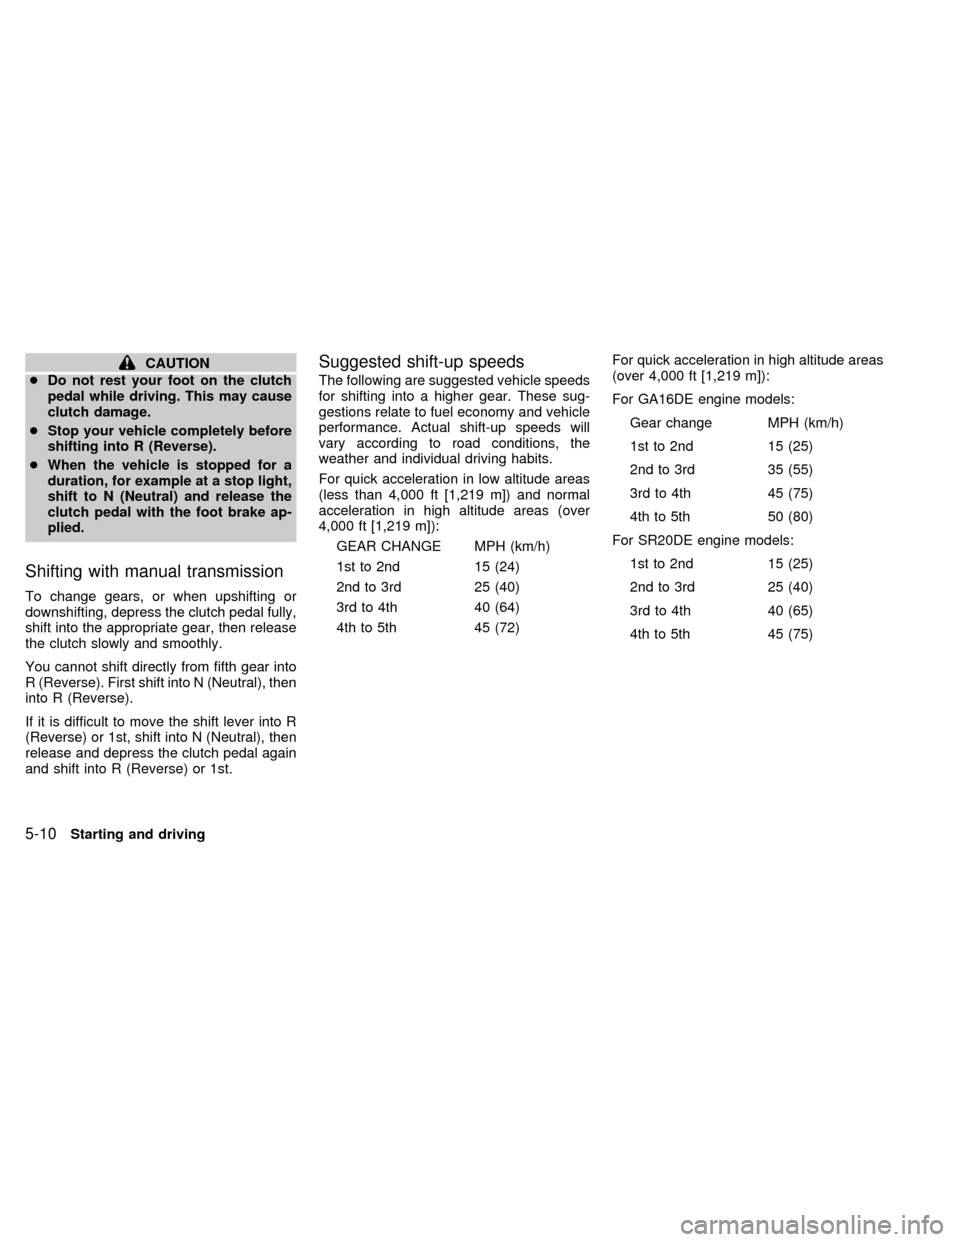
Suggested shift-up speeds
The following are suggested vehicle speeds
for shifting into a higher gear. These sug-
gestions relate to fuel economy and vehicle
performance. Actual shift-up speeds will
vary according to road conditions, the
weather and individual driving habits.
For quick acceleration in low altitude areas
(less than 4,000 ft [1,219 m]) and normal
acceleration in high altitude areas (over
4,000 ft [1,219 m]):
GEAR CHANGE MPH (km/h)
1st to 2nd 15 (24)
2nd to 3rd 25 (40)
3rd to 4th 40 (64)
4th to 5th 45 (72)For quick acceleration in high altitude areas
(over 4,000 ft [1,219 m]):
For GA16DE engine models:
Gear change MPH (km/h)
1st to 2nd 15 (25)
2nd to 3rd 35 (55)
3rd to 4th 45 (75)
4th to 5th 50 (80)
For SR20DE engine models:
1st to 2nd 15 (25)
2nd to 3rd 25 (40)
3rd to 4th 40 (65)
4th to 5th 45 (75)
5-10Starting and driving
ZX
Page 117 of 223
press and hold the accelerator pedal
to help start the engine.
Ð In the summer, when restarting the
engine within 30 minutes after it has
been stopped, keep the accelerator
pedal fully depressed while starting.
CAUTION
Do not operate the starter for more than
15 seconds at a time. If the engine does
not start, turn the key off and wait 10
seconds before cranking again, other-
wise the starter could be damaged.
4.Warm-up
Allow the engine to idle for at least 30
seconds after starting. Drive at moderate
speed for a short distance first, especially
in cold weather.
WARNING
cBe sure the parking brake is fully
released before driving. Failure to do
so can cause brake failure and lead
to an accident.
cDo not release the parking brake
from outside the vehicle.
cDo not use the gearshift in place of
the parking brake. When parking, be
sure the parking brake is fully en-
gaged.
c
Do not leave children unattended in a
vehicle. They could release the park-
ing brake and cause an accident.
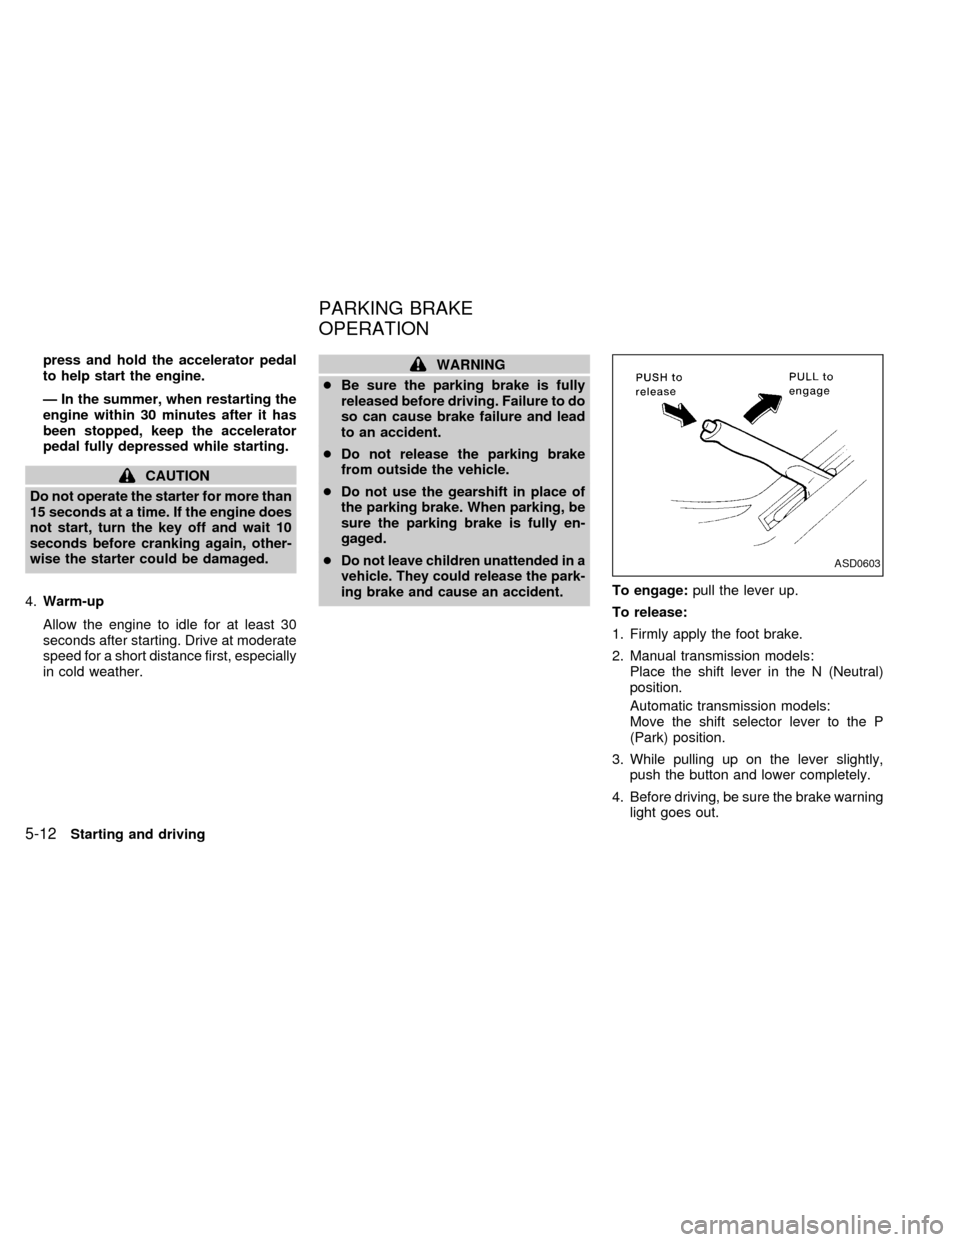
To engage:pull the lever up.
To release:
1. Firmly apply the foot brake.
2. Manual transmission models:
Place the shift lever in the N (Neutral)
position.
Automatic transmission models:
Move the shift selector lever to the P
(Park) position.
3. While pulling up on the lever slightly,
push the button and lower completely.
4. Before driving, be sure the brake warning
light goes out.
ASD0603
PARKING BRAKE
OPERATION
5-12Starting and driving
ZX
Page 120 of 223

During the first 1,000 miles (1,600 km),
follow these recommendations for the future
reliability and economy of your new vehicle.
Failure to follow these recommendations
may result in vehicle damage or shortened
engine life.
cDo not drive over 55 MPH (90 km/h) and
do not run the engine over 4,000 rpm.
Avoid driving for long periods at constant
speed, either fast or slow.
cDo not accelerate at full throttle in any
gear.
cAvoid quick starts.
cAvoid hard braking as much as possible.
cDo not tow a trailer for the first 500 miles
(800 km).cAccelerate slowly and smoothly. Main-
tain cruising speeds with a constant ac-
celerator position.
cDrive at moderate speeds on the high-
way. Driving at high speed lowers fuel
economy.
cAvoid unnecessary stopping and brak-
ing. Maintain a safe distance behind
other vehicles.
cUse a proper gear range which suits road
conditions. On level roads, shift into high
gear as soon as possible.
cAvoid unnecessary engine idling.cKeep your engine tuned up.
cFollow the recommended periodic main-
tenance schedule.
cKeep the tires inflated to the correct
pressure. Low tire pressure increases
tire wear and wastes fuel.
cKeep the front wheels in correct align-
ment. Improper alignment increases tire
wear and lowers fuel economy.
cAir conditioner operation lowers fuel
economy. Use the air conditioner only
when necessary.
cWhen cruising at highway speeds, it is
more economical to use the air condi-
tioner and leave the windows closed to
reduce drag.
SD1001M
BREAK-IN SCHEDULE INCREASING FUEL
ECONOMY
Starting and driving5-15
ZX
Page 122 of 223
cHEADED UPHILL OR DOWNHILL, NO
CURB:
s3
Turn the wheels toward the side of the
road so the vehicle will move away from
the center of the road if it moves.
4. Turn the ignition key to the LOCK posi-
tion and remove the key.The power assisted steering is designed to
use a hydraulic pump, driven by the engine,
to assist steering.
If the engine stops or the drive belt breaks,
you will still have control of the vehicle.
However, much greater steering effort is
needed, especially in sharp turns and at low
speeds.
WARNING
If the engine is not running or is turned
off while driving the power assist for
the steering will not work. Steering will
be much harder to operate.The brake system has two separate hy-
draulic circuits. If one circuit develops a
problem, you will still have braking at
two wheels.
Vacuum assisted brakes
The brake booster aids braking by using
engine vacuum. If the engine stops, you can
stop the vehicle by depressing the brake
pedal. However, greater foot pressure on
the brake pedal will be required to stop the
vehicle and stopping distance will be longer.
Wet brakes
When the vehicle is washed or driven
through water, the brakes may get wet. As a
result, your braking distance will be longer
and the vehicle may pull to one side during
braking.
To dry the brakes, drive the vehicle at a safe
speed while lightly pressing the brake pedal
to heat-up the brakes. Do this until the
brakes return to normal. Avoid driving the
vehicle at high speeds until the brakes
function correctly.
Using the brakes
Avoid resting your foot on the brake pedal
while driving. This overheats the brakes,
POWER STEERING SYSTEM BRAKE SYSTEM
Starting and driving5-17
ZX