Page 1429 of 1529
HARNESSES
86-7-24 REPAIRS
72.Disconnect 7 multiplugs from ignition passive
coil and steering column switch assembly. 73.Release 3 multiplugs from steering column
support.
74.Disconnect multiplugs from brake and clutch
pedal.
75.Disconnect multiplug from RH side body
harness.
76.Disconnect 2 multiplugs from RH door
harness.
77.Disconnect multiplugs from cruise control
ECU, remove nut securing earth header to
body and remove earth header.
Page 1432 of 1529

HARNESSES
REPAIRS 86-7-27
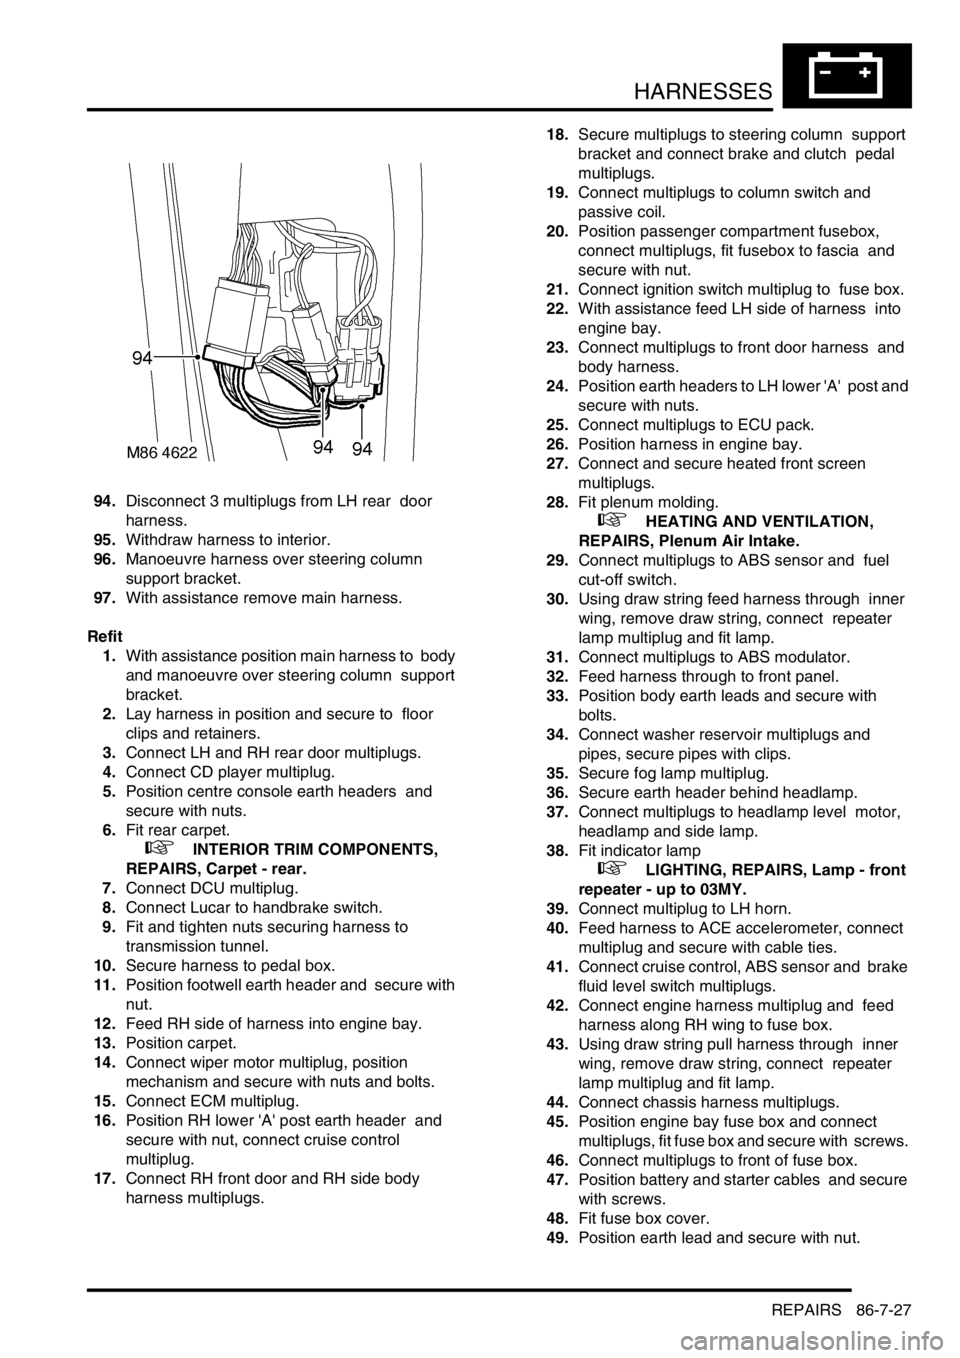
94.Disconnect 3 multiplugs from LH rear door
harness.
95.Withdraw harness to interior.
96.Manoeuvre harness over steering column
support bracket.
97.With assistance remove main harness.
Refit
1.With assistance position main harness to body
and manoeuvre over steering column support
bracket.
2.Lay harness in position and secure to floor
clips and retainers.
3.Connect LH and RH rear door multiplugs.
4.Connect CD player multiplug.
5.Position centre console earth headers and
secure with nuts.
6.Fit rear carpet.
+ INTERIOR TRIM COMPONENTS,
REPAIRS, Carpet - rear.
7.Connect DCU multiplug.
8.Connect Lucar to handbrake switch.
9.Fit and tighten nuts securing harness to
transmission tunnel.
10.Secure harness to pedal box.
11.Position footwell earth header and secure with
nut.
12.Feed RH side of harness into engine bay.
13.Position carpet.
14.Connect wiper motor multiplug, position
mechanism and secure with nuts and bolts.
15.Connect ECM multiplug.
16.Position RH lower 'A' post earth header and
secure with nut, connect cruise control
multiplug.
17.Connect RH front door and RH side body
harness multiplugs. 18.Secure multiplugs to steering column support
bracket and connect brake and clutch pedal
multiplugs.
19.Connect multiplugs to column switch and
passive coil.
20.Position passenger compartment fusebox,
connect multiplugs, fit fusebox to fascia and
secure with nut.
21.Connect ignition switch multiplug to fuse box.
22.With assistance feed LH side of harness into
engine bay.
23.Connect multiplugs to front door harness and
body harness.
24.Position earth headers to LH lower 'A' post and
secure with nuts.
25.Connect multiplugs to ECU pack.
26.Position harness in engine bay.
27.Connect and secure heated front screen
multiplugs.
28.Fit plenum molding.
+ HEATING AND VENTILATION,
REPAIRS, Plenum Air Intake.
29.Connect multiplugs to ABS sensor and fuel
cut-off switch.
30.Using draw string feed harness through inner
wing, remove draw string, connect repeater
lamp multiplug and fit lamp.
31.Connect multiplugs to ABS modulator.
32.Feed harness through to front panel.
33.Position body earth leads and secure with
bolts.
34.Connect washer reservoir multiplugs and
pipes, secure pipes with clips.
35.Secure fog lamp multiplug.
36.Secure earth header behind headlamp.
37.Connect multiplugs to headlamp level motor,
headlamp and side lamp.
38.Fit indicator lamp
+ LIGHTING, REPAIRS, Lamp - front
repeater - up to 03MY.
39.Connect multiplug to LH horn.
40.Feed harness to ACE accelerometer, connect
multiplug and secure with cable ties.
41.Connect cruise control, ABS sensor and brake
fluid level switch multiplugs.
42.Connect engine harness multiplug and feed
harness along RH wing to fuse box.
43.Using draw string pull harness through inner
wing, remove draw string, connect repeater
lamp multiplug and fit lamp.
44.Connect chassis harness multiplugs.
45.Position engine bay fuse box and connect
multiplugs, fit fuse box and secure with screws.
46.Connect multiplugs to front of fuse box.
47.Position battery and starter cables and secure
with screws.
48.Fit fuse box cover.
49.Position earth lead and secure with nut.
Page 1440 of 1529
DRIVING AIDS
DESCRIPTION AND OPERATION 86-8-3
1PDC sounder
2PDC switch
3Fusible link
4Ignition switch
5Fuse
6PDC ECU
7PDC sensors
Page 1443 of 1529
DRIVING AIDS
86-8-6 DESCRIPTION AND OPERATION
PDC ECU Connector Pin Details
aConnector C0958
bConnector C0957
Connector C0958
Connector C0957
Pin No. Description Input/Output
1 Ignition switch power supply Input
2 Sounder - Negative Input
3 Not used–
4PDC Switch Input
5 Not used–
6 Reverse Gear signal Input
7 Not used–
8Ground–
9 Not used–
10 Sounder - Positive 12V supply Output
11 Not used–
12 Not used–
13 PDC Switch LED Output
14 to 16 Not used–
Pin No. Description Input/Output
1 Not used–
2 Sensor - RH Inner - Signal Input
3 Sensor - Rear LH Inner - Signal Input
4 Sensor - Rear RH Outer - Signal Input
5 Sensor - Rear LH Outer - Signal Input
6 and 7 Not used–
8 Ground - All sensors Input
9 Not used–
10 Power Supply - All sensors Output
11 and 12 Not used–
Page 1444 of 1529

DRIVING AIDS
DESCRIPTION AND OPERATION 86-8-7
Inputs and Outputs
Two connectors provide the interface between the PDC ECU and the external PDC components.
The ECU receives inputs from the following:
lReverse lamp circuit – for system activation when reverse gear is selected
lPDC switch – for activation and de-activation of the system
lIgnition switch – power supply for system operation.
The ECU outputs to the following:
lSensors – power and ground connections
lSensor – digital signal transmit and receive signals
lSounder – signal for sounder operation
lPDC Switch – power supply for switch LED operation.
Diagnostics
The PDC ECU has no diagnostic connection to enable faults to be retrieved using TestBook/T4. An on-board
diagnostic routine monitors the system and alerts the driver to a system fault by emitting a tone from the sounder.
If a PDC system fault has occurred, the sounder will emit a continuous tone for 3 seconds and the PDC switch LED
will flash continuously when reverse gear is selected.
Page 1446 of 1529

DRIVING AIDS
DESCRIPTION AND OPERATION 86-8-9
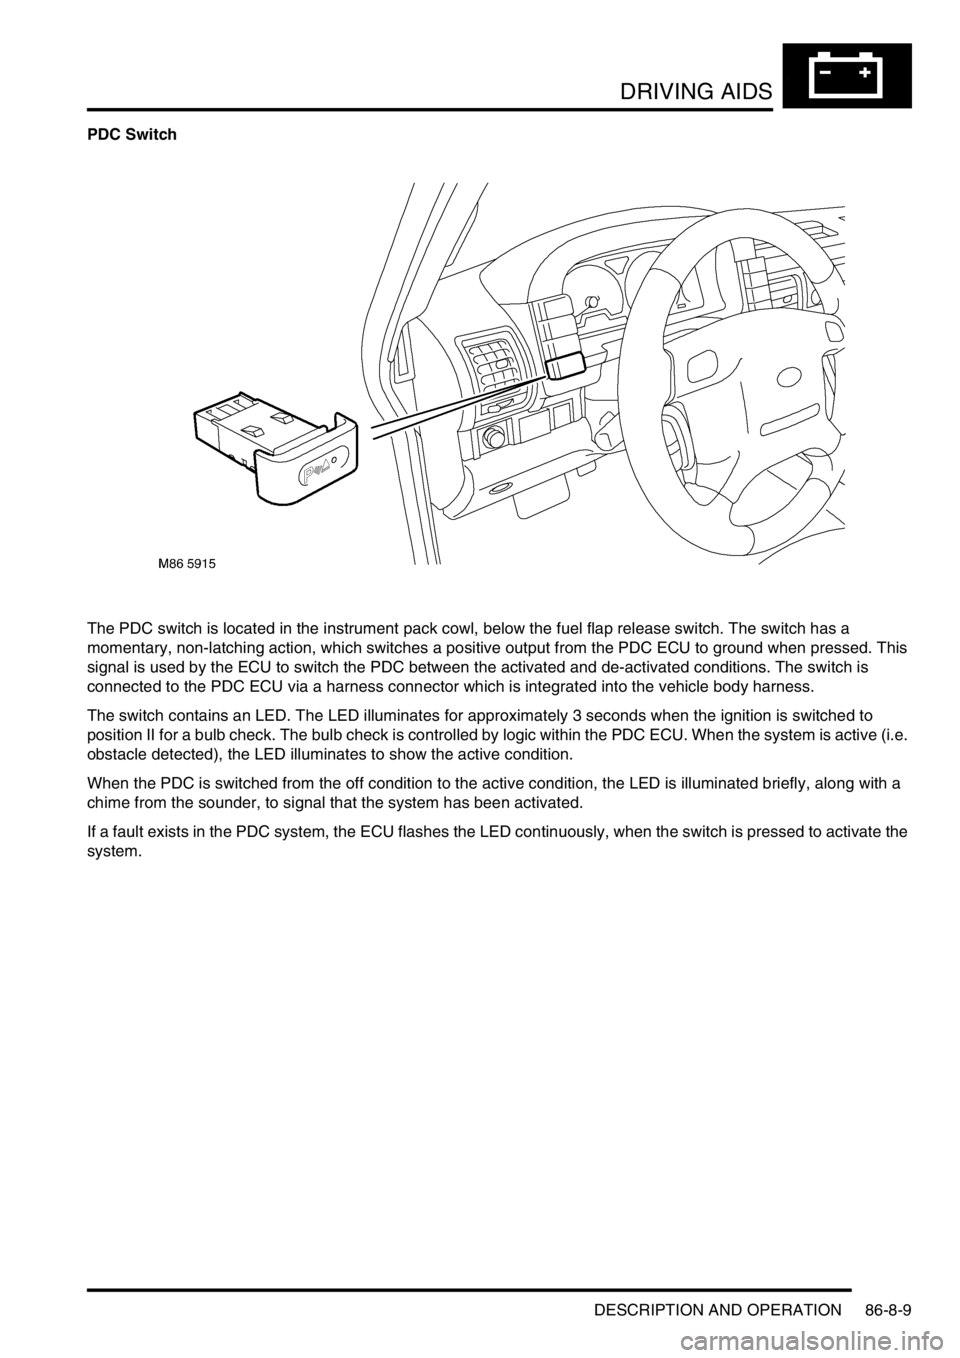
PDC Switch
The PDC switch is located in the instrument pack cowl, below the fuel flap release switch. The switch has a
momentary, non-latching action, which switches a positive output from the PDC ECU to ground when pressed. This
signal is used by the ECU to switch the PDC between the activated and de-activated conditions. The switch is
connected to the PDC ECU via a harness connector which is integrated into the vehicle body harness.
The switch contains an LED. The LED illuminates for approximately 3 seconds when the ignition is switched to
position II for a bulb check. The bulb check is controlled by logic within the PDC ECU. When the system is active (i.e.
obstacle detected), the LED illuminates to show the active condition.
When the PDC is switched from the off condition to the active condition, the LED is illuminated briefly, along with a
chime from the sounder, to signal that the system has been activated.
If a fault exists in the PDC system, the ECU flashes the LED continuously, when the switch is pressed to activate the
system.
Page 1448 of 1529

DRIVING AIDS
DESCRIPTION AND OPERATION 86-8-11
Operation
PDC System Operation
When the ignition switch is in position II and reverse gear is selected, the PDC sensors are automatically activated.
The PDC ECU only activates the system if reverse is selected for more than 1 second. This avoids nuisance audible
warnings when the gear selector lever is being moved between Drive and Park on vehicles with automatic
transmission.
When the system is activated, the PDC ECU illuminates the indicator LED in the PDC switch, switches on the
ultrasonic sensors and generates a single chime on the PDC sounder to indicate the system is active. If an object is
range of the sensors when the system is activated, a series of audible warnings are emitted by the PDC sounder
immediately.
If PDC operation is not required, it can be suspended temporarily by pressing the PDC switch. When reverse is
deselected and subsequently reselected, PDC will automatically become active again.
PDC can also be manually selected when not in reverse gear by pressing the PDC switch. A second press of the
switch is required to turn off the PDC or the PDC will be deactivated if reverse is selected and then deselected.
Sensor Operation
The PDC ECU processes the distance readings from the ultrasonic sensors to determine if there are any objects
within the detection areas. If there are no objects in the detection areas, there are no further audible warnings. If an
object is detected, repeated audible warnings are produced on the PDC sounder.
The maximum detection range is 1800 mm (70 in). When an object is detected, the time delay between the audible
warning tones decreases as the distance between the detected object and the vehicle decreases until, at
approximately 450 mm (17 in), the audible warning tone is continuous.
After the initial detection of an object, if there is no decrease in the distance between an object and the central sensors,
the time delay between the audible warnings remains constant. If an object is detected by one of the corner sensors
only, the audible warnings stop after about 5 seconds if there is no change in the distance between the object and the
corner sensor.
Page 1457 of 1529

NAVIGATION SYSTEM
87-4 DESCRIPTION AND OPERATION
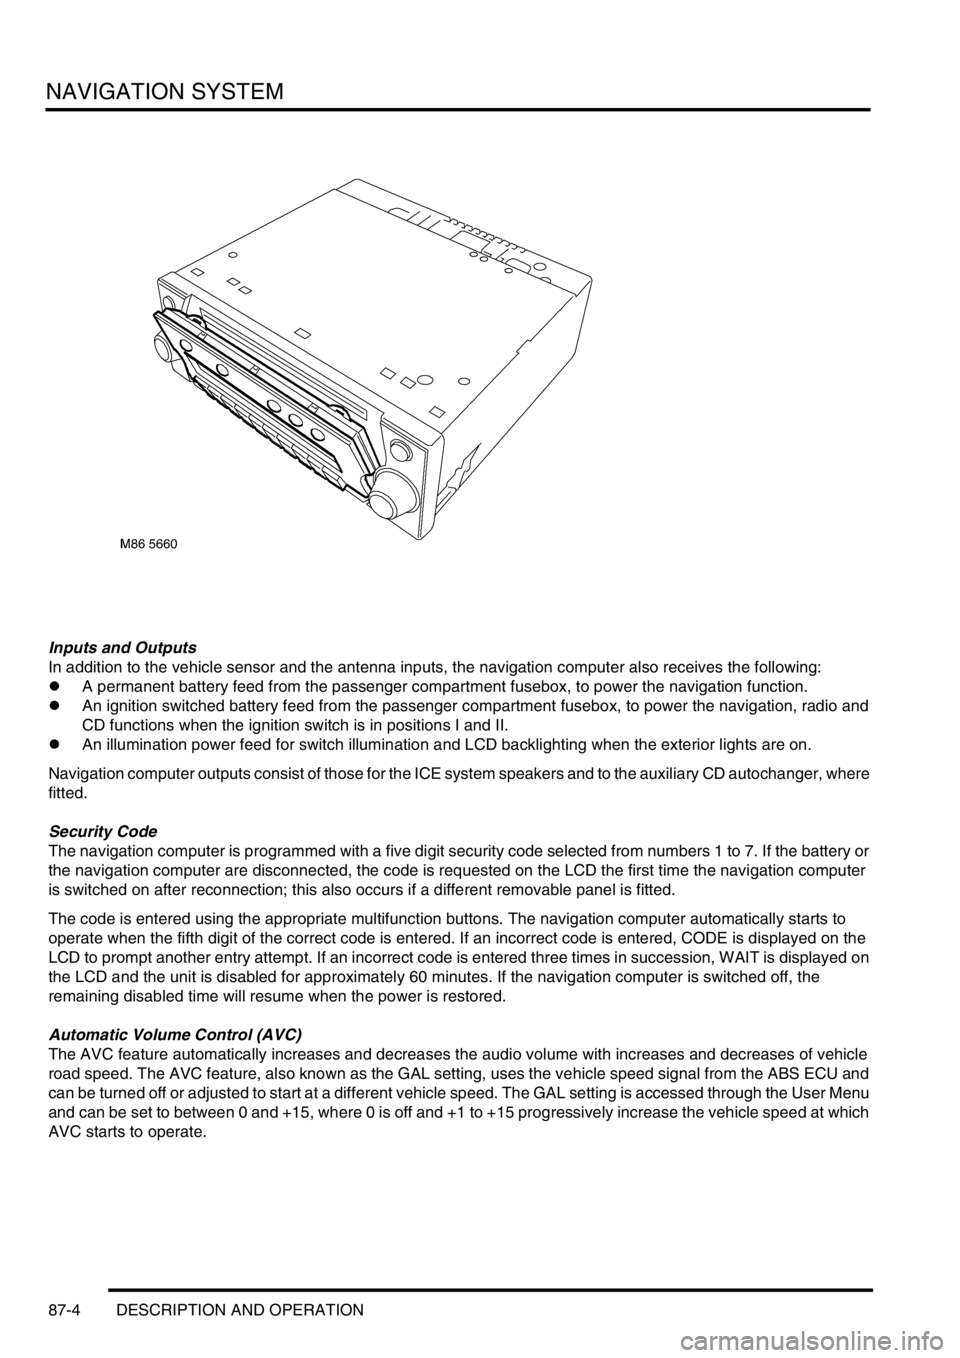
Inputs and Outputs
In addition to the vehicle sensor and the antenna inputs, the navigation computer also receives the following:
lA permanent battery feed from the passenger compartment fusebox, to power the navigation function.
lAn ignition switched battery feed from the passenger compartment fusebox, to power the navigation, radio and
CD functions when the ignition switch is in positions I and II.
lAn illumination power feed for switch illumination and LCD backlighting when the exterior lights are on.
Navigation computer outputs consist of those for the ICE system speakers and to the auxiliary CD autochanger, where
fitted.
Security Code
The navigation computer is programmed with a five digit security code selected from numbers 1 to 7. If the battery or
the navigation computer are disconnected, the code is requested on the LCD the first time the navigation computer
is switched on after reconnection; this also occurs if a different removable panel is fitted.
The code is entered using the appropriate multifunction buttons. The navigation computer automatically starts to
operate when the fifth digit of the correct code is entered. If an incorrect code is entered, CODE is displayed on the
LCD to prompt another entry attempt. If an incorrect code is entered three times in succession, WAIT is displayed on
the LCD and the unit is disabled for approximately 60 minutes. If the navigation computer is switched off, the
remaining disabled time will resume when the power is restored.
Automatic Volume Control (AVC)
The AVC feature automatically increases and decreases the audio volume with increases and decreases of vehicle
road speed. The AVC feature, also known as the GAL setting, uses the vehicle speed signal from the ABS ECU and
can be turned off or adjusted to start at a different vehicle speed. The GAL setting is accessed through the User Menu
and can be set to between 0 and +15, where 0 is off and +1 to +15 progressively increase the vehicle speed at which
AVC starts to operate.