1999 FORD WINDSTAR transmission
[x] Cancel search: transmissionPage 9 of 248

Brake system warning
Momentarily illuminates when the
ignition is turned to the ON
position, the engine is off and the
parking brake is engaged. If the
brake warning lamp does not
illuminate at this time, seek service immediately. Illumination after
releasing the parking brake indicates low brake fluid level and the brake
system should be inspected immediately.
O/D off
Illuminates when the ignition is
turned to the ON position and
transmission control switch has
been pushed. When the light is on,
the transmission does not shift into
overdrive. If the light does not come on when the transmission control
switch is depressed or if the light flashes when you are driving, have
your vehicle serviced.
Check engine
Your vehicle is equipped with a
computer that monitors the engine's
emission control system. This
system is commonly known as the
On Board Diagnostics System (OBD II). This OBD II system protects the
environment by ensuring that your vehicle continues to meet
government emission standards. The OBD II system also assists the
service technician in properly servicing your vehicle.
TheCheck Engineindicator light illuminates when the ignition is first
turned to the ON position to check the bulb. If it comes on after the
engine is started, one of the engine's emission control systems may be
malfunctioning. The light may illuminate without a driveability concern
being noted. The vehicle will usually be drivable and will not require
towing.
!
BRAKE
O/D
OFF
Instrumentation
9
Page 17 of 248

The message center will display the last selected feature if there are no
more warning messages. This allows you to use the full functionality of
the message center after you acknowledge the warning by pressing the
RESET control and clearing the warning message.
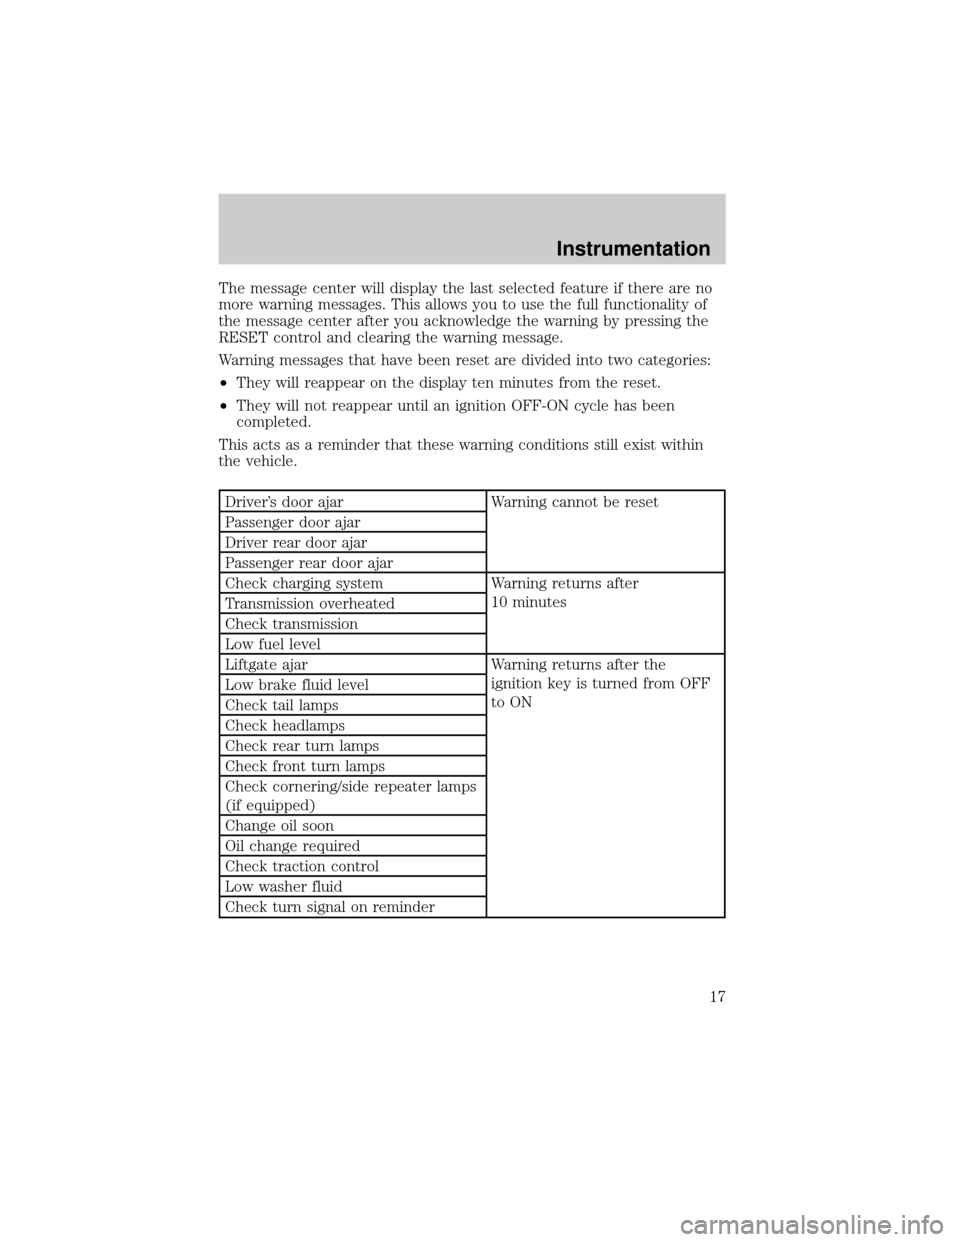
Warning messages that have been reset are divided into two categories:
²They will reappear on the display ten minutes from the reset.
²They will not reappear until an ignition OFF-ON cycle has been
completed.
This acts as a reminder that these warning conditions still exist within
the vehicle.
Driver's door ajar Warning cannot be reset
Passenger door ajar
Driver rear door ajar
Passenger rear door ajar
Check charging system Warning returns after
10 minutes
Transmission overheated
Check transmission
Low fuel level
Liftgate ajar Warning returns after the
ignition key is turned from OFF
to ON Low brake fluid level
Check tail lamps
Check headlamps
Check rear turn lamps
Check front turn lamps
Check cornering/side repeater lamps
(if equipped)
Change oil soon
Oil change required
Check traction control
Low washer fluid
Check turn signal on reminder
Instrumentation
17
Page 18 of 248

DRIVER'S DOOR AJAR.Displayed when the driver's door is not
completely closed.
PASSENGER DOOR AJAR.Displayed when the passenger side door is
not completely closed.
DRIVER'S REAR DOOR AJAR.Displayed when the driver's rear door
is not completely closed.
PASSENGER REAR DOOR AJAR.Displayed when the passenger side
rear door is not completely closed.
LIFTGATE AJAR.Displayed when the liftgate is not completely closed.
CHECK CHARGING SYSTEM.Displayed when the electrical system is
not maintaining proper voltage. If you are operating electrical accessories
when the engine is idling at a low speed, turn off as many of the
electrical loads as soon as possible. If the warning stays on or comes on
when the engine is operating at normal speeds, have the electrical
system checked as soon as possible.
LOW FUEL LEVEL.Displayed when you have approximately 1/16th of
a tank indicated on the fuel gauge.
CHECK TRANSMISSION.Indicates the transmission is not operating
properly. If this warning stays on, contact your dealer as soon as
possible.
TRANSMISSION OVERHEATED.Indicates the transmission is
overheating. This warning may appear when towing heavy loads or when
driving in a low gear at a high speed for an extended period of time.
Stop the vehicle as soon as safely possible, turn off the engine and let it
cool. Check the transmission fluid and level. Refer toTransmission
fluidin theMaintenance and carechapter. If the warning stays on or
continues to come on, contact your dealer for transmission service as
soon as possible.
CHECK BRAKE LAMPS.Displayed when the brake lamps are
activated and at least one is burned out. Check the lamps as soon as
safely possible and have the burned out lamp replaced. The center
high-mount brakelamp is not monitored.
CHECK HEADLAMPS.Displayed when the headlamps are activated
and at least one is burned out. Check the lamps as soon as safely
possible and have the burned out lamp replaced. Refer toReplacing
headlamp bulbsin theMaintenance and carechapter.
Instrumentation
18
Page 70 of 248

POSITIONS OF THE IGNITION
1. ACCESSORY, allows the electrical
accessories such as the radio to
operate while the engine is not
running.
2. LOCK, locks the steering wheel,
automatic transmission gearshift
lever and allows key removal.
3. OFF, shuts off the engine and all
accessories without locking the
steering wheel.
4. ON, all electrical circuits operational. Warning lights illuminated. Key
position when driving.
5. START, cranks the engine. Release the key as soon as the engine
starts.
SPEED CONTROL (IF EQUIPPED)
To turn speed control on
²Press ON.
Vehicle speed cannot be controlled
until the vehicle is traveling at or
above 48 km/h (30 mph).
Do not use the speed control in heavy traffic or on roads that
are winding, slippery, or unpaved.
Do not shift the gearshift lever into N (Neutral) with the speed
control on.
1
23
4
5
ON
OFF
Controls and features
70
Page 75 of 248

Rear window wiper/washer controls
For rear wiper operation, rotate the
rear window wiper and washer
control to the desired position.
Select:
INT 2 Ð One second interval rear
wiper.
INT1ÐTensecond interval rear
wiper.
OFF Ð Rear wiper and washer off.
For rear wash cycle, rotate (and hold as desired) the rear wiper/washer
control to either
position.
From either position, the control will automatically return to the INT2 or
OFF position.
OVERDRIVE CONTROL
Activating overdrive
(Overdrive) is the normal drive position for the best fuel economy.
The overdrive function allows automatic upshifts to second, third and
fourth gear.
Deactivating overdrive
Press the Transmission Control
Switch (TCS) located on the end of
the gearshift lever. The O/D OFF
indicator light will illuminate on the
instrument cluster.
The transaxle will operate in gears
one through three. To return to
normal overdrive mode, press the
Transmission Control Switch again.
The O/D OFF indicator light will no
longer be illuminated.
When you shut off and re-start your vehicle, the transaxle will
automatically return to normal
(Overdrive) mode.
O/D
ON/OFF
O/D
ON/OFF
Controls and features
75
Page 159 of 248

Do not go faster than 61 km/h (38 mph) when in this gear. You can
upshift from 1 (First) to overdrive at any time.
When parking, do not use the gearshift in place of the parking
brake. Always set the parking brake fully and make sure that the
gearshift is securely latched in Park (P). Turn off the ignition
whenever you leave your vehicle. Never leave your vehicle unattended
while it is running. If you do not take these precautions, your vehicle
may move unexpectedly and injure someone.
DRIVING THROUGH WATER
Do not drive quickly through standing water, especially if the depth is
unknown. Traction or brake capability may be limited and if the ignition
system gets wet, your engine may stall. Water may also enter your
engine's air intake and severely damage your engine.
If driving through deep or standing water is unavoidable, proceed very
slowly. Never drive through water that is higher than the bottom of the
hubs.
Once through the water, always try the brakes. Wet brakes do not stop
the vehicle as effectively as dry brakes. Drying can be improved by
moving your vehicle slowly while applying light pressure on the brake
pedal.
Driving through deep water where the transmission is submerged
may allow water into the transmission and cause internal
transmission damage.
VEHICLE LOADING
Before loading a vehicle, familiarize yourself with the following terms:
²Base Curb Weight: Weight of the vehicle including any standard
equipment, fluids, lubricants, etc. It does not include passengers or
aftermarket equipment.
²Payload: Combined maximum allowable weight of cargo, passengers
and optional equipment. The payload equals the gross vehicle weight
rating minus base curb weight.
²GVW (Gross Vehicle Weight): Base curb weight plus payload
weight. The GVW is not a limit or a specification.
Driving
159
Page 160 of 248

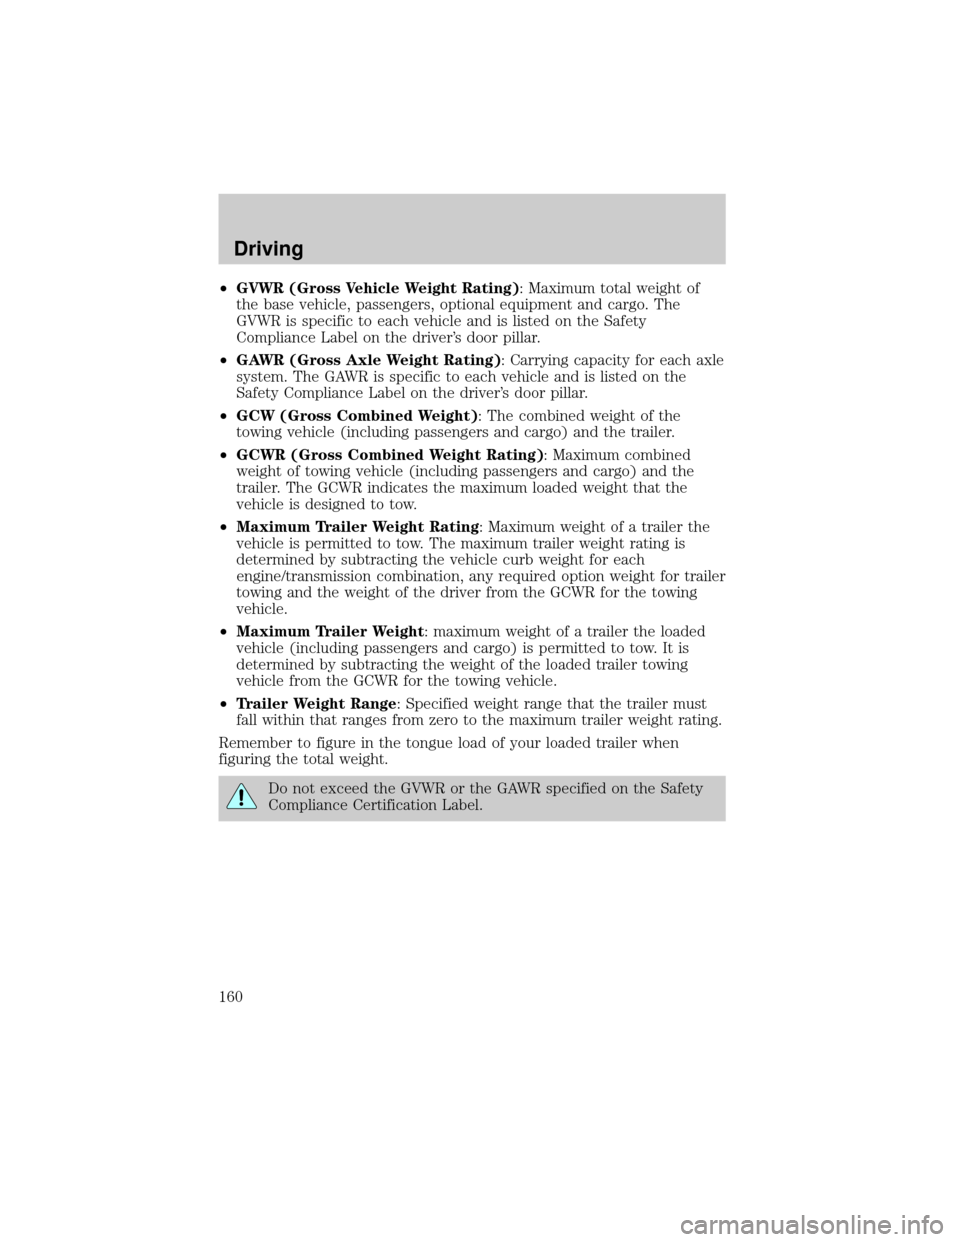
²GVWR (Gross Vehicle Weight Rating): Maximum total weight of
the base vehicle, passengers, optional equipment and cargo. The
GVWR is specific to each vehicle and is listed on the Safety
Compliance Label on the driver's door pillar.
²GAWR (Gross Axle Weight Rating): Carrying capacity for each axle
system. The GAWR is specific to each vehicle and is listed on the
Safety Compliance Label on the driver's door pillar.
²GCW (Gross Combined Weight): The combined weight of the
towing vehicle (including passengers and cargo) and the trailer.
²GCWR (Gross Combined Weight Rating): Maximum combined
weight of towing vehicle (including passengers and cargo) and the
trailer. The GCWR indicates the maximum loaded weight that the
vehicle is designed to tow.
²Maximum Trailer Weight Rating: Maximum weight of a trailer the
vehicle is permitted to tow. The maximum trailer weight rating is
determined by subtracting the vehicle curb weight for each
engine/transmission combination, any required option weight for trailer
towing and the weight of the driver from the GCWR for the towing
vehicle.
²Maximum Trailer Weight: maximum weight of a trailer the loaded
vehicle (including passengers and cargo) is permitted to tow. It is
determined by subtracting the weight of the loaded trailer towing
vehicle from the GCWR for the towing vehicle.
²Trailer Weight Range: Specified weight range that the trailer must
fall within that ranges from zero to the maximum trailer weight rating.
Remember to figure in the tongue load of your loaded trailer when
figuring the total weight.
Do not exceed the GVWR or the GAWR specified on the Safety
Compliance Certification Label.
Driving
160
Page 162 of 248

TRAILER TOWING
Trailer towing with your vehicle requires the optional trailer tow
electrical package and may require the use of an additional medium duty
trailer tow option package.
Trailer towing puts additional loads on your vehicle's engine,
transmission, axle, brakes, tires, and suspension. For your safety and to
maximize vehicle performance, be sure to use the proper equipment
while towing.
Follow these guidelines to ensure safe towing procedure:
²Stay within your vehicle's load limits. If exceeded, cargo should be
removed from the trailer and/or the vehicle until all weights are within
specified limits.
²Thoroughly prepare your vehicle for towing. Refer toPreparing to
towin this chapter.
²Use extra caution when driving while trailer towing. Refer toDriving
while you towin this chapter.
²Service your vehicle more frequently if you tow a trailer. Refer to
Special Operating Conditions in the Scheduled Maintenance Guide.
²Do not tow a trailer until your vehicle has been driven at least 800 km
(500 miles).
²Refer to the instructions included with towing accessories for the
proper installation and adjustment specifications.
If your vehicle is equipped with the optional heavy duty trailer tow
wiring, it is pre-wired for trailer towing. An electrical connector is
provided under the instrument panel for installing a customer-supplied
electric brake controller. Another electrical connector is provided at the
hitch. This connector provides power to the trailer for taillamps, stop
and turn lamps, back up lamps, battery charge, electric brakes (when a
customer provided controller is installed) and ground. The kit included
with your vehicle provides you with adaptors to attach the brake
controller and convert the hitch connector for Class I trailer usage.
Driving
162