Page 134 of 248
1. Position the child safety seat in a
seat with a combination lap and
shoulder belt.
Air bags can kill or injure a child in a child seat. If you must use
a forward-facing child seat in the front seat, move seat all the
way back.
Rear facing seats should NEVER be placed in the front seats.
2. Grasp the belt webbing below the
tongue and pull as much of the belt
out of the retractor as possible. Hold
the belt out.
3. With your other hand, grasp the
tip (metal portion) of the tongue
(not the cover) and slide the tongue
up the webbing as far as it will go.
Release the tongue, but do not let
go of the lap portion of the belt
webbing.
Seating and safety restraints
134
Page 136 of 248

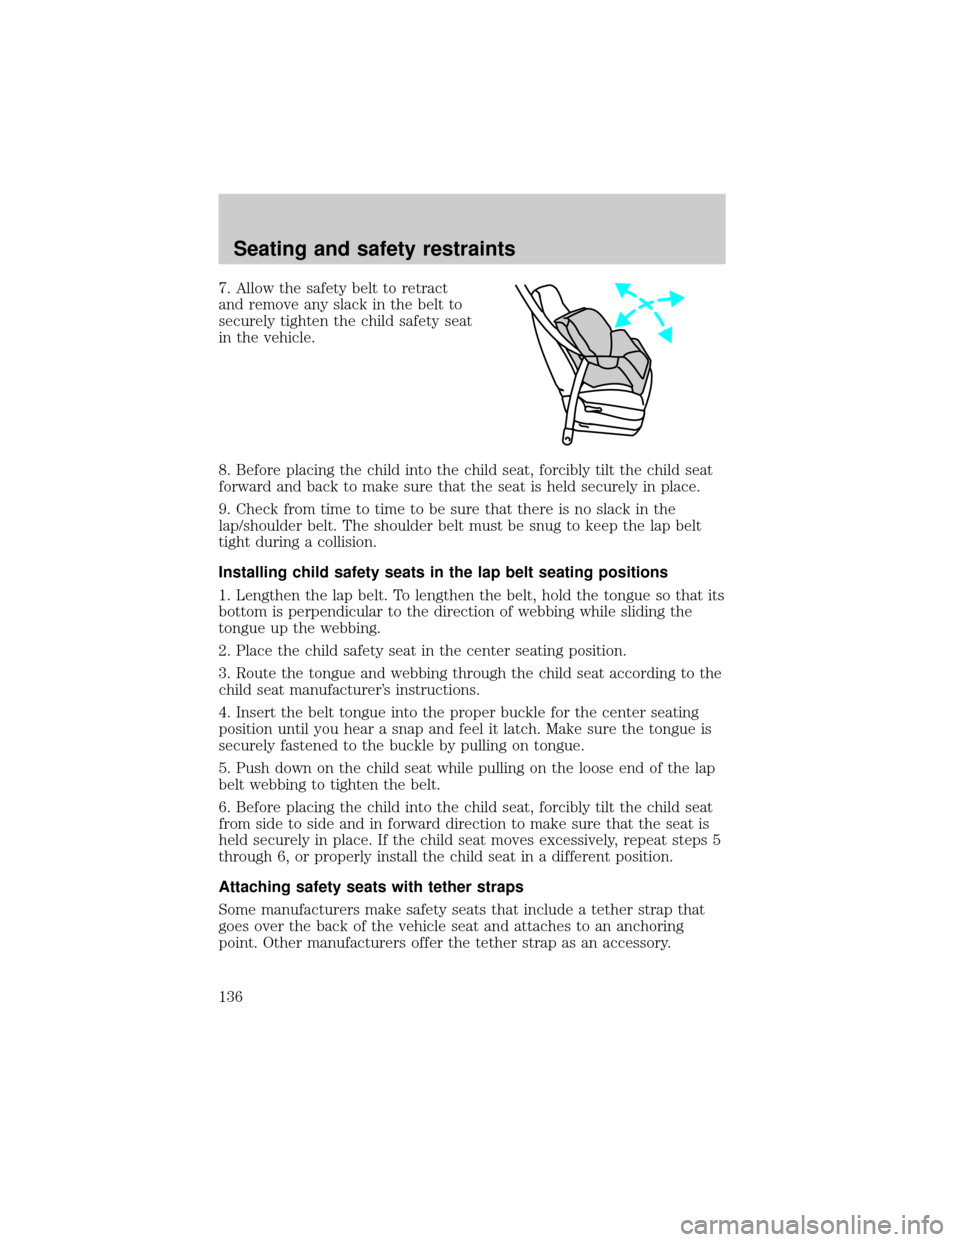
7. Allow the safety belt to retract
and remove any slack in the belt to
securely tighten the child safety seat
in the vehicle.
8. Before placing the child into the child seat, forcibly tilt the child seat
forward and back to make sure that the seat is held securely in place.
9. Check from time to time to be sure that there is no slack in the
lap/shoulder belt. The shoulder belt must be snug to keep the lap belt
tight during a collision.
Installing child safety seats in the lap belt seating positions
1. Lengthen the lap belt. To lengthen the belt, hold the tongue so that its
bottom is perpendicular to the direction of webbing while sliding the
tongue up the webbing.
2. Place the child safety seat in the center seating position.
3. Route the tongue and webbing through the child seat according to the
child seat manufacturer's instructions.
4. Insert the belt tongue into the proper buckle for the center seating
position until you hear a snap and feel it latch. Make sure the tongue is
securely fastened to the buckle by pulling on tongue.
5. Push down on the child seat while pulling on the loose end of the lap
belt webbing to tighten the belt.
6. Before placing the child into the child seat, forcibly tilt the child seat
from side to side and in forward direction to make sure that the seat is
held securely in place. If the child seat moves excessively, repeat steps 5
through 6, or properly install the child seat in a different position.
Attaching safety seats with tether straps
Some manufacturers make safety seats that include a tether strap that
goes over the back of the vehicle seat and attaches to an anchoring
point. Other manufacturers offer the tether strap as an accessory.
Seating and safety restraints
136
Page 137 of 248

Contact the manufacturer of your child safety seat for information about
ordering a tether strap.
Tether anchorage hardware
Children should be placed in the rear in an appropriate child
safety seat that is properly secured to the vehicle.
Rear-facing infant seats must always be secured in the rear seat.
In vehicles without a rear seat, a rear-facing infant seat should
be secured in the front seat only if your vehicle does not have a
passenger side air bag or your vehicle is equipped with a passenger air
bag deactivate switch and the switch is turned to ªOFF.º
When using forward-facing child safety seats in vehicles with
only two seating positions so the forward-facing child safety seat
cannot be placed in the rear of the vehicle, move the passenger seat as
far back from the instrument panel as possible.
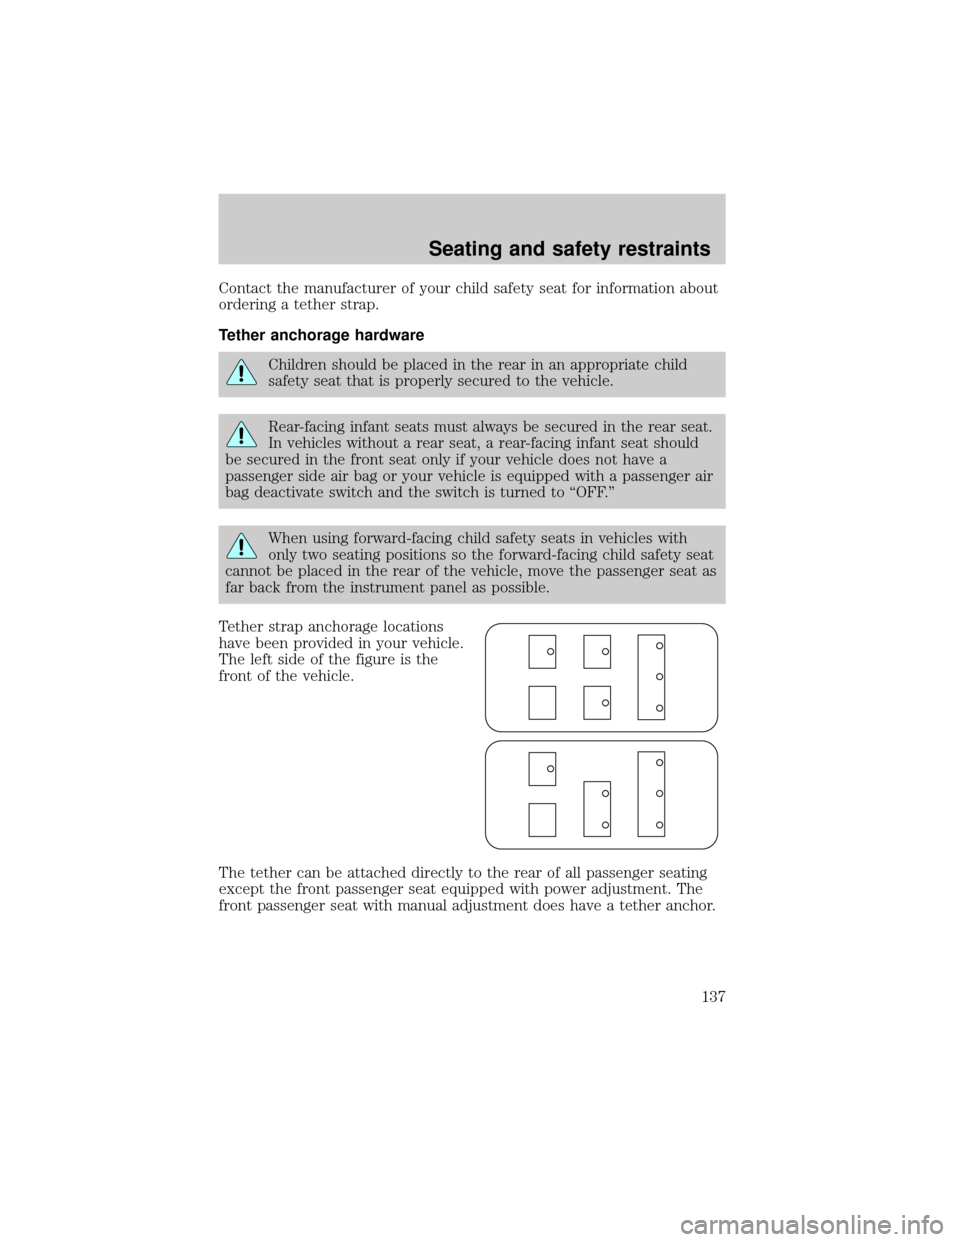
Tether strap anchorage locations
have been provided in your vehicle.
The left side of the figure is the
front of the vehicle.
The tether can be attached directly to the rear of all passenger seating
except the front passenger seat equipped with power adjustment. The
front passenger seat with manual adjustment does have a tether anchor.
Seating and safety restraints
137
Page 139 of 248
4. Rotate the tether strap.
5. Clip the tether strap to the seat
frame.
If the tether strap is clipped
incorrectly (as shown) the child
safety seat may not be retained
properly in the event of a
collision.
6. Rotate the tether strap clip.
7. Refer to the instructions in this
section underInstalling child
safety seats in cinch tongue
combination lap and shoulder belt
seating positionsto secure the
child safety seat.
Seating and safety restraints
139
Page 140 of 248
8. Tighten the child safety seat
tether strap according to the
manufacturer's instructions.
Rear seating positions
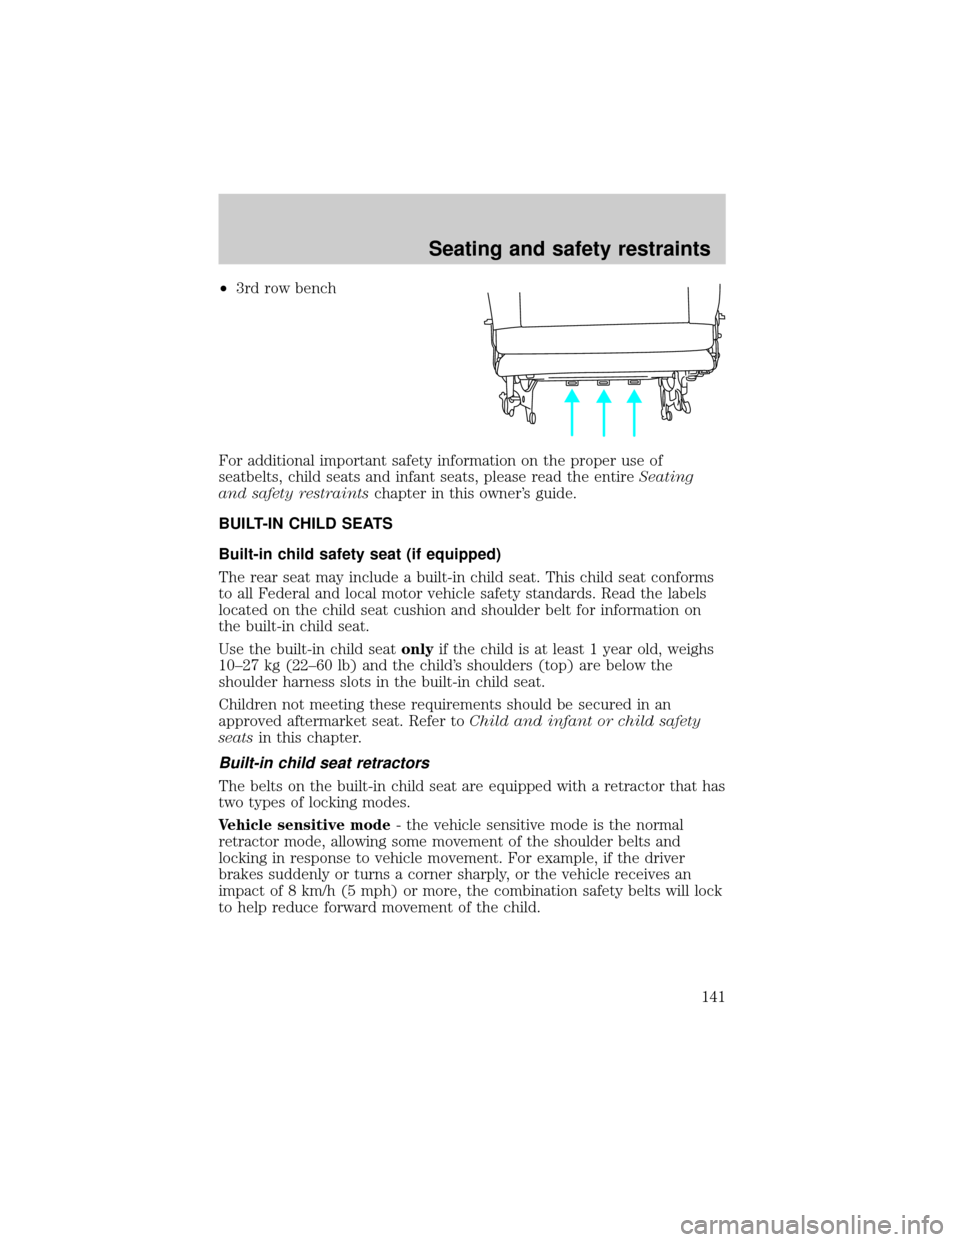
Follow steps 1±8 as described above for the following available seats:
²2nd row bucket
²2nd row bench
Seating and safety restraints
140
Page 141 of 248

²3rd row bench
For additional important safety information on the proper use of
seatbelts, child seats and infant seats, please read the entireSeating
and safety restraintschapter in this owner's guide.
BUILT-IN CHILD SEATS
Built-in child safety seat (if equipped)
The rear seat may include a built-in child seat. This child seat conforms
to all Federal and local motor vehicle safety standards. Read the labels
located on the child seat cushion and shoulder belt for information on
the built-in child seat.
Use the built-in child seatonlyif the child is at least 1 year old, weighs
10±27 kg (22±60 lb) and the child's shoulders (top) are below the
shoulder harness slots in the built-in child seat.
Children not meeting these requirements should be secured in an
approved aftermarket seat. Refer toChild and infant or child safety
seatsin this chapter.
Built-in child seat retractors
The belts on the built-in child seat are equipped with a retractor that has
two types of locking modes.
Vehicle sensitive mode- the vehicle sensitive mode is the normal
retractor mode, allowing some movement of the shoulder belts and
locking in response to vehicle movement. For example, if the driver
brakes suddenly or turns a corner sharply, or the vehicle receives an
impact of 8 km/h (5 mph) or more, the combination safety belts will lock
to help reduce forward movement of the child.
Seating and safety restraints
141
Page 146 of 248
To fold up the child seat
1. Fold the protector flap onto the child seat cushion.
2. Push the built-in child seat up ensuring the wire handle on the bottom
of the child seat engages into the slot under the head restraint.
3. Ensure that the child seat is fully engaged into the seatback. The head
restraint will not operate if the child seat is not properly stowed.
Inspecting the built-in child seat after a collision
Inspect all built-in child restraints, including seats, buckles, retractors,
and seat latches. Interlocks and attaching hardware should be inspected
by a qualified technician after any collision. If the child seat was in use
during a collision, Ford recommends replacing it. Built-in child restraints
not in use during a collision should be inspected and replaced if either
damage or improper operation is noted.
Seating and safety restraints
146
Page 233 of 248

Cleaning the exterior lamps
Wash with the same detergent as the exterior of your vehicle. Use glass
cleaner or tar remover if necessary.
To avoid scratching the lamps, do not use a dry paper towel, chemical
solvents or abrasive cleaners.
Cleaning the wiper blades and windshield
If the wiper blades do not wipe properly, clean the wiper blade rubber
element with undiluted windshield washer solution or a mild detergent.
To avoid damaging the blades, do not use fuel, kerosene, paint thinner or
other solvents.
If the wiper still does not wipe properly, this could be caused by
substances on the windshield such as tree sap and some hot wax
treatments used by commercial car washes. Clean the outside of the
windshield with a non-abrasive cleanser such as the non-abrasive
Bon-Amitpowder. Rinse thoroughly with clean water.Do notuse
abrasive cleansers on glass as they may cause scratches. The windshield
is clean if beads do not form when you rinse it with water. The
windshield and wiper blades should be cleaned on a regular basis, and
blades or rubber elements replaced when worn.
Cleaning seats equipped with side air bags
Remove dust and loose dirt with a whisk broom or a vacuum cleaner.
Remove fresh spots immediately. Follow the directions that come with
the cleaner. Do not saturate the seat cover with upholstery cleaner.
Do not use chemical solvents or strong detergents when cleaning
the seat mounted side air bag. Such products could contaminate
the side air bag system and affect performance of the side air bag in a
collision.
Cleaning the instrument panel
Clean with a damp cloth, then dry with a dry cloth.
Avoid cleaner or polish that increases the gloss of the upper portion of
the instrument panel. The dull finish in this area helps protect the driver
from undesirable windshield reflection.
Maintenance and care
233