Page 49 of 224
Indicator light
This light comes on
when either the SET
ACC/SET ACCEL or
RES/RSM/RESUME
controls are pressed. It
turns off when the speed control OFF control is
pressed, the brake is applied or the ignition is
turned to the OFF position.
TURN SIGNAL CONTROL
²Push down to
activate the left turn
signal.
²Push up to activate
the right turn signal.
WINDSHIELD WIPER/WASHER CONTROLS
Rotate the windshield
wiper control to the
desired interval, low or
high speed position.
The bars of varying length are for intermittent
wipers. When in this position rotate the control
upward for fast intervals and downward for slow
intervals.
Push the control on
the end of the stalk to
activate washer. Push
and hold for a longer
wash cycle. The washer will automatically shut off
after ten seconds of continuous use.
CRUISE
LOF
OFFS
HI
LOF
OFFS
HI
Controls and features
49
Page 60 of 224

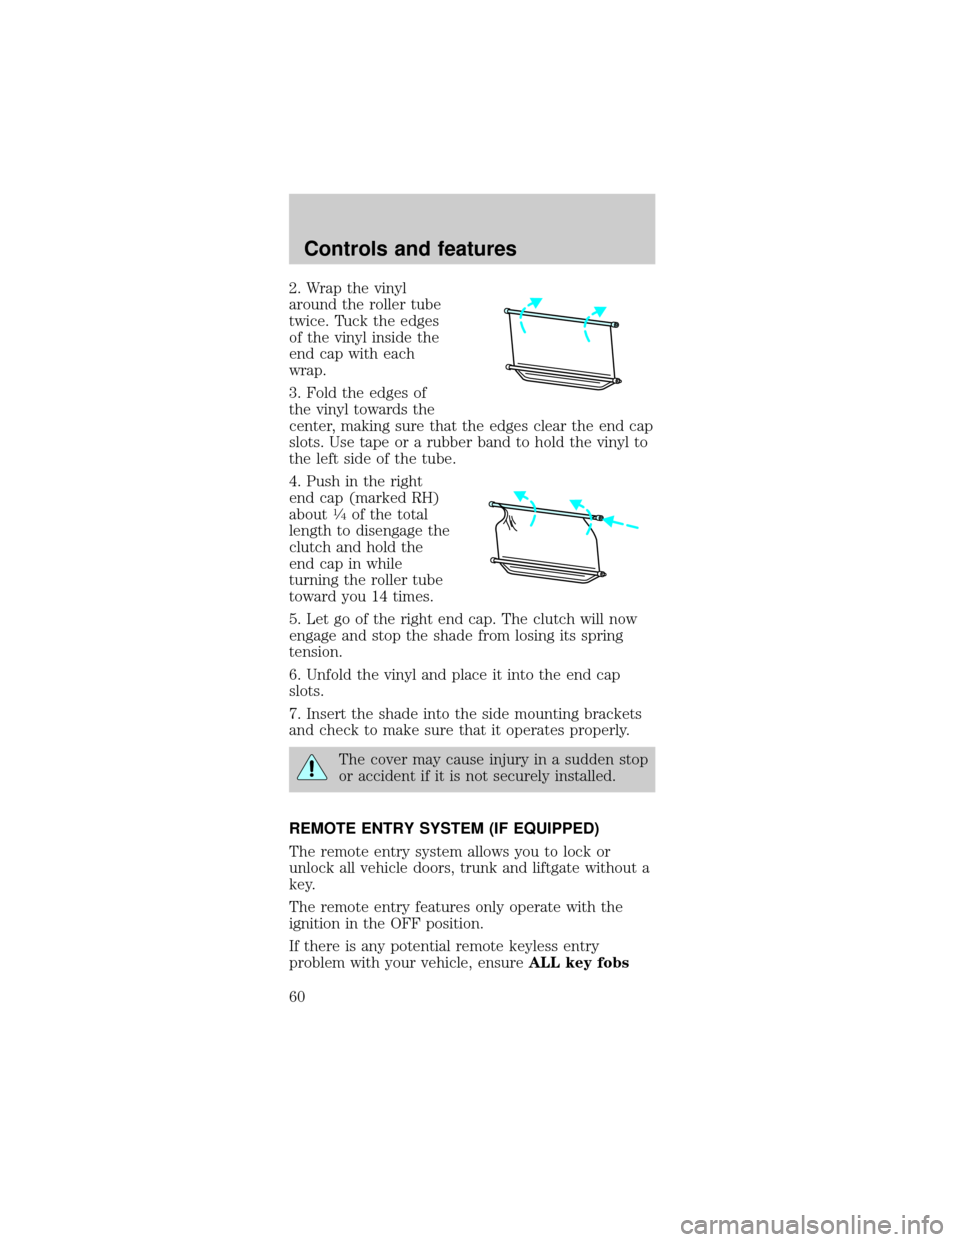
2. Wrap the vinyl
around the roller tube
twice. Tuck the edges
of the vinyl inside the
end cap with each
wrap.
3. Fold the edges of
the vinyl towards the
center, making sure that the edges clear the end cap
slots. Use tape or a rubber band to hold the vinyl to
the left side of the tube.
4. Push in the right
end cap (marked RH)
about
1¤4of the total
length to disengage the
clutch and hold the
end cap in while
turning the roller tube
toward you 14 times.
5. Let go of the right end cap. The clutch will now
engage and stop the shade from losing its spring
tension.
6. Unfold the vinyl and place it into the end cap
slots.
7. Insert the shade into the side mounting brackets
and check to make sure that it operates properly.
The cover may cause injury in a sudden stop
or accident if it is not securely installed.
REMOTE ENTRY SYSTEM (IF EQUIPPED)
The remote entry system allows you to lock or
unlock all vehicle doors, trunk and liftgate without a
key.
The remote entry features only operate with the
ignition in the OFF position.
If there is any potential remote keyless entry
problem with your vehicle, ensureALL key fobs
Controls and features
60
Page 80 of 224

Energy Management Feature
²This vehicle has a seat belt system with an energy
management feature at the front outboard seating
positions to help further reduce the risk of injury
in the event of a head-on collision.
²This seat belt system has a retractor assembly
that is designed to pay out webbing in a
controlled manner. This feature is designed to
help reduce the belt force acting on the
occupant's chest.
After any vehicle collision, the seat belt
system at all outboard seating positions
(except driver, which has no ªautomatic locking
retractorº feature) must be checked by a qualified
technician to verify that the ªautomatic locking
retractorº feature for child seats is still functioning
properly, in addition to other checks for proper
seat belt system function.
BELT AND RETRACTOR ASSEMBLY MUST
BE REPLACED if the seat belt assembly
ªautomatic locking retractorº feature or any other
seat belt function is not operating properly when
checked according to the procedures in Workshop
Manual.
Failure to replace the Belt and Retractor
assembly could increase the risk of injury in
collisions.
Vehicle sensitive mode
The vehicle sensitive mode is the normal retractor
mode, allowing free shoulder belt length adjustment
to your movements and locking in response to
vehicle movement. For example, if the driver brakes
suddenly or turns a corner sharply, or the vehicle
Seating and safety restraints
80
Page 84 of 224
To attach the shoulder
belt to the lap belt, pull
the shoulder belt out
from the retractor in
the seatback and insert
into the lap belt
connecting pin into the
wide end of the key
slot on the shoulder
belt. Pull the
connecting pin into the
narrow end of the key
slot until you hear a
snap and feel it latch.
Make sure the shoulder
belt is securely
fastened to the lap belt
by pulling up on the shoulder belt.
Lap belts
Adjusting the lap belt
The lap belt does not adjust automatically.
The lap belts should fit snugly and as low as
possible around the hips, not around the
waist.
Insert the tongue into
the correct buckle (the
buckle closest to the
direction the tongue is
coming from). To
lengthen the belt, turn
the tongue at a right
angle to the belt and
pull across your lap
until it reaches the
buckle. To tighten the
belt, pull the loose end of the belt through the
tongue until it fits snugly across the hips.
Seating and safety restraints
84
Page 85 of 224

Shorten and fasten the
belt when not in use.
Safety belts for rear-facing occupants
(wagon only)
Never use child safety seats in the third seat
of a wagon.
Your vehicle is equipped with safety belts containing
an adjust tongue at the rear-facing seating positions.
When the adjust tongue of the lap/shoulder
combination seat belt is latched into the buckle, the
tongue will allow the lap portion to become shorter,
but locks the webbing in place to restrict it from
becoming longer.
Before you reach and latch a combination lap and
shoulder belt having an adjust tongue into the
buckle, you may have to lengthen the lap belt
portion of it. To lengthen the lap belt, pull some
webbing out of the shoulder belt retractor. While
holding the webbing below the tongue, grasp the
tongue so that it is parallel to the webbing and slide
the tongue upward. Provide enough length so that
the tongue can reach the buckle.
To fasten the belt, pull the combination lap and
shoulder belt from the retractor so that the shoulder
belt portion of the safety belt crosses your shoulder
and chest. Be sure the belt is not twisted. If the belt
is twisted, remove the twist. Insert the tongue into
the proper buckle for your seating position until you
hear a snap and feel it latch. Make sure the tongue
is securely fastened to the buckle by pulling on the
tongue.
Seating and safety restraints
85
Page 99 of 224

8. Allow the safety belt
to retract to remove
any slack in the belt.
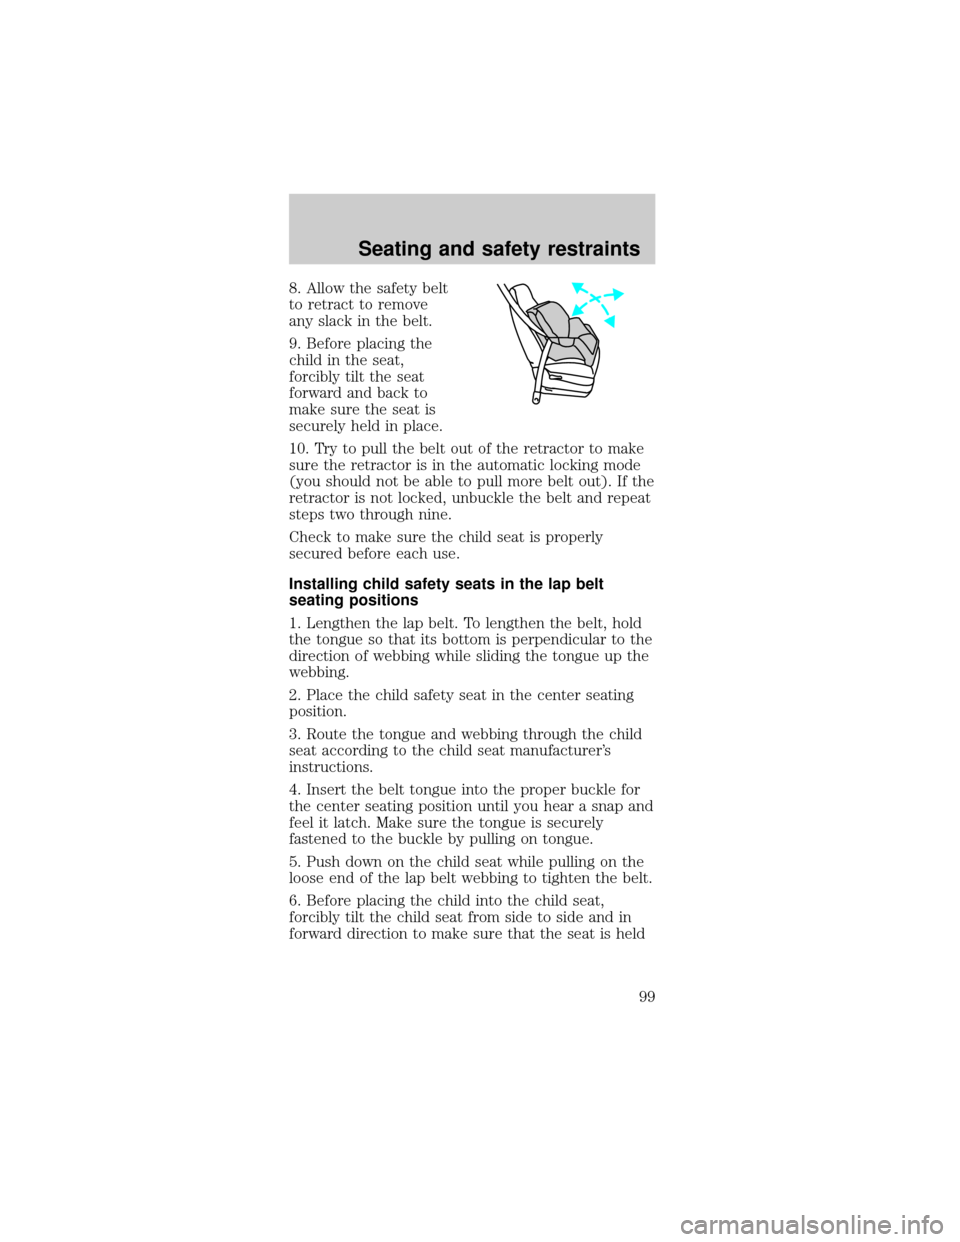
9. Before placing the
child in the seat,
forcibly tilt the seat
forward and back to
make sure the seat is
securely held in place.
10. Try to pull the belt out of the retractor to make
sure the retractor is in the automatic locking mode
(you should not be able to pull more belt out). If the
retractor is not locked, unbuckle the belt and repeat
steps two through nine.
Check to make sure the child seat is properly
secured before each use.
Installing child safety seats in the lap belt
seating positions
1. Lengthen the lap belt. To lengthen the belt, hold
the tongue so that its bottom is perpendicular to the
direction of webbing while sliding the tongue up the
webbing.
2. Place the child safety seat in the center seating
position.
3. Route the tongue and webbing through the child
seat according to the child seat manufacturer's
instructions.
4. Insert the belt tongue into the proper buckle for
the center seating position until you hear a snap and
feel it latch. Make sure the tongue is securely
fastened to the buckle by pulling on tongue.
5. Push down on the child seat while pulling on the
loose end of the lap belt webbing to tighten the belt.
6. Before placing the child into the child seat,
forcibly tilt the child seat from side to side and in
forward direction to make sure that the seat is held
Seating and safety restraints
99
Page 114 of 224
R (Reverse)
With the gearshift in R
(Reverse), the vehicle
will move backward.
You should always
come to a complete
stop before shifting
into and out of R
(Reverse).
N (Neutral)
With the gearshift in
the N (Neutral)
position, the vehicle
can be started and is
free to roll. Hold the
brake pedal down while
in this position.
(Overdrive)
The(Overdrive)
position is the normal
driving position for an
automatic overdrive
transaxle. It works the
same way as D (Drive)
but shifts to a fourth
gear Ð an overdrive
gear Ð when your
vehicle cruises at a
constant speed for any
length of time. This
PRNDD1
PRNDD1
PRNDD1
Driving
114
Page 195 of 224
Engine 3.0L V6
Vulcan
engine3.0L
DOHC V6
Duratec
engine3.4L-32V
V8 SHO
engine
Spark plug
gap1.07-1.17
mm (0.042-
0.046 inch)1.3-1.4 mm
(0.052-
00.056
inch)1.07-1.17
mm (0.042-
0.046 inch)
Ignition
systemEDIS EDIS EDIS
Compres-
sion ratio9.3:1 10.0:1 10.0:1
VEHICLE DIMENSIONS
Vehicle
dimensionsSedan mm (in) Wagon mm (in)
(1) Overall
length5 016.5 (197.5) 5 069.8 (199.6)
(2) Overall
width1 854.2 (73.0) 1 854.2 (73.0)
(3) Overall
height1 399.5 (55.1) 1 463.0 (57.6)
(4) Wheelbase 2 755.9 (108.5) 2 755.9 (108.5)
(5) Track -
Front1 564.6 (61.6) 1 564.6 (61.6)
(5) Track -
Rear1 559.6 (61.4) 1 569.7 (61.8)
Capacities and specifications
195