1999 FORD TAURUS ECO mode
[x] Cancel search: ECO modePage 19 of 224

Temperature control knob
Controls the
temperature of the
airflow inside the
vehicle.
Mode selector control
Controls the direction
of the airflow to the
inside of the vehicle.
The air conditioning
compressor will operate in all modes except VENT
and
. However, the air conditioning will only
function if the outside temperature is about 10ÉC
(50ÉF) or higher.
Since the air conditioner removes considerable
moisture from the air during operation, it is normal
if clear water drips on the ground under the air
conditioner drain while the system is working and
even after you have stopped the vehicle.
Under normal conditions, your vehicle's climate
control system should be left in any position other
than MAX A/C or OFF when the vehicle is parked.
This allows the vehicle to ªbreatheº through the
outside air inlet duct. In snowy or dirty conditions,
leave the mode selector in the OFF position.
²MAX A/C-Uses recirculated air to cool the vehicle.
MAX A/C is noisier than A/C but more economical
and will cool the inside of the vehicle faster.
Airflow will be from the instrument panel
registers. This mode can also be used to prevent
undesirable odors from entering the vehicle.
²
A/C-Uses outside air to cool the vehicle. It is quieter
than MAX A/C but not as economical. Airflow will be
from the instrument panel registers.
²VENT-Distributes outside air through the instrument
panel registers. However, the air will not be cooled
below the outside temperature because the air
conditioning does not operate in this mode.
OFF
A/C
MAX
A/CVENT
Controls and features
19
Page 27 of 224
²-Distributes outside air through the instrument
panel registers and the floor ducts. Heating and air
conditioning capabilities are provided in this mode.
The air will be heated or cooled based on the
temperature selection. For added customer comfort,
the air distributed through the floor ducts will be
slightly warmer than the air sent to the instrument
panel registers.
²MAX A/C-Uses recirculated air to cool the vehicle.
The temperature will remain unchanged and air will
be cooled based on the selected temperature. To
exit, press AUTOMATIC or any other override
controls. MAX A/C is noisier than normal A/C but
more economical and will cool the inside of the
vehicle faster. Airflow is from the instrument panel
registers. This mode can also be used to prevent
undesirable odors from entering the vehicle.
²OFF-Outside air is shut out and the fan will not
operate. For short periods of time only, use this
mode to reduce undesirable odors from entering
the vehicle.
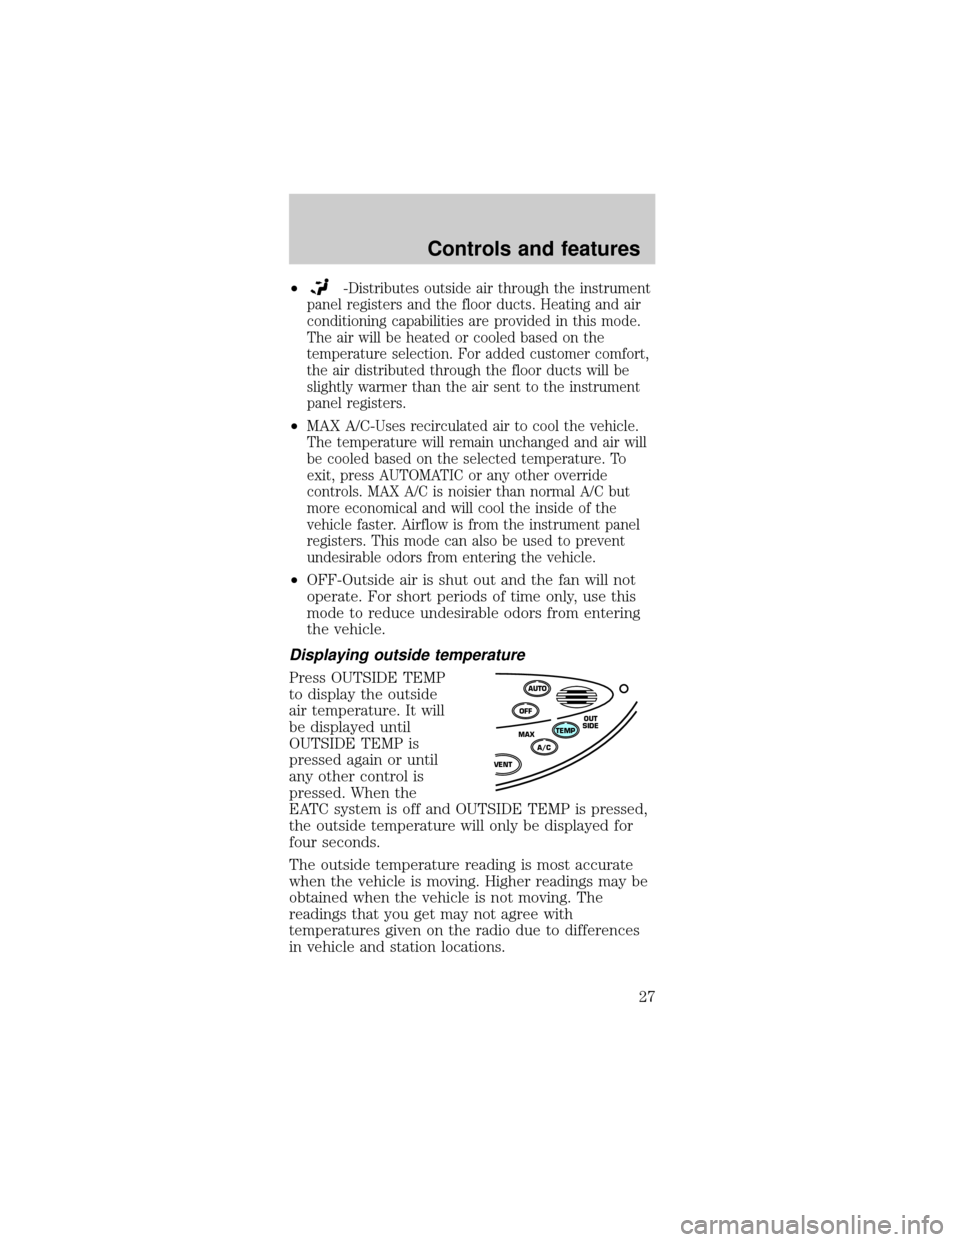
Displaying outside temperature
Press OUTSIDE TEMP
to display the outside
air temperature. It will
be displayed until
OUTSIDE TEMP is
pressed again or until
any other control is
pressed. When the
EATC system is off and OUTSIDE TEMP is pressed,
the outside temperature will only be displayed for
four seconds.
The outside temperature reading is most accurate
when the vehicle is moving. Higher readings may be
obtained when the vehicle is not moving. The
readings that you get may not agree with
temperatures given on the radio due to differences
in vehicle and station locations.
OFFAUTO
TEMPOUT
SIDE
A/C MAX
VENT
Controls and features
27
Page 36 of 224
²Pressto find the next listenable station up the
frequency band.
Seek function in tape mode
²Pressto listen to the previous selection on the
tape.
²Press
to listen to the next selection on the
tape.
Seek function in CD mode
²Pressto seek to the previous track of the
current disc. If a selection has been playing for
three seconds or more and you press
, the CD
changer will replay that selection from the
beginning.
²Press
to seek forward to the next track of the
current disc. After the last track has been
completed, the first track of the current disc will
automatically replay.
Scan function
The scan function
works in radio, tape or
CD mode.
Scan function in radio mode
Press the SCAN control to hear a brief sampling of
all listenable stations on the frequency band. Press
the control again to stop the scan mode.
Scan function in tape mode
Press the SCAN control to hear a short sampling of
all selections on the tape. (The tape scans in a
forward direction. At the end of the tape's first side,
direction automatically reverses to the opposite side
of the tape.) To stop on a particular selection, press
the control again.
Scan function in CD mode
Press the SCAN control to hear a short sampling of
all selections on the CD. (The CD scans in a forward
SCAN
Controls and features
36
Page 39 of 224
radio or CD mode, press the TAPE control. Press
the button during rewind or fast forward to stop
the rewind or fast forward function.
²To begin CD play (if CDs are loaded in the CD
changer), press the CD button. The first track of
the first disc will begin playing. After that CD play
will begin where it stopped last.
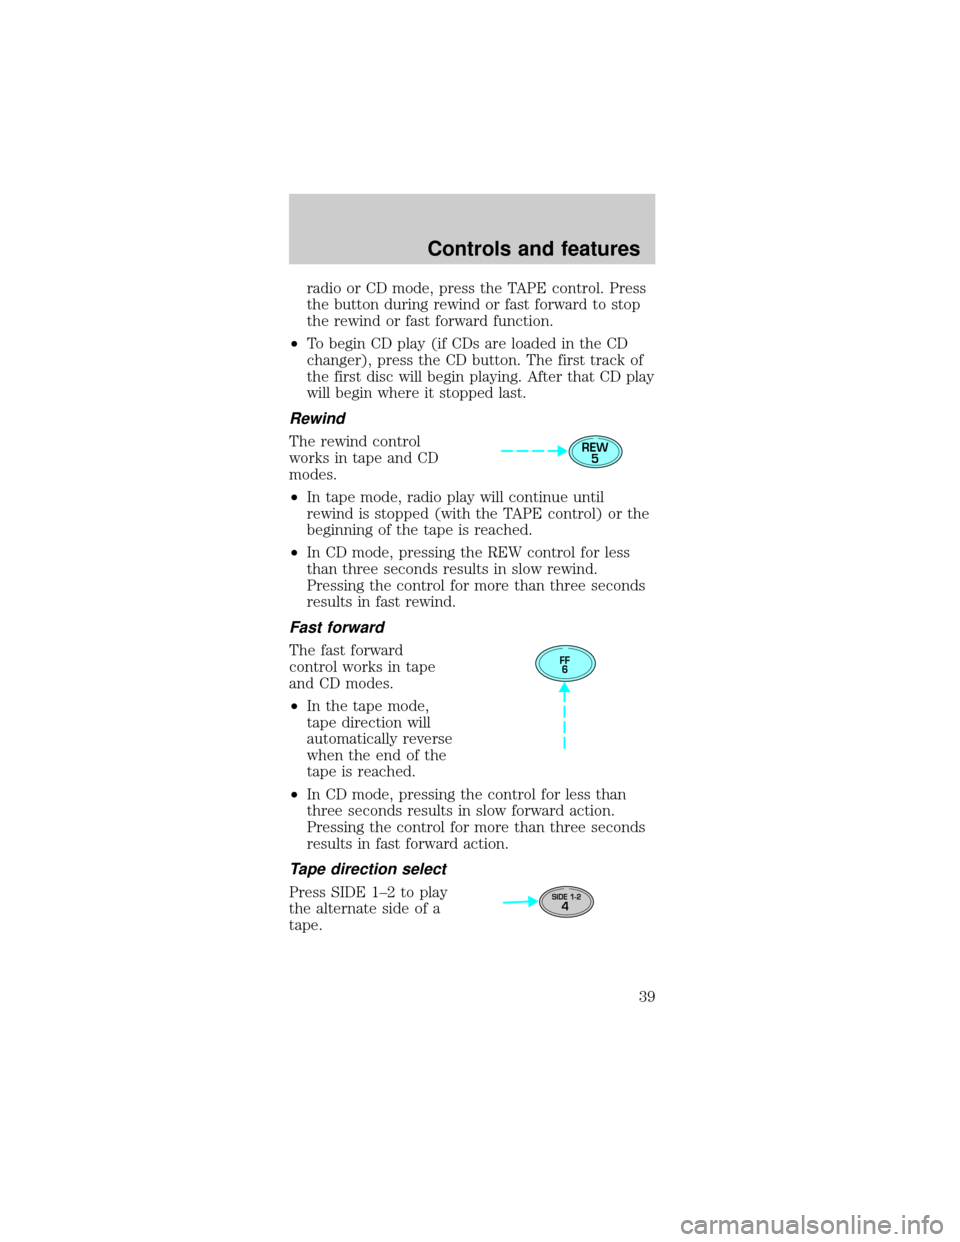
Rewind
The rewind control
works in tape and CD
modes.
²In tape mode, radio play will continue until
rewind is stopped (with the TAPE control) or the
beginning of the tape is reached.
²In CD mode, pressing the REW control for less
than three seconds results in slow rewind.
Pressing the control for more than three seconds
results in fast rewind.
Fast forward
The fast forward
control works in tape
and CD modes.
²In the tape mode,
tape direction will
automatically reverse
when the end of the
tape is reached.
²In CD mode, pressing the control for less than
three seconds results in slow forward action.
Pressing the control for more than three seconds
results in fast forward action.
Tape direction select
Press SIDE 1±2 to play
the alternate side of a
tape.
REW
5
FF
6
4SIDE 1-2
Controls and features
39
Page 63 of 224
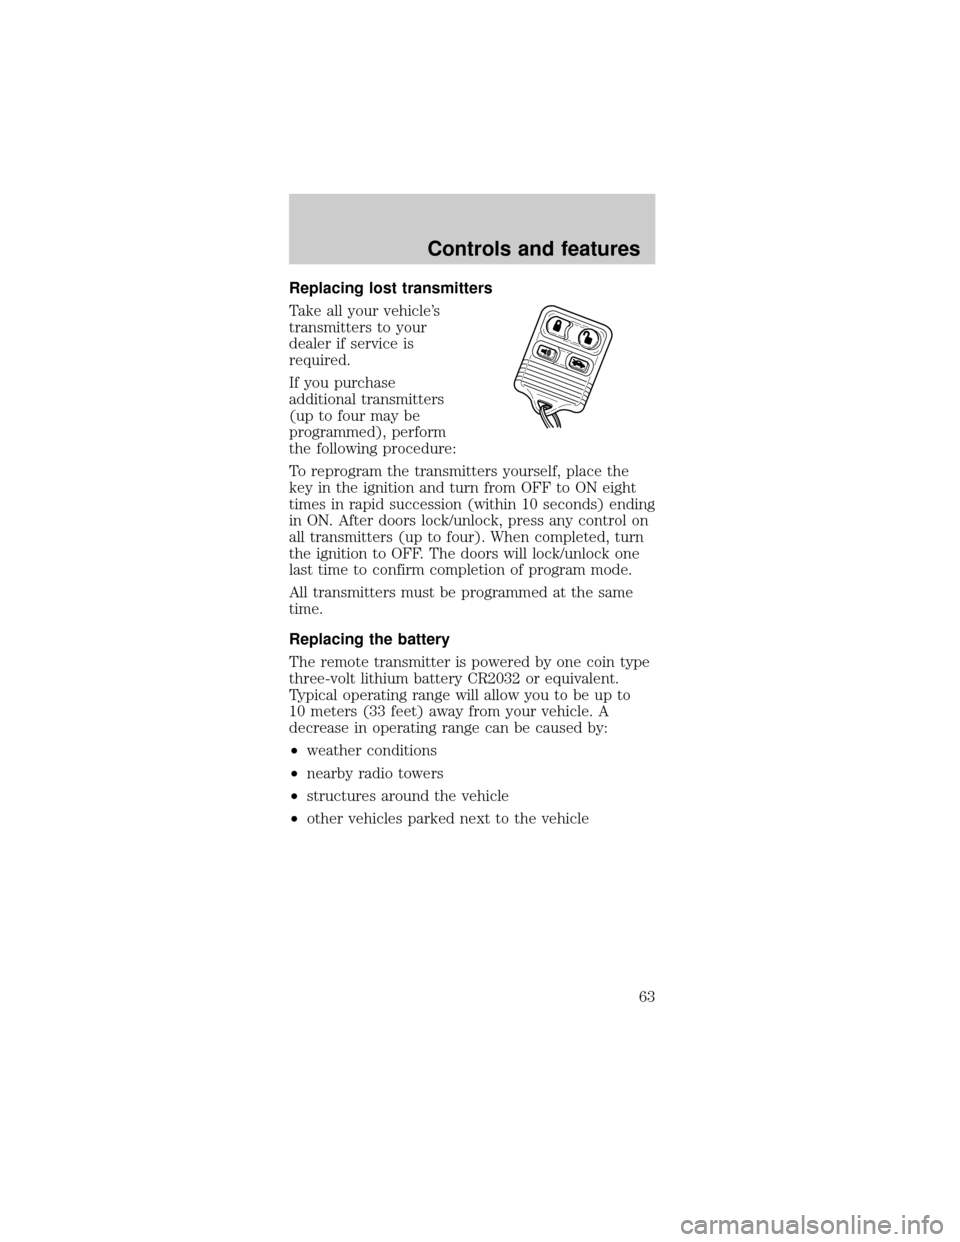
Replacing lost transmitters
Take all your vehicle's
transmitters to your
dealer if service is
required.
If you purchase
additional transmitters
(up to four may be
programmed), perform
the following procedure:
To reprogram the transmitters yourself, place the
key in the ignition and turn from OFF to ON eight
times in rapid succession (within 10 seconds) ending
in ON. After doors lock/unlock, press any control on
all transmitters (up to four). When completed, turn
the ignition to OFF. The doors will lock/unlock one
last time to confirm completion of program mode.
All transmitters must be programmed at the same
time.
Replacing the battery
The remote transmitter is powered by one coin type
three-volt lithium battery CR2032 or equivalent.
Typical operating range will allow you to be up to
10 meters (33 feet) away from your vehicle. A
decrease in operating range can be caused by:
²weather conditions
²nearby radio towers
²structures around the vehicle
²other vehicles parked next to the vehicle
Controls and features
63
Page 96 of 224
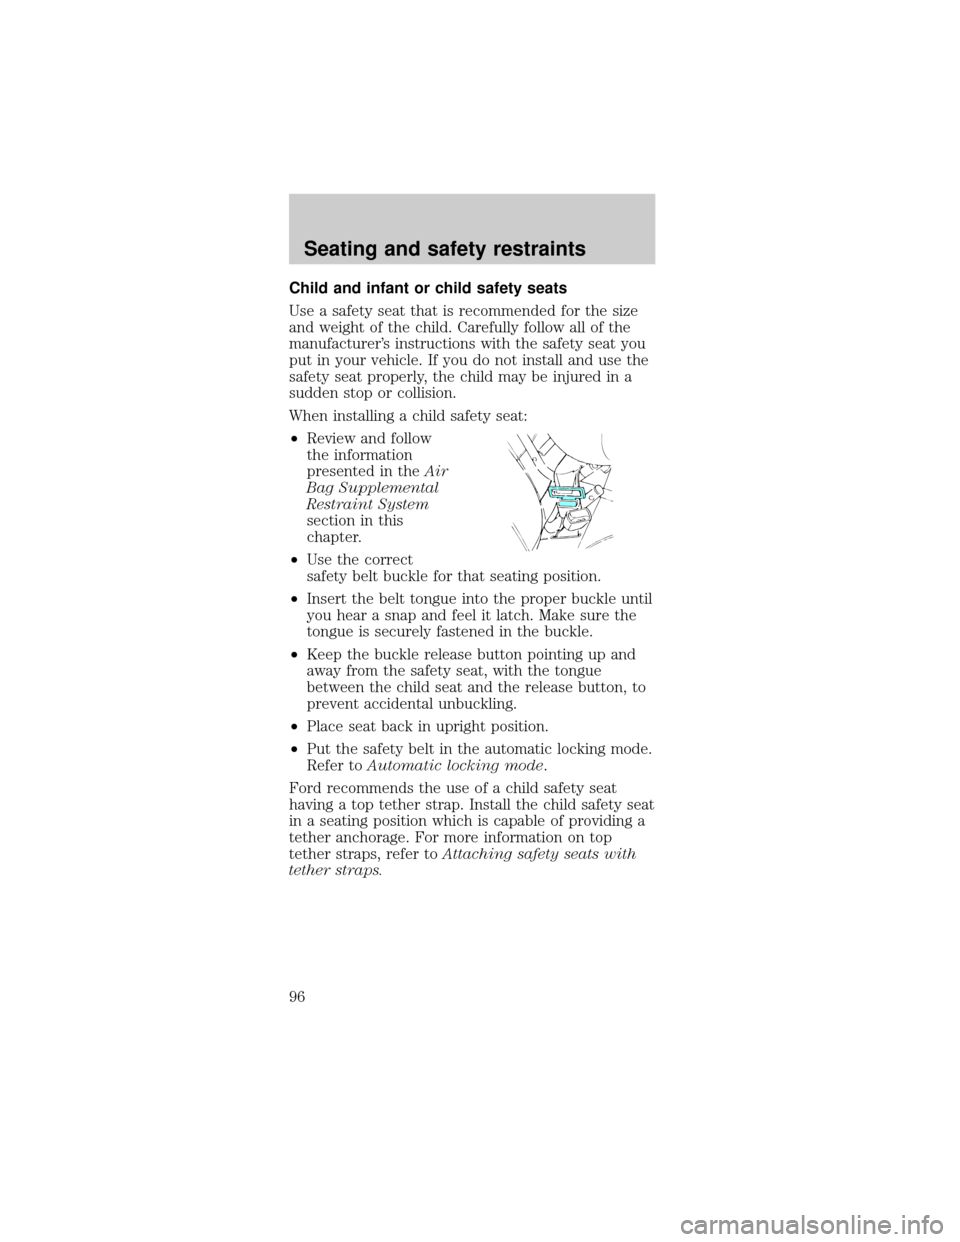
Child and infant or child safety seats
Use a safety seat that is recommended for the size
and weight of the child. Carefully follow all of the
manufacturer's instructions with the safety seat you
put in your vehicle. If you do not install and use the
safety seat properly, the child may be injured in a
sudden stop or collision.
When installing a child safety seat:
²Review and follow
the information
presented in theAir
Bag Supplemental
Restraint System
section in this
chapter.
²Use the correct
safety belt buckle for that seating position.
²Insert the belt tongue into the proper buckle until
you hear a snap and feel it latch. Make sure the
tongue is securely fastened in the buckle.
²Keep the buckle release button pointing up and
away from the safety seat, with the tongue
between the child seat and the release button, to
prevent accidental unbuckling.
²Place seat back in upright position.
²Put the safety belt in the automatic locking mode.
Refer toAutomatic locking mode.
Ford recommends the use of a child safety seat
having a top tether strap. Install the child safety seat
in a seating position which is capable of providing a
tether anchorage. For more information on top
tether straps, refer toAttaching safety seats with
tether straps.
Seating and safety restraints
96
Page 120 of 224
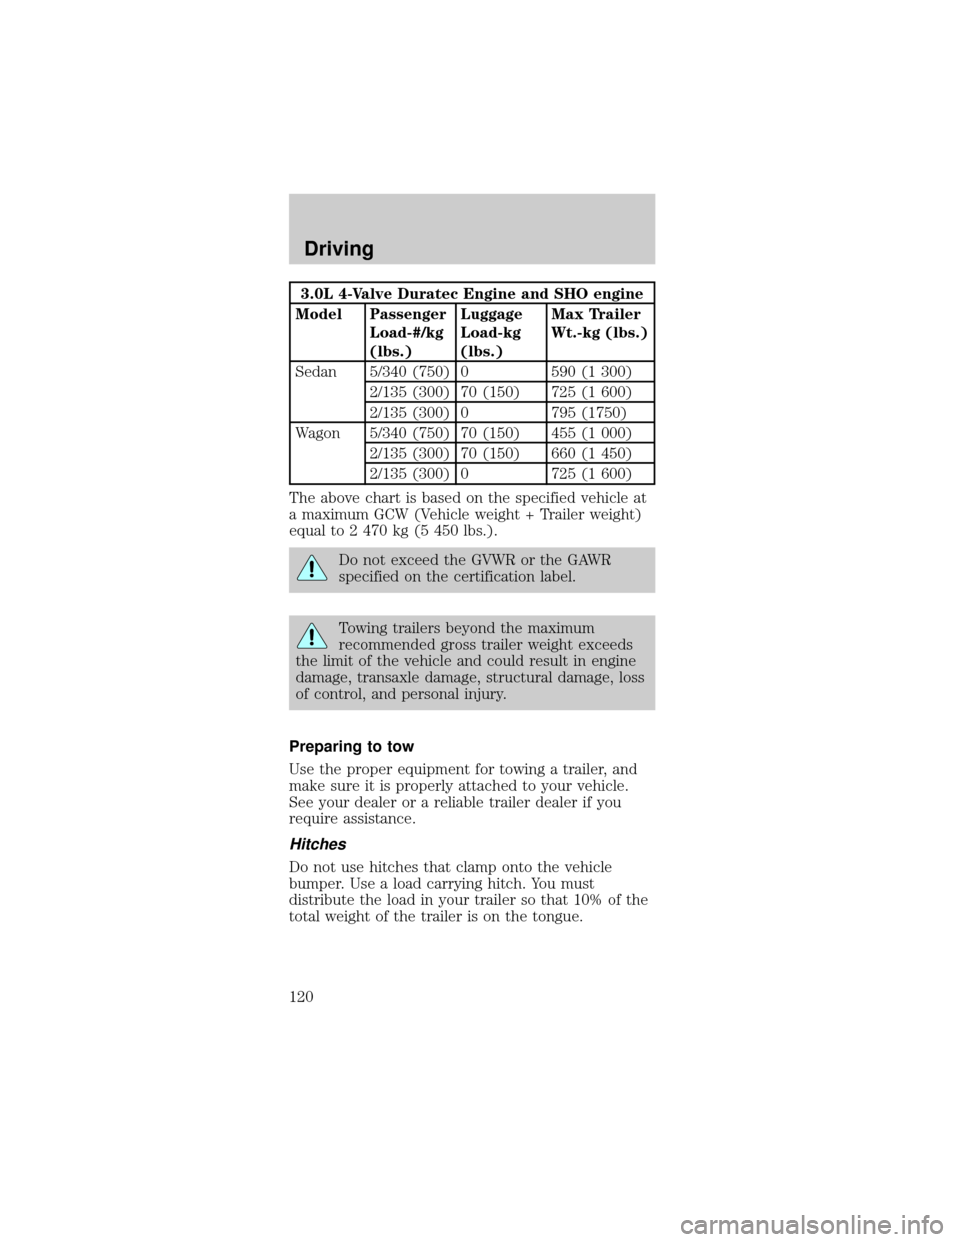
3.0L 4-Valve Duratec Engine and SHO engine
Model Passenger
Load-#/kg
(lbs.)Luggage
Load-kg
(lbs.)Max Trailer
Wt.-kg (lbs.)
Sedan 5/340 (750) 0 590 (1 300)
2/135 (300) 70 (150) 725 (1 600)
2/135 (300) 0 795 (1750)
Wagon 5/340 (750) 70 (150) 455 (1 000)
2/135 (300) 70 (150) 660 (1 450)
2/135 (300) 0 725 (1 600)
The above chart is based on the specified vehicle at
a maximum GCW (Vehicle weight + Trailer weight)
equal to 2 470 kg (5 450 lbs.).
Do not exceed the GVWR or the GAWR
specified on the certification label.
Towing trailers beyond the maximum
recommended gross trailer weight exceeds
the limit of the vehicle and could result in engine
damage, transaxle damage, structural damage, loss
of control, and personal injury.
Preparing to tow
Use the proper equipment for towing a trailer, and
make sure it is properly attached to your vehicle.
See your dealer or a reliable trailer dealer if you
require assistance.
Hitches
Do not use hitches that clamp onto the vehicle
bumper. Use a load carrying hitch. You must
distribute the load in your trailer so that 10% of the
total weight of the trailer is on the tongue.
Driving
120
Page 173 of 224

Driving style Ð good driving and fuel economy
habits
Give consideration to the lists that follow and you
may be able to change a number of variables and
improve your fuel economy.
Habits
²Smooth, moderate operation can yield up to 10%
savings in fuel.
²Steady speeds without stopping will usually give
the best fuel economy.
²Idling for long periods of time (greater than one
minute) may waste fuel.
²Anticipate stopping; slowing down may eliminate
the need to stop.
²Sudden or hard accelerations may reduce fuel
economy.
²Slow down gradually.
²Driving at reasonable speeds (traveling at 88 km/h
[55 mph] uses 15% less fuel than traveling at
105 km/h [65 mph]).
²Revving the engine before turning it off may
reduce fuel economy.
²Using the air conditioner or defroster may reduce
fuel economy.
²Using speed control (if equipped) may improve
fuel economy. Speed control can help maintain a
constant speed and reduce speed changes. You
may want to turn off the speed control in hilly
terrain as unnecessary shifting between third and
fourth gears may occur and could result in
reduced fuel economy.
²Warming up a vehicle on cold mornings is not
required and may reduce fuel economy.
²Resting your foot on the brake pedal while driving
may reduce fuel economy.
Maintenance and care
173