Page 52 of 216
2. Move the control in
the direction you wish
to tilt the mirror.
3. Return to the center position to lock mirrors in
place.
POSITIVE RETENTION FLOOR MAT
(IF EQUIPPED)
Position the floor mat so
that the eyelet is over the
pointed end of the
retention post and rotate
forward to lock in. Make
sure that the mat does not
interfere with the operation
of the accelerator or the
brake pedal. To remove the
floor mat, reverse the installation procedure.
CENTER CONSOLE
Your vehicle may be equipped with a variety of
console features. These include:
²dual cupholders
²auxiliary power point
²coin holder slots (if equipped)
²foglamp control (if equipped)
²convertible top control (if equipped)
Use only soft cups in the cupholder. Hard
objects can injure you in a collision.
Controls and features
52
Page 53 of 216

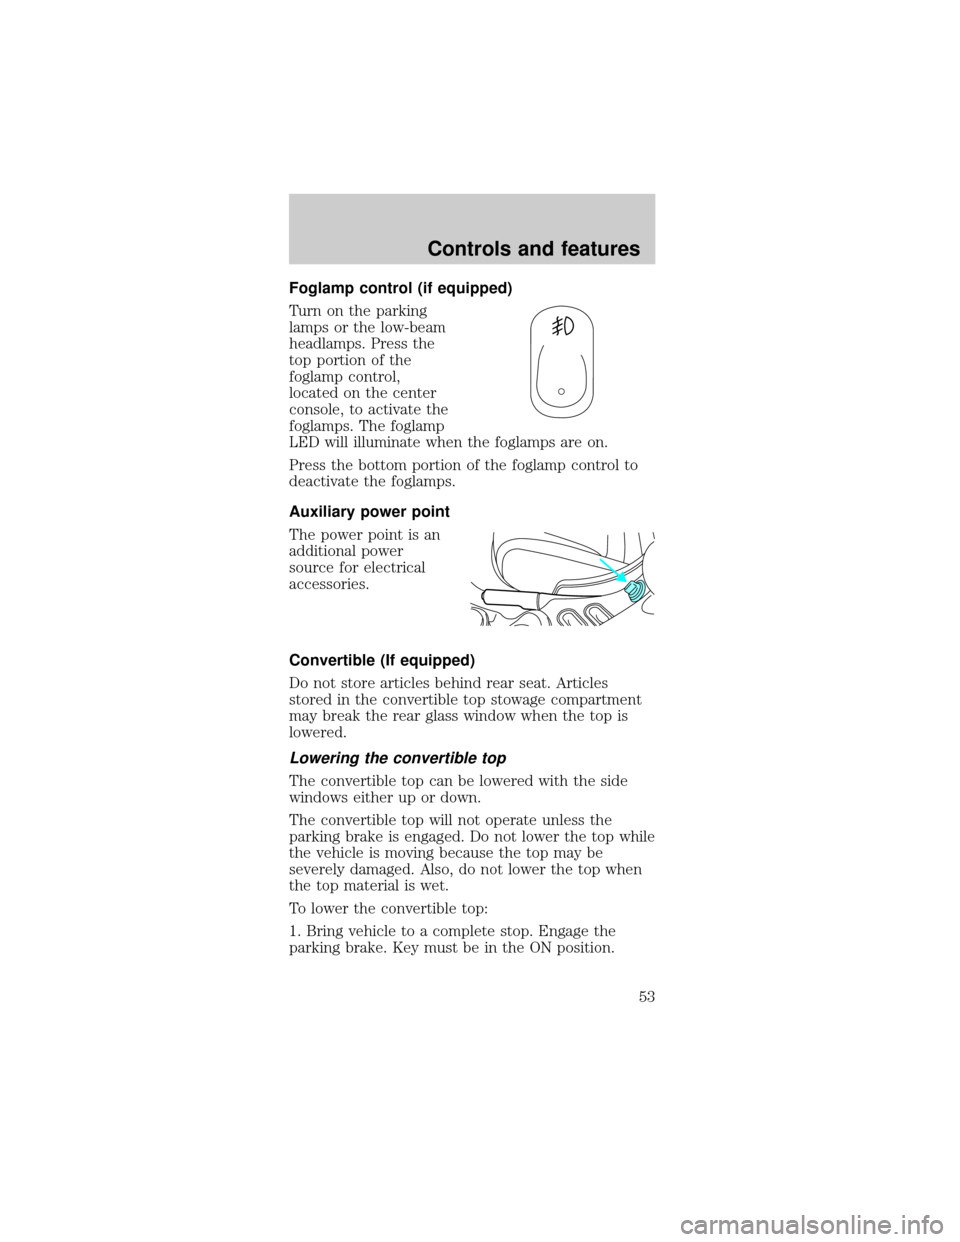
Foglamp control (if equipped)
Turn on the parking
lamps or the low-beam
headlamps. Press the
top portion of the
foglamp control,
located on the center
console, to activate the
foglamps. The foglamp
LED will illuminate when the foglamps are on.
Press the bottom portion of the foglamp control to
deactivate the foglamps.
Auxiliary power point
The power point is an
additional power
source for electrical
accessories.
Convertible (If equipped)
Do not store articles behind rear seat. Articles
stored in the convertible top stowage compartment
may break the rear glass window when the top is
lowered.
Lowering the convertible top
The convertible top can be lowered with the side
windows either up or down.
The convertible top will not operate unless the
parking brake is engaged. Do not lower the top while
the vehicle is moving because the top may be
severely damaged. Also, do not lower the top when
the top material is wet.
To lower the convertible top:
1. Bring vehicle to a complete stop. Engage the
parking brake. Key must be in the ON position.
Controls and features
53
Page 119 of 216
Fuse/Relay
LocationFuse Amp
RatingDescription
9 20A** Auxiliary Power Point
10 30A** Parklamps
11 30A** Rear Window Defrost
Control
12 40A** Power Windows, Power
Locks
13 Ð Not Used
14 20A* Fuel Pump
15 10A* Radio
16 20A* Horn
17 20A* Anti-Lock Brake System
18 25A* Power Seats
19 Ð Not Used
20 20A* Generator
21 Ð Not Used
22 Ð Not Used
23 Ð Not Used
24 20A* A/C Pressure (3.8L
only)
25 Ð Not Used
26 30A** PCM
27 20A** DRL Module, Foglamp
Relay
28 25A CB Convertible Top
* Mini Fuses ** Maxi Fuses
CHANGING THE TIRES
If you get a flat tire while driving, do not apply the
brake heavily. Instead, gradually decrease your
speed. Hold the steering wheel firmly and slowly
move to a safe place on the side of the road.
Roadside emergencies
119
Page 132 of 216
OPENING THE HOOD
1. Inside the vehicle,
pull the hood release
handle located under
the bottom left corner
of the instrument
panel.
2. Go to the front of the vehicle and release the
auxiliary latch that is located under the front center
of the hood.
3. Lift the hood and secure it with the prop rod.
HOOD
Maintenance and care
132
Page 185 of 216
3Ensure the correct automatic transmission fluid is
used. Transmission fluid requirements are indicated
on the dipstick or on the dipstick handle. MERCONt
and MERCONtV are not interchangeable. DO NOT
mix MERCONtand MERCONtV. Refer to your
Scheduled Maintenance Guide to determine the
correct service interval.
4Service refill capacity is determined by filling the
transmission to the bottom of the filler hole with the
vehicle on a level surface.
LUBRICANT SPECIFICATIONS
Item Ford part
nameFord part
numberFord
speci-
fication
Brake fluid High Per-
formance
DOT 3
Motor
Vehicle
Brake FluidC6AZ-
19542-ABESA-
M6C25-A
and DOT 3
Door
weather-
stripsSilicone
LubricantF7AZ-
19G208-BA
and F5AZ-
19553-AAESR-
M13P4-A
Door latch,
hood latch,
auxiliary
hood latch,
door
hinges,
striker
plates, seat
tracks and
fuel filler
door hingeMulti-
Purpose
GreaseD0AZ-
19584-AA
or F5AZ-
19G209-AAESB-
M1C93-B
or ESR-
M1C159-A
Capacities and specifications
185